

News + Features
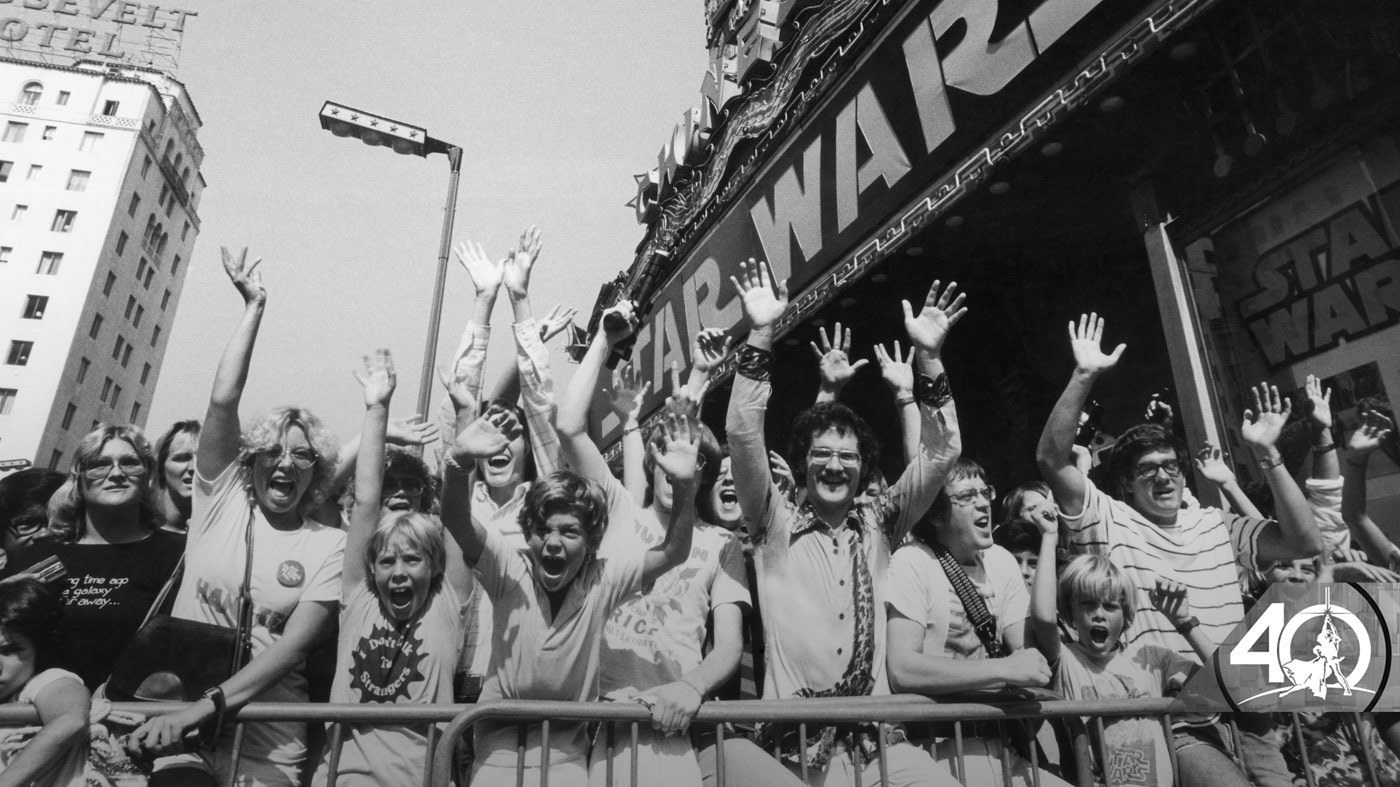


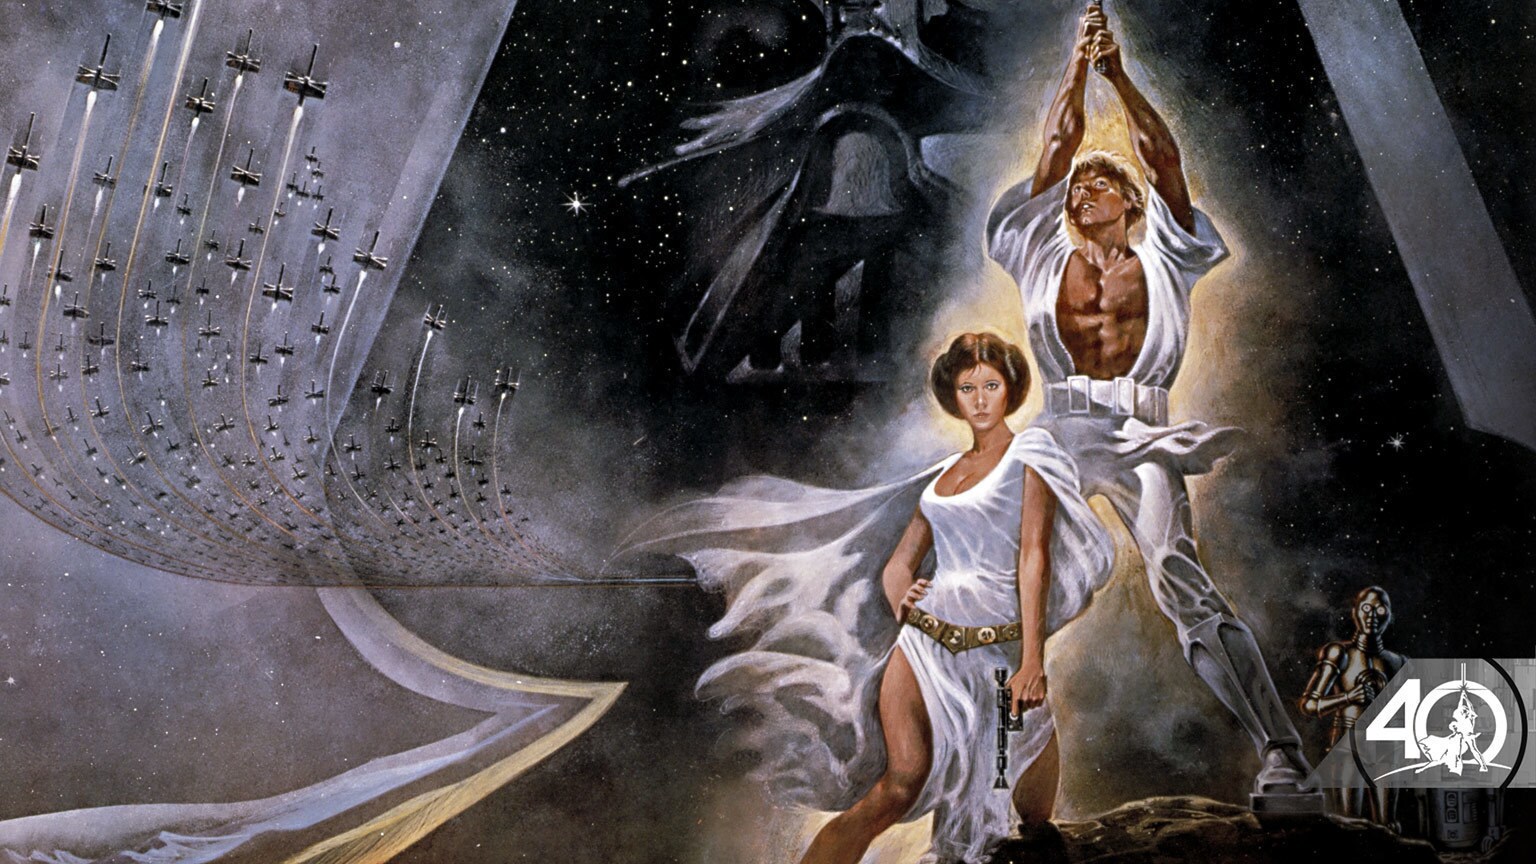

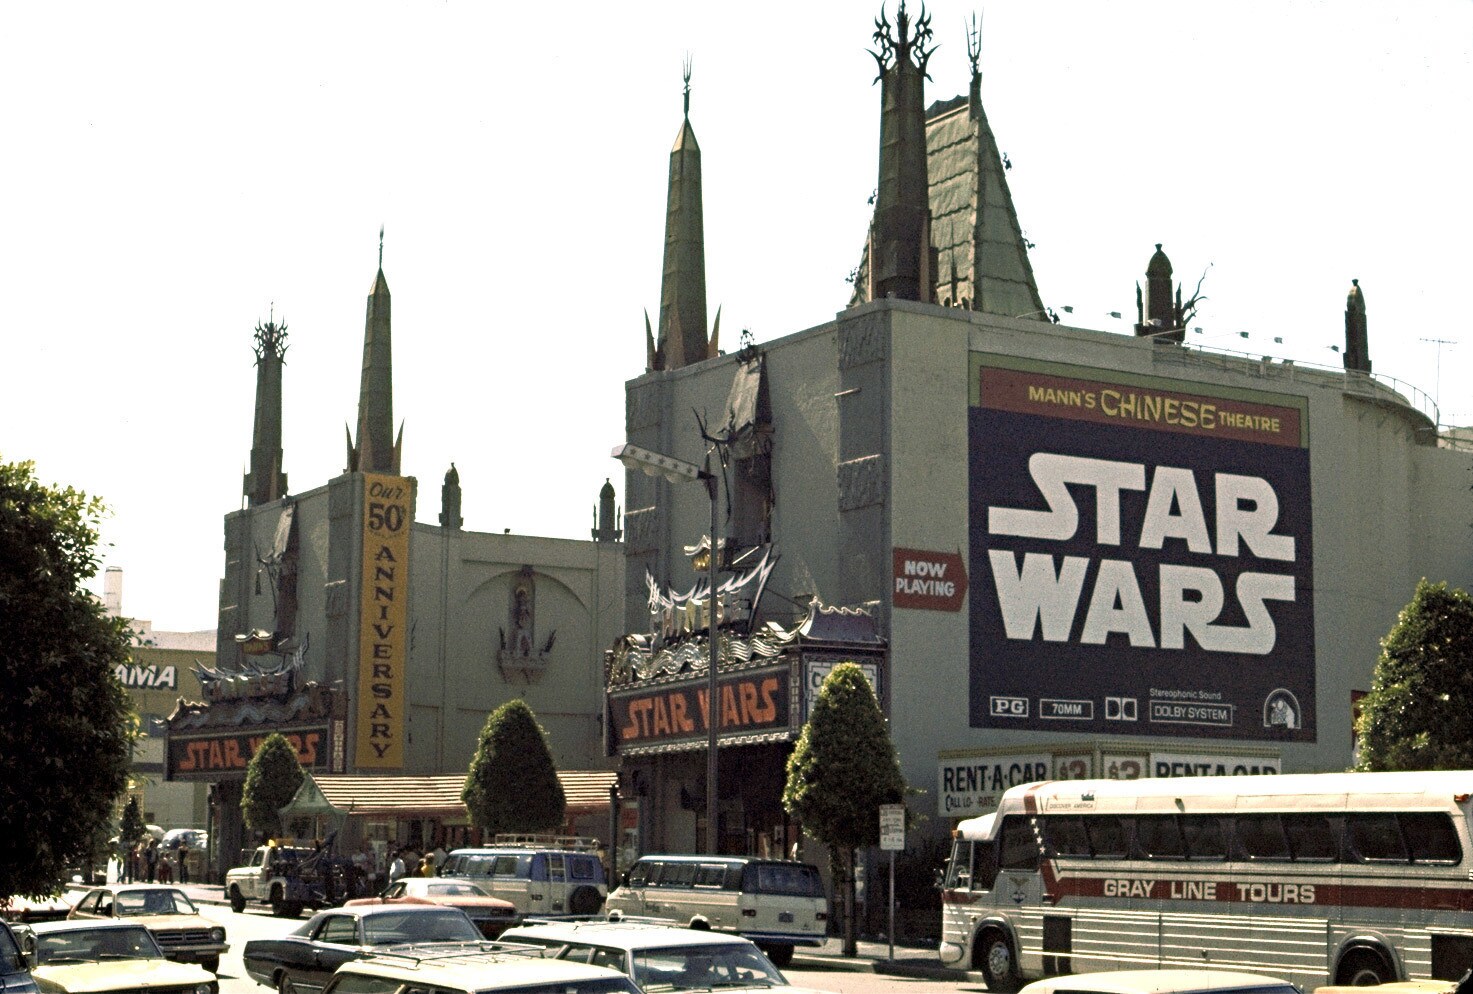
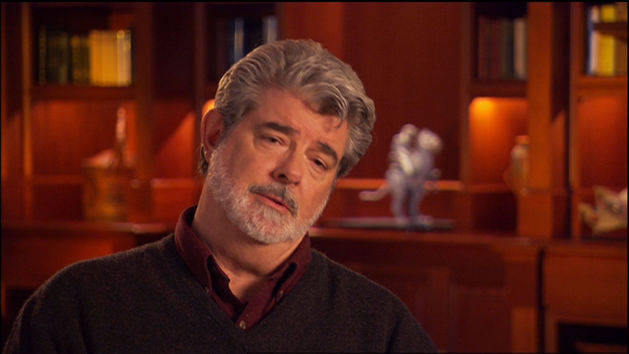
Happy 40th Anniversary, Star Wars!
© 2015 Disney
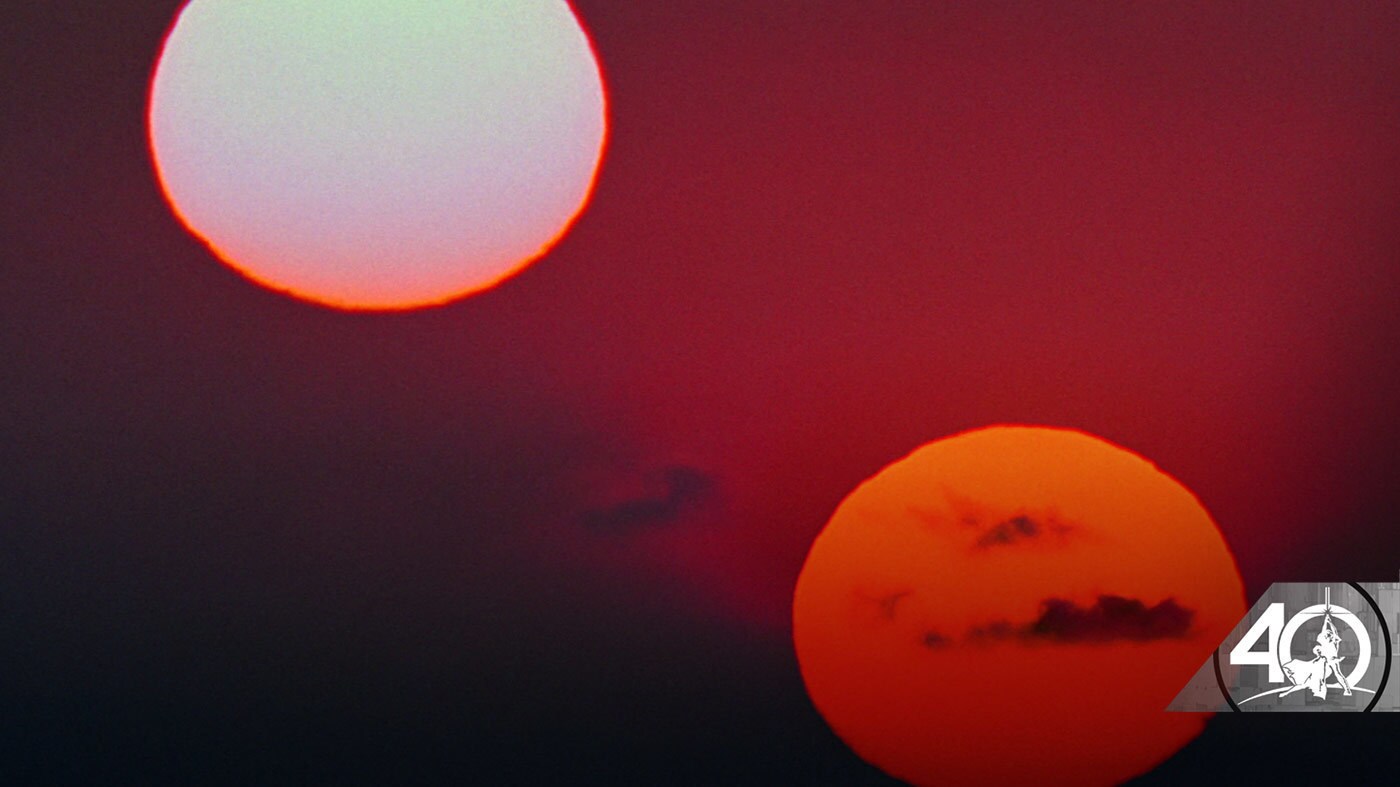
Star Wars: Frames - A New Hope
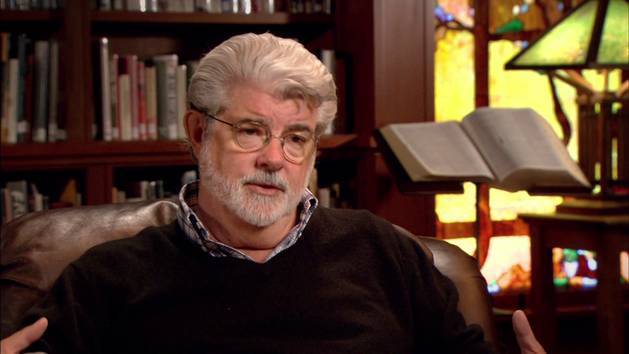
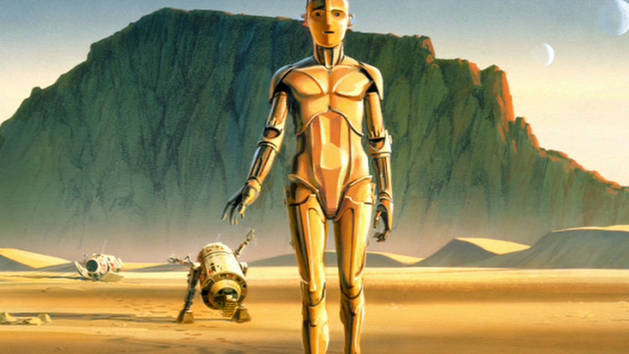
After George Lucas finished work on Star Wars: Revenge of the Sith, he wanted to look back on the Star Wars saga with an entirely new point of view: isolating stills, or frames, from each of the six Star Wars films, focusing on them intensely as works of photography and design, and reproducing them in a book. For two years Lucas went through more than 150,000 frames per film, editing more than 1 million frames down to the 1,416 images that now comprise the Star Wars: Frames book, a testament to the hard work, craftsmanship, and dedication evident in every frame of every film. In celebration of the 40th anniversary of Star Wars, we proudly present the Star Wars: Frames images from Star Wars: A New Hope here. Star Wars: Frames, by George Lucas (c) Abrams Books, 2013.
- 59 Images


-
Star Wars: Frames, by George Lucas (c) Abrams Books, 2013
-
-
-
-
-
-
-
-
-
-
-
-
-
-
-
-
-
-
-
-
-
-
-
-
-
-
-
-
-
-
-
-
-
-
-
-
-
-
-
-
-
-
-
-
-
-
-
-
-
-
-
-
-
-
-
-
-
-
Star Wars: Frames, by George Lucas (c) Abrams Books, 2013
Star Wars: Frames - A New Hope
© 2015 Disney
Story Gallery | A New Hope
- 41 Images


-
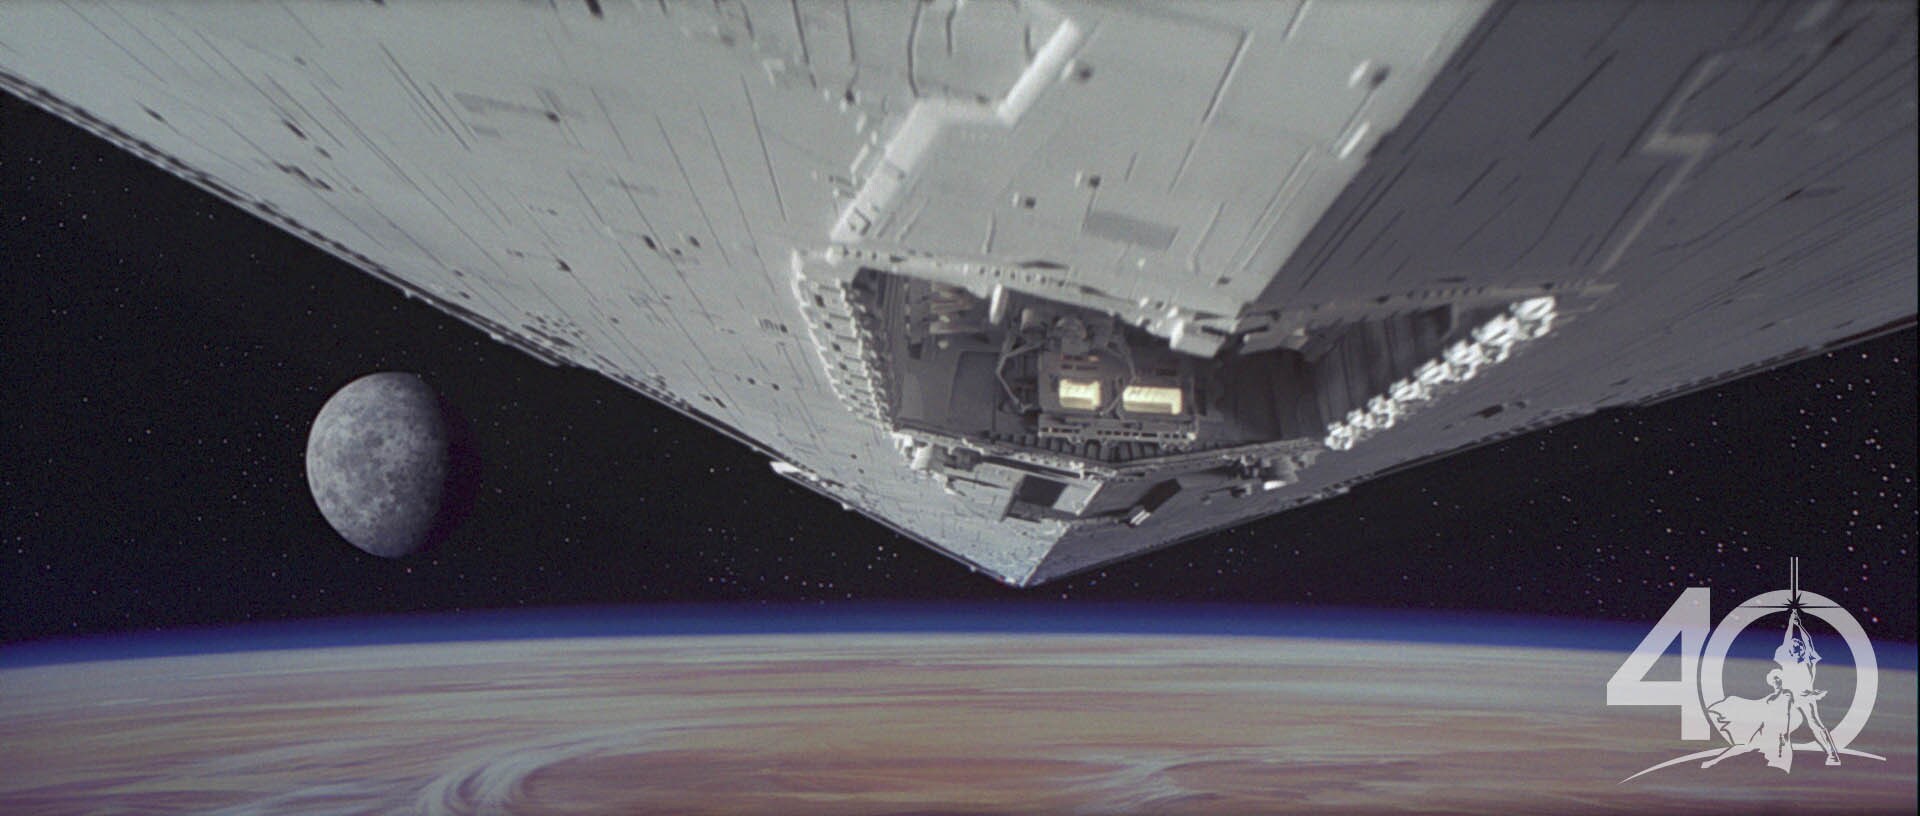
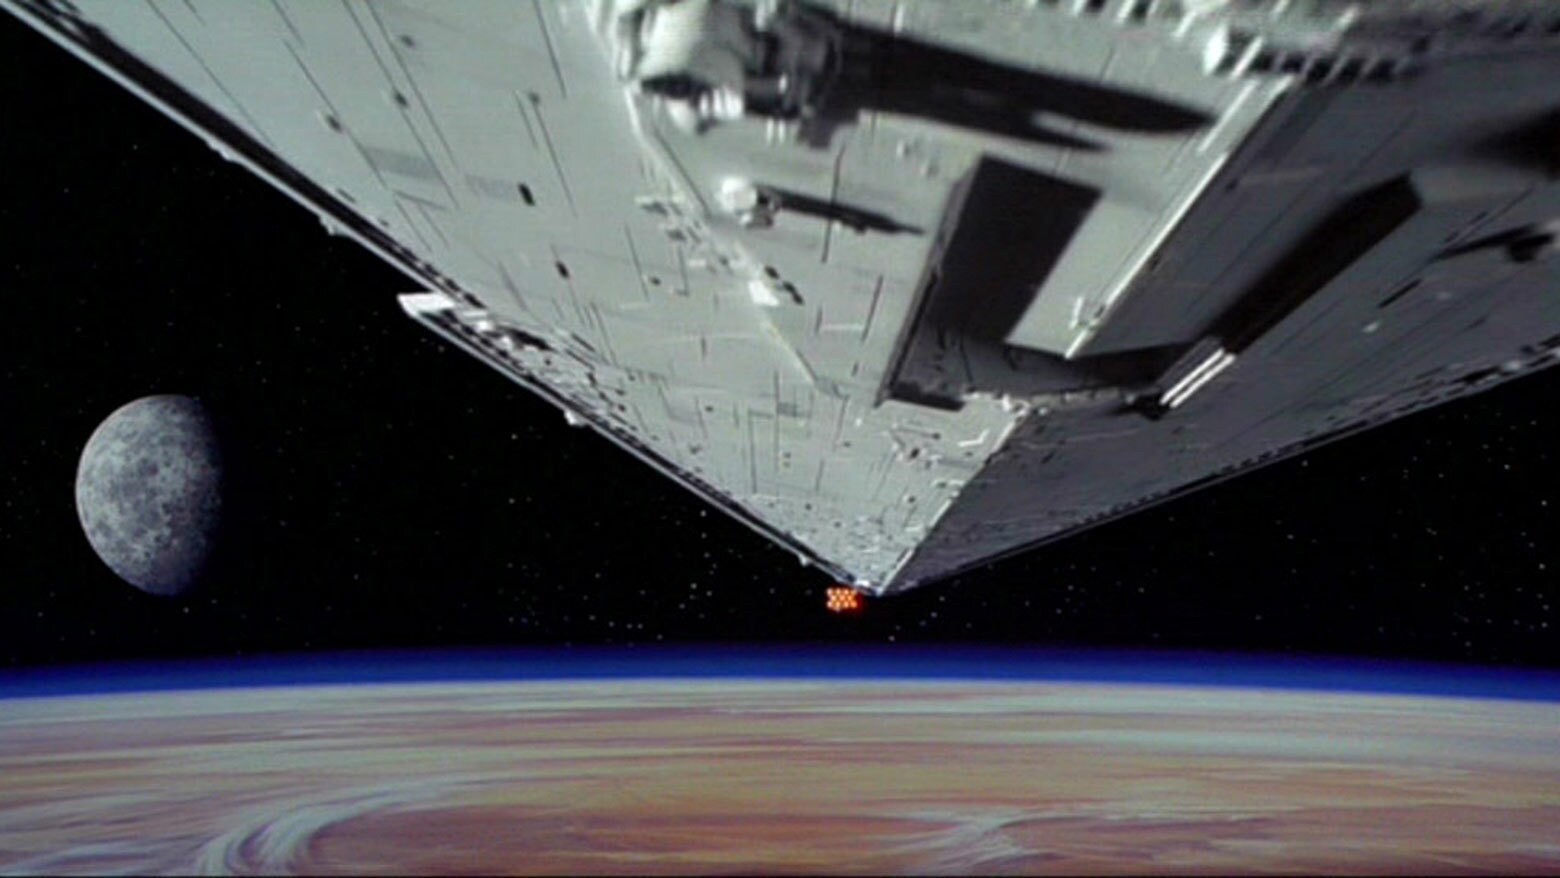
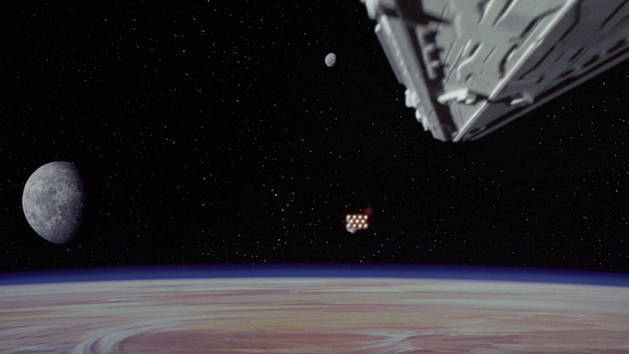
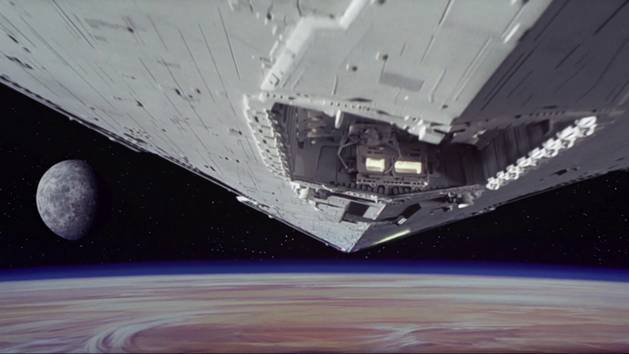
An Imperial Star Destroyer pursues Princess Leia's diplomatic consular ship.
-
The Alderaan cruiser is drawn into the underside of an Imperial Star Destroyer.
-
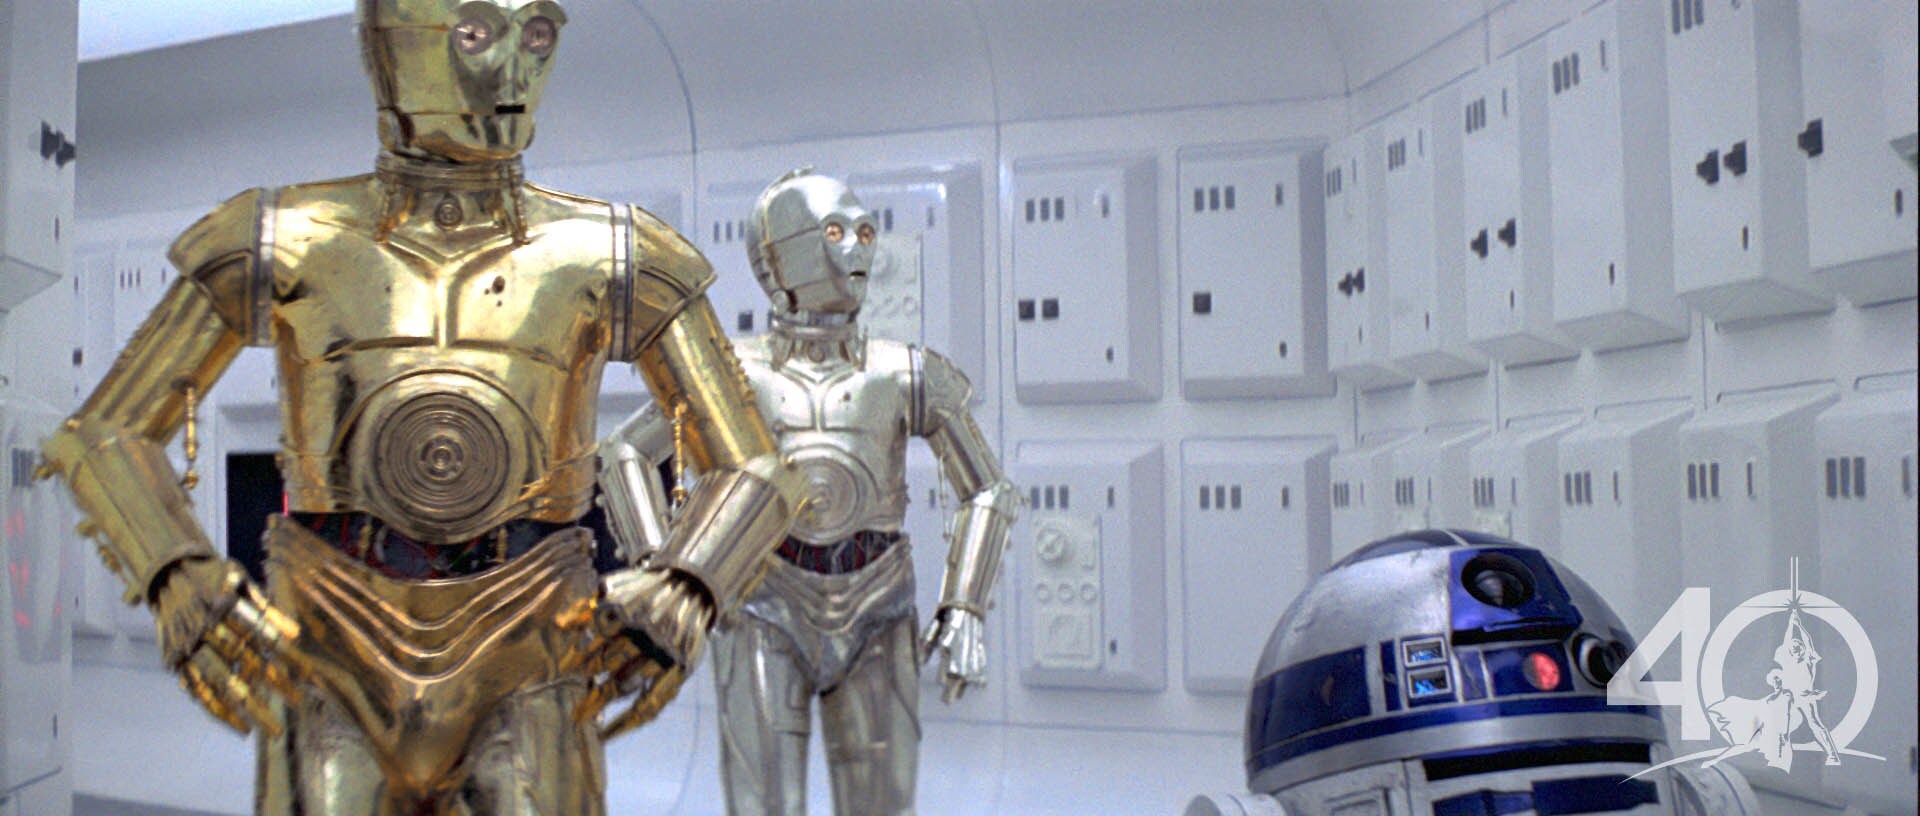
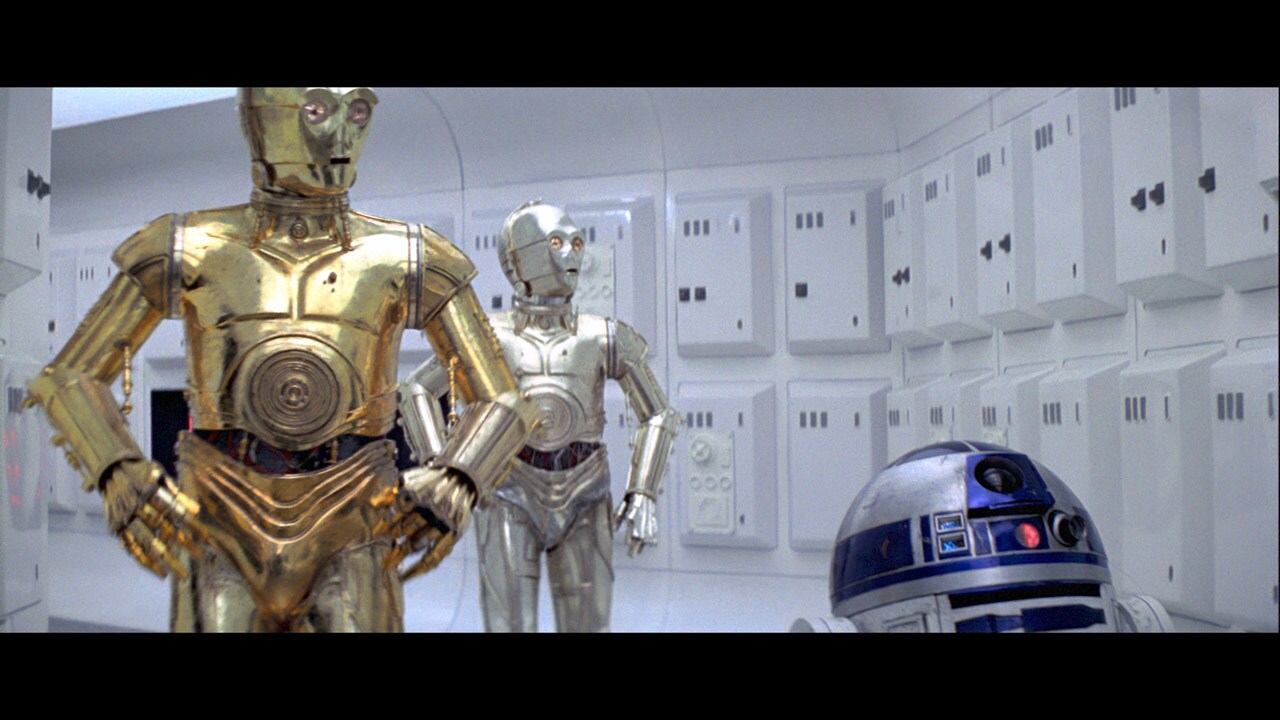
C-3PO and R2-D2 scramble for cover from the impending Imperial boarding party.
-
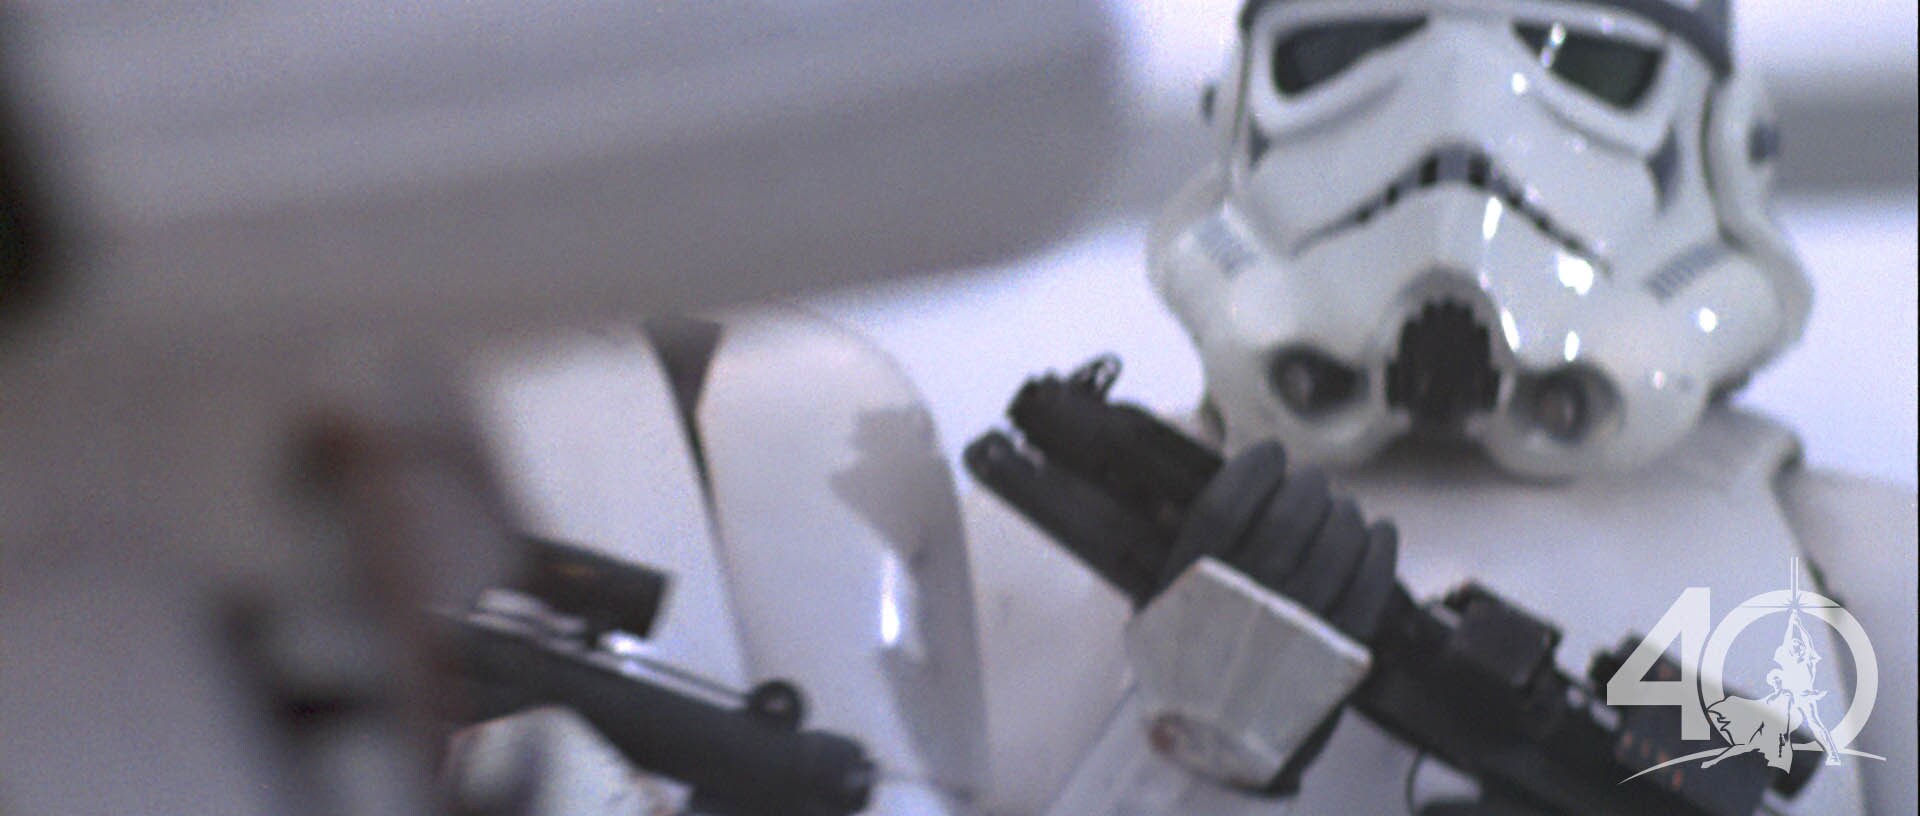
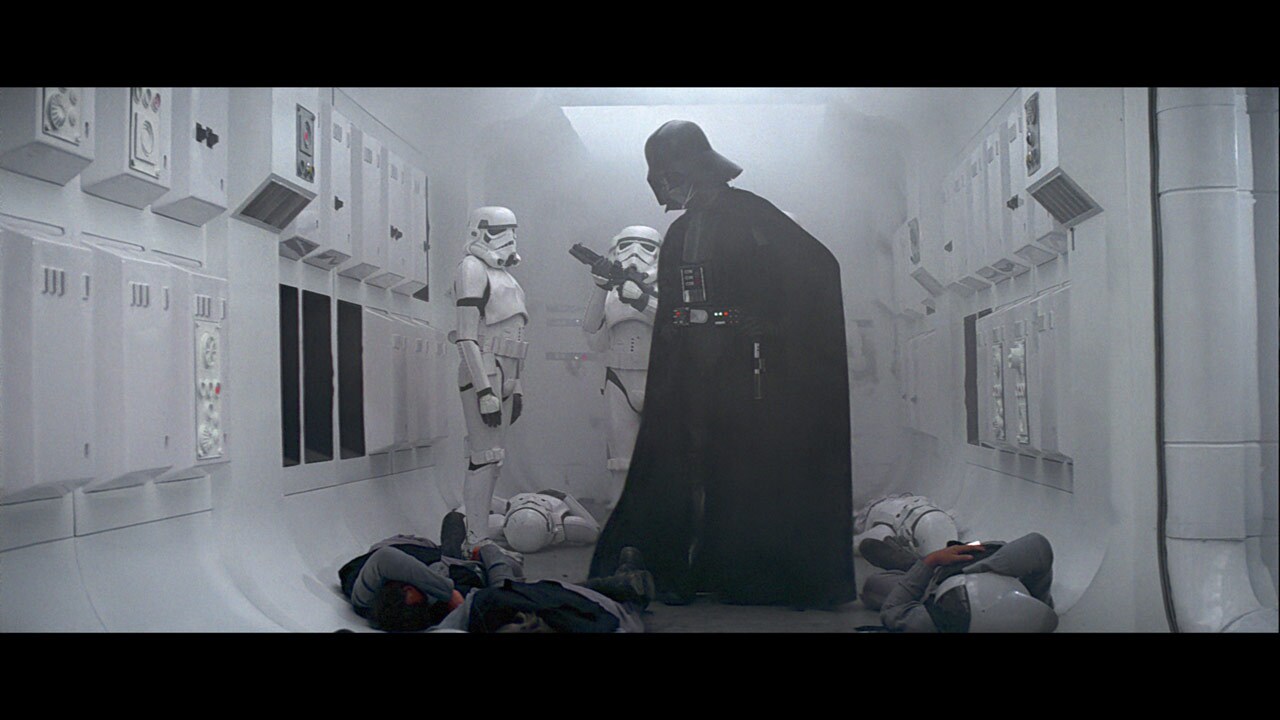
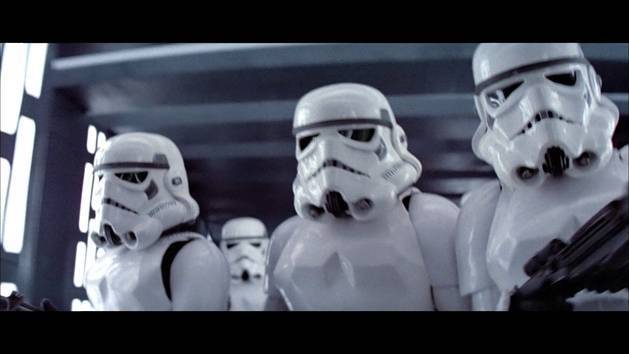
After a fierce gun battle between stormtroopers and Rebel troops, Darth Vader boards the captured vessel.
-
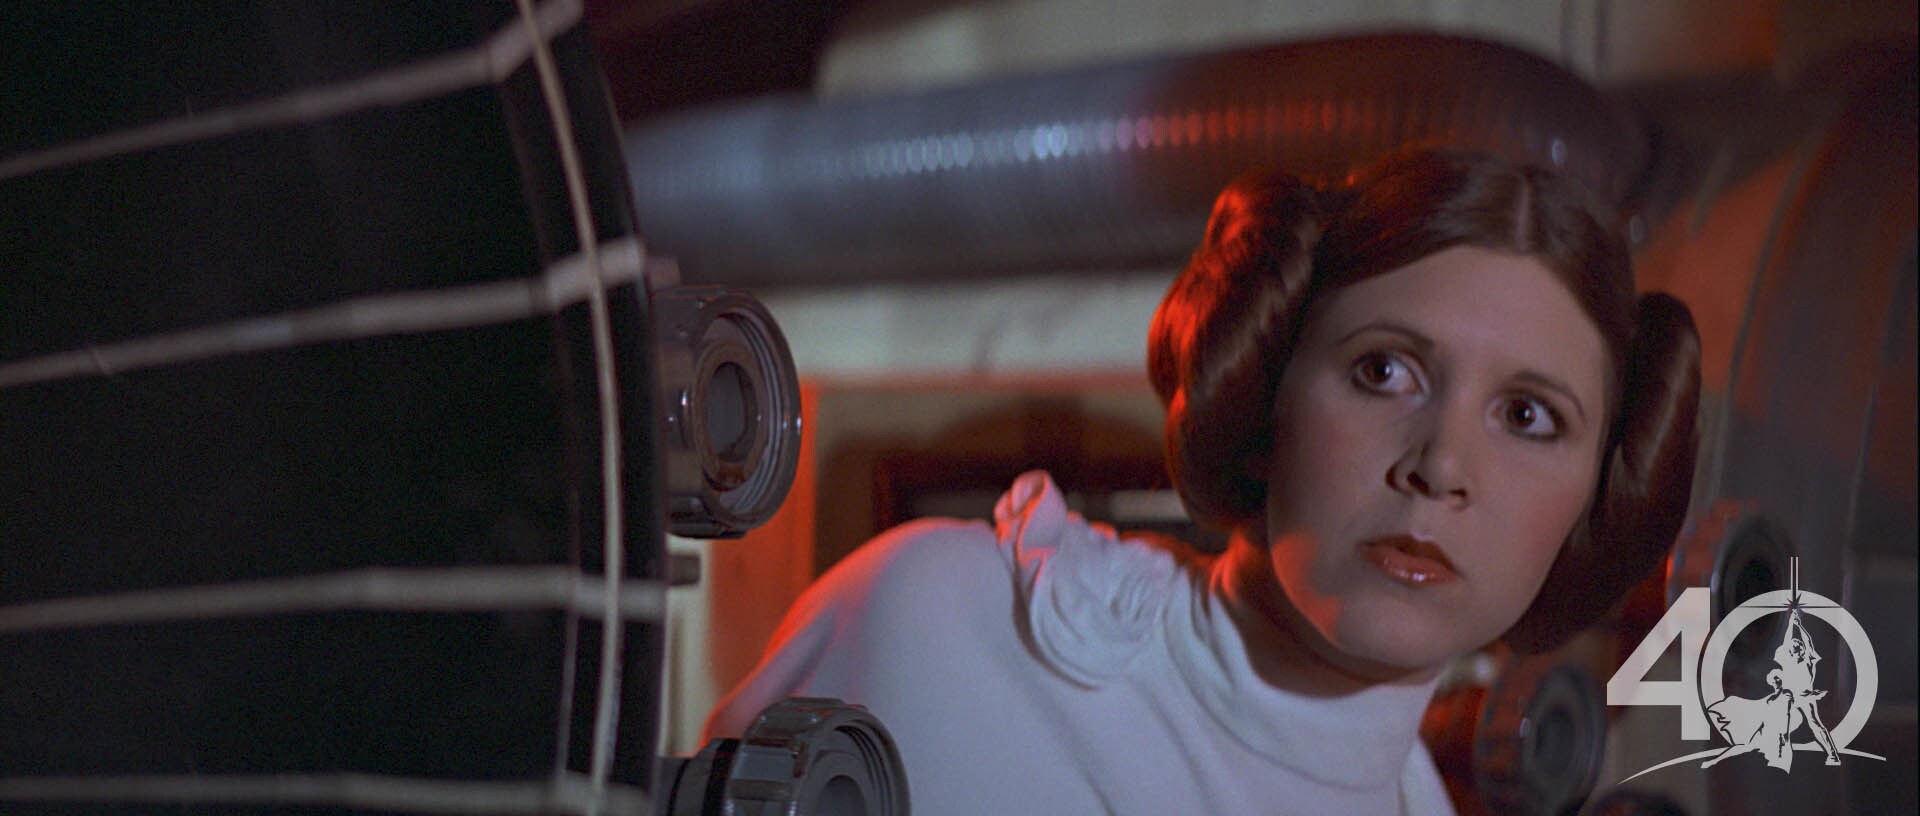
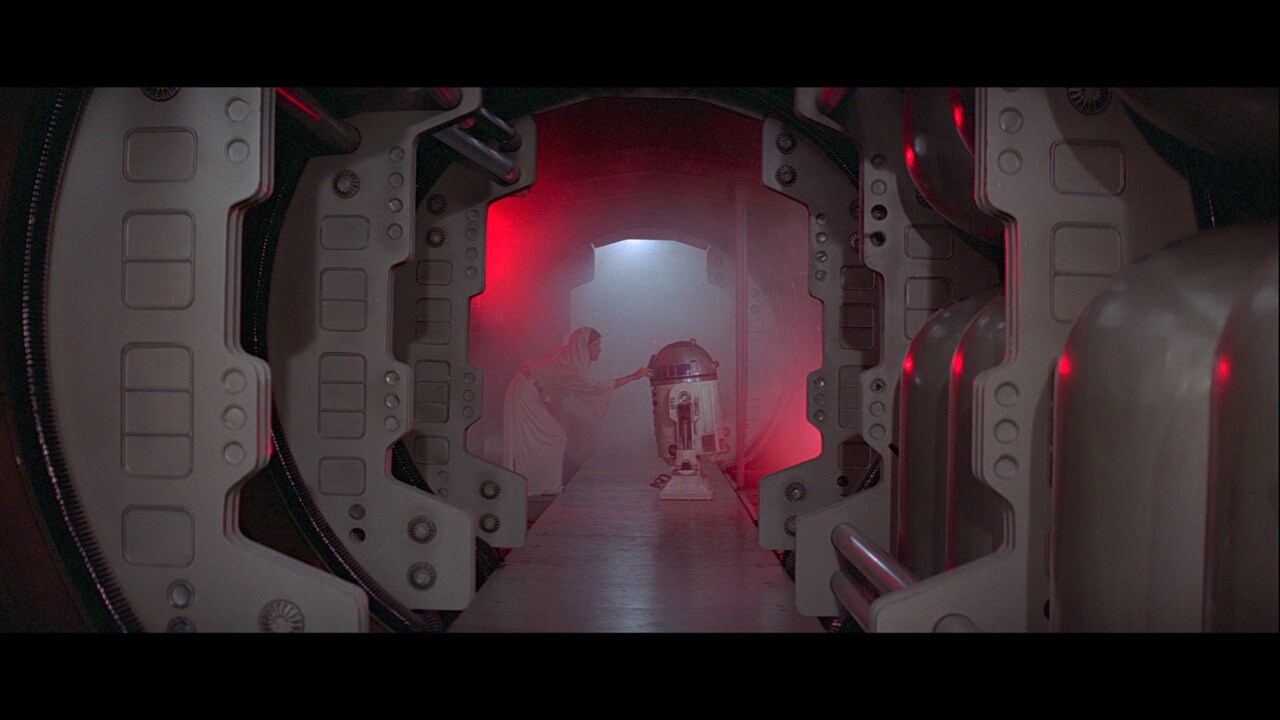
Princess Leia feeds the secret plans for the Death Star -- a planet-killing space station -- into R2-D2's memory banks.
-
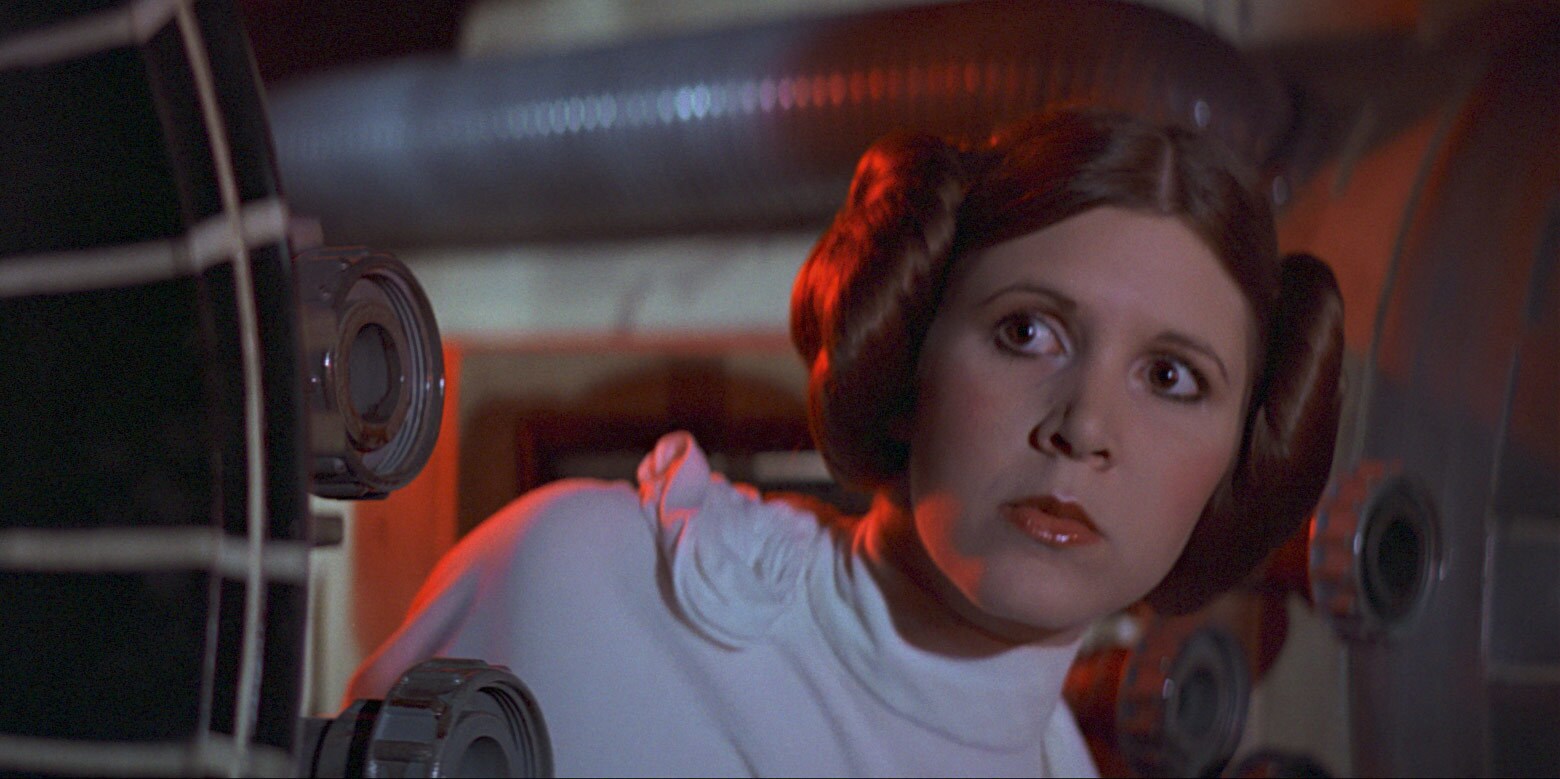
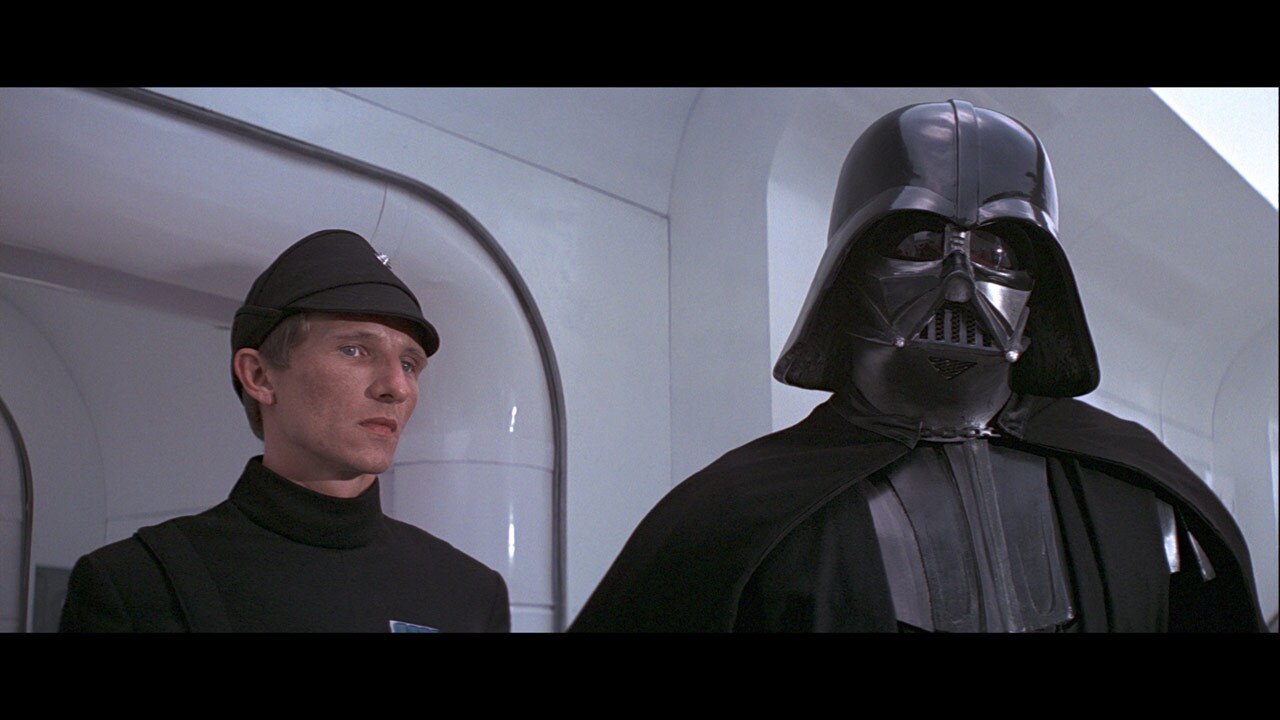
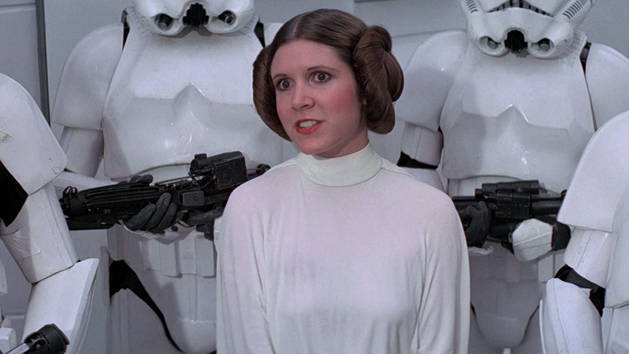
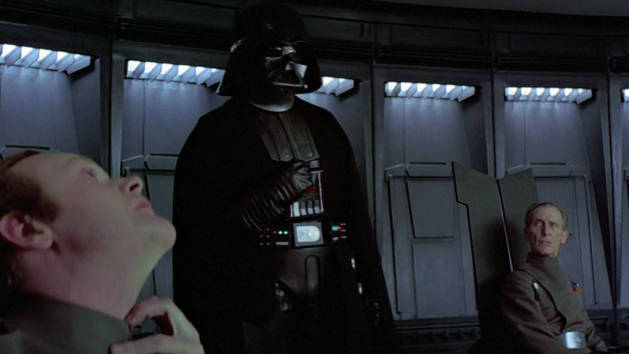
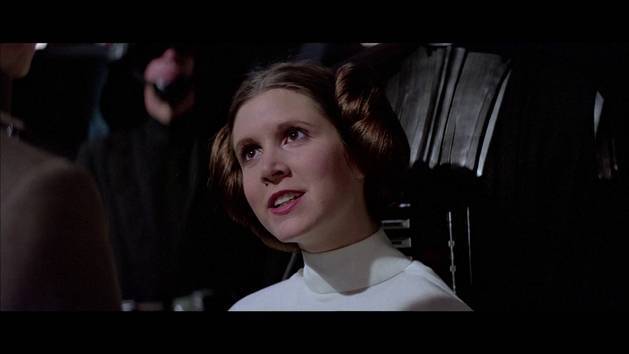
Captured by stormtroopers, Princess Leia is pressed by Darth Vader for the location of the stolen Death Star plans.
-
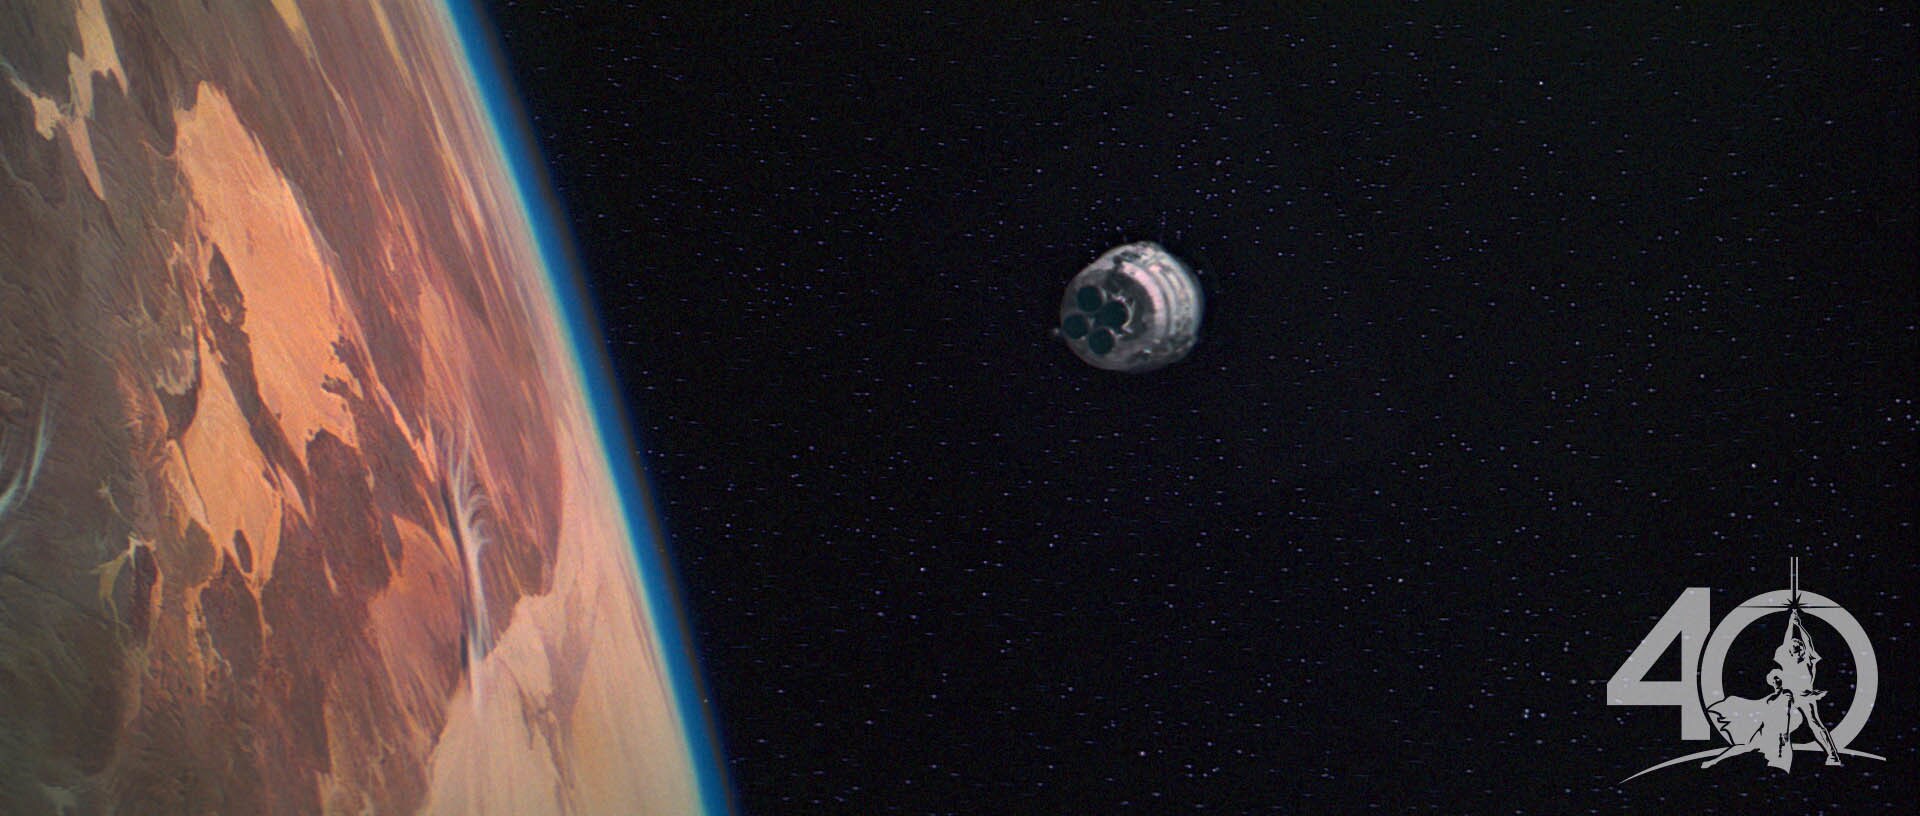
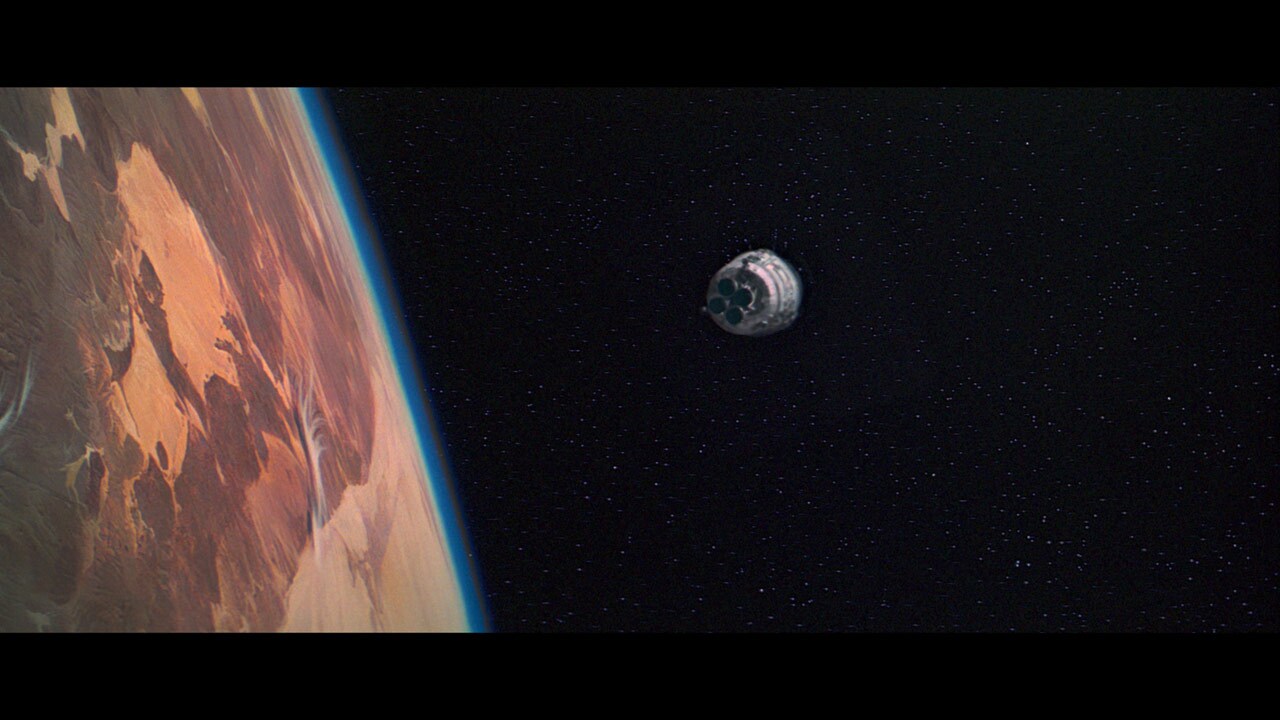
Evading capture, C-3PO and R2-D2 bound toward Tatooine in an escape pod.
-
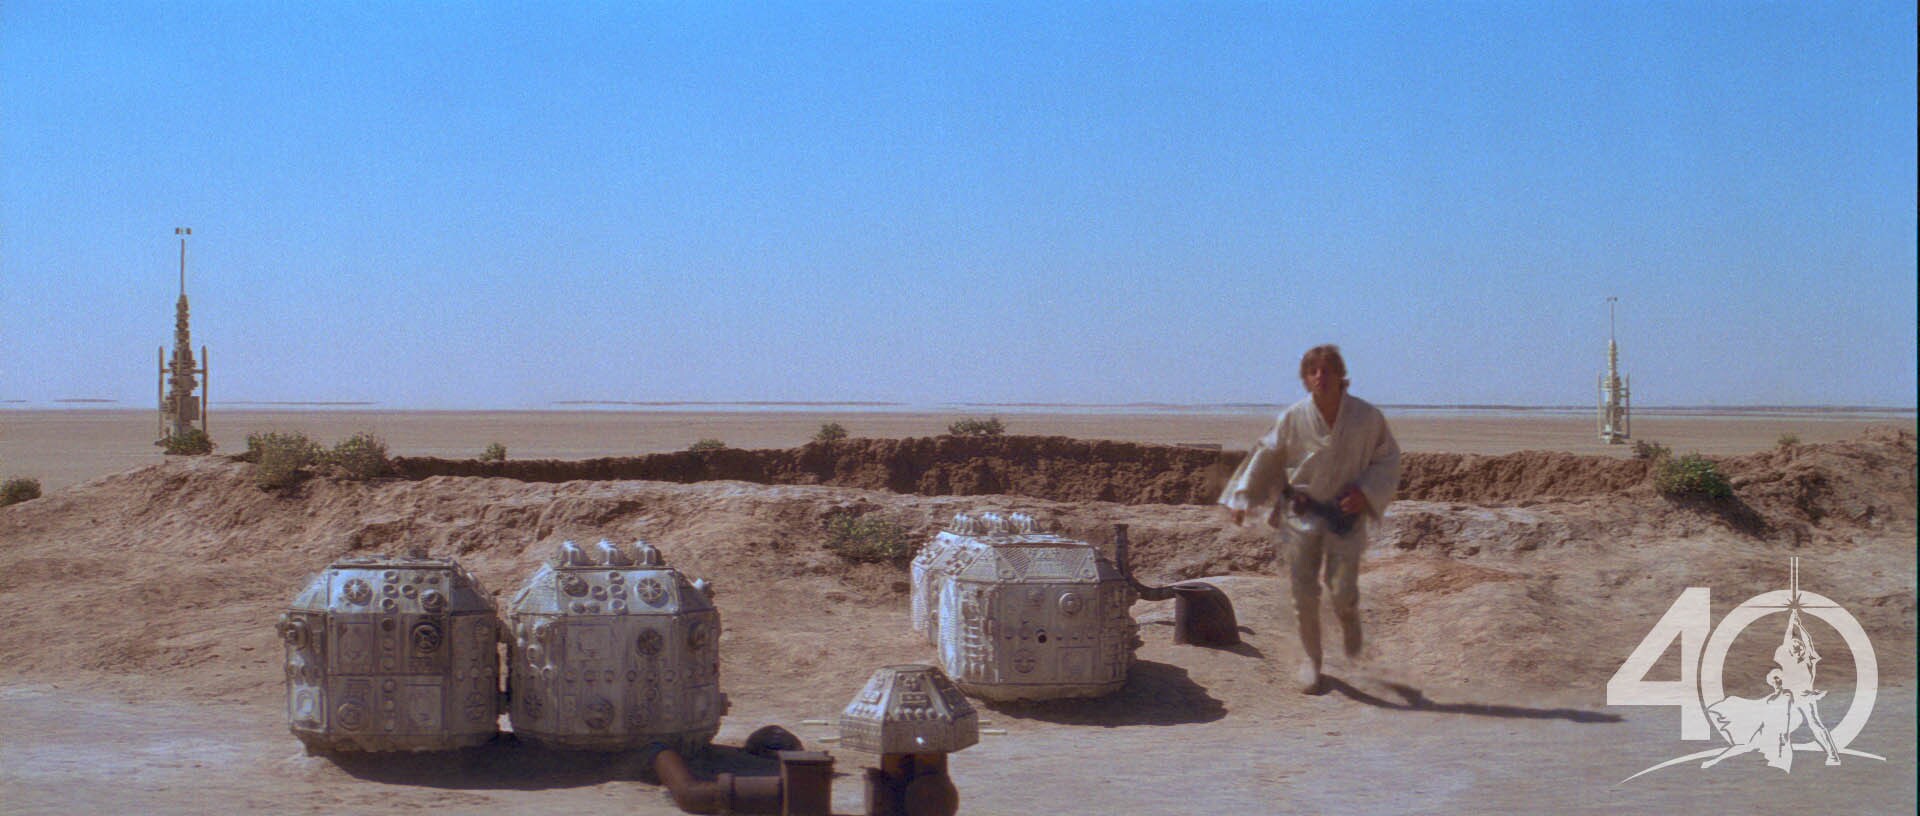
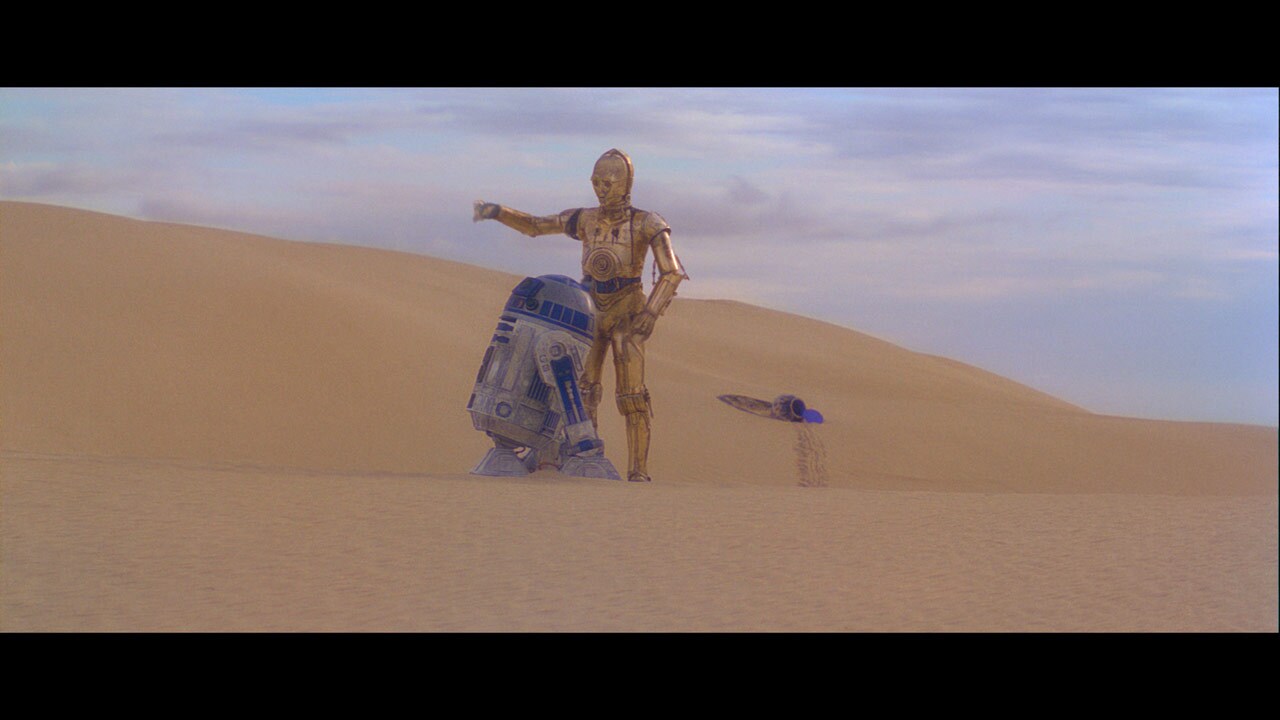
Parting ways, C-3PO wanders the endless dunes of Tatooine in search of a transport while R2-D2 heads toward some nearby hills.
-
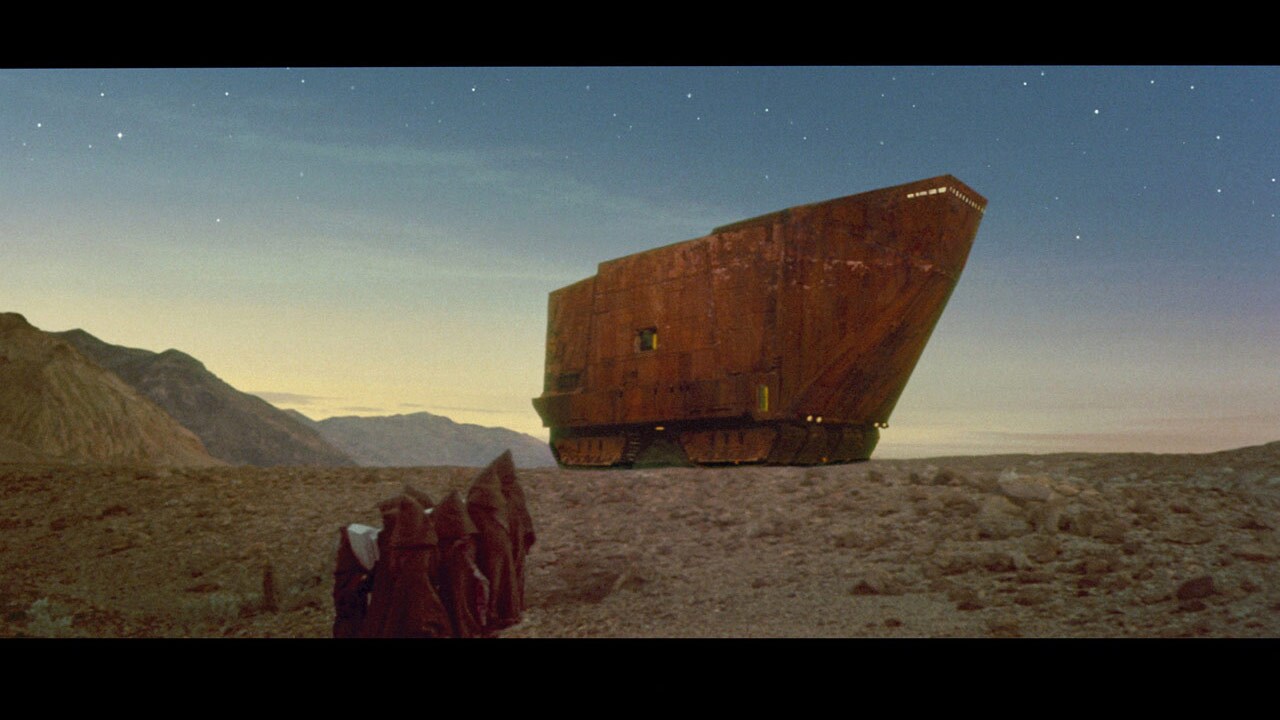
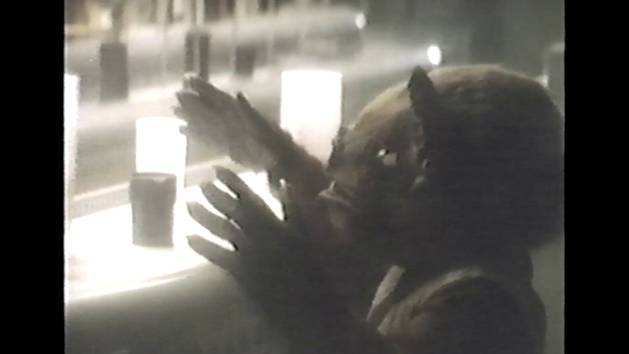
R2-D2 is captured by Jawas, scavengers who scour the desert for wayward droids and other scraps of technology they can sell.
-
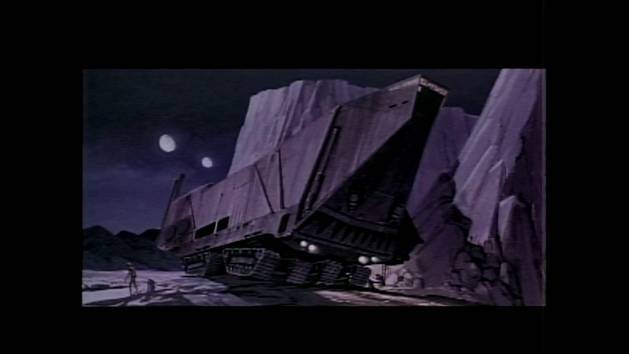
R2-D2 is carried up to the Jawa sandcrawler, where he will be rejoined with C-3PO, who was also captured by the desert scavengers.
-
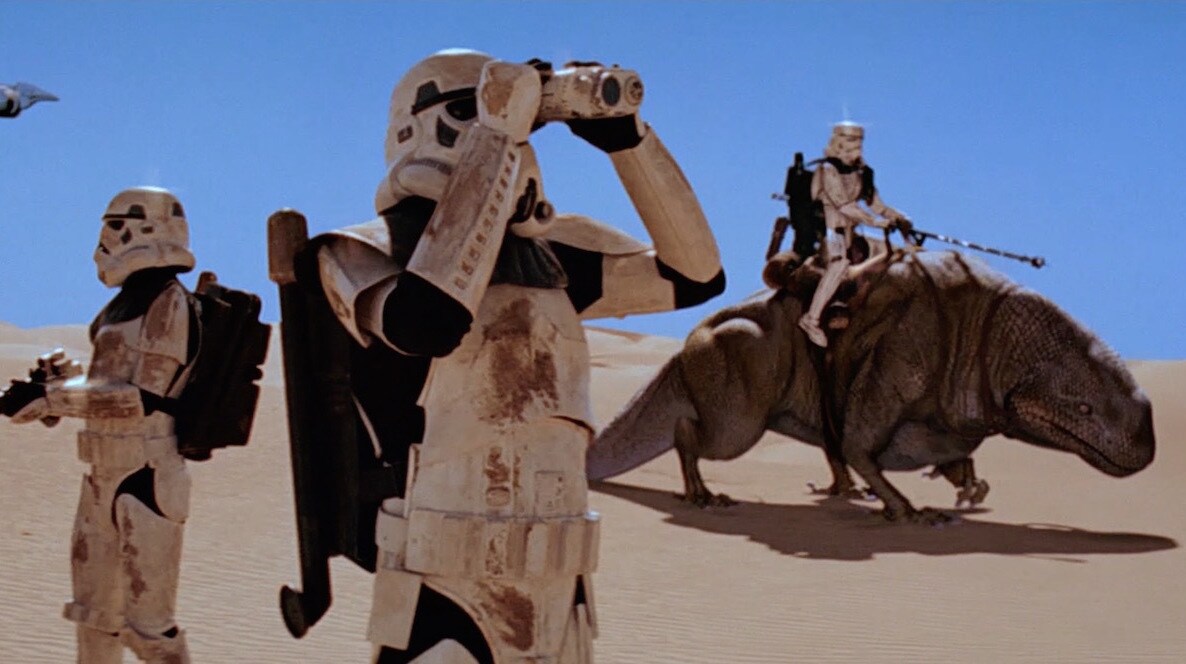
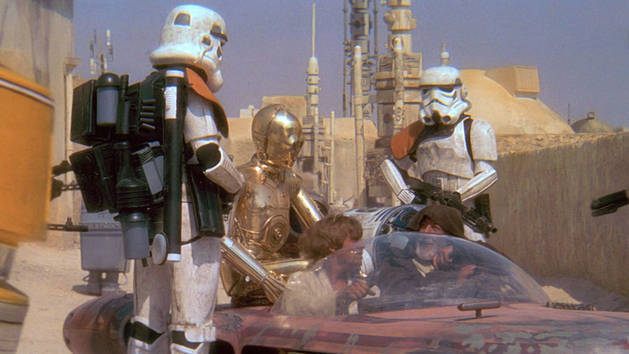
Locating the empty escape pod the next day, stormtroopers on Tatooine search for the missing droids, R2-D2 and C-3PO.
-
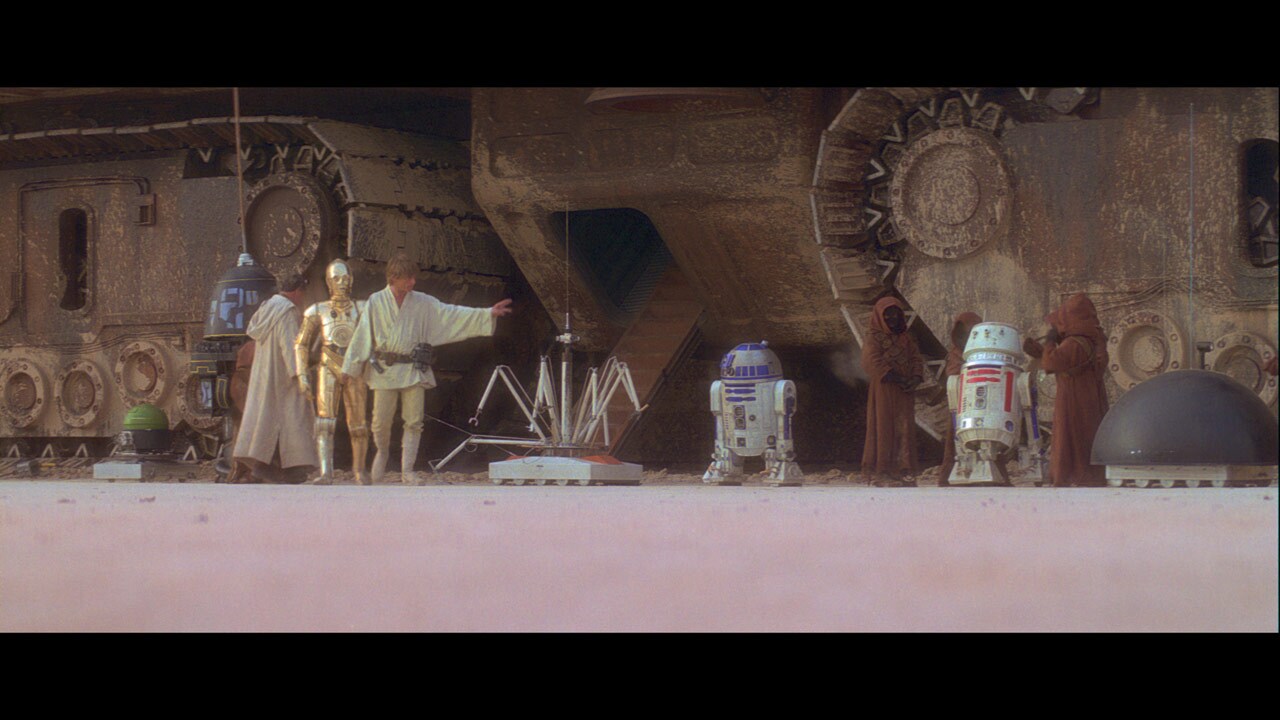
C-3PO, R2-D2 and other droids are presented for sale by the Jawas and examined by Luke Skywalker.
-
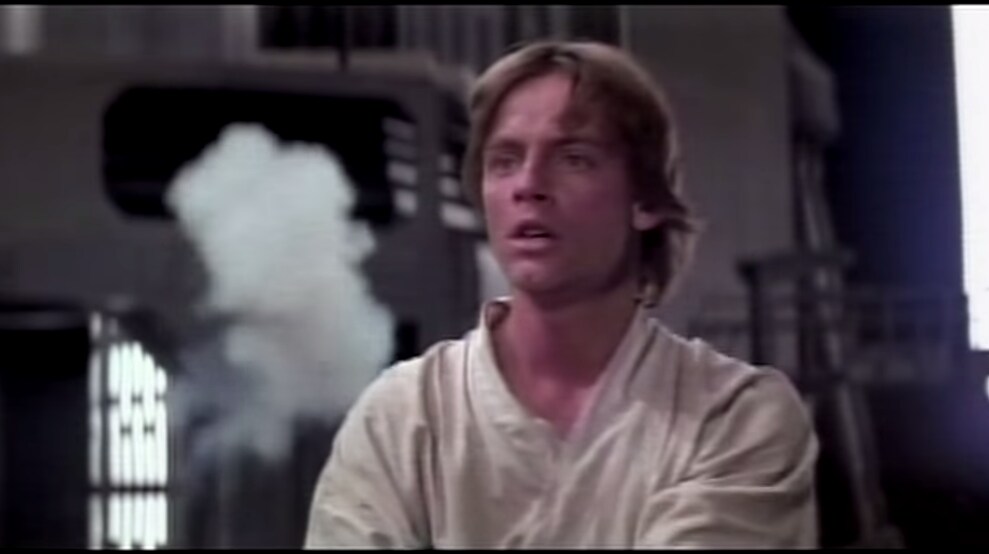
Luke yearns for adventure beyond his life as a Tatooine moisture farmer.
-
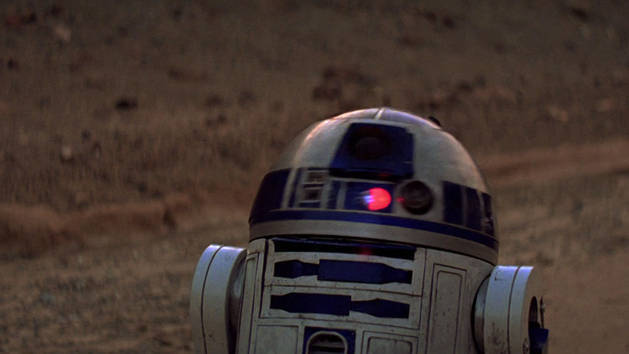
Seeking out Obi-Wan Kenobi to deliver the stolen plans, R2-D2 ventures out on his own across Tatooine's Dune Sea. The following morning, Luke and C-3PO race across the desert in a landspeeder looking for the runaway astromech.
-
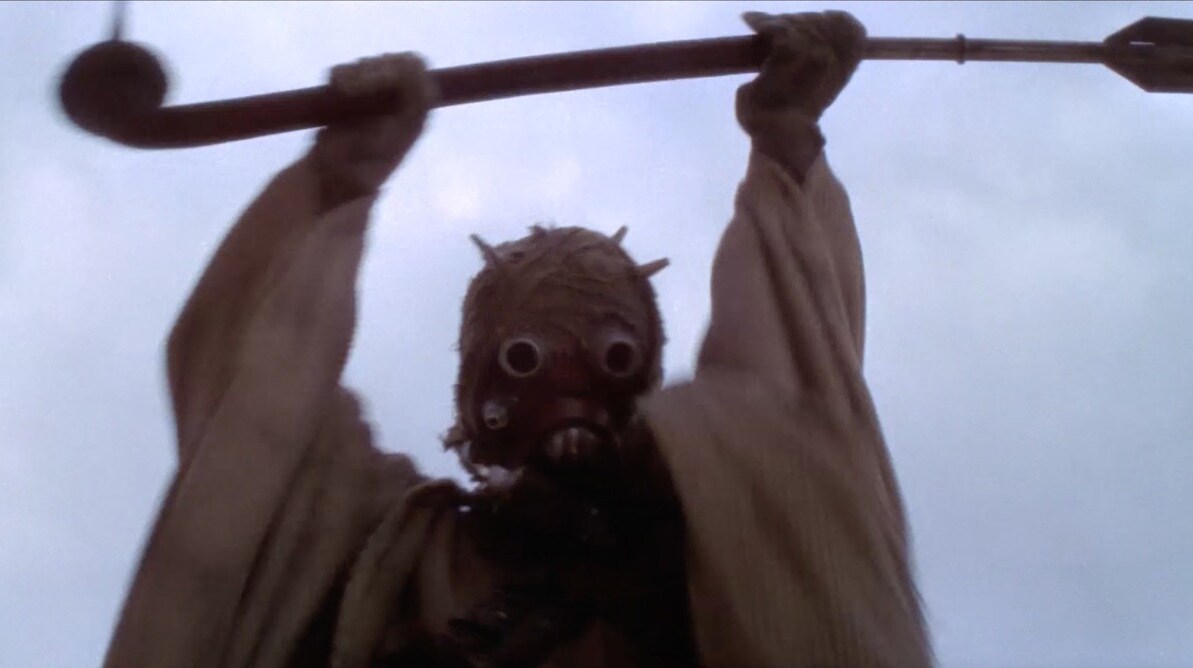
During his search for Artoo, Luke is attacked and knocked unconscious by a Tusken Raider.
-
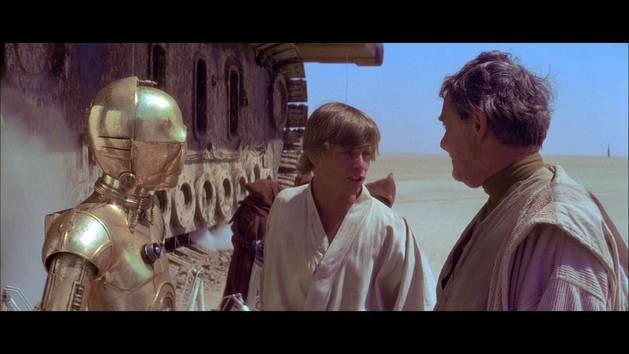
Obi-Wan Kenobi discovers Luke and scares off the Tusken Raiders. Because they'll soon return in larger numbers, Obi-Wan, Luke and the droids head for the safety of Obi-Wan's hut.
-
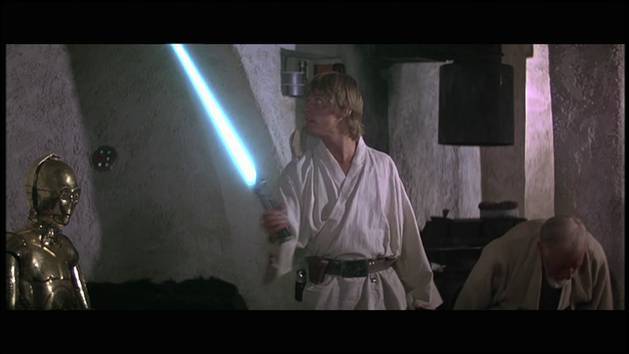
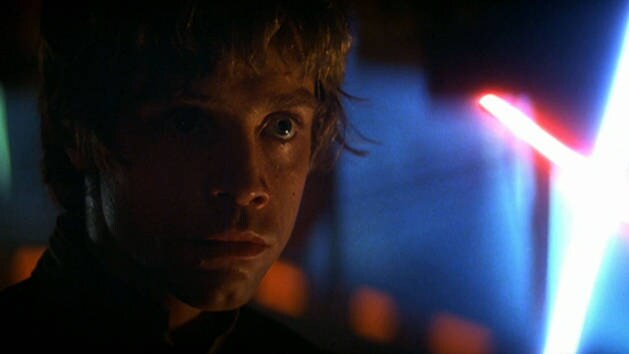
Obi-Wan gives Luke a lightsaber, claiming it was once owned by Luke's father. Obi-Wan served with Luke's father in the Clone Wars.
-
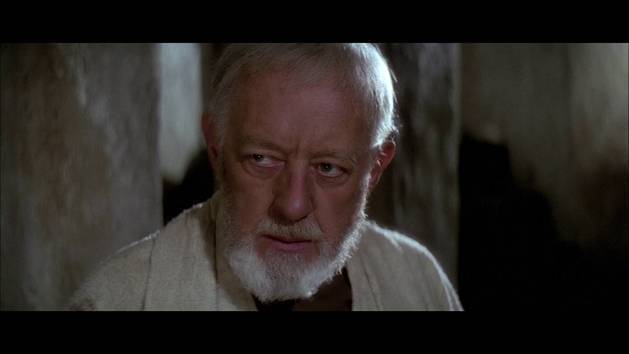
R2-D2 plays Leia's message to Obi-Wan. She asks that he deliver the plans stored in Artoo's memory banks to her home planet of Alderaan. Obi-Wan asks Luke to join him, but he refuses.
-
Returning to the homestead, Luke discovers his Uncle Owen and Aunt Beru have been killed by the Imperial troops looking for the droids. Luke chooses to accompany Obi-Wan to Alderaan.
-
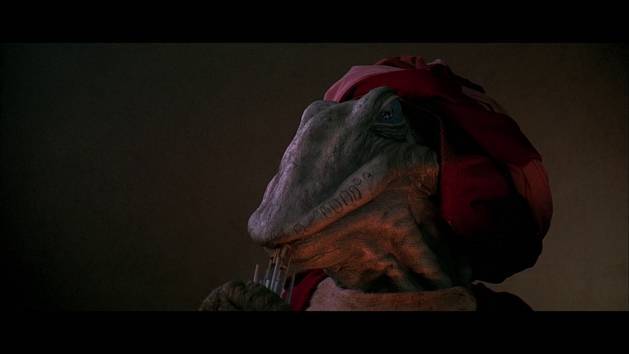
Obi-Wan and Luke enter the Mos Eisley Cantina seeking passage to Alderaan. Luke is confronted by a surly alien barfly who has taken a disliking to the young farm boy.
-
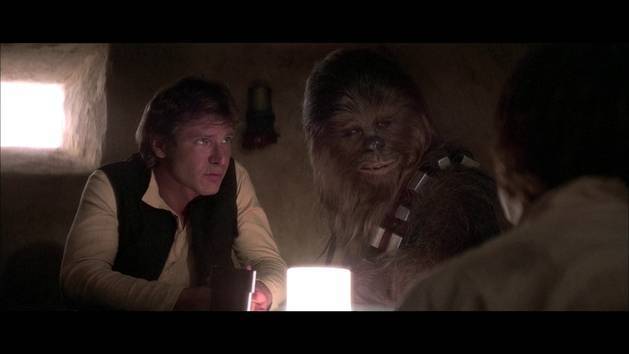
Obi-Wan secures a charter to Alderaan for himself, Luke and the droids aboard Han Solo's Millennium Falcon.
-
Greedo, a bounty hunter, comes after Solo for money owed to his boss, Jabba the Hutt. Greedo won't leave this confrontation alive.
-
Han Solo is met by Jabba the Hutt in the Mos Eisley spaceport. Jabba is looking to collect payment for a shipment of spice that Solo was forced to dump before being boarded by Imperial inspectors.
-
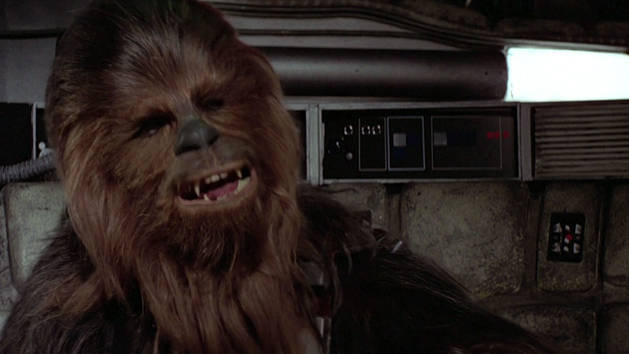
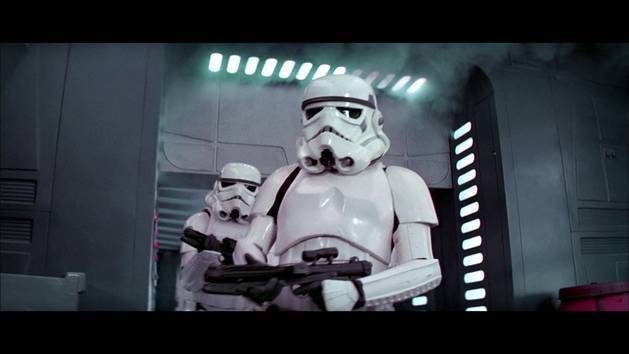
With stormtroopers finally catching up to the droids, the Falcon must blast its way out of the spaceport.
-
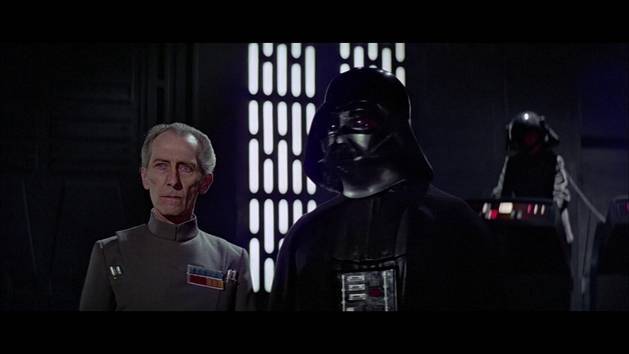
On the Death Star, Princess Leia is coerced by Tarkin to give up the location of the Rebel base in order to save her home planet of Alderaan from the space station's superlaser. Though Leia seems to surrender the location of the Rebel base, it is of no consequence -- Tarkin coldly orders the destruction of her homeworld anyway.
-
Discovering that Alderaan has been blown to bits, the passengers aboard the Falcon are soon drawn toward the Death Star by a tractor beam.
-
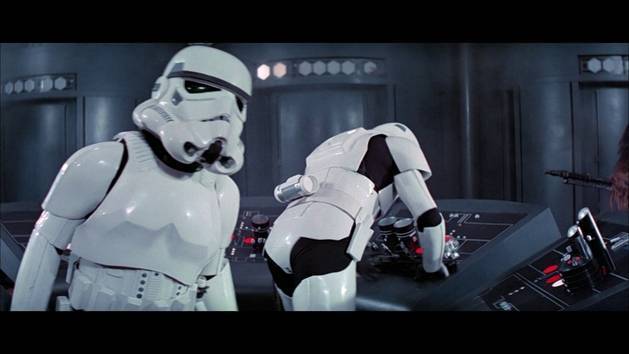
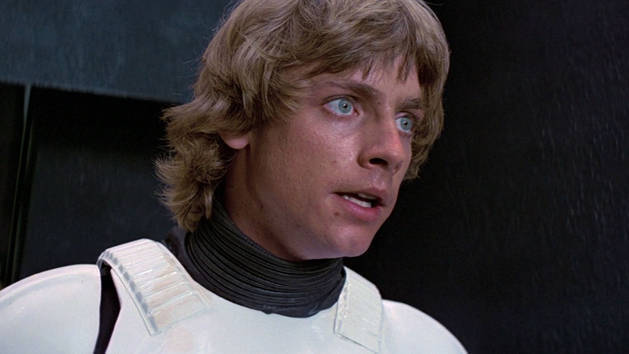
With the Falcon captured, Han, Luke and the others steal away into a control room on the Death Star and hatch a plan to rescue the princess.
-
Springing Princess Leia from her prison cell, she, Han, Luke and Chewbacca soon find themselves trapped in a garbage masher with walls threatening to crush them.
-
Saved from the crushing walls of the masher by C-3PO's quick thinking, Han, Luke, Leia and Chewbacca plan to make a break for the Millennium Falcon.
-
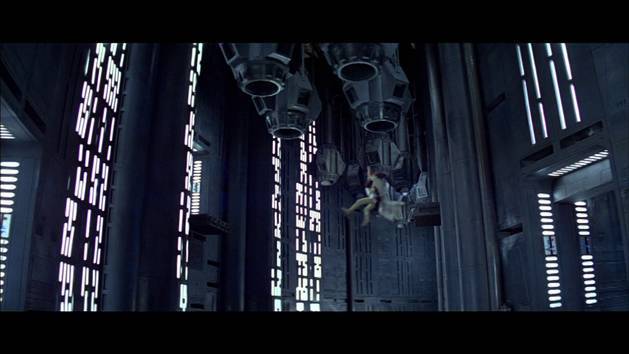
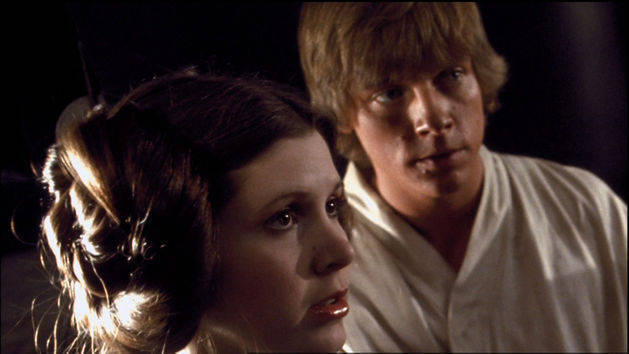
Luke and Leia swing across a chasm to escape a barrage of blaster fire from pursuing stormtroopers.
-
Obi-Wan de-activates the tractor beam which will allow the Millennium Falcon to escape the Death Star.
-
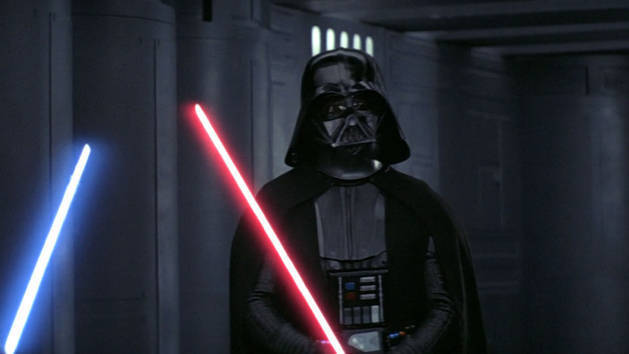
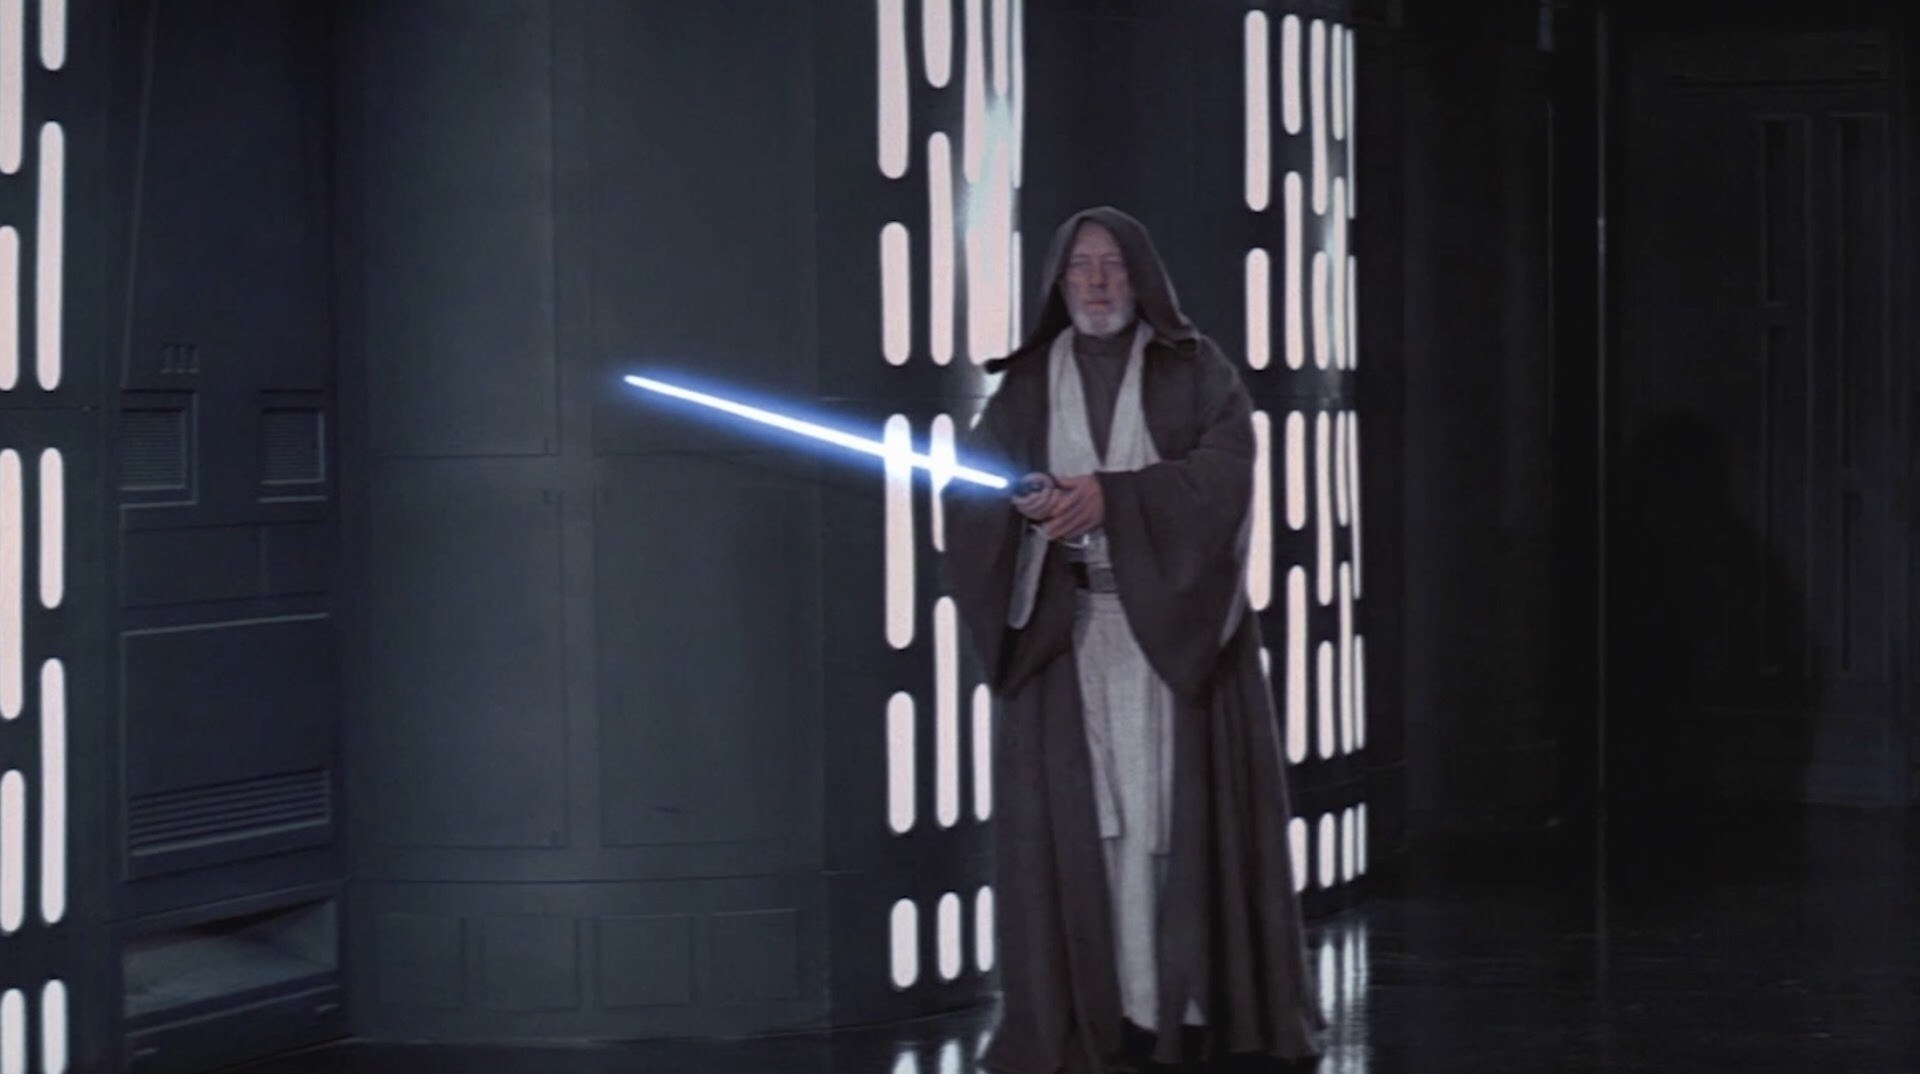
Darth Vader duels Obi-Wan Kenobi, the Sith Lord's old master. Obi-Wan sacrifices himself to allow Luke and the others to escape aboard the Millennium Falcon.
-
Solo defends the Falcon from a squad of Imperial fighters sent to pursue the fleeing Rebels.
-
The Falcon arrives at the Rebel base on the fourth moon of Yavin. There, pilots are briefed on their impending attack on the Death Star -- an attack plan formulated by studying the data contained in R2-D2.
-
Luke asks Han to join him in his assault on the Death Star. Solo refuses, sneering that the attack will likely turn into a suicide mission.
-
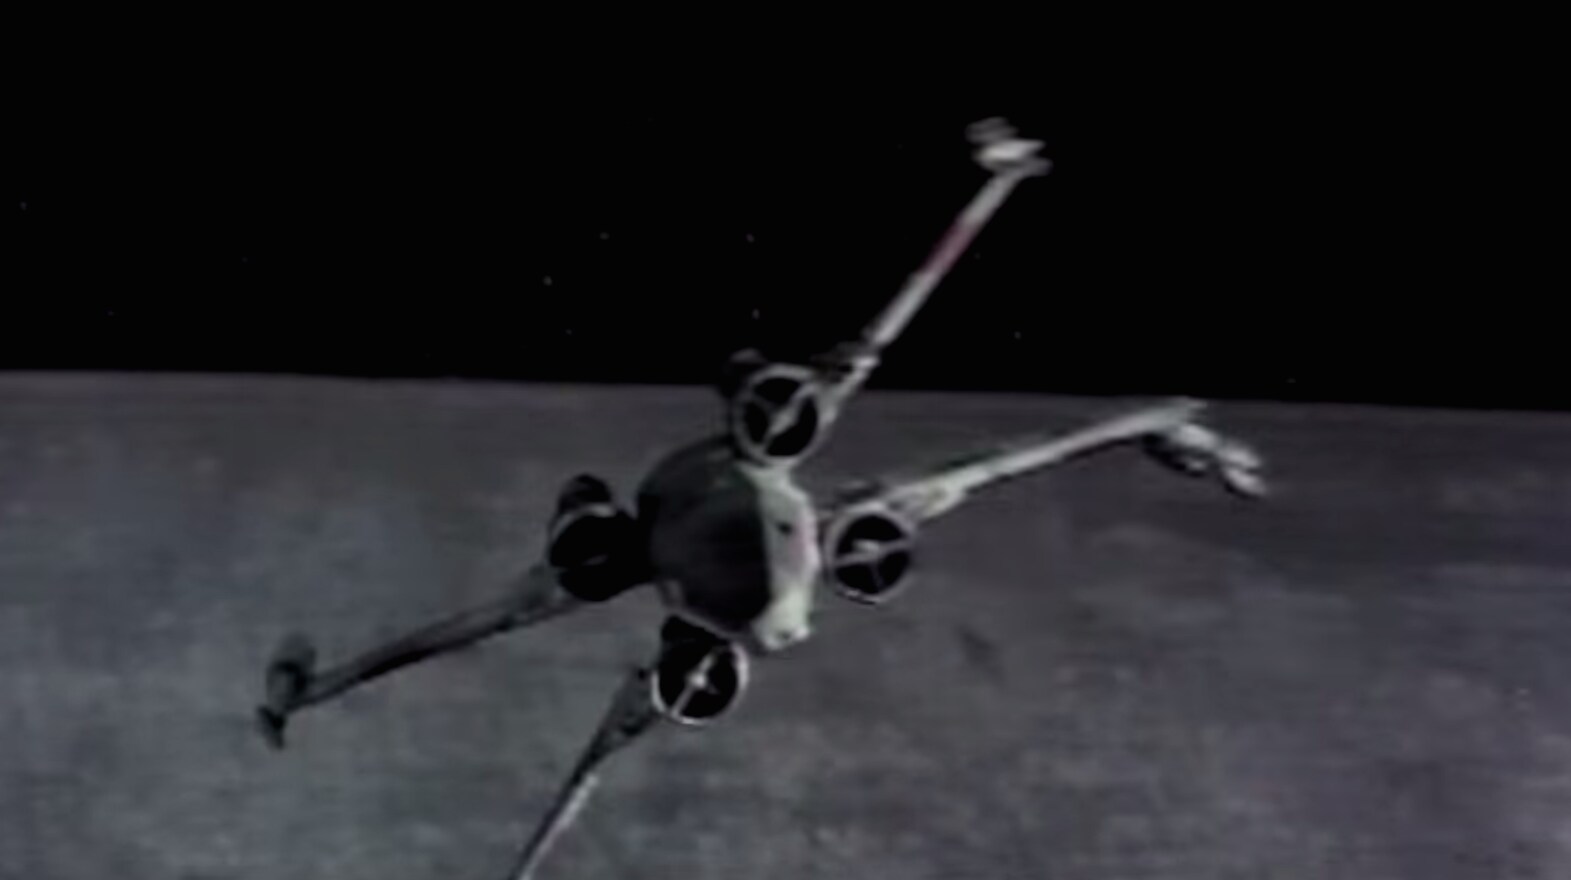
Rebel X-wing fighters leave the Rebel base on Yavin 4 and head for the Death Star.
-
The Rebel pilots must maneuver their ships down the trench of the Death Star to target a tiny exhaust port. Successfully striking it will trigger an explosive chain reaction that could destroy the station.
-
Princess Leia and the other Rebel officers monitor the attack on the Death Star from the control room on Yavin 4.
-
Han Solo swoops in at a pivotal moment in the battle, disabling Darth Vader's TIE fighter so that Luke can make a final run on the Death Star.
-
Luke fires proton torpedoes which enter the Death Star's thermal exhaust port, the fatal flaw in the space station's design. The remaining Rebel ships fly as fast as they can away from the doomed battle station as it explodes into countless fiery shards.
-
Back on Yavin 4, the Rebels hold a ceremony to award the heroes who bravely fought to destroy the Death Star. Luke and Han receive their medals for bravery from Princess Leia.
Story Gallery | A New Hope
© 2015 Disney
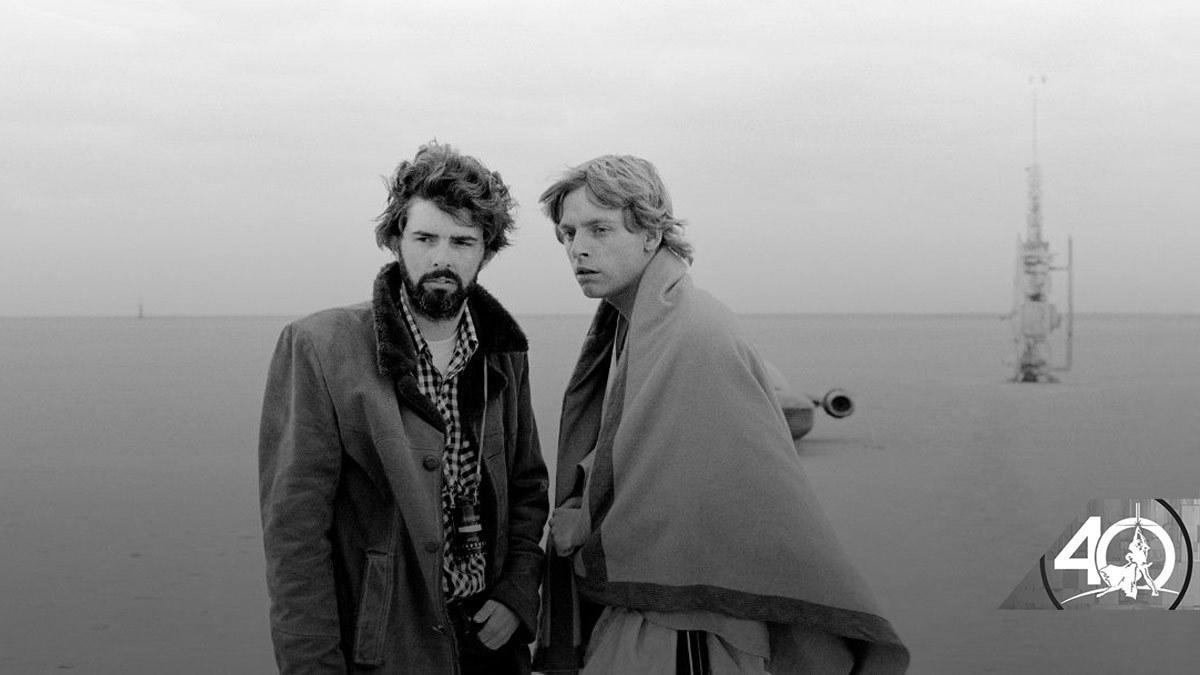
Behind the Scenes Gallery | A New Hope
- 16 Images


-
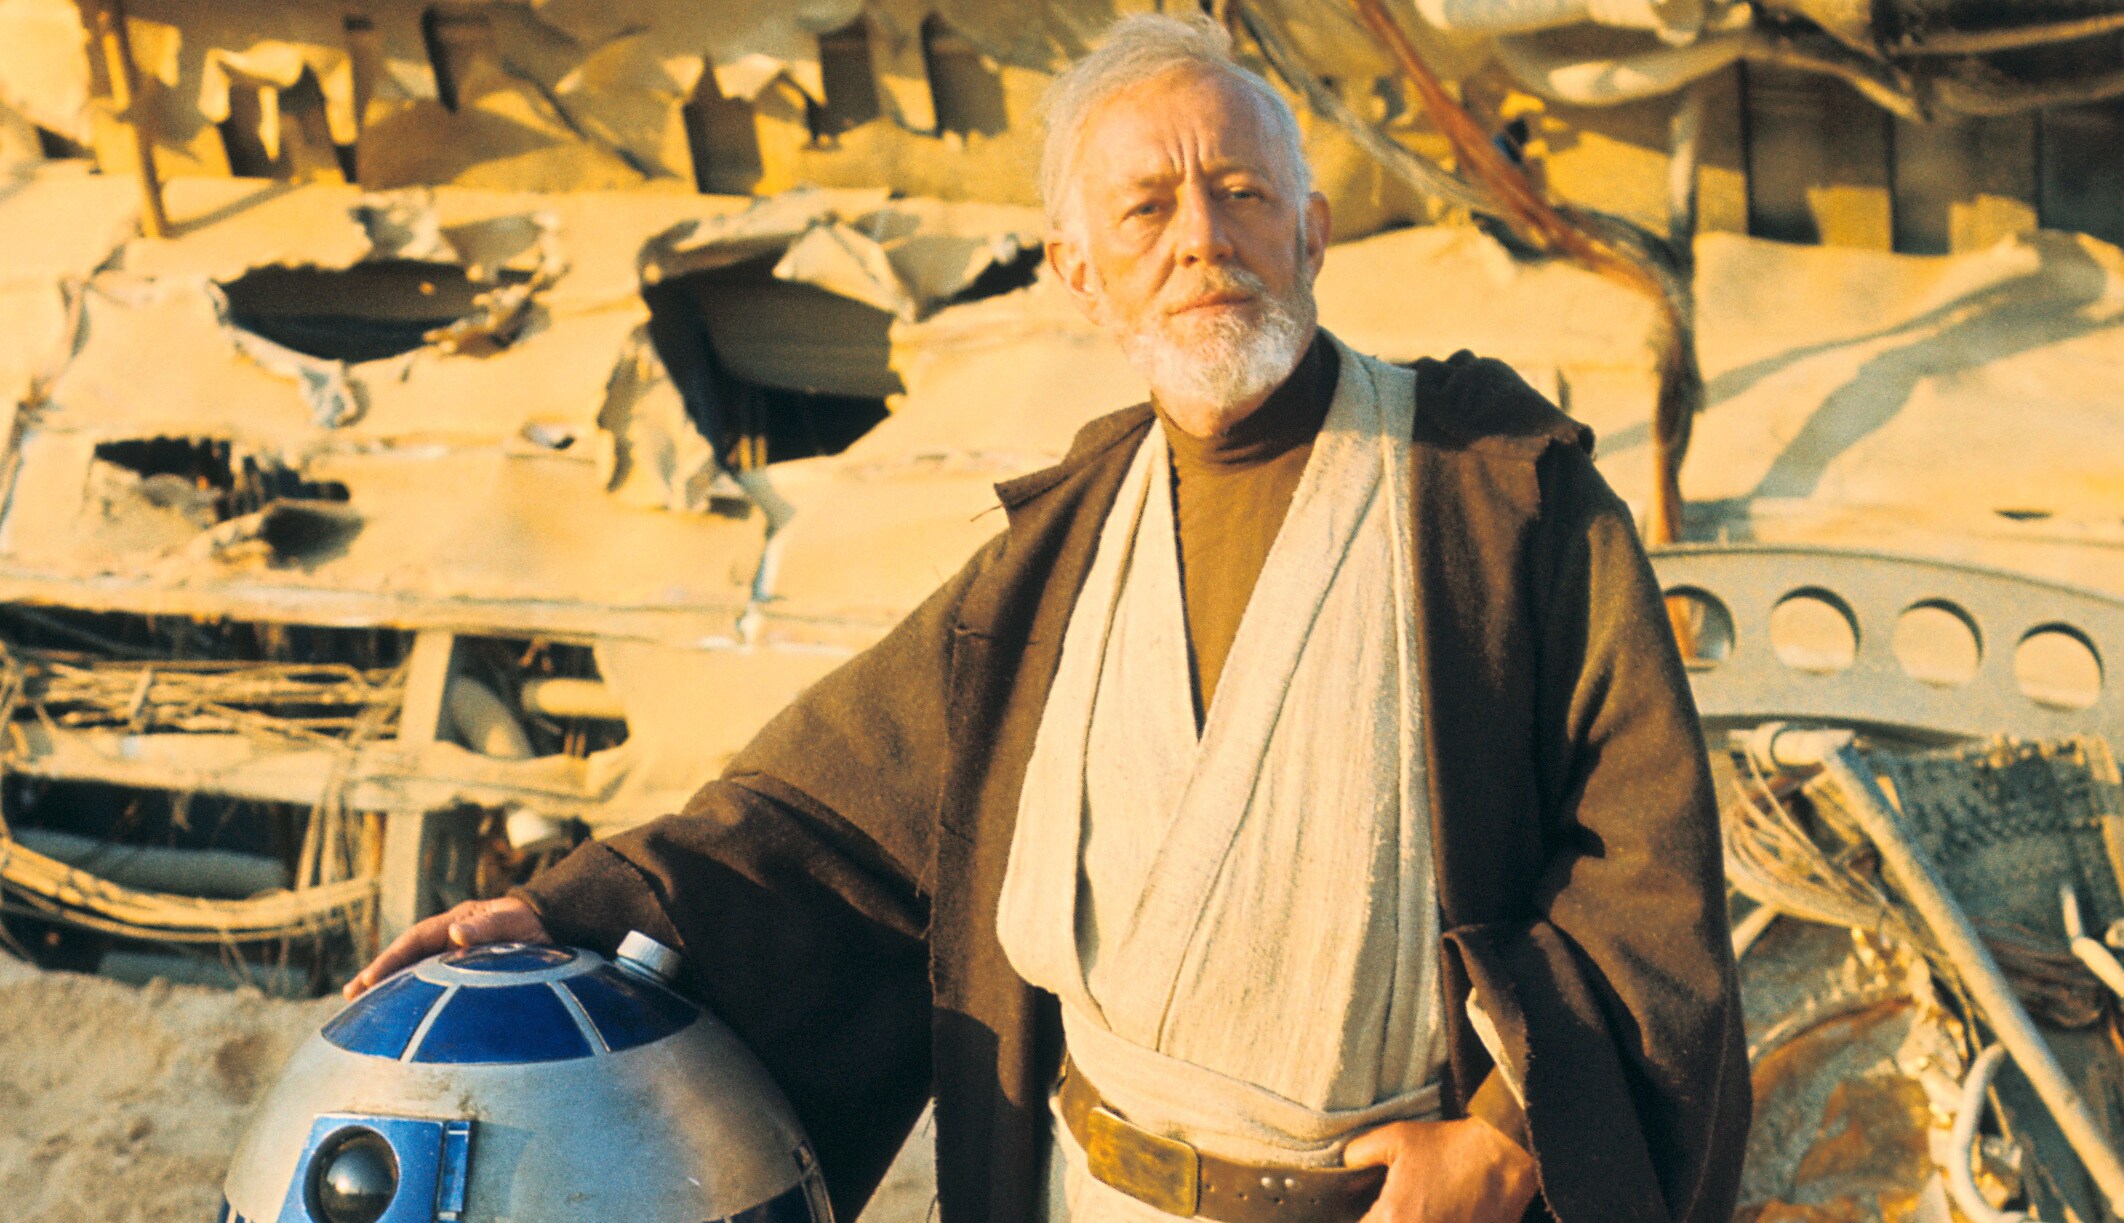
R2-D2 and Alec Guinness on-set in Tunisia.
-
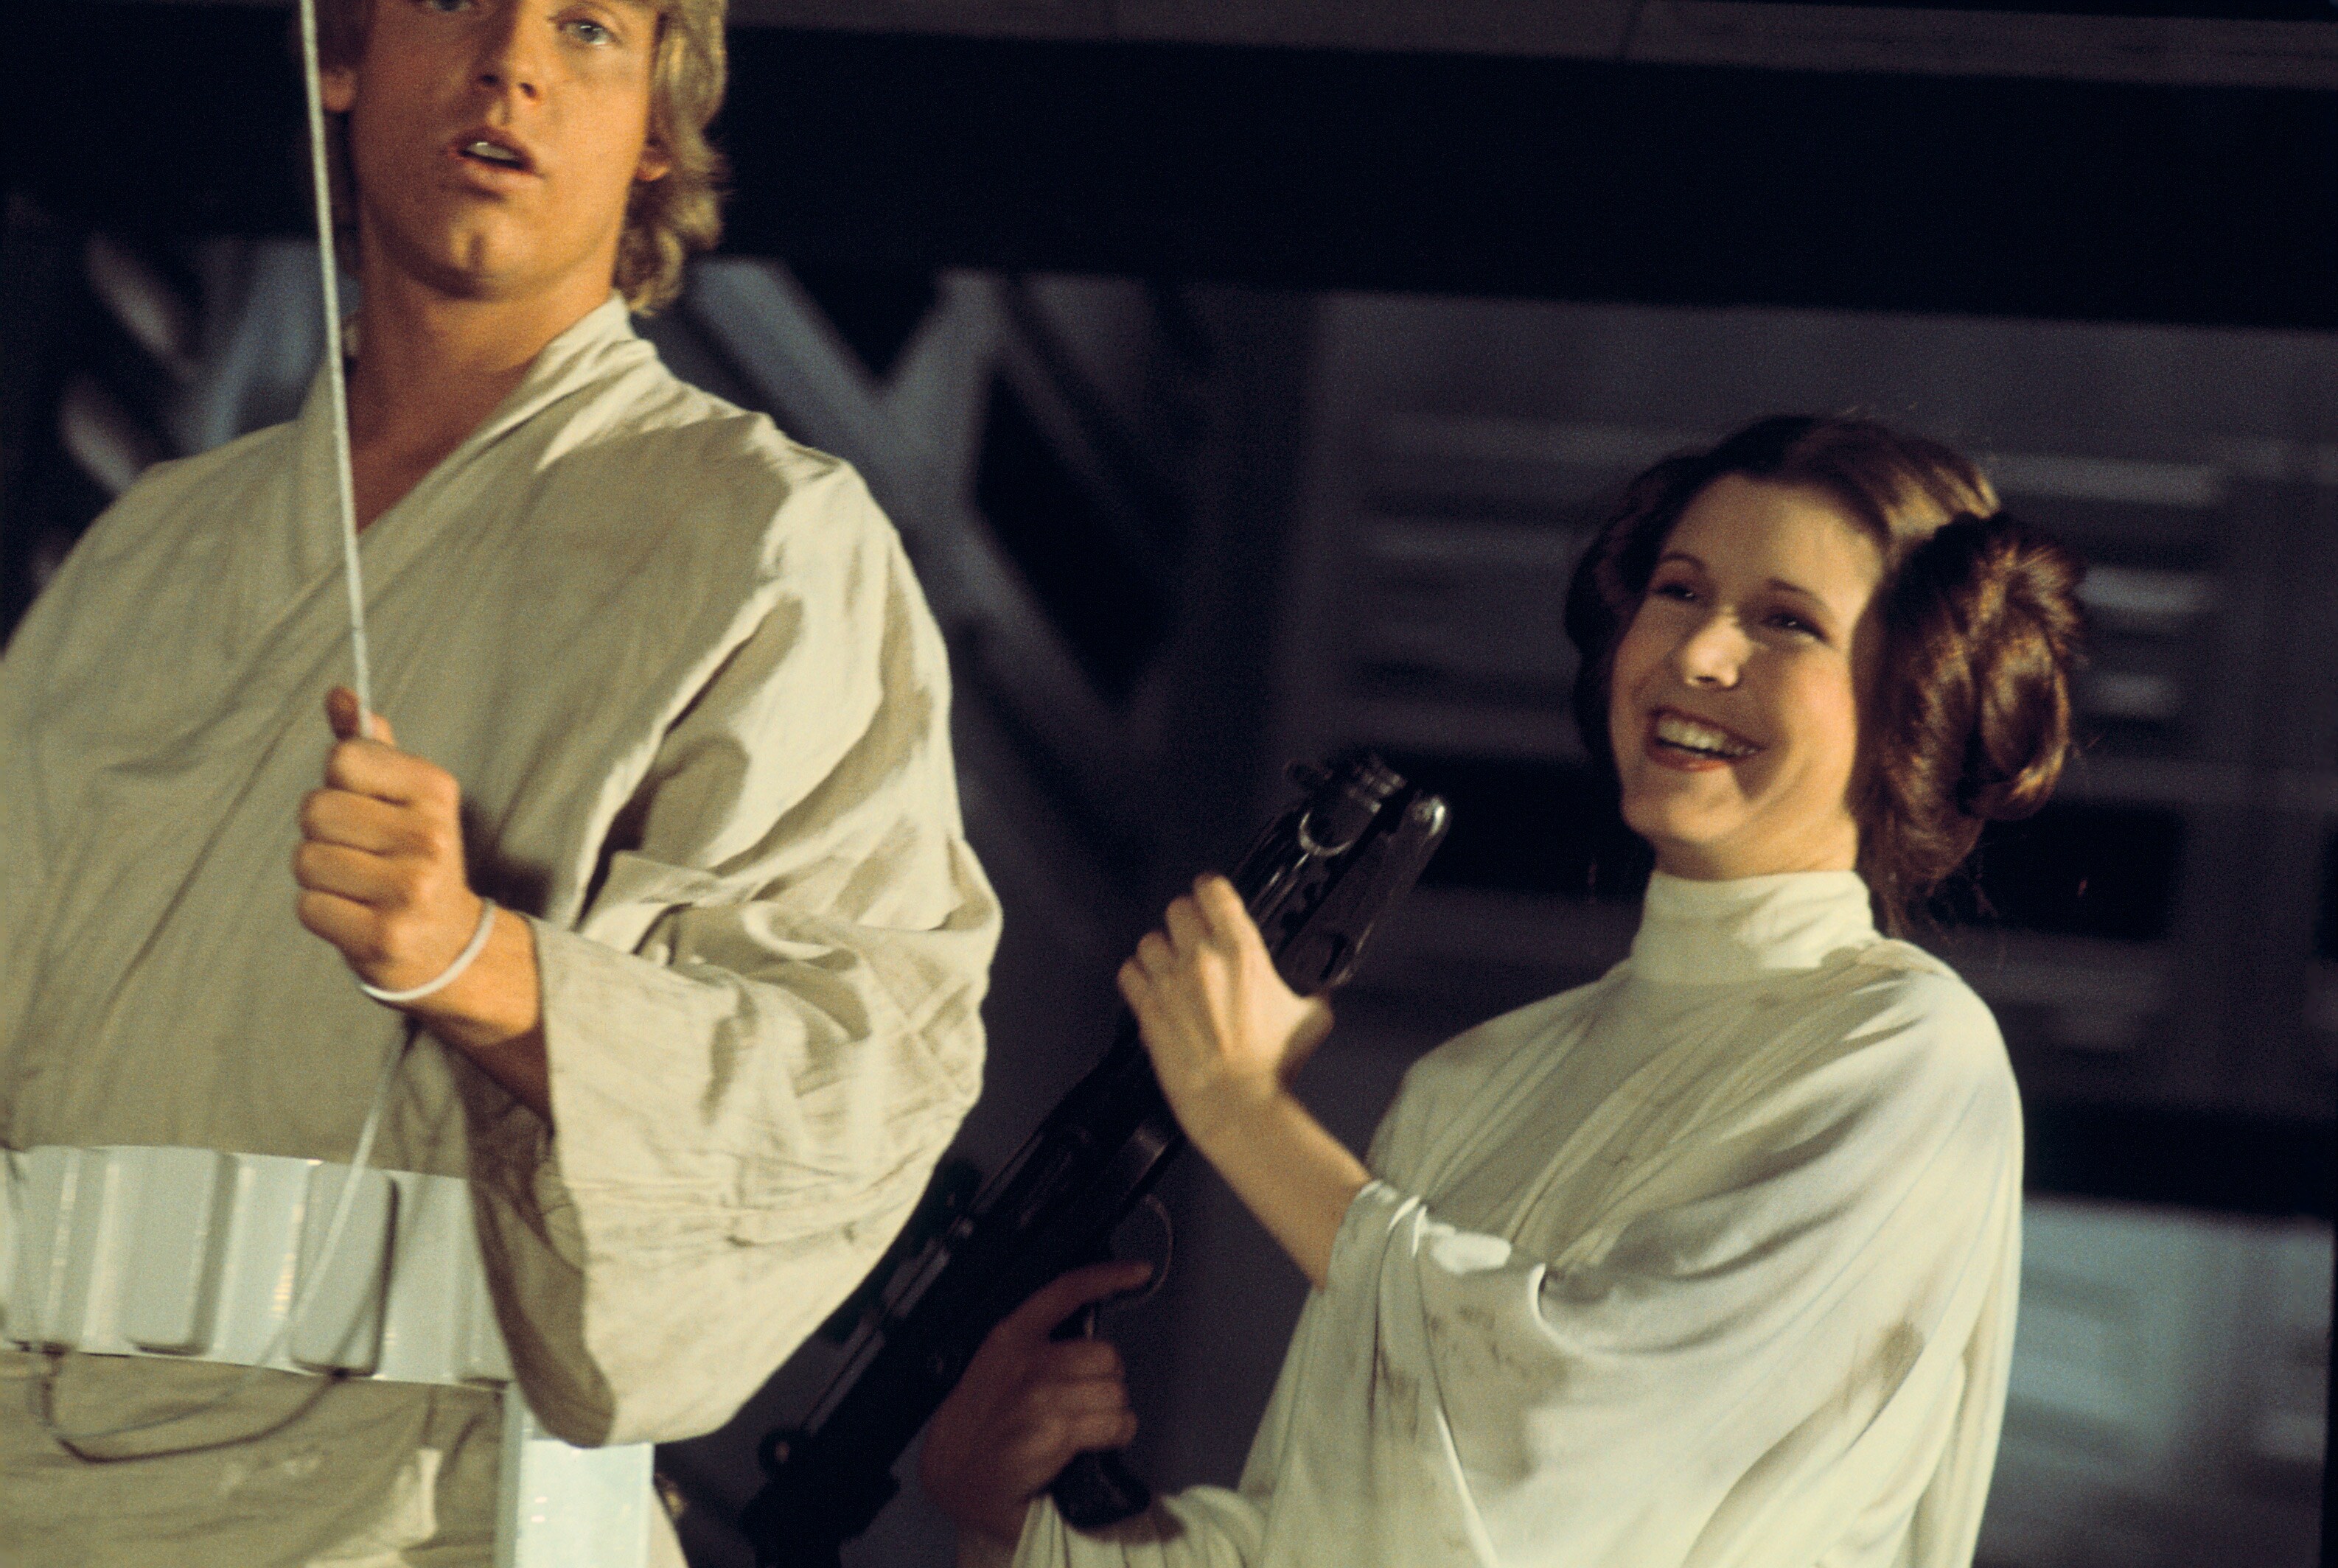
Mark Hamill and Carrie Fisher between takes of the "for luck" swing sequence.
-
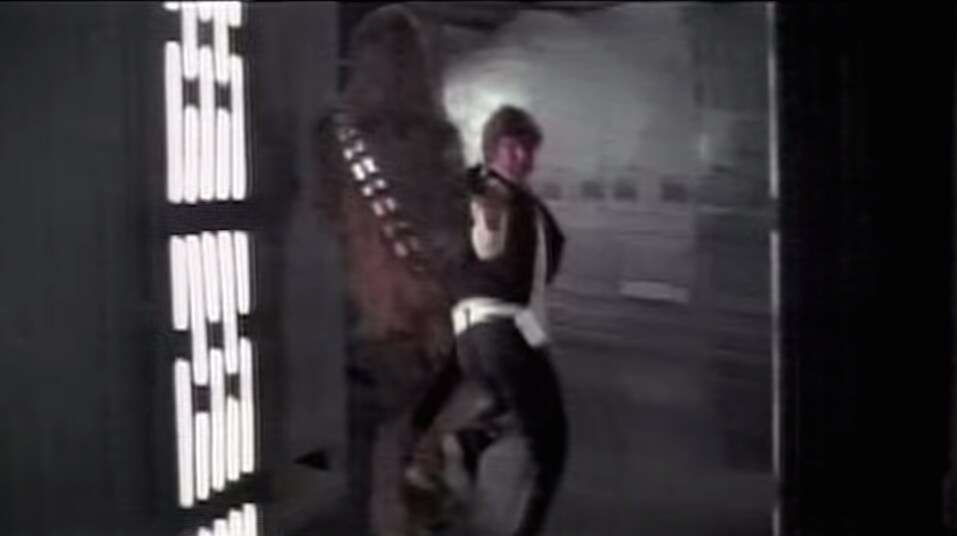
Makeup artist Stuart Freeborn and Peter Mayhew rehearse some of Chewie's lines.
-
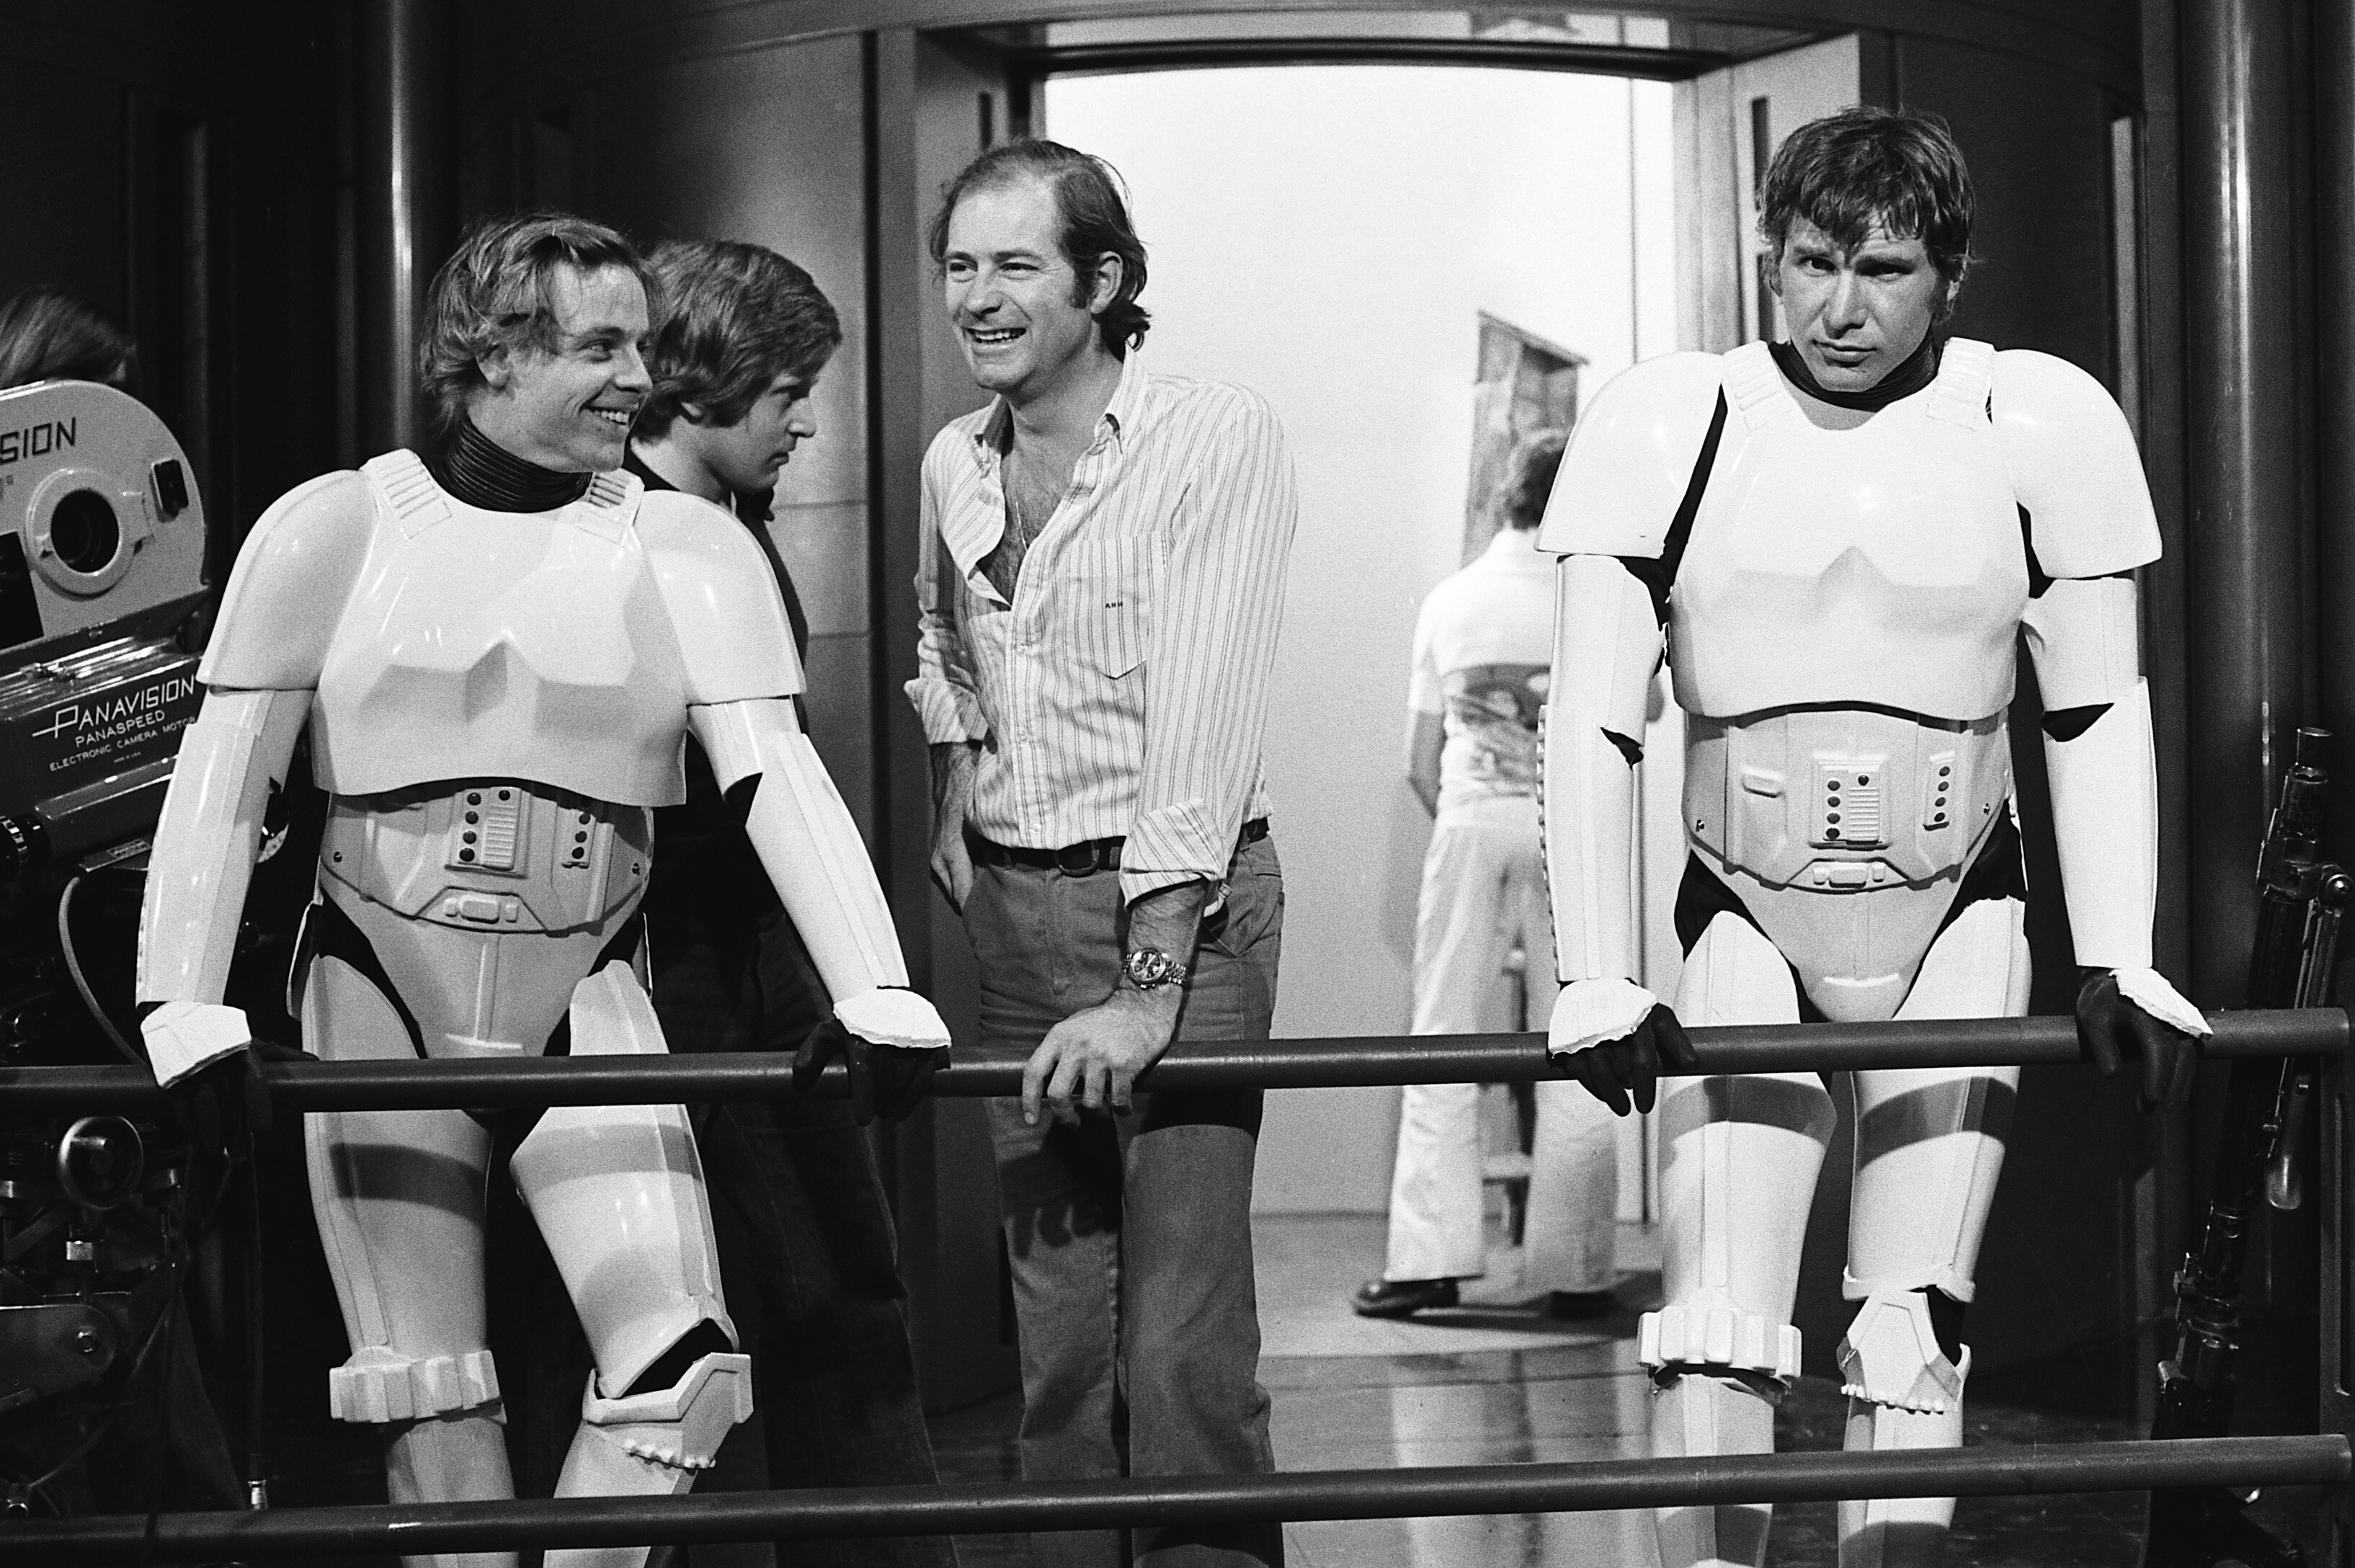
Mark Hamill and Harrison Ford, in stormtrooper gear.
-
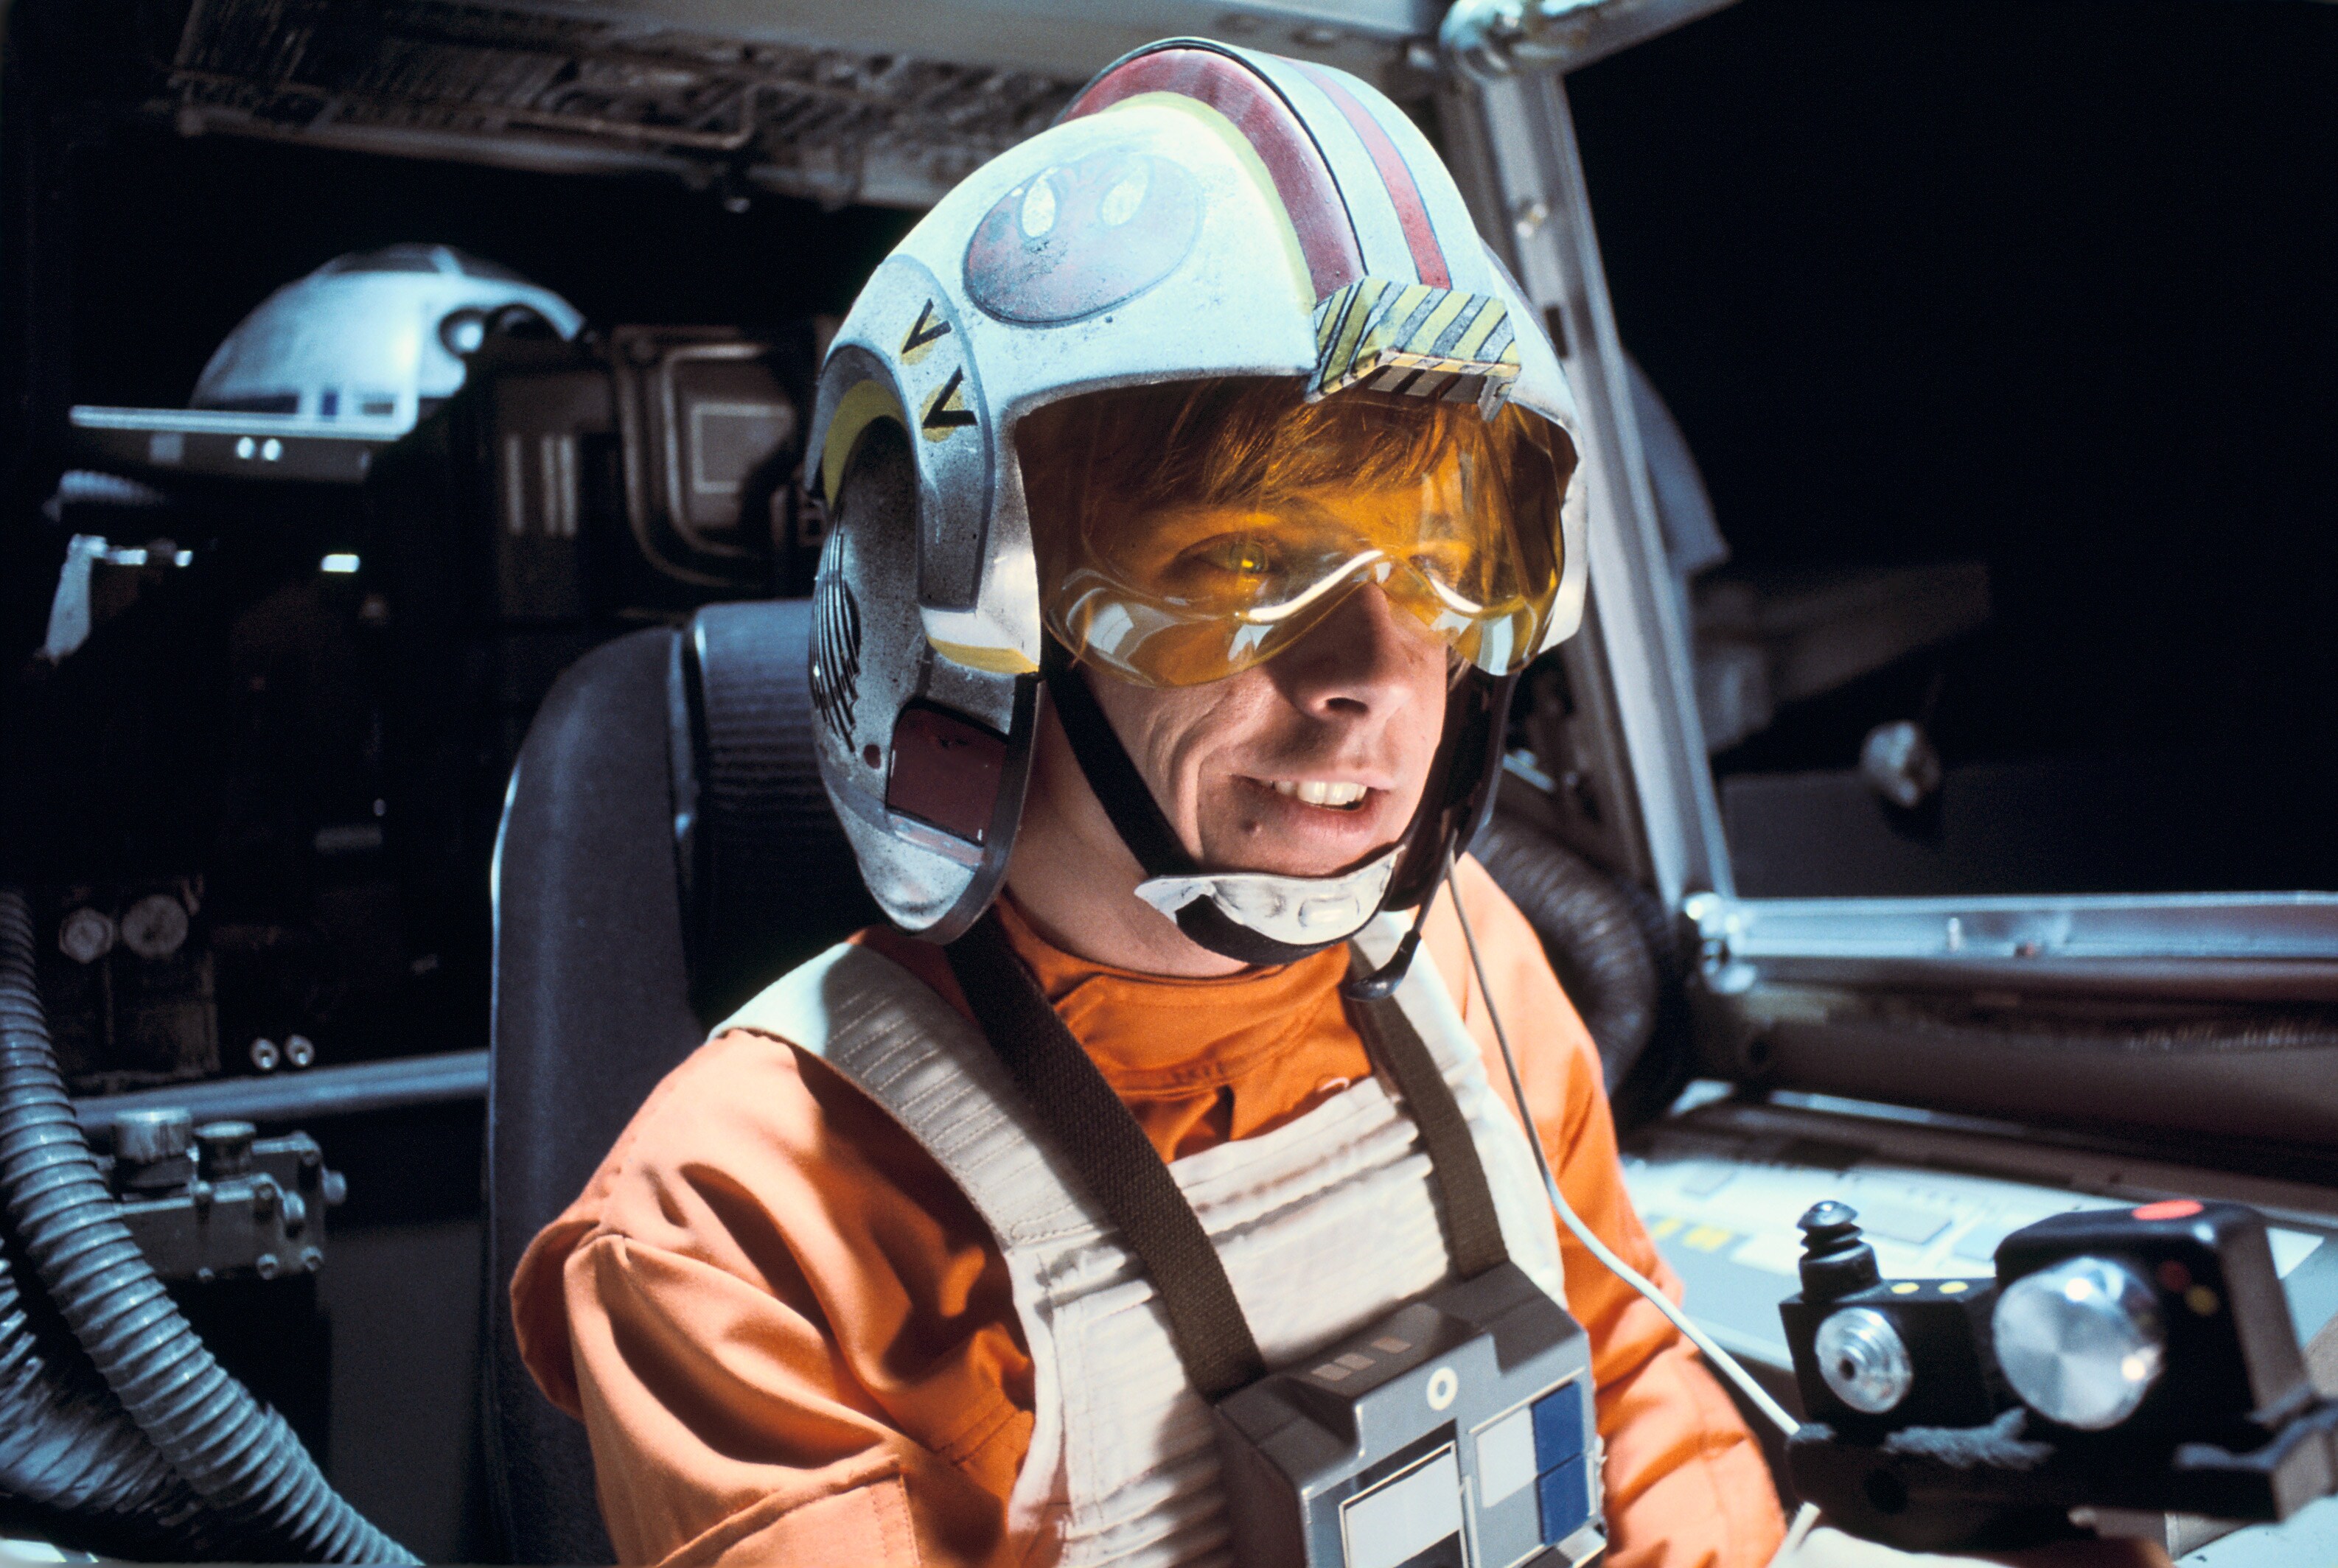
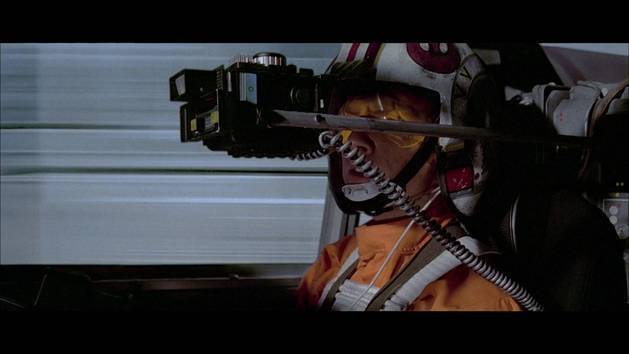
Mark Hamill in his X-wing pilot costume and cockpit, filming the climactic dogfight above the Death Star.
-
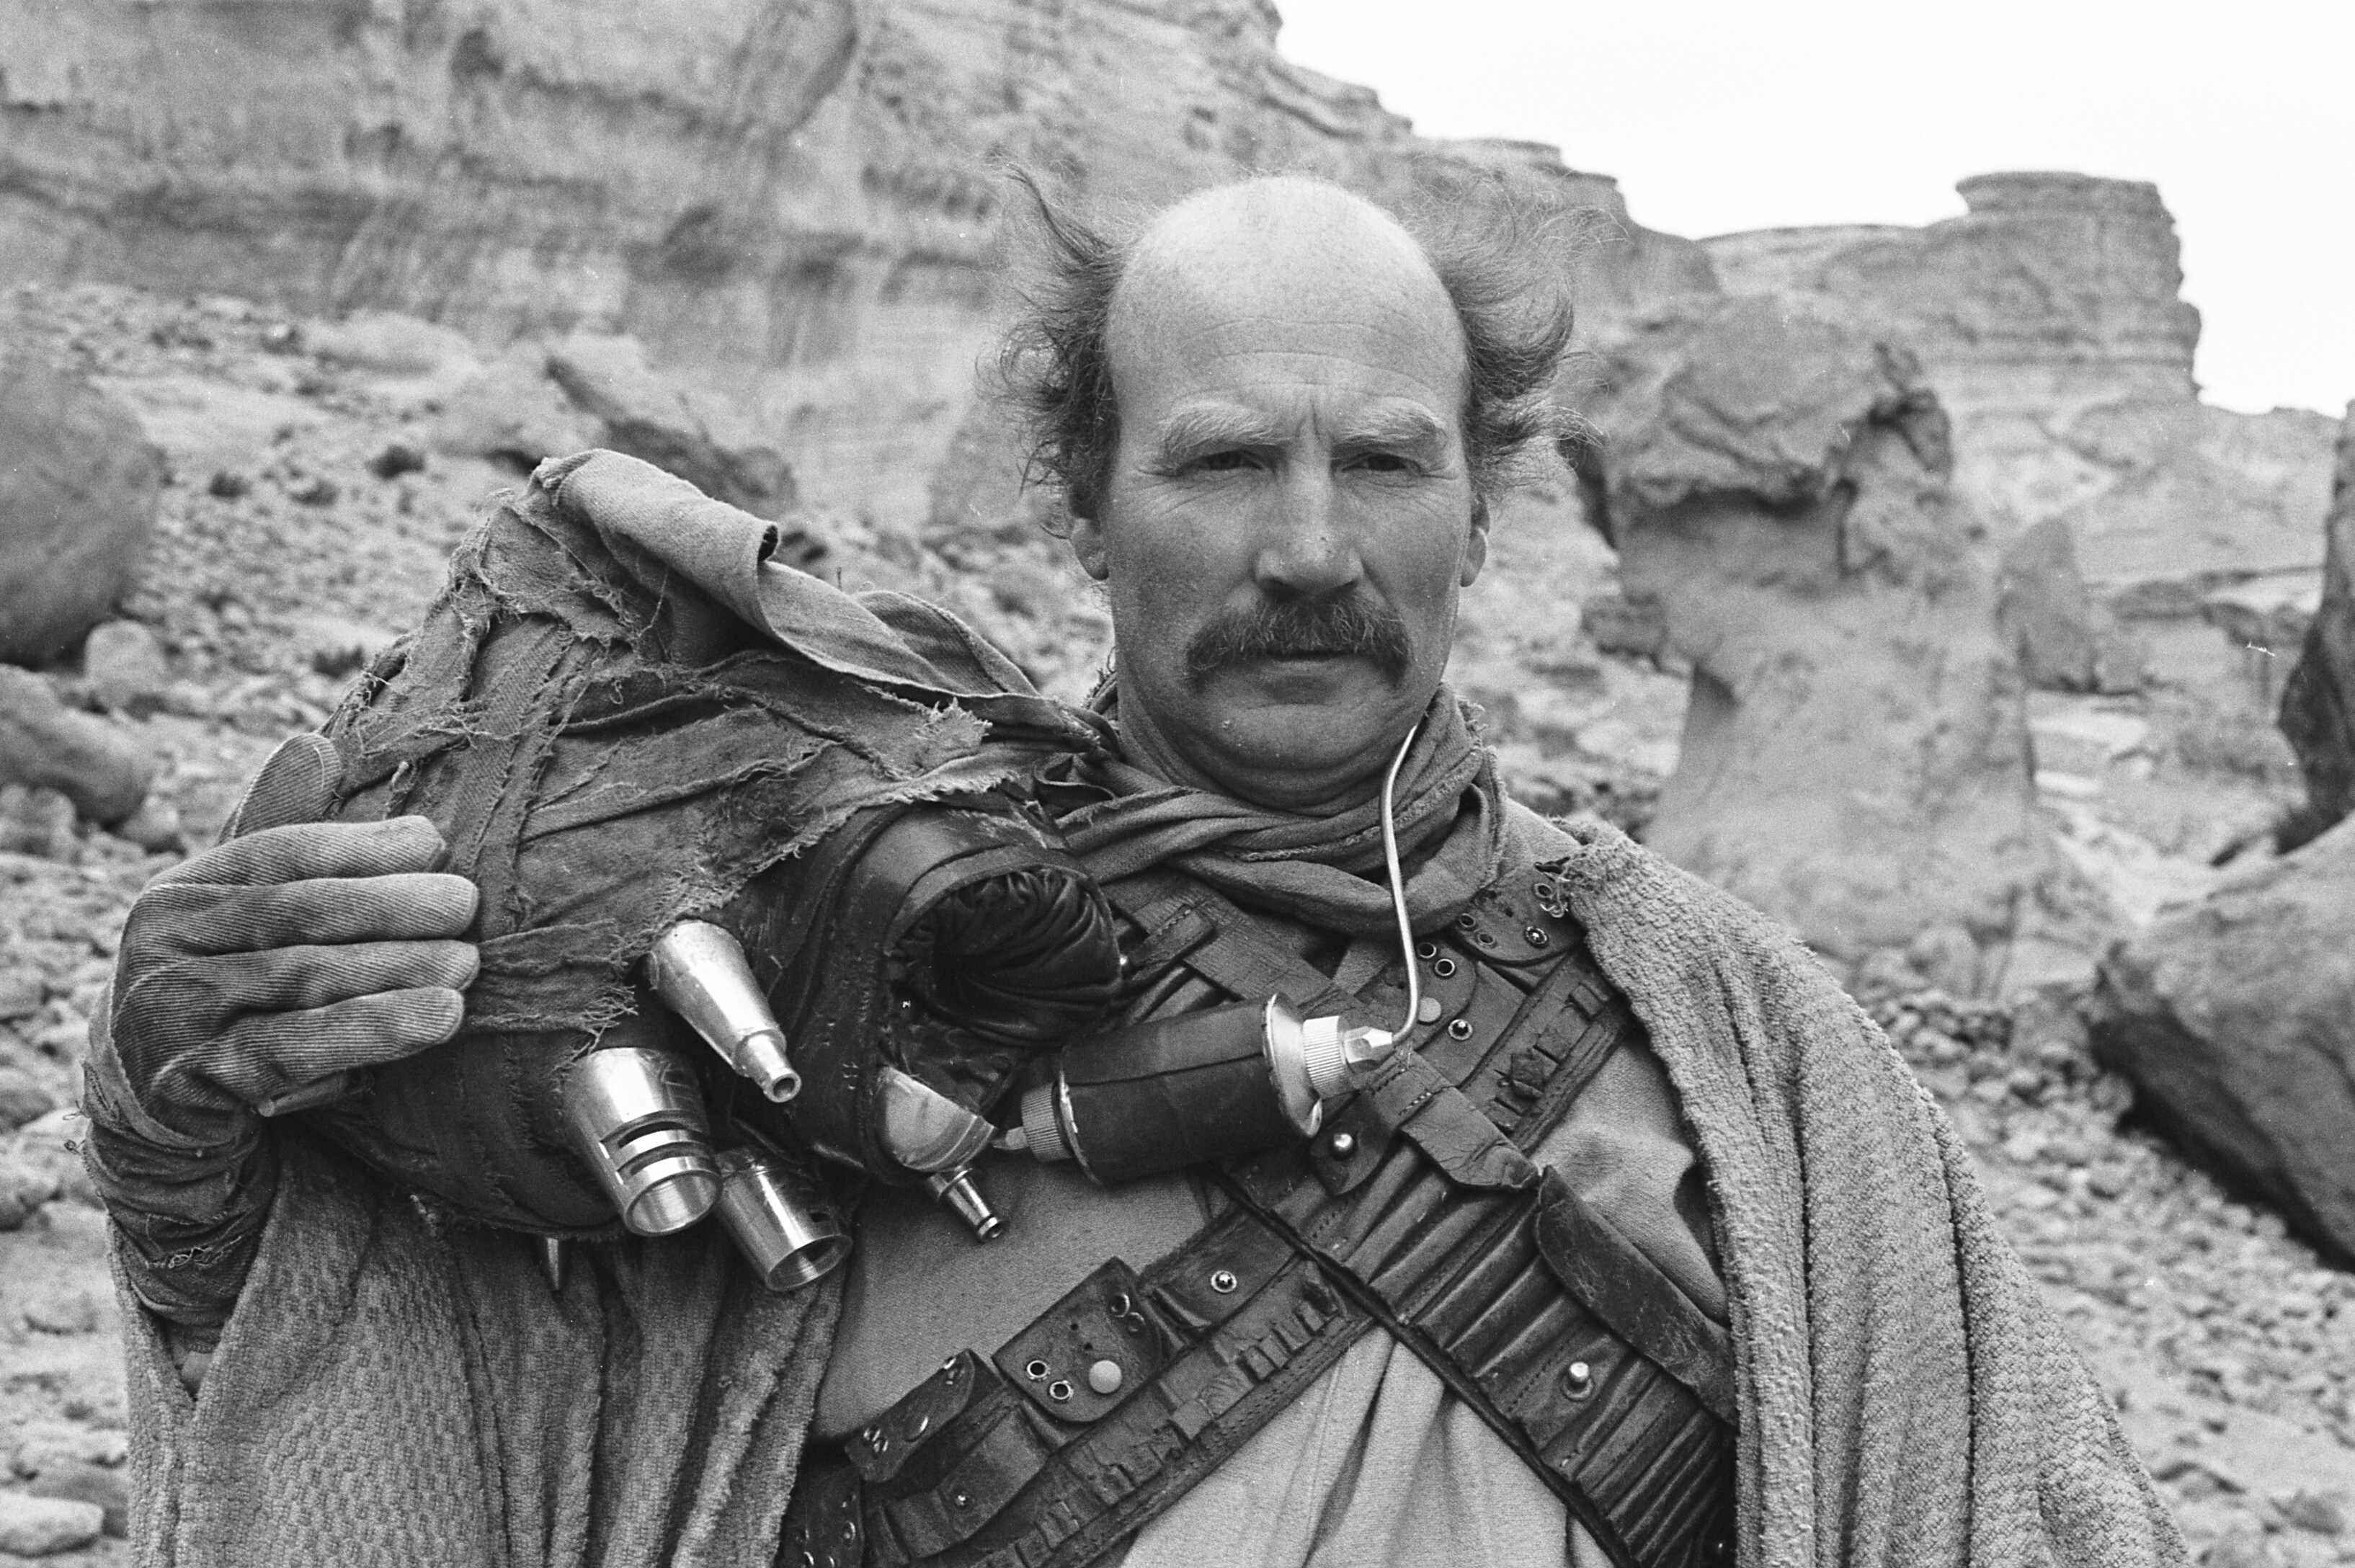
Stunt coordinator Peter Diamond in Tusken Raider costume.
-
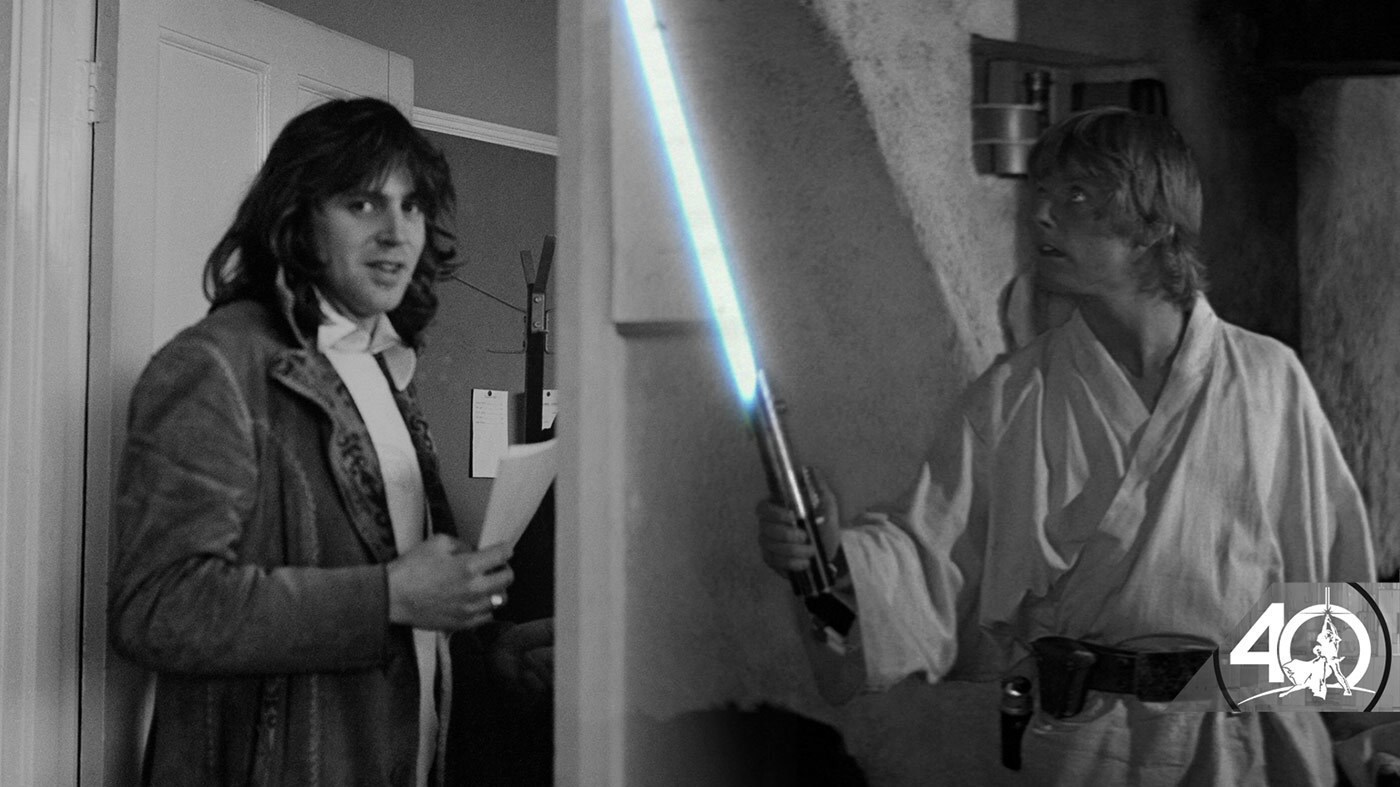
Shooting the Jedi mind trick sequence in Tunisia.
-
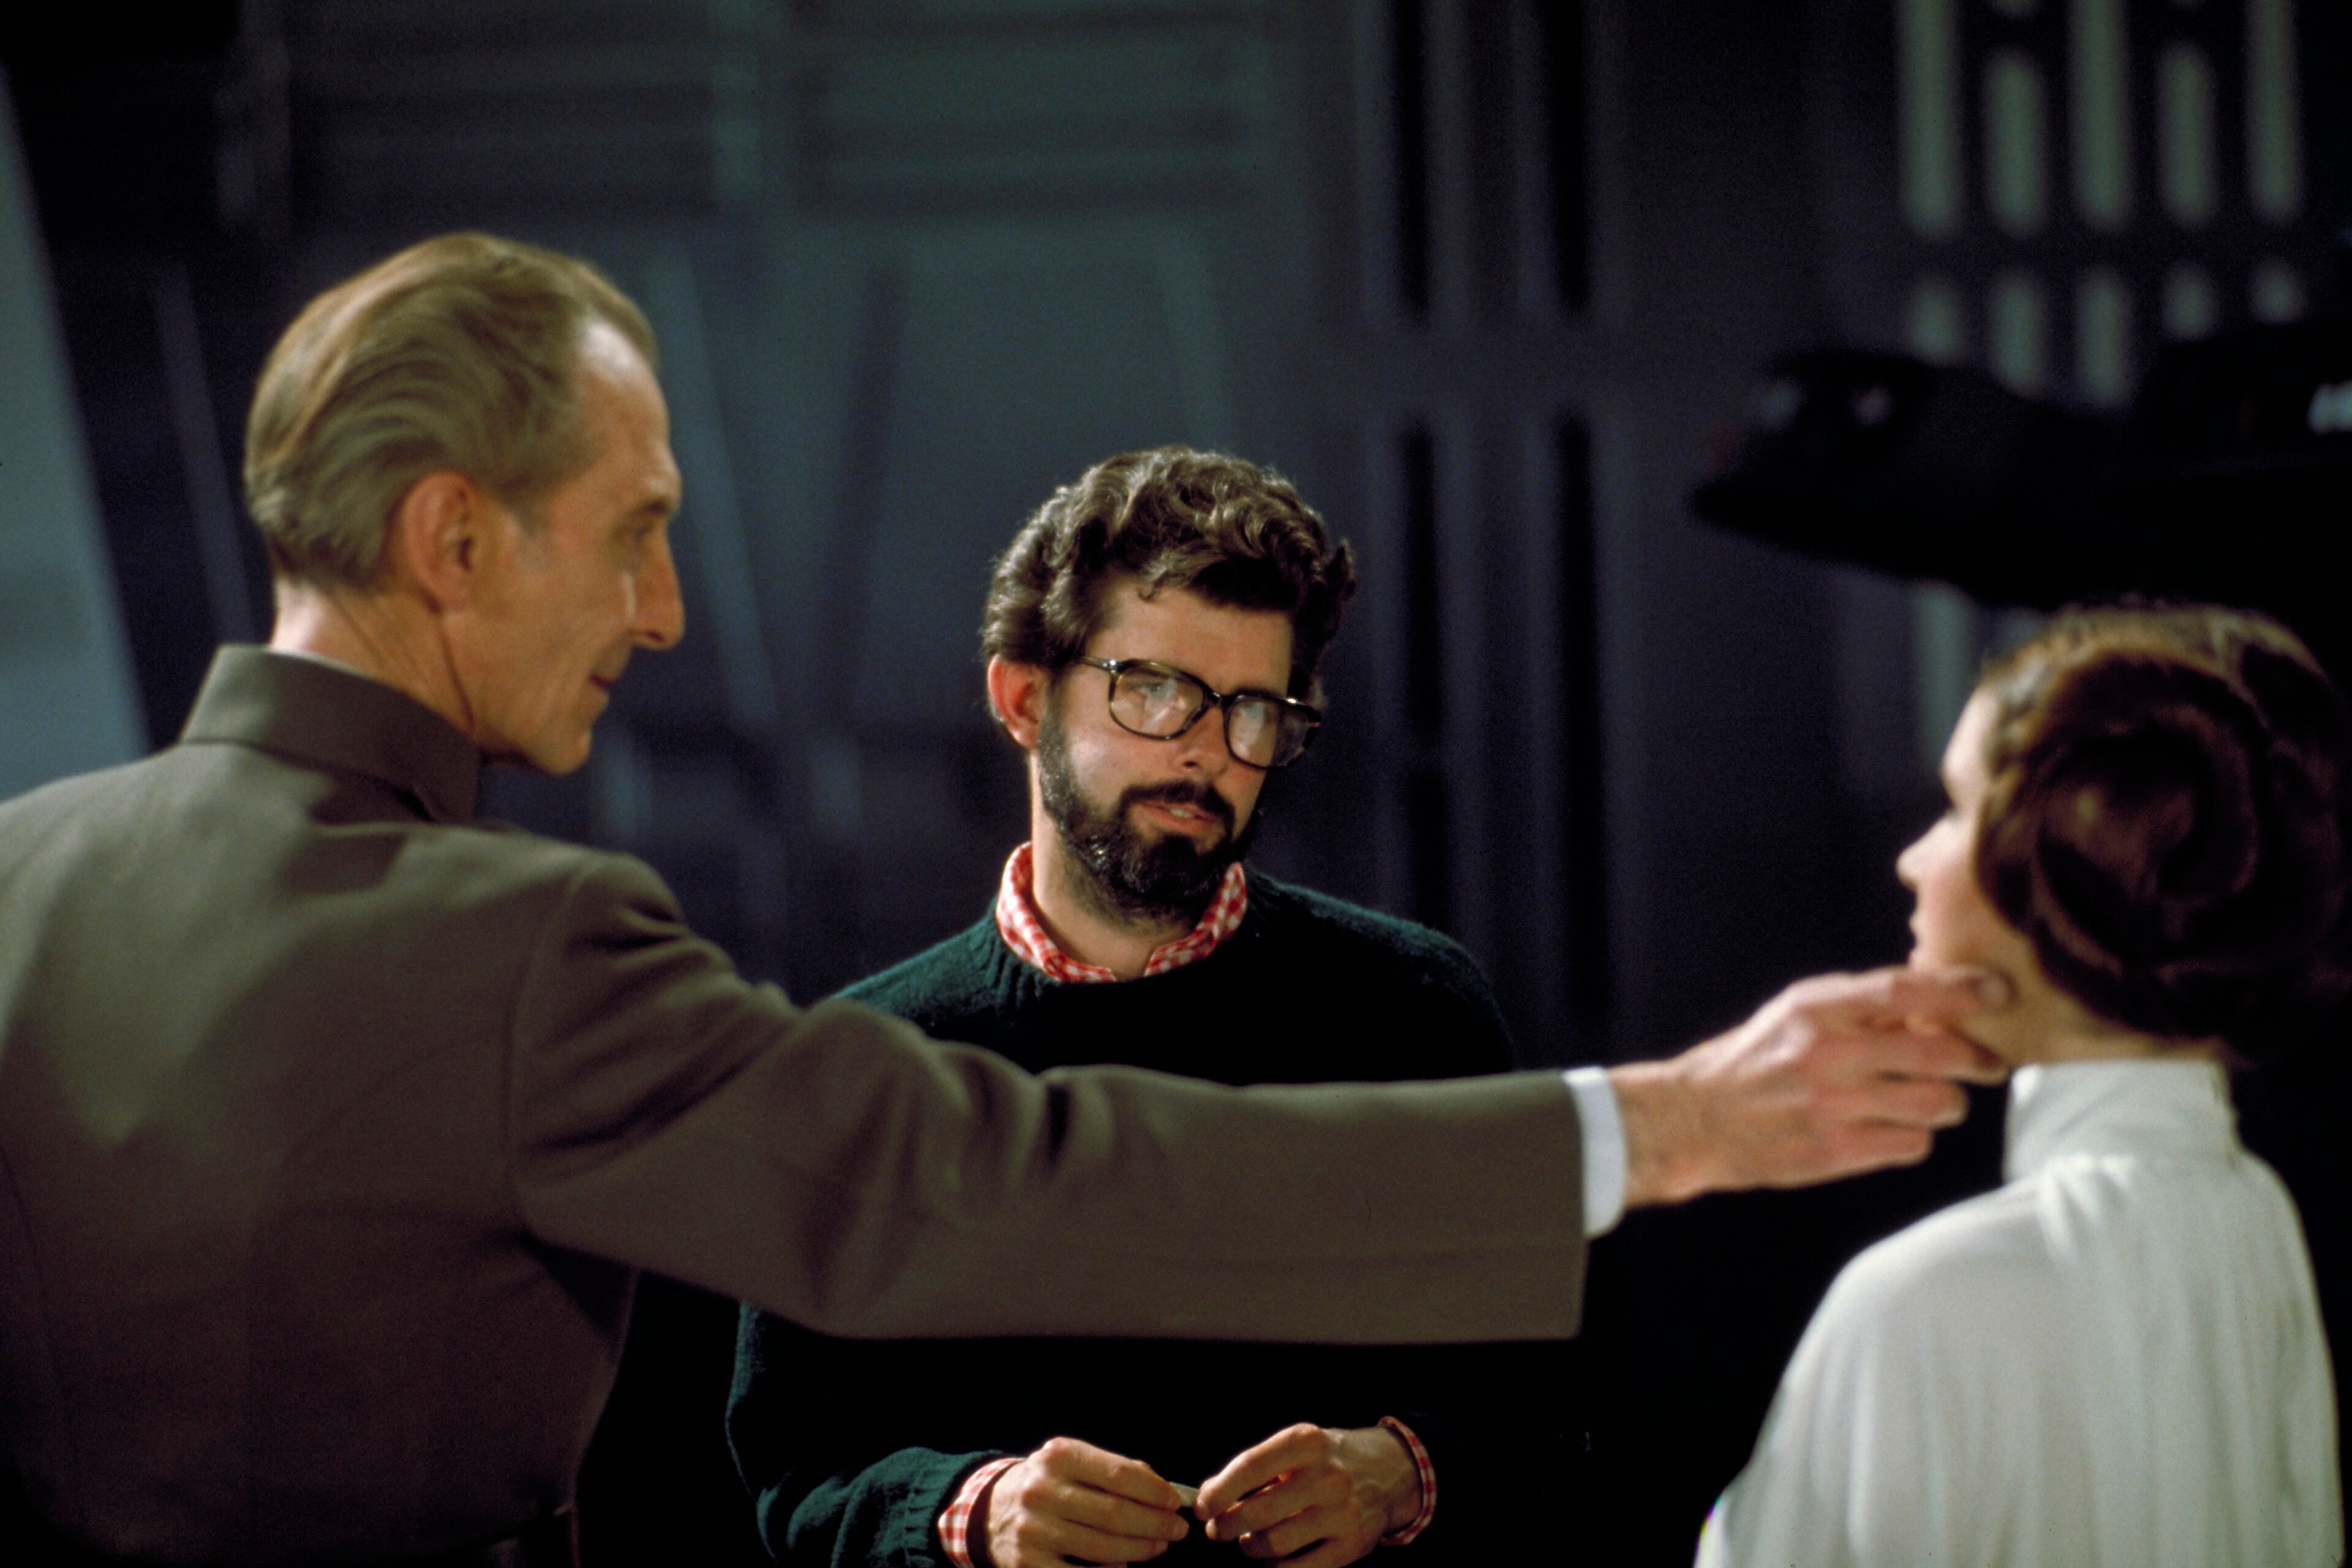
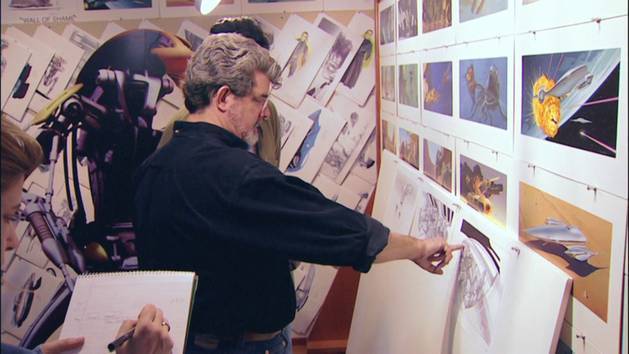
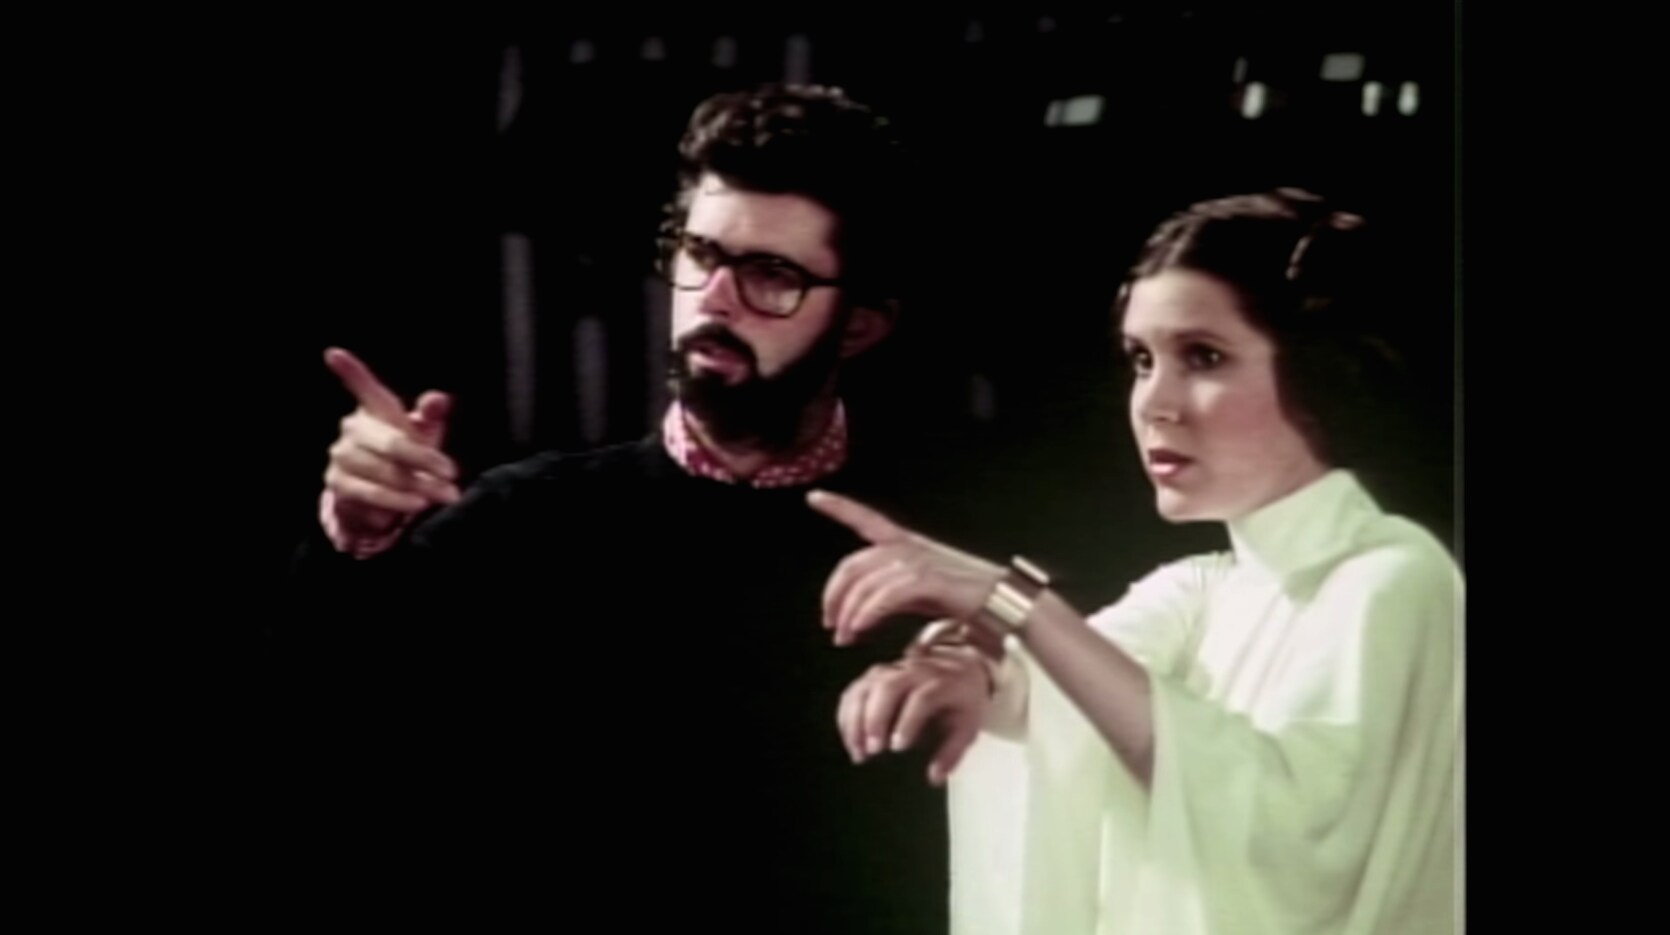
Peter Cushing, George Lucas, and Carrie Fisher on the Death Star set, preparing to film Tarkin's encounter with Leia.
-
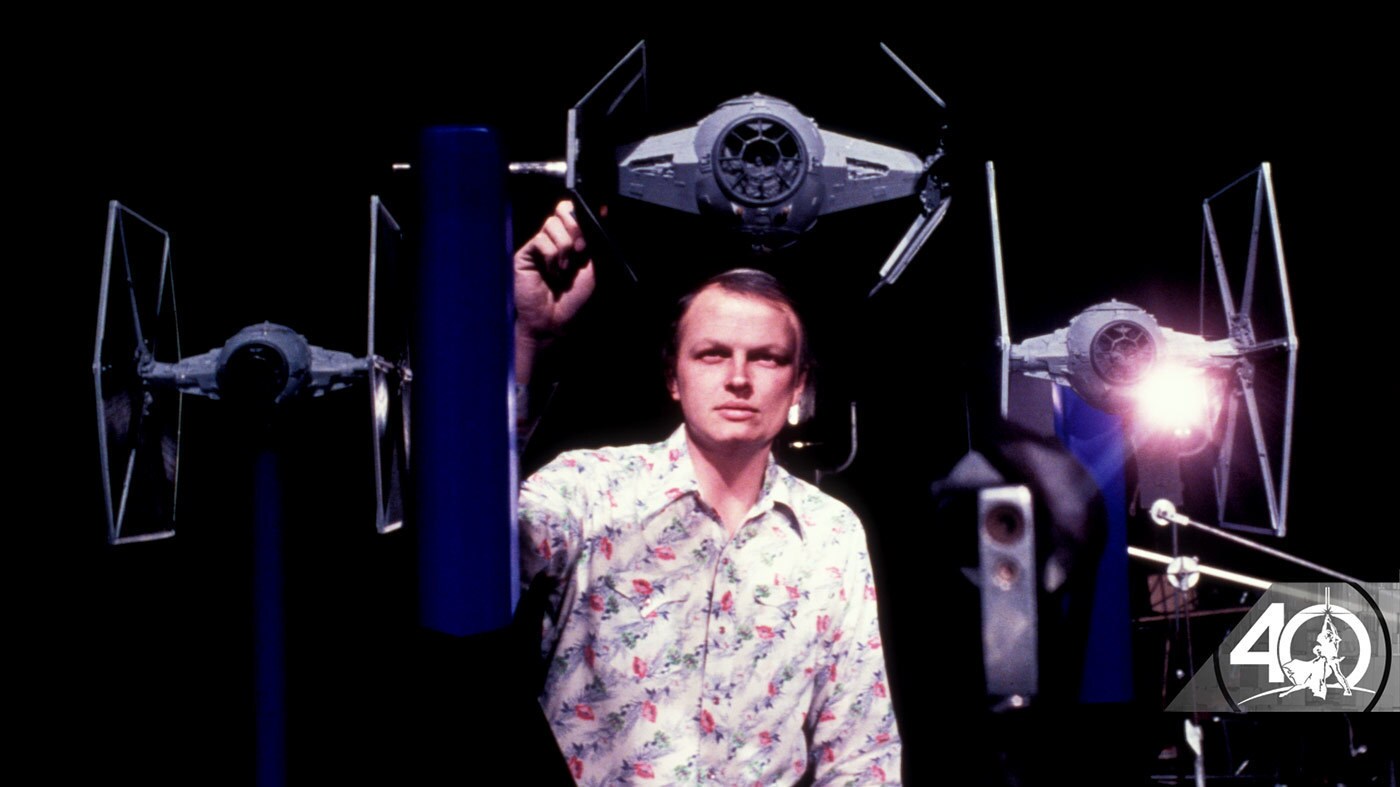
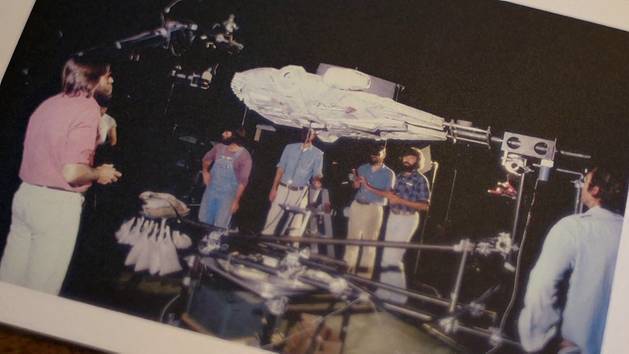
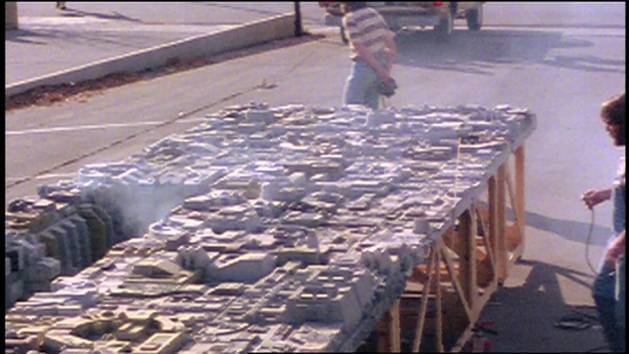
Concept artist and effects technician Joe Johnston with X-wing and TIE fighter models.
-
Filming Luke's near-fall into a Death Star chasm.
-
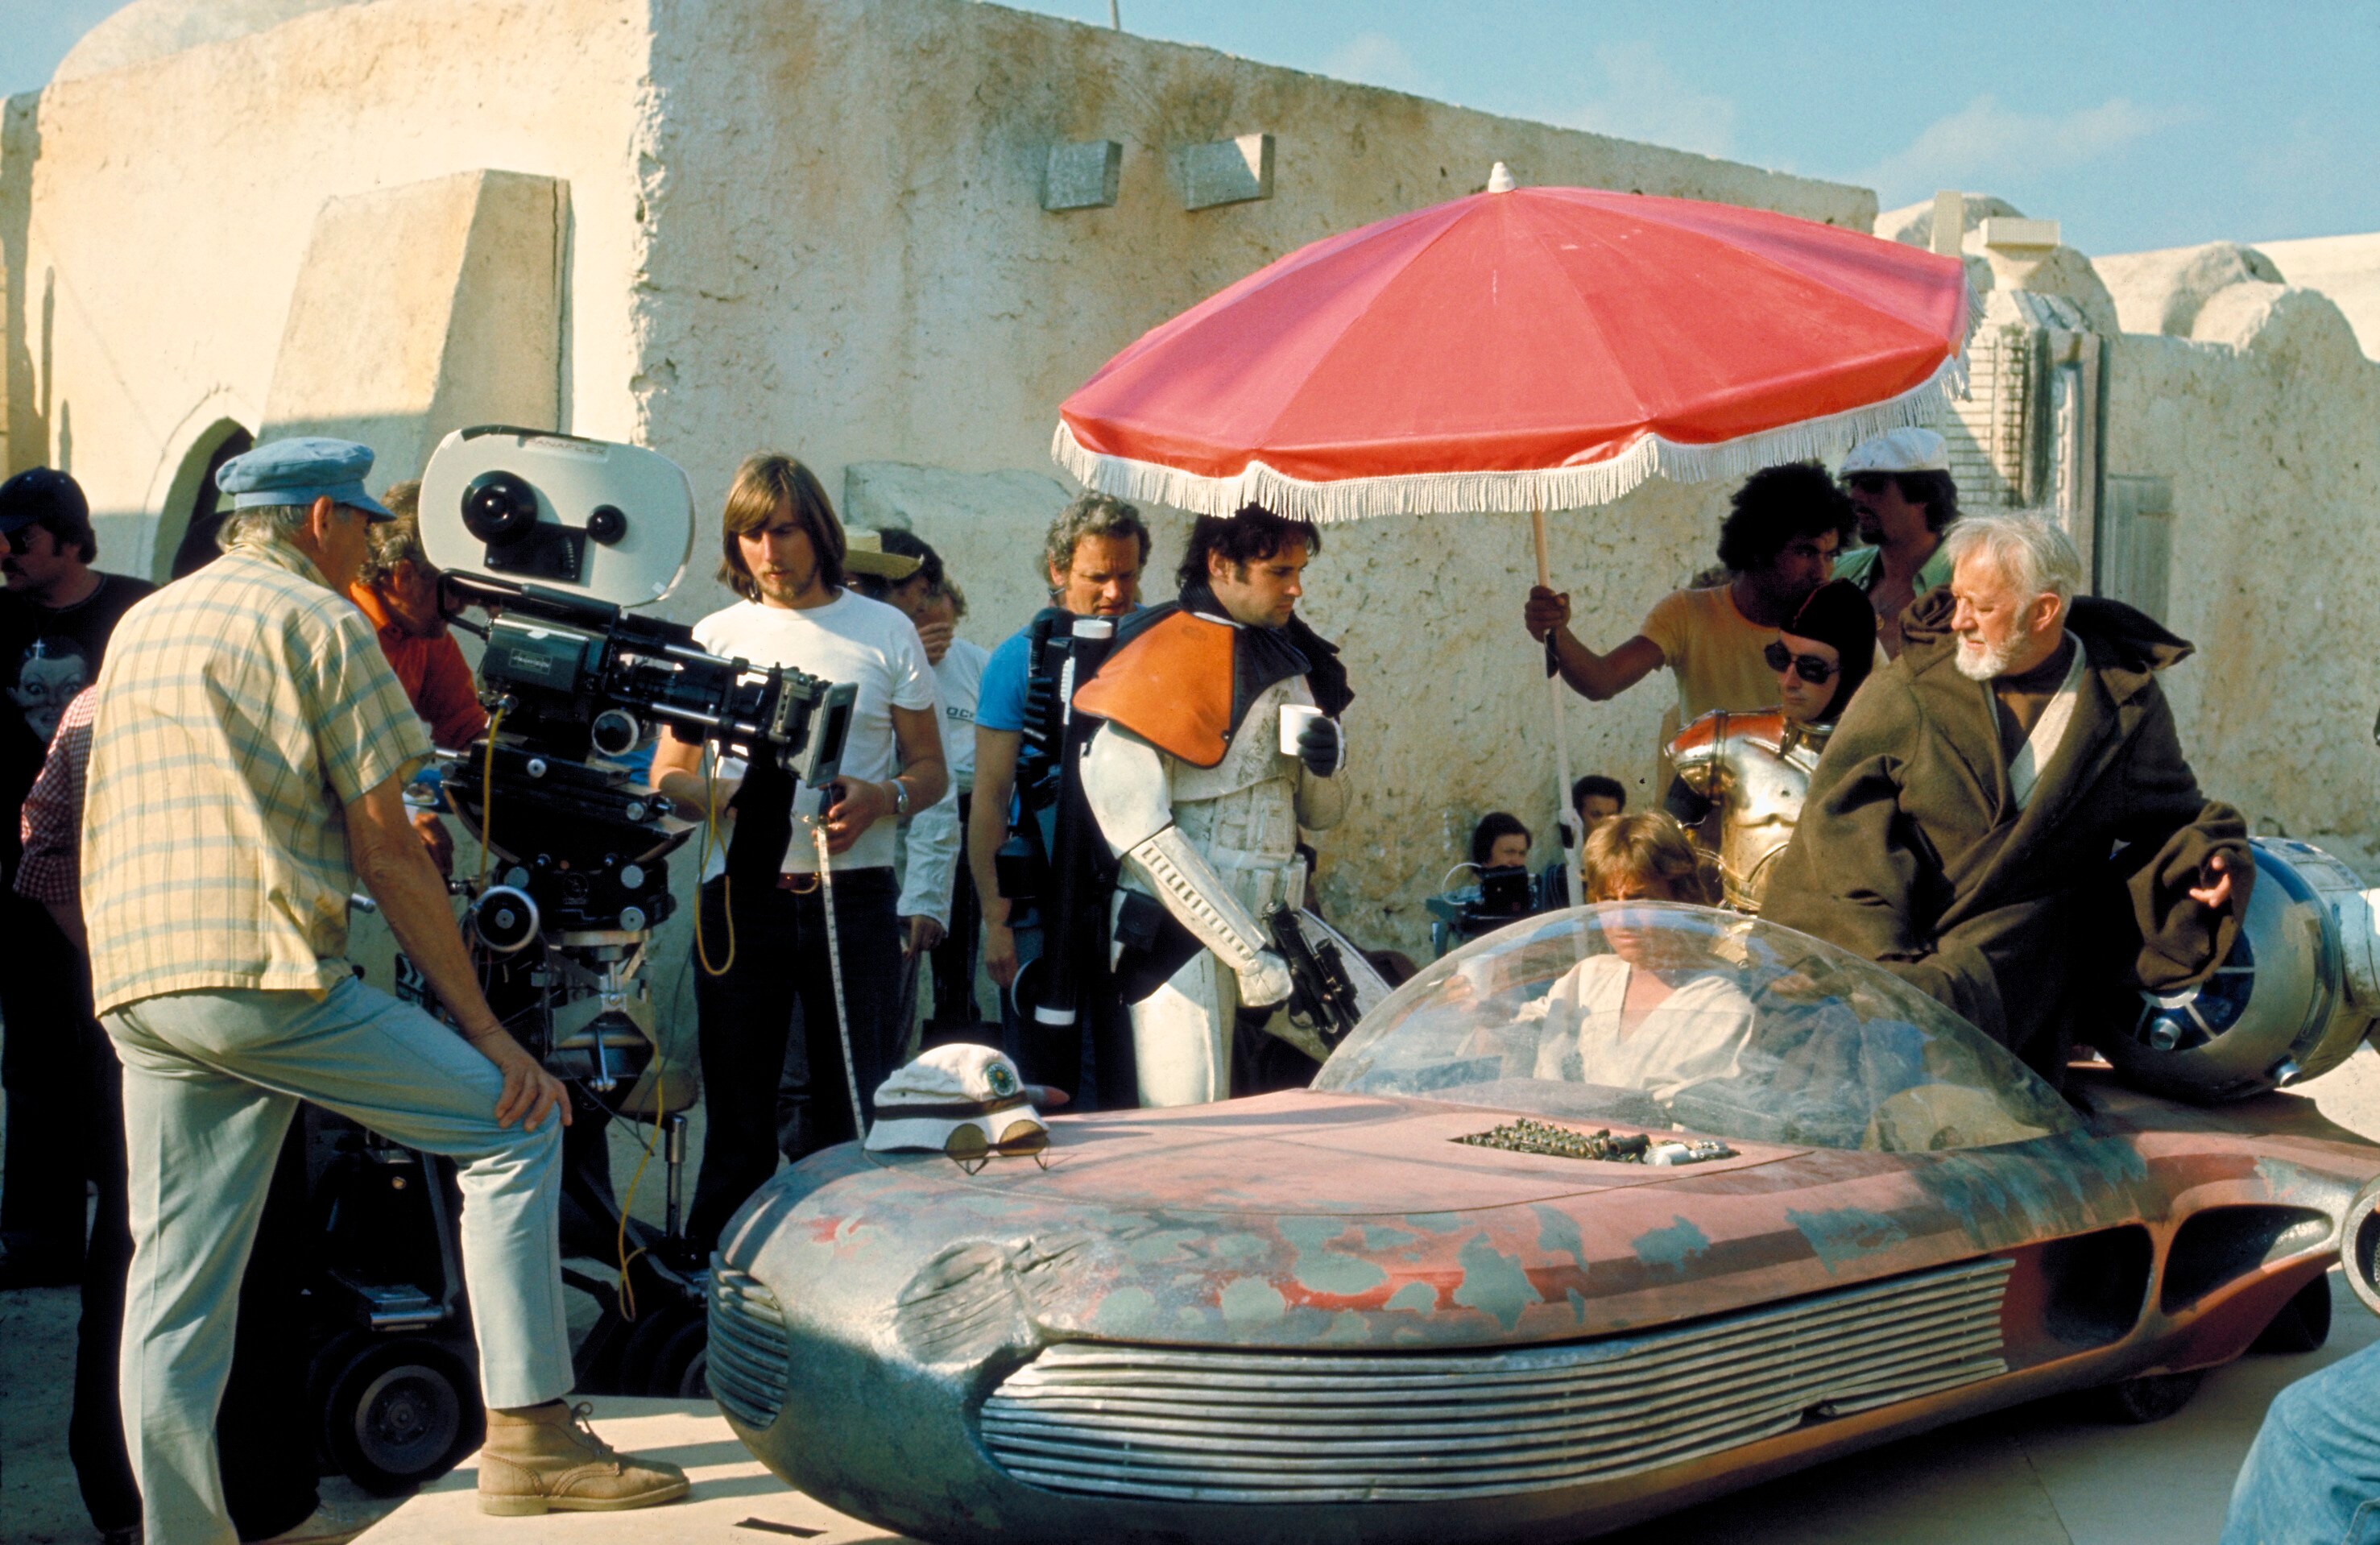
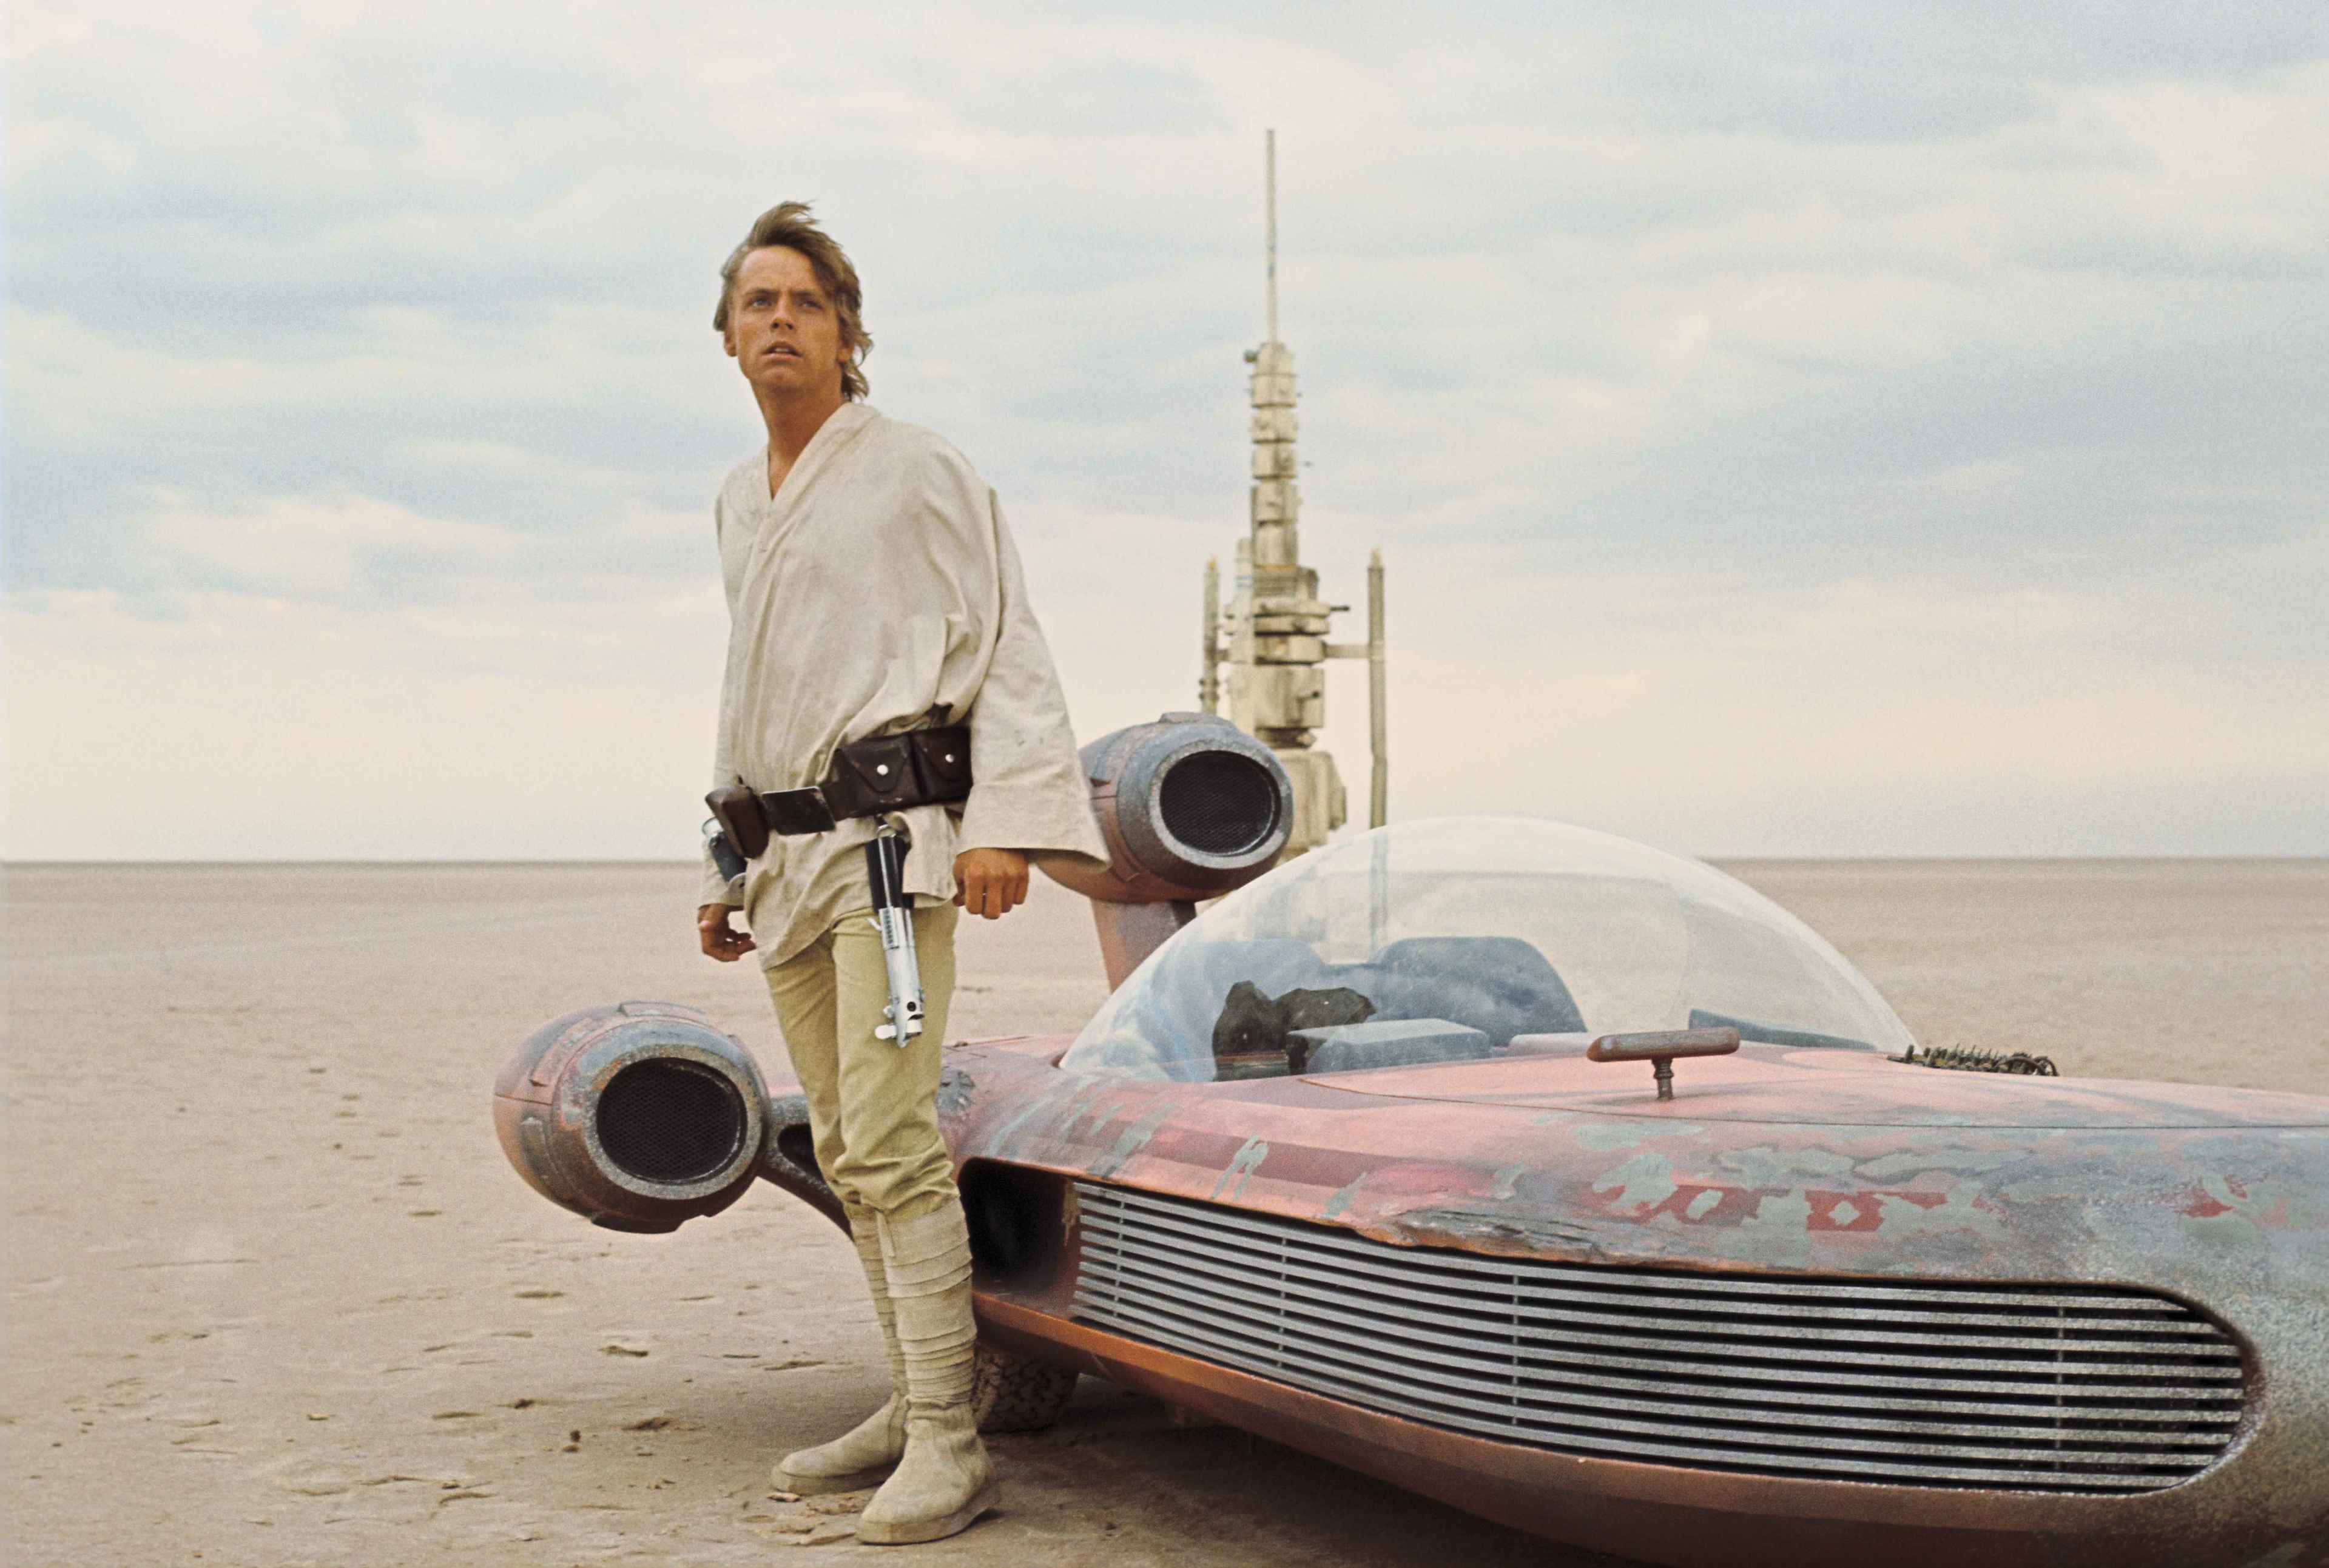
Mark Hamill with landspeeder in Tunisia.
-
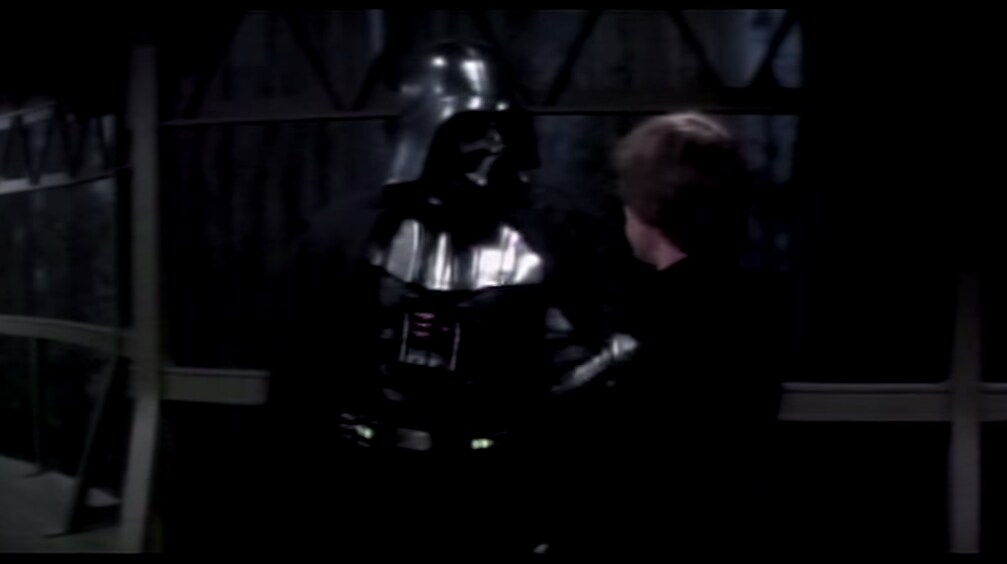
Darth Vader (played in-costume by David Prowse) on the Tantive IV set.
-
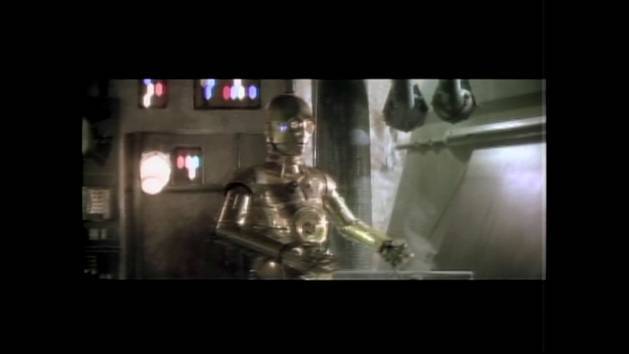
Anthony Daniels cools down on the Tunisia set.
-
Luke and Threepio enter the Mos Eisley cantina.
-
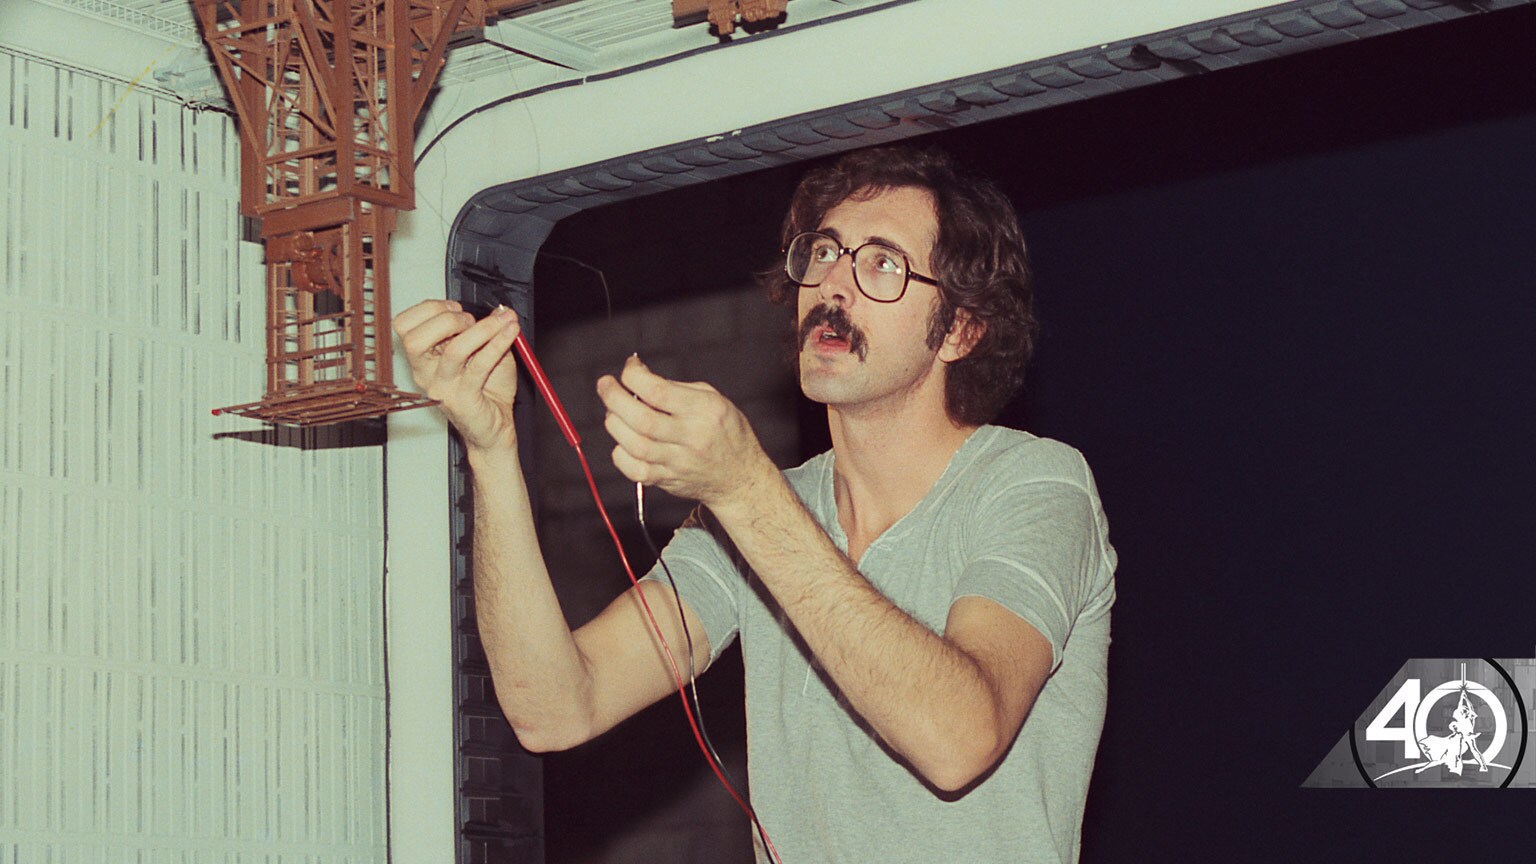
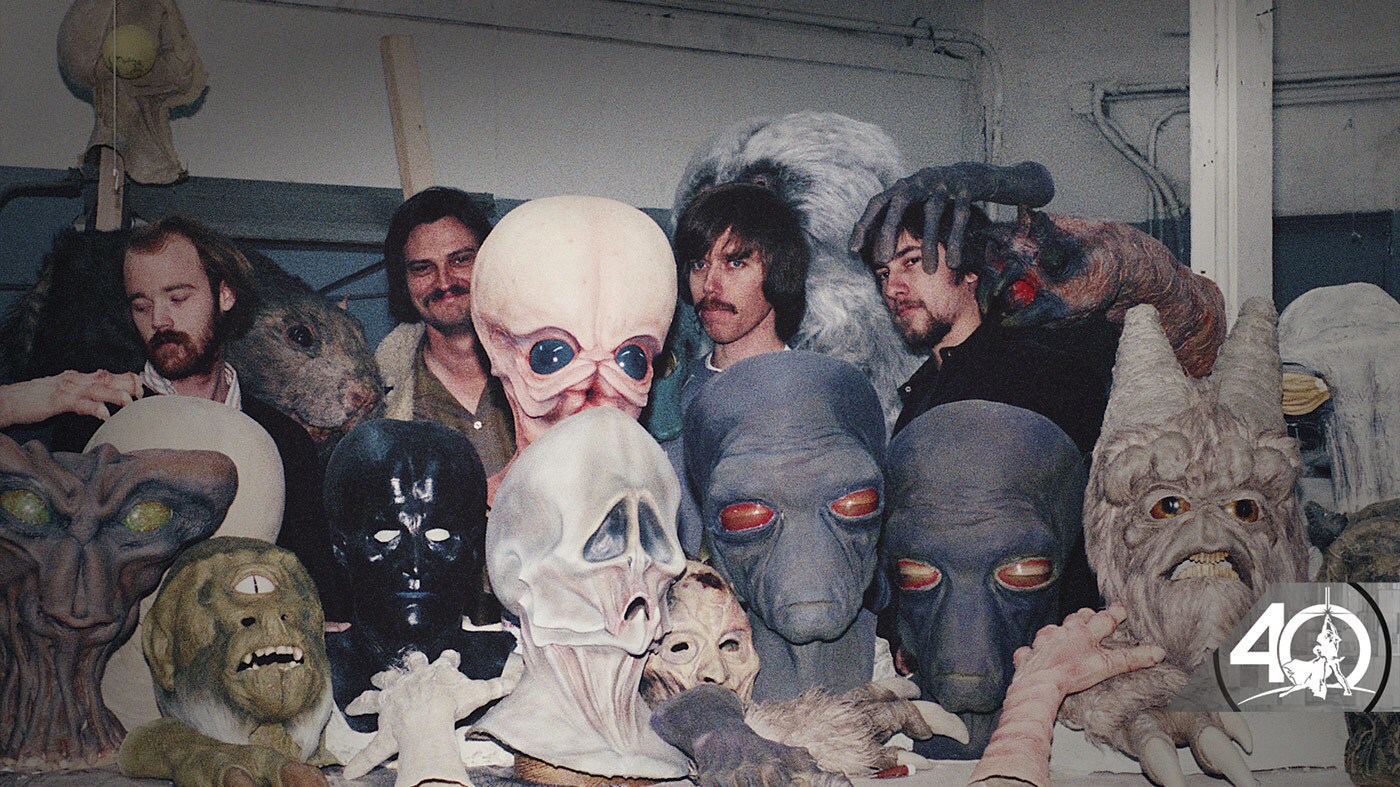
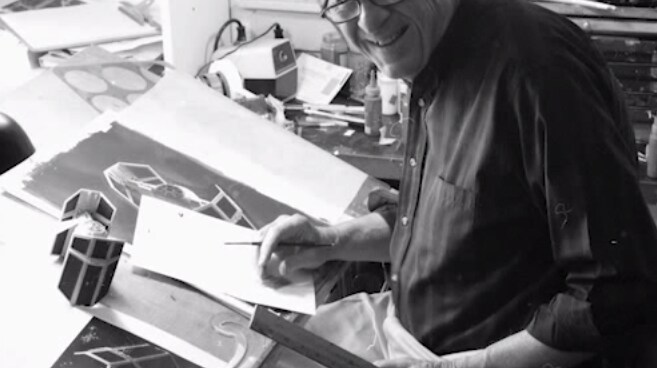
Lorne Peterson building a TIE fighter model in the creature shop.
-
Working on a Rodian (Greedo's species) mask between takes.
Behind the Scenes Gallery | A New Hope
Scenes

Behind The Scenes

TM & © Lucasfilm Ltd. All Rights Reserved