
© 2015 Disney
Zero Hour Episode Gallery
- Back to Zero Hour
- 20 Images


-
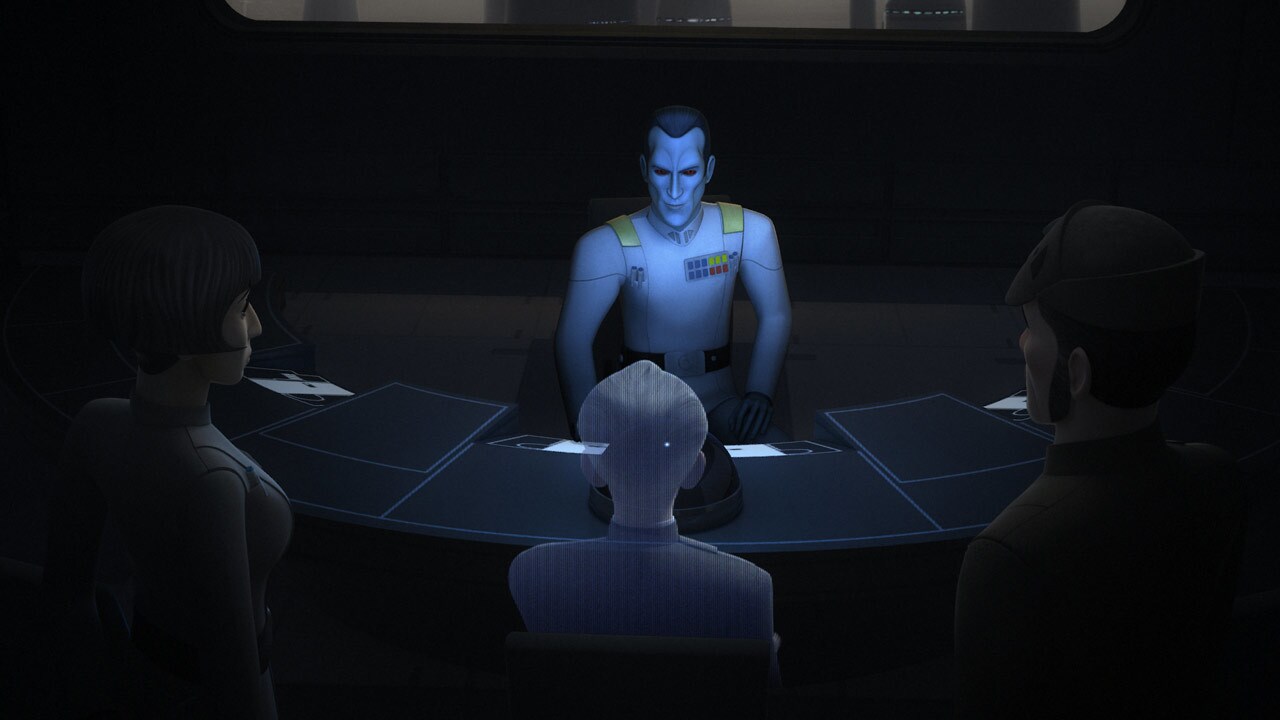
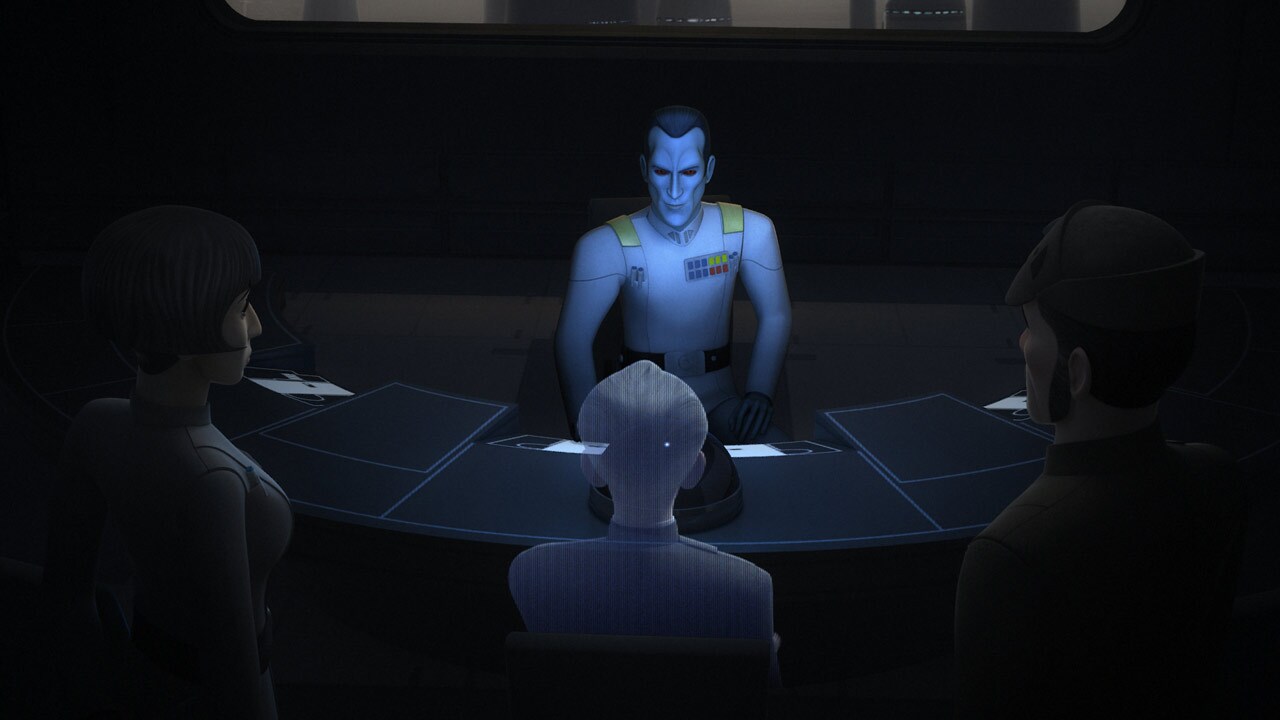
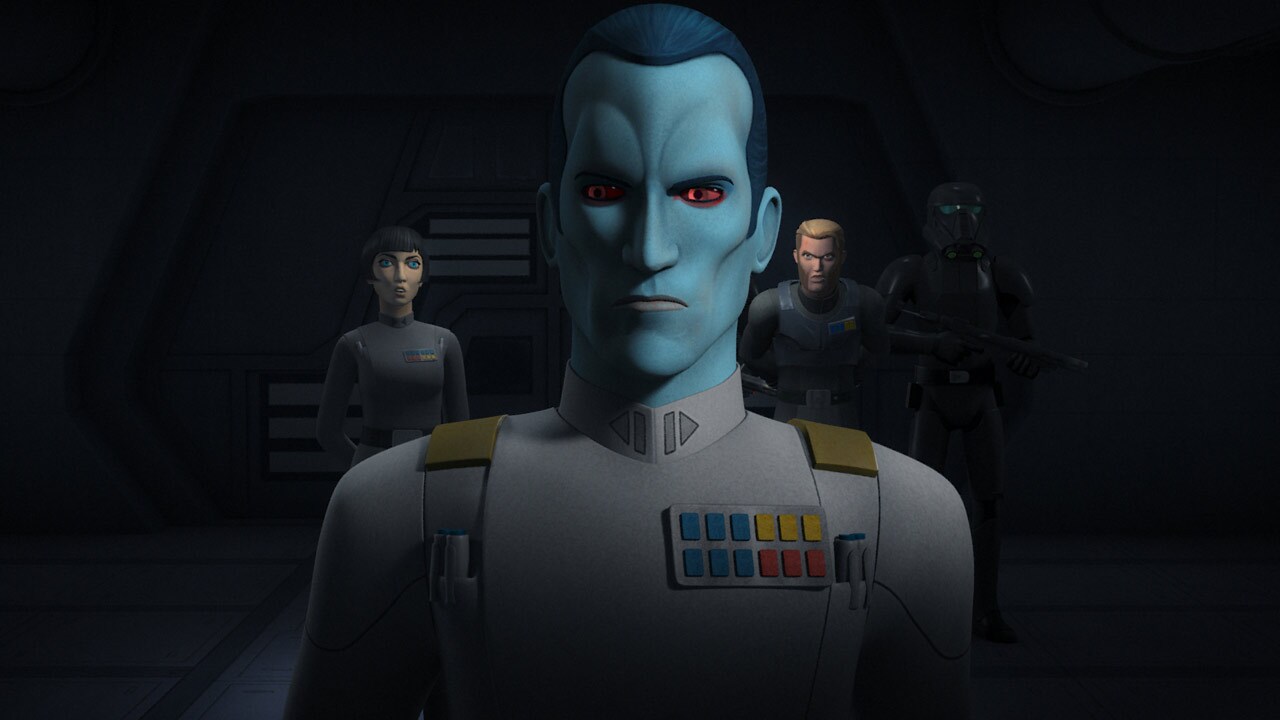
On Lothal, Grand Admiral Thrawn contacts Tarkin. He knows Phoenix Squadron is readying an attack on the TIE defender factory, and will use the opportunity to wipe them out. Kallus listens in remotely and moves to inform the rebels.
-
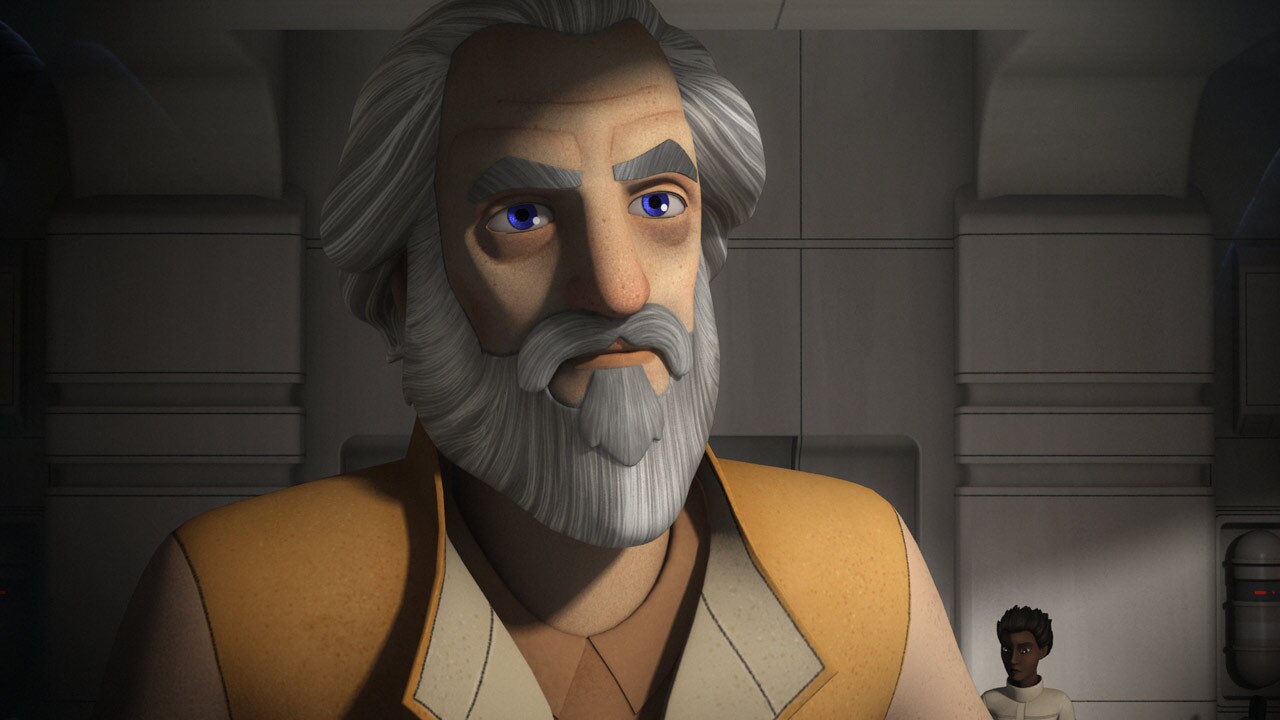
The rebels prepare for battle, and General Dodonna brings his fleet to the rendezvous point at Atollon, meeting with Commander Sato's ships.
-
Kallus attempts to warn the rebels of Thrawn's pending attack, but the transmission is cut off. The Grand Admiral knows Kallus is Fulcrum, and the two battle. Kallus proves little match for Thrawn, and Thrawn soon deduces the location of the rebel base.
-
The rebels received enough of Kallus' message to understand that the Empire is on its way. Suddenly, Imperial Star Destroyers emerge from hyperspace. Hera orders an evacuation, but the Imperial Interdictor blocks ships from jumping. Hera sends Ezra to go find help, while Kanan seeks out the Bendu.
-
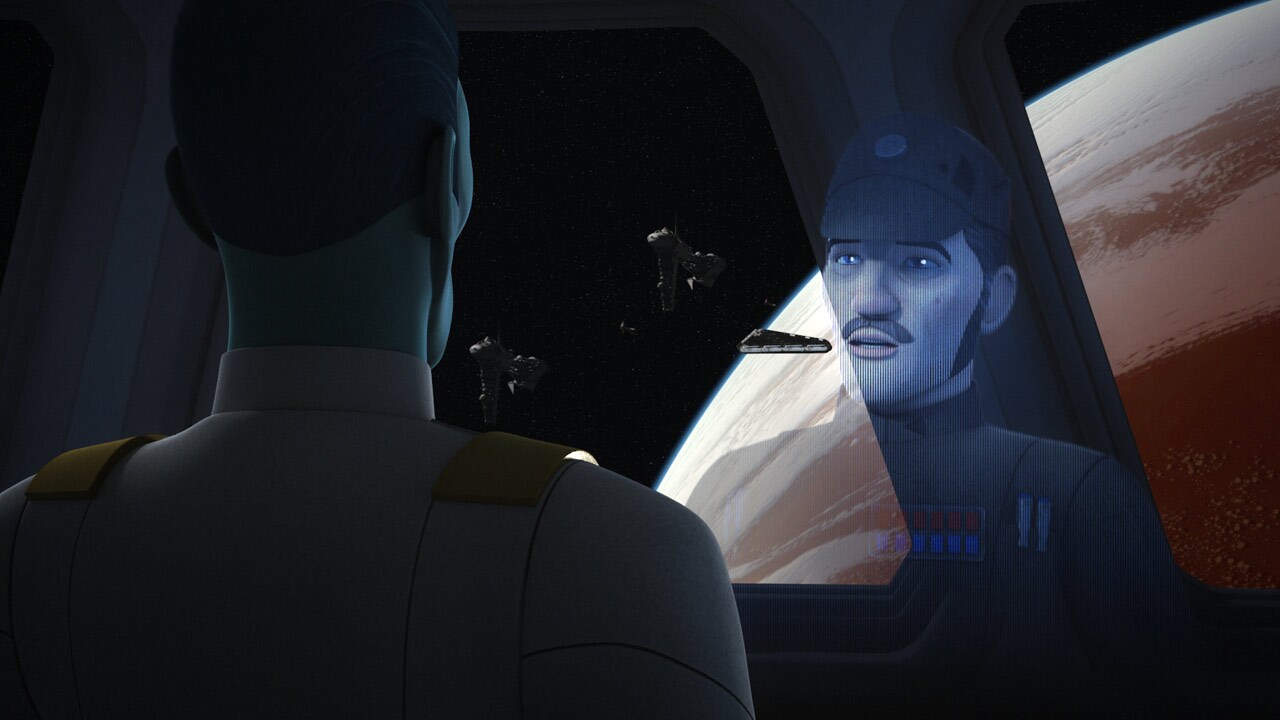
Thrawn positions his ships for the coming battle. He orders Konstantine to keep the Interdictor back until he commands.
-
Dodonna's Y-wings lead the rebel attack, bombing Star Destroyers and making a path for Ezra. In the Ghost, Hera blasts TIEs and works with Sato to develop strategy on the fly.
-
Kanan asks Bendu for help, but the ancient being is angry. The rebels have brought war to his world, and he will not get involved.
-
The Imperial blockade is too strong. Sato realizes the situation is dire, and gives Ezra coordinates, then orders all crew to evacuate from his carrier. He moves his massive ship, drawing Konstantine's cruiser out of position -- then sets a collision course. The Interdictor is destroyed thanks to Sato's sacrifice, and Ezra makes the jump to lightspeed.
-
Hera commands all other ships return to base. Meanwhile, Bendu grows angrier. He rises into the clouds, a mass of lightning and energy.
-
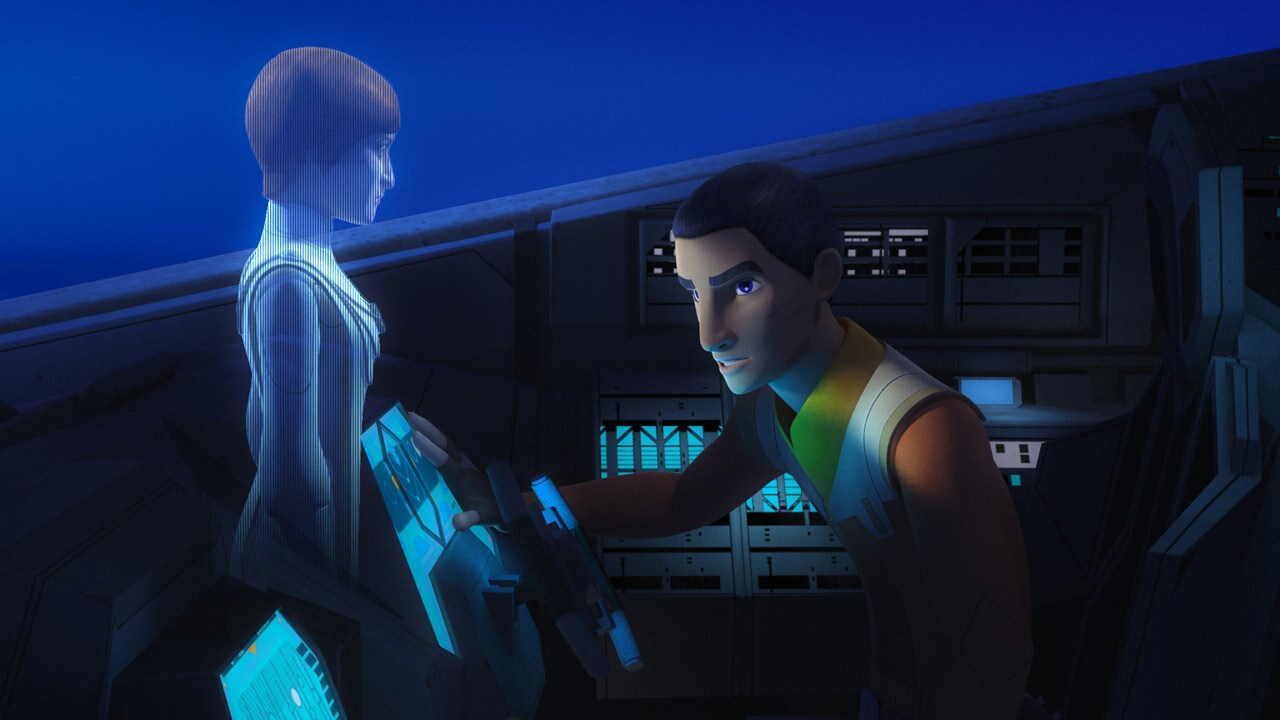
Traveling in hyperspace, Ezra contacts Mon Mothma. She cannot send help; doing so would play right into Thrawn's hands. But the Padawan realizes where else he can find assistance: Sabine.
-
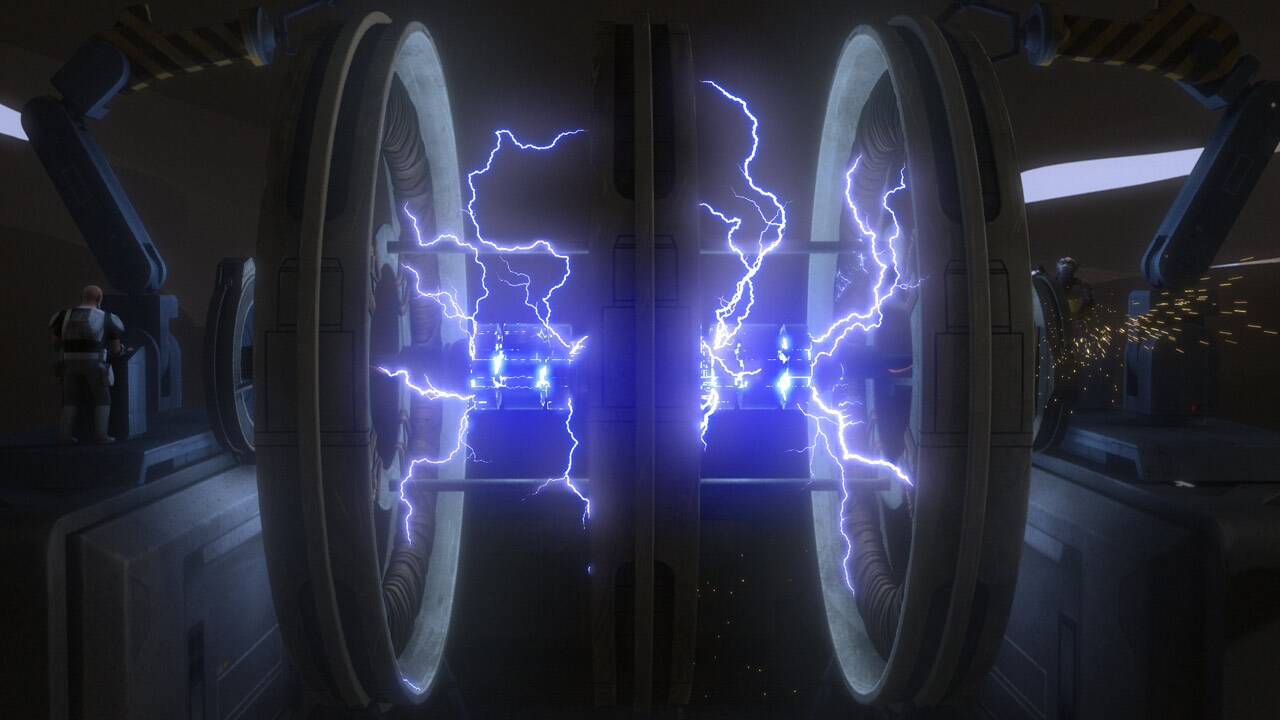
With the rebels back on Atollon, Zeb and Rex activate Sabine's shield generator. It works!
-
Thrawn, meanwhile, commences the attack and tests the mettle of the shield generator. Star Destroyers pummel the surface, but the shield holds.
-
Ezra and Chopper arrive at Krownest, looking to recruit Sabine and her clan to their cause.
-
Thrawn leaves the fleet in Governor Pryce's command as he leads the ground assault. Back on Krownest, the Mandalorians are sympathetic to the rebels' plight, but do not think they can help. Sabine refuses to let her friends face the Empire alone, however, and convinces her clan to fight.
-
The Grand Admiral arrives on Atollon with a fleet of walkers, and they breach the shields. Stormtroopers attack on the ground, TIEs and A-wings clash in the sky, and the fleets battle in space. Meanwhile, Ezra and the Mandalorians have arrived to take out the Interdictor.
-
Thrawn reaches Hera, Kanan, and the rebels. They will surrender or die one by one, he says. But a storm is brewing. It is the Bendu. "I bring death!" the being shouts from above. Lightning rains down, destroying Imperial and rebel vehicles alike. The rebels run for the Ghost and get off planet.
-
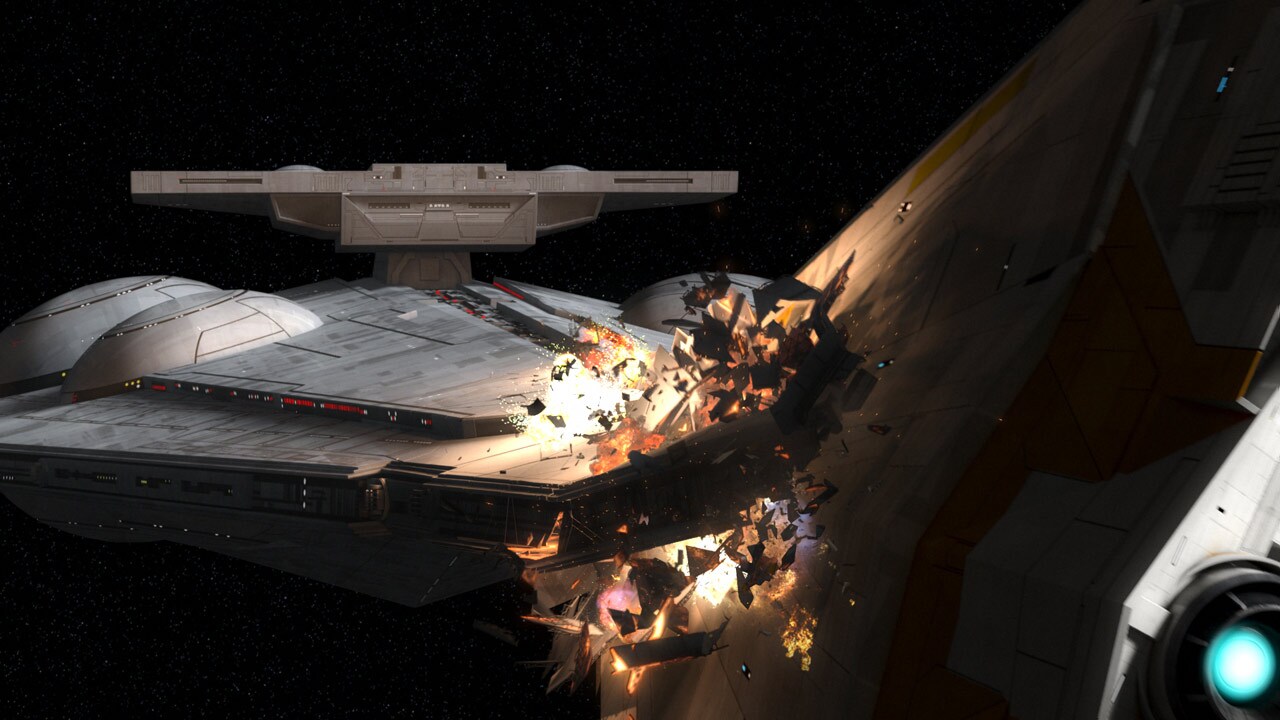
Ezra and the Mandalorian strike team reach the Interdictor's hull. They fight off TIEs and troopers, and finally disable the ship. The hull ruptured, the Interdictor explodes.
-
Frustrated, Governor Pryce orders Kallus thrown out the airlock, but he escapes and finds his way into an escape pod. The Ghost receives Kallus' transmission and picks him up; with the Interdictor gone, the surviving rebel ships make the jump to lightspeed.
-
The Bendu has been shot down, and Thrawn approaches, ready to execute it. "I see your defeat," Bendu says. "Like many arms surrounding you in a cold embrace." Thrawn fires, but Bendu vanishes. His laugh echoes.
-
The rebels are battered, but ready for what's next -- including a trip to Yavin. "There's a future for us," Kanan says. "One where we're all free. But it's up to us to make it happen."
Zero Hour Episode Gallery
TM & © Lucasfilm Ltd. All Rights Reserved