
© 2015 Disney

Call to Action Episode Gallery
- Back to Call to Action
- 17 Images


-
Flanked by a TIE fighter escort, a shuttle lands at Imperial HQ on Lothal. Minister Maketh Tua, Agent Kallus, and the Inquisitor await their visitor...
-
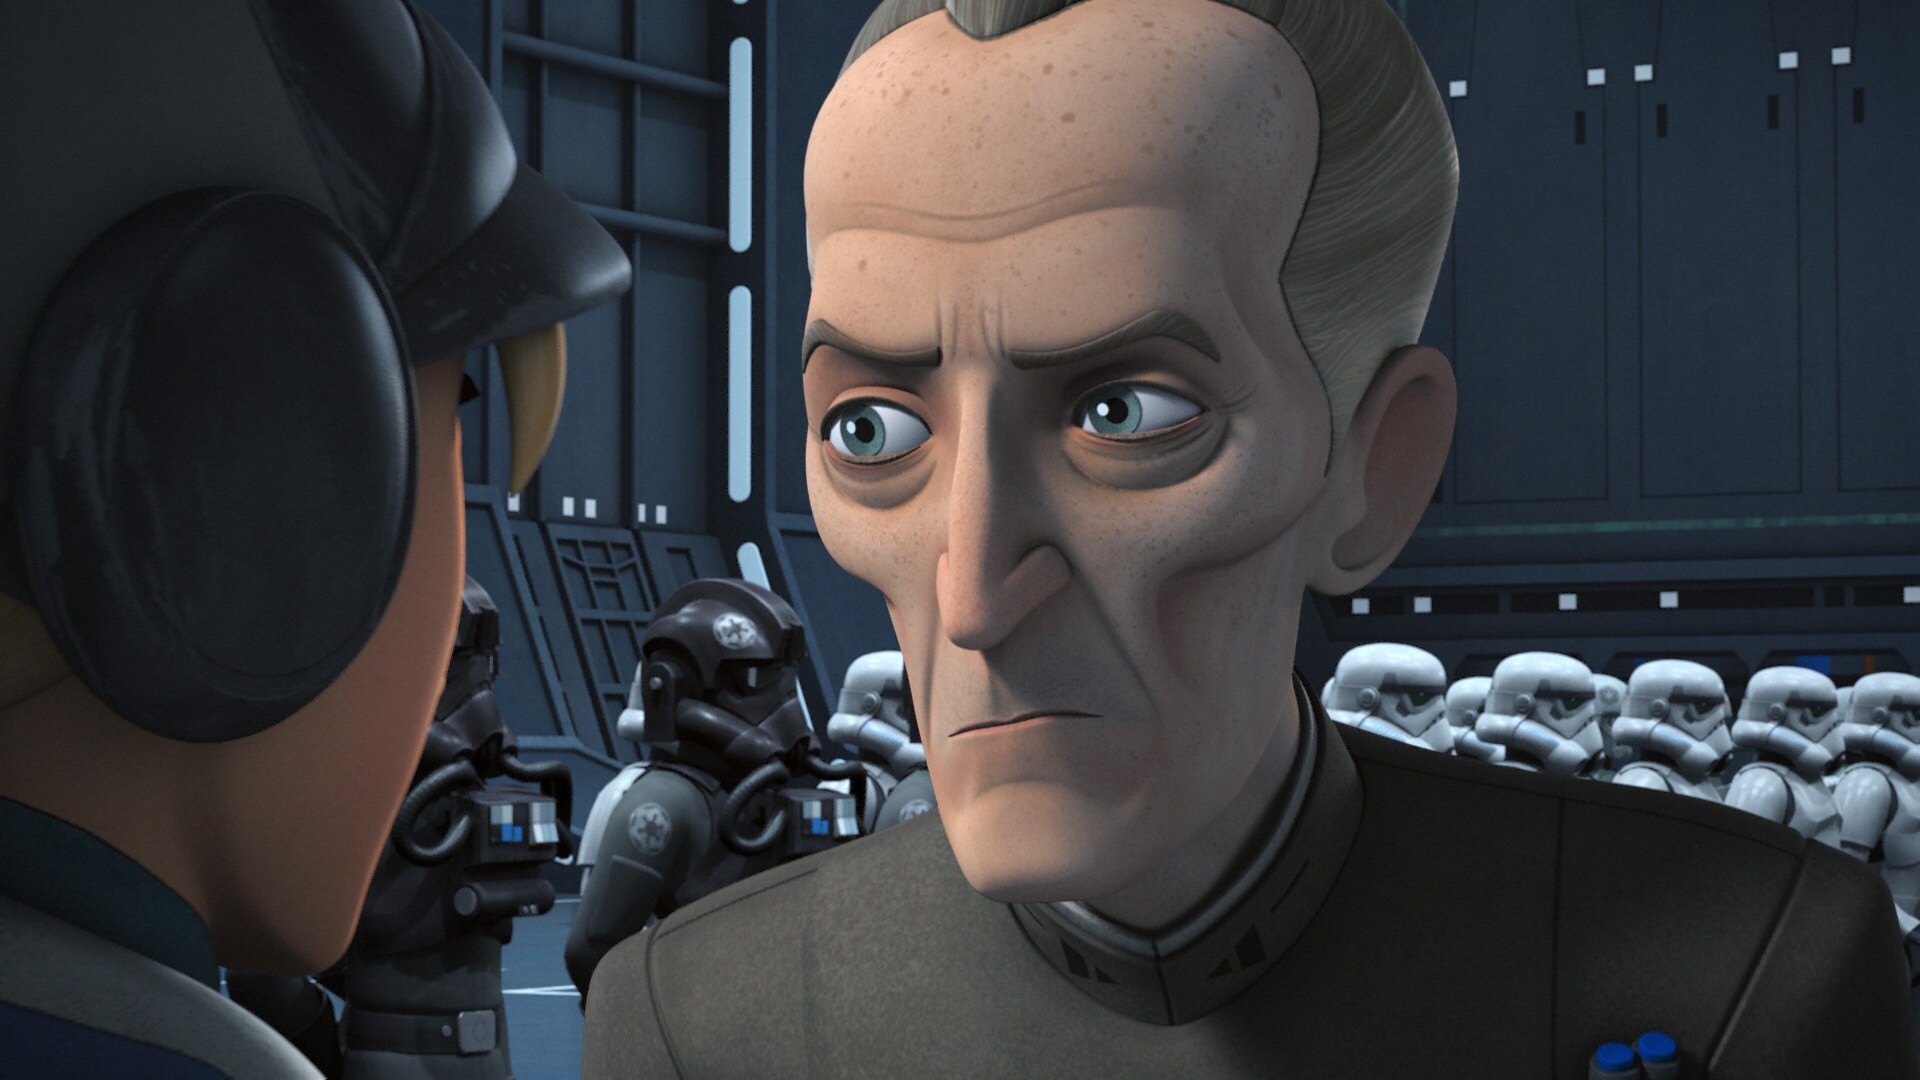
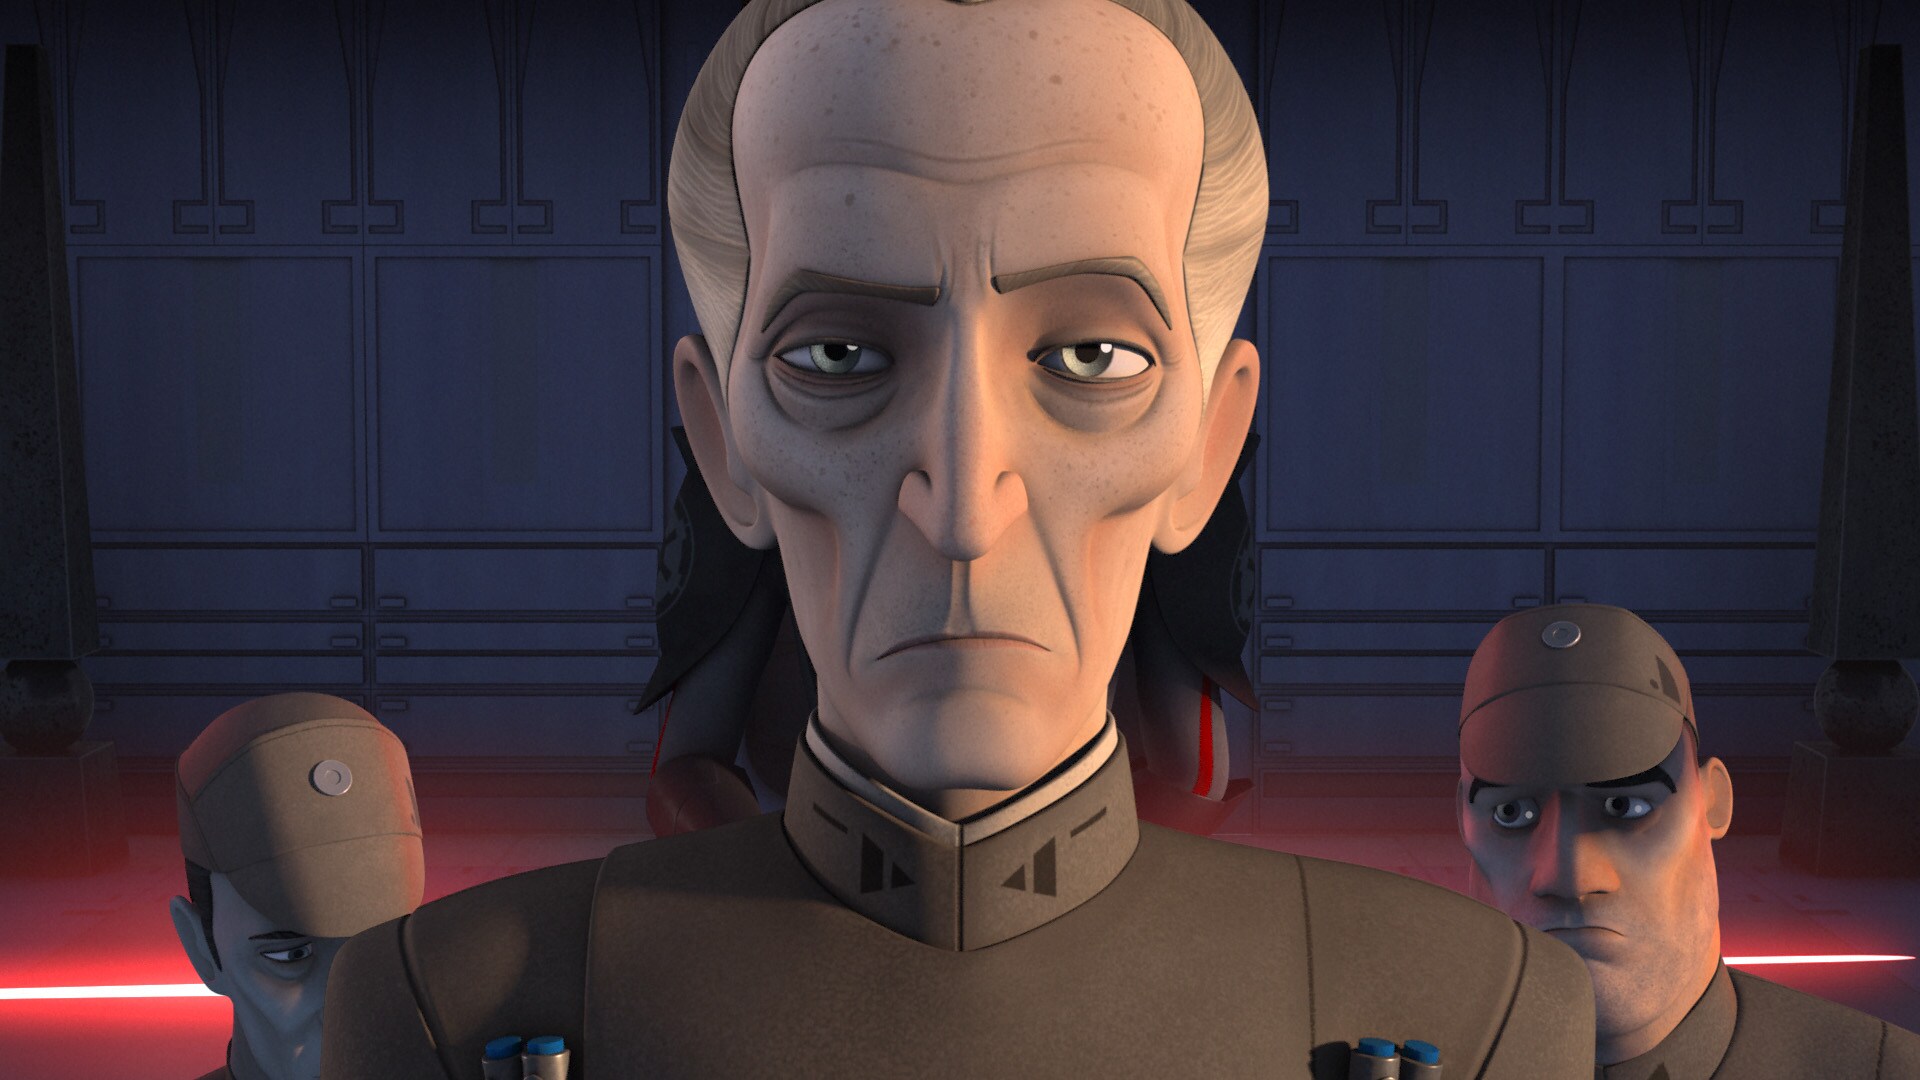
...Grand Moff Tarkin. He has come to Lothal to personally handle the planet's rebel cell, and is displeased with the Imperial leadership shown on the matter thus far.
-
Meanwhile, Ezra, Kanan, and Sabine find themselves in a speeder bike chase with local Imperials.
-
Leading them into the city center, the Ghost crew strategically take out their pursuers.
-
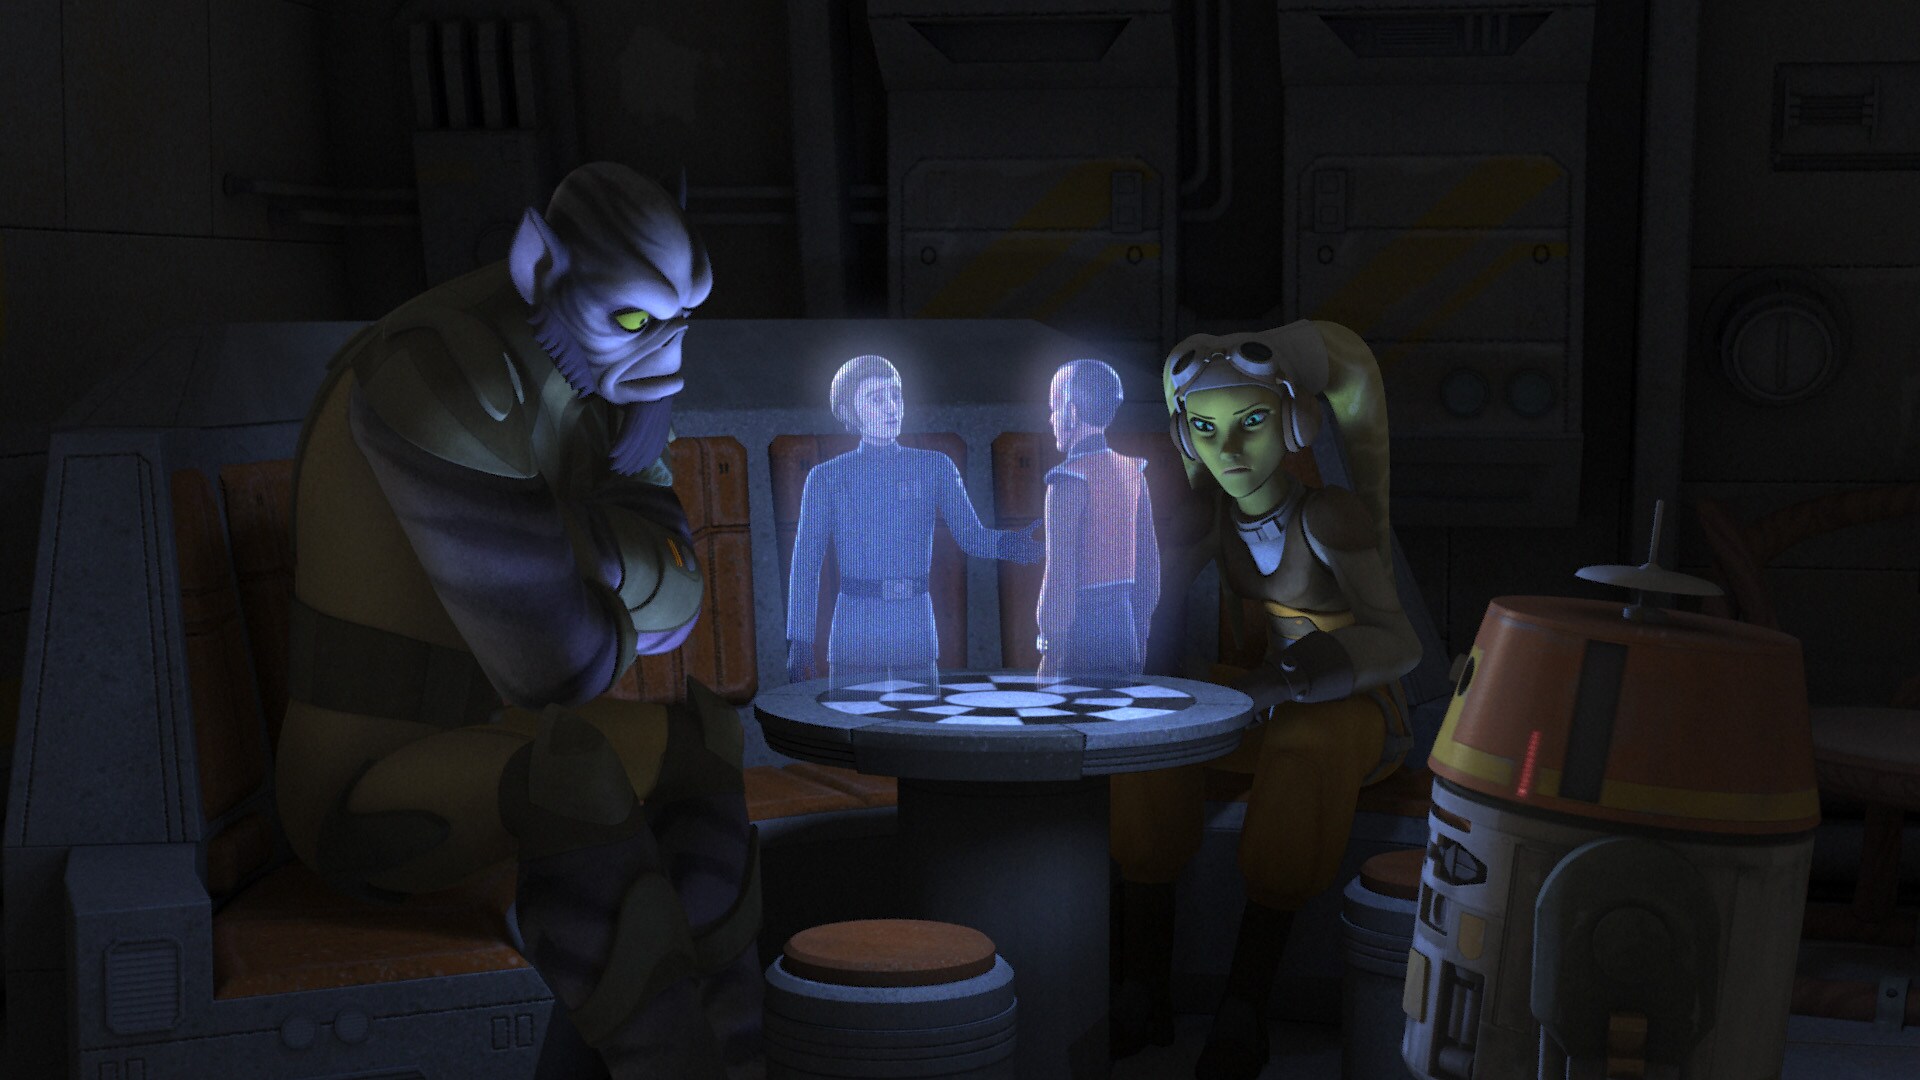
On the HoloNet, Zeb and Hera watch Alton Kastle's exclusive interview with Gall Trayvis. The traitorous senator show's an image of the Lothal rebels, painting them as villains, and offers a reward for their capture. But this gives Kanan an idea: the crew will send out their own inspirational message via the Imperial communications tower.
-
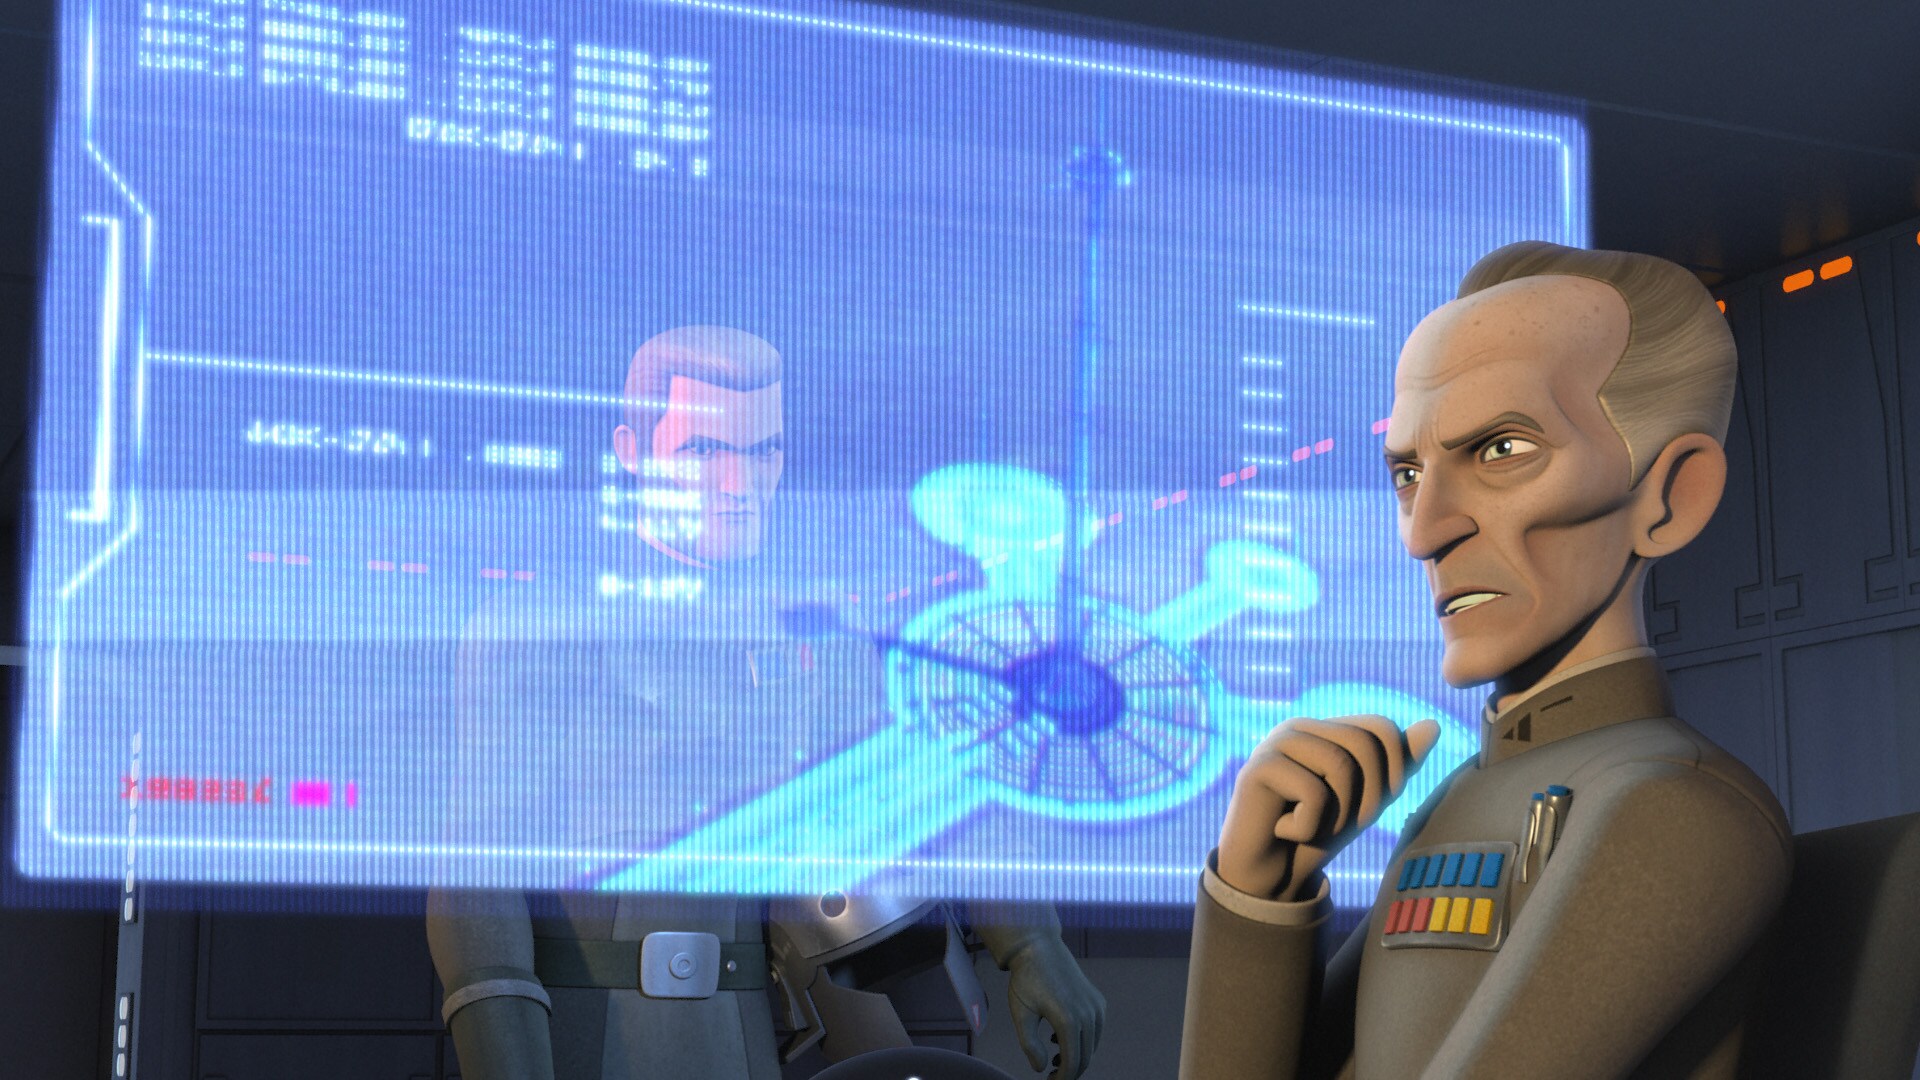
In his first matter of business, Tarkin calls in Commandant Aresko and Taskmaster Grint. He asks for details regarding the Lothal insurgents, and compares these rebels with other cells. But Tarkin is most concerned with the presence of a Jedi, and Aresko and Grint's inability to deal with him.
-
With an unspoken command, Tarkin orders the Inquisitor to relieve the officers of their duties -- permanently. "Make no mistake," Tarkin says. "From now on, failure will have consequences." He orders Kallus to dispatch probe droids. They will find the rebels and make examples of them.
-
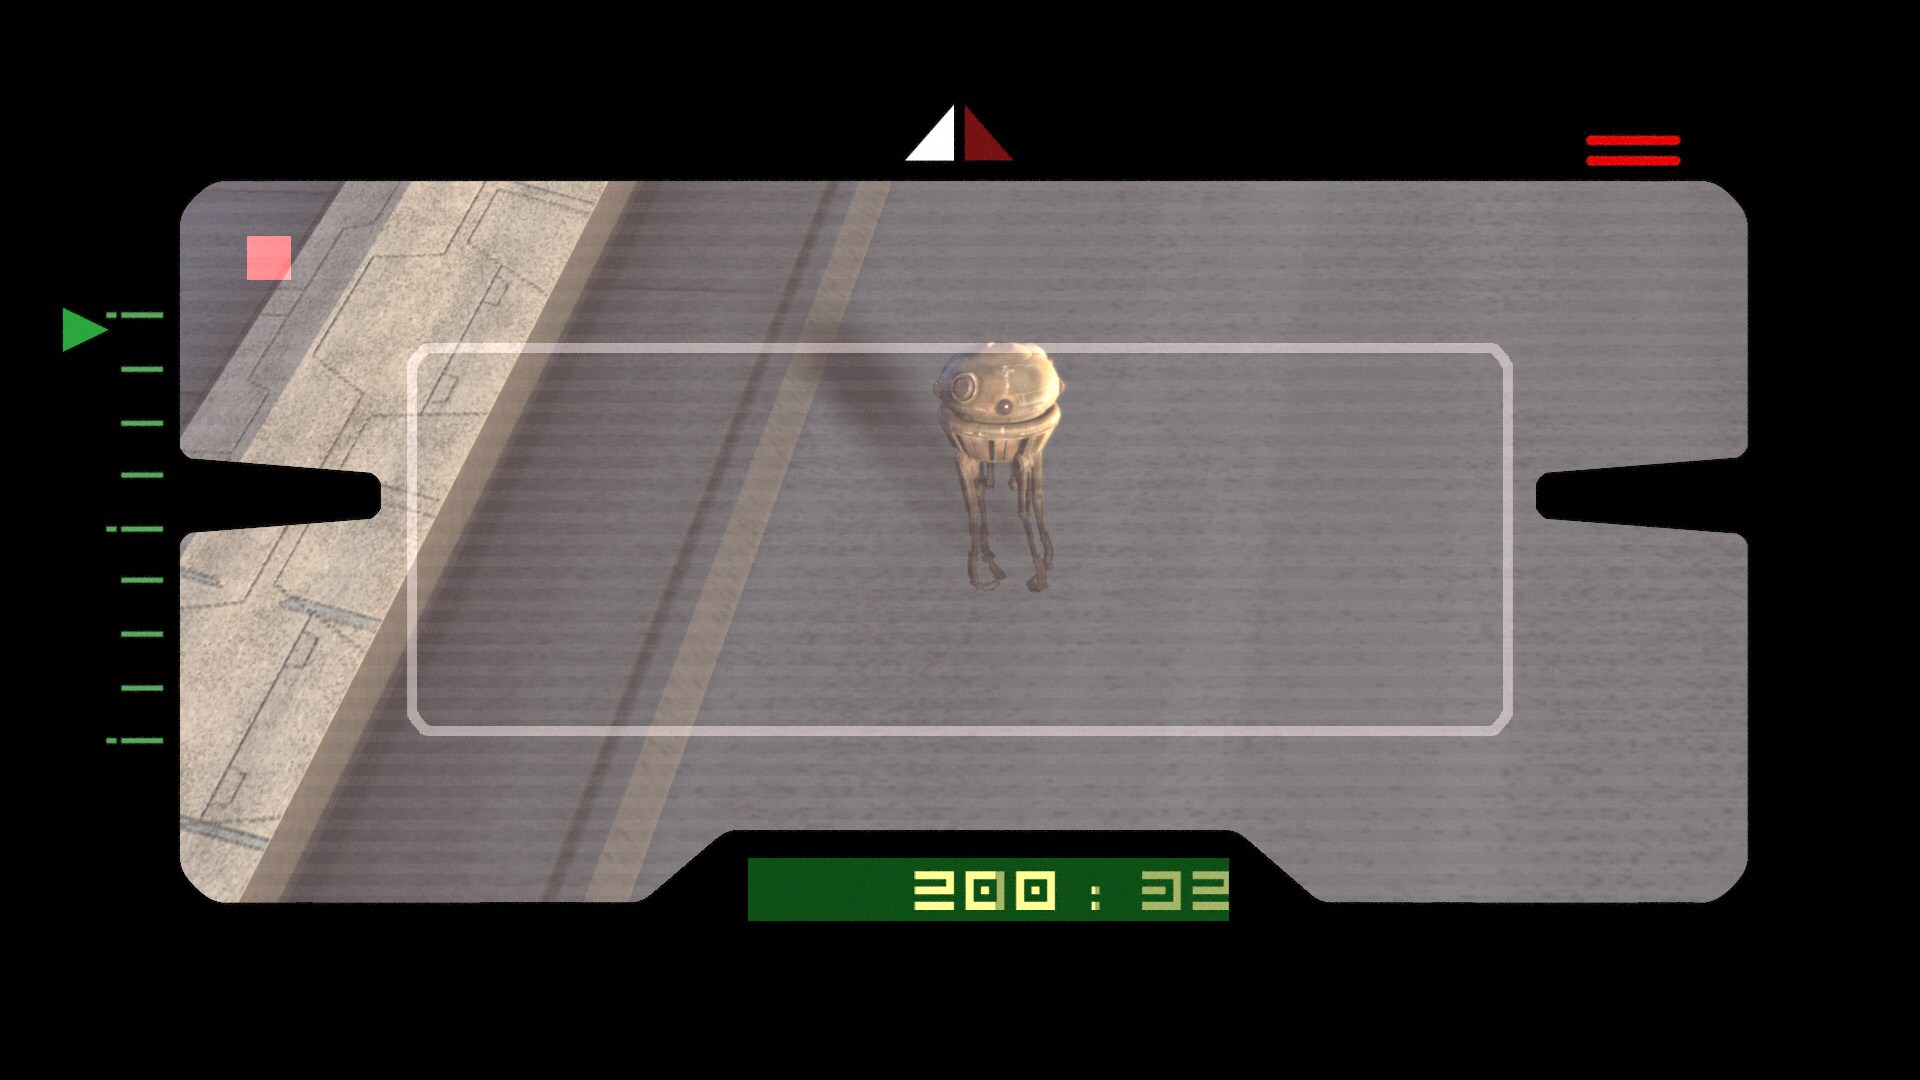
Scouting the communications tower, Kanan, Ezra, and Sabine spot an Imperial probe droid. It doesn't see the rebels, but they must take action before it sees their speeder bikes.
-
Reaching out through the Force, Ezra connects with a Loth-cat. The animal pounces on the droid, crashing it into the ground. The rebels gather their vehicles, but the probe was not fully deactivated...
-
...and an image was sent back to the Empire. Aware of their plan to enter the tower, Tarkin commands that they set a trap for the insurgents.
-
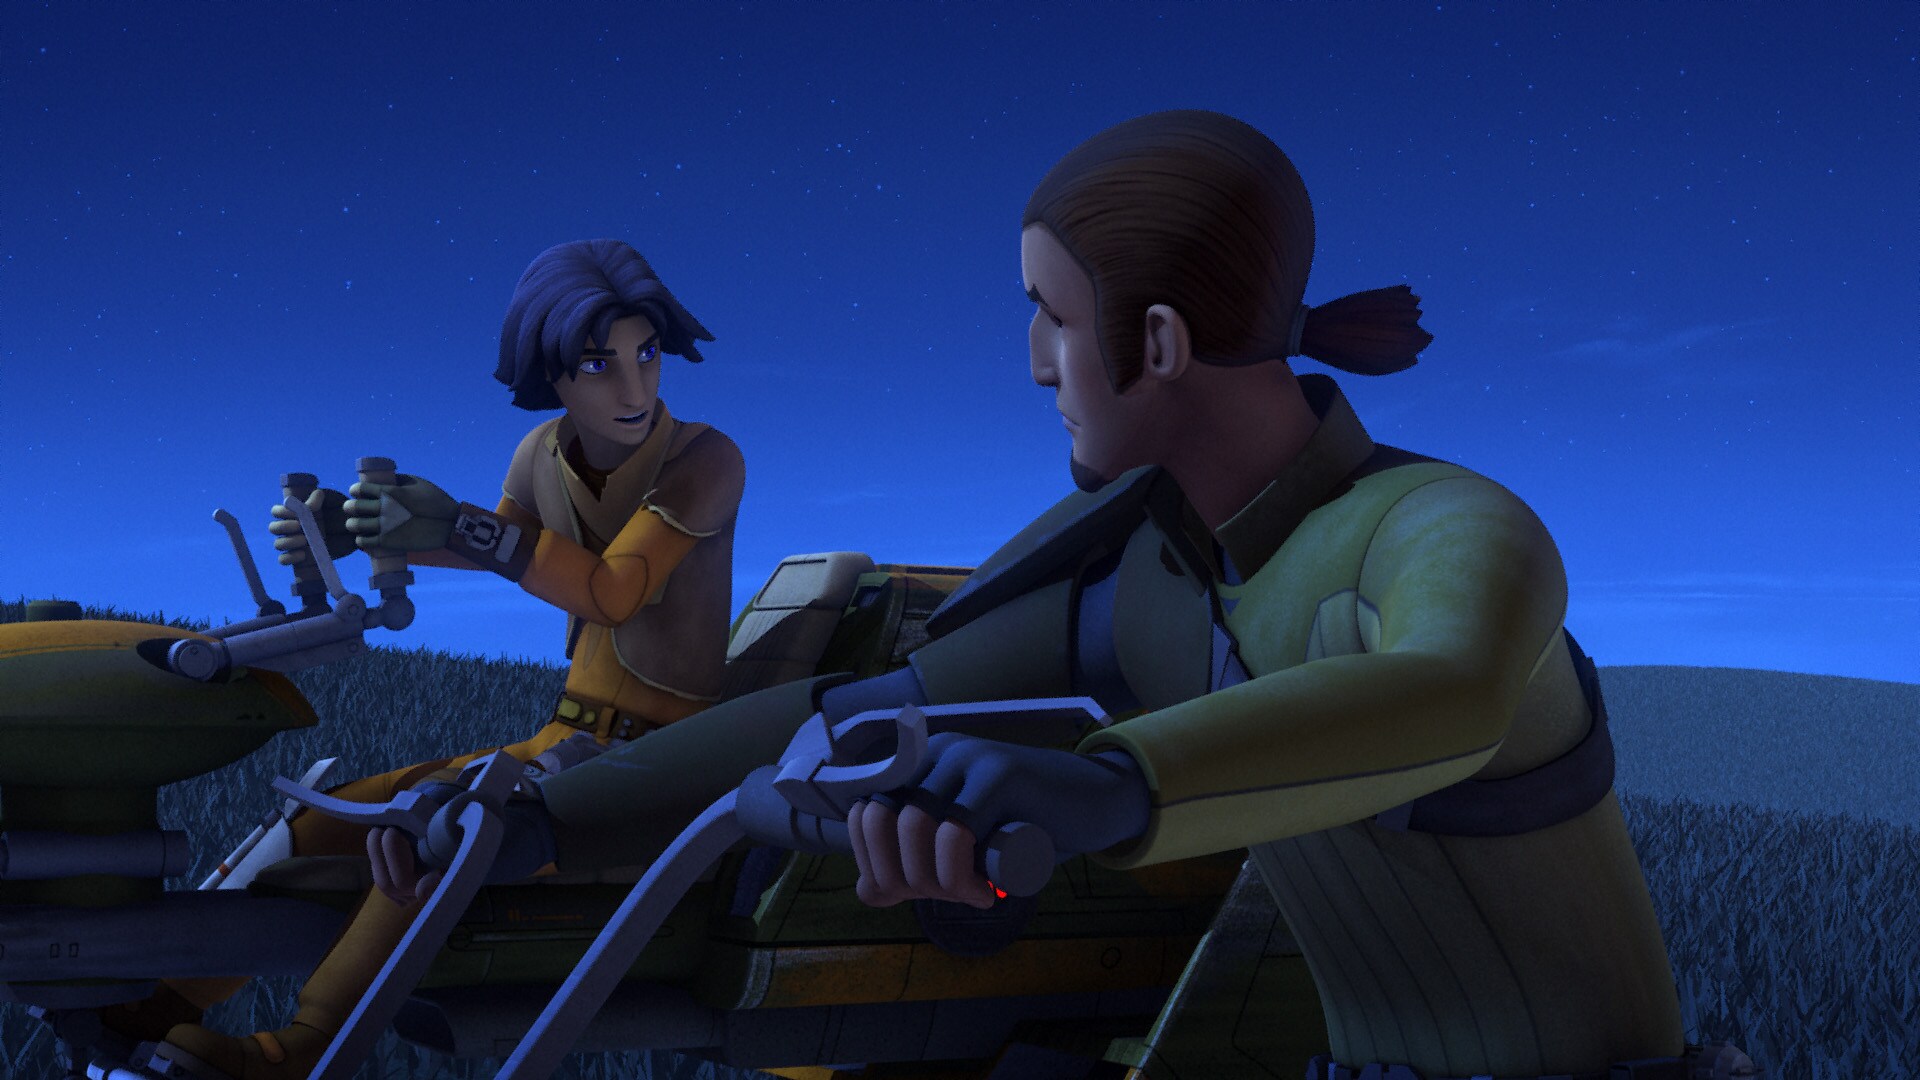
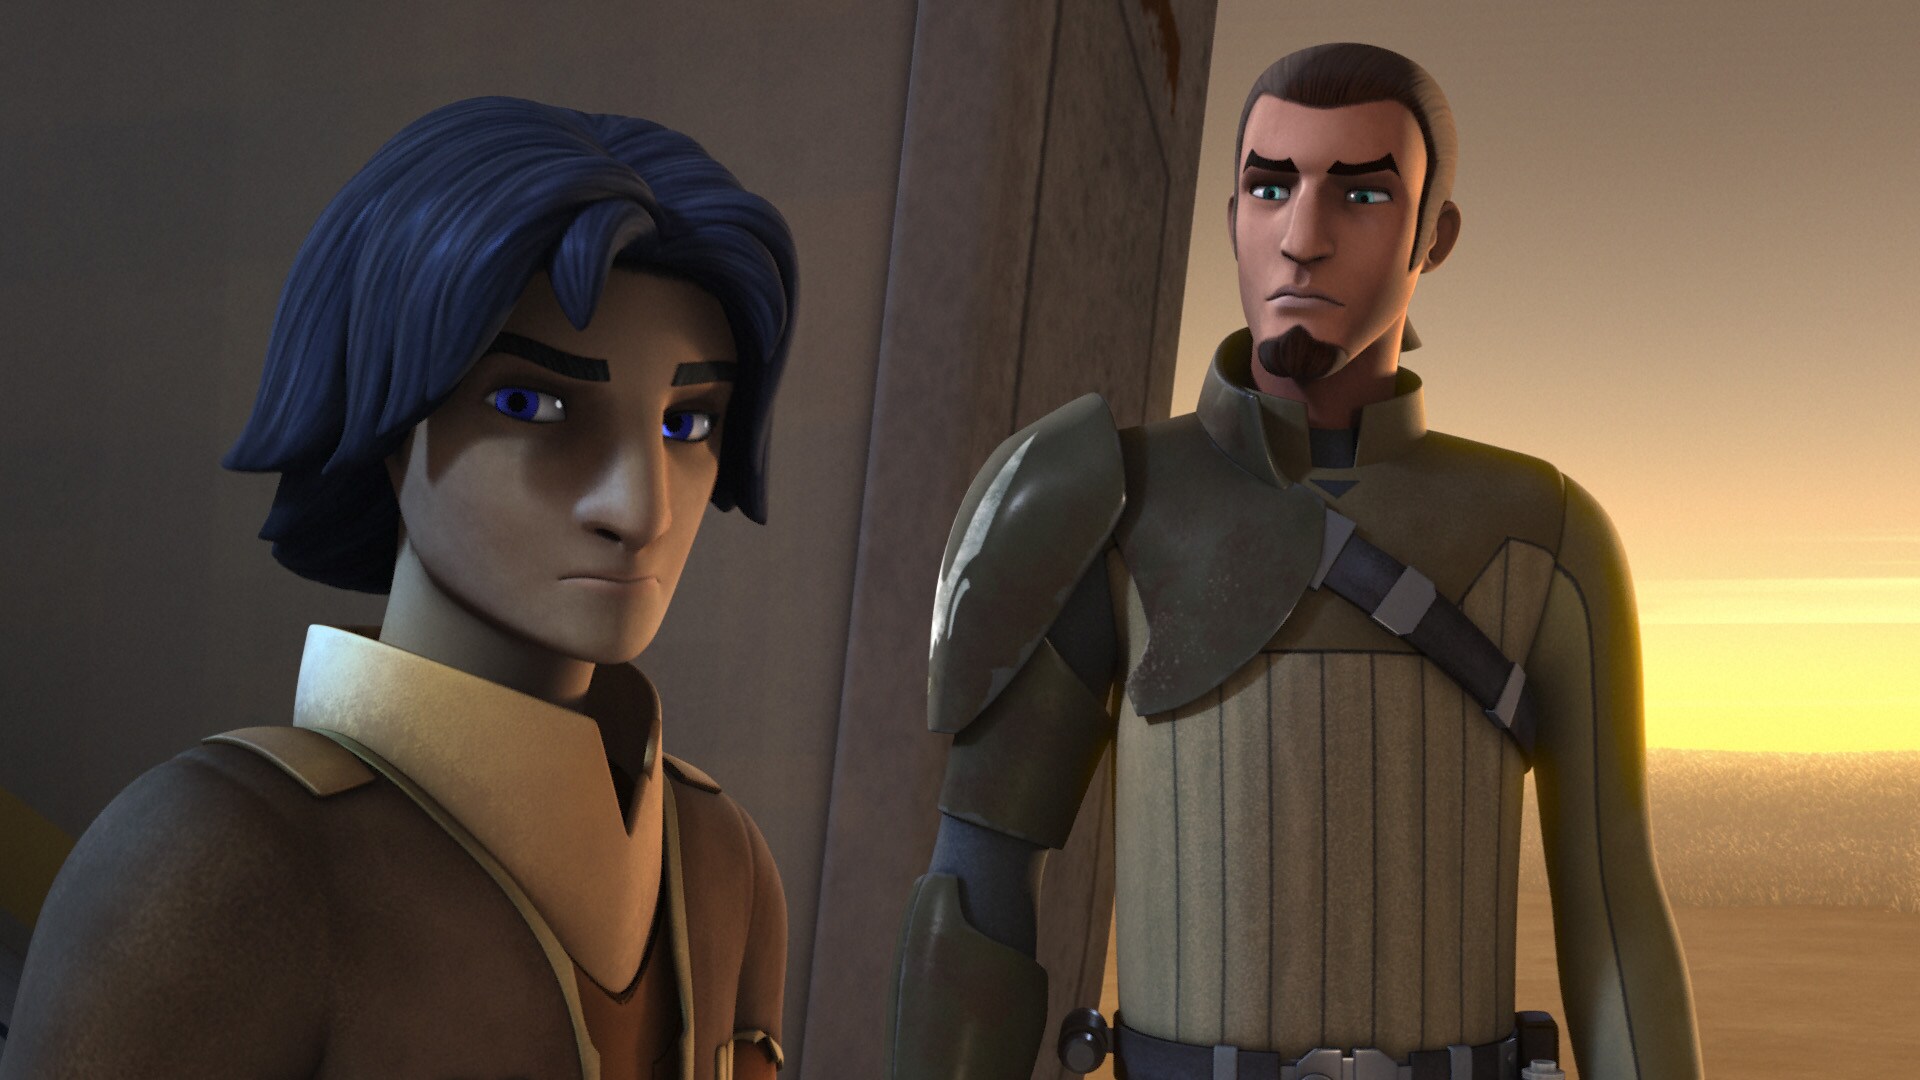
Before their mission begins, Ezra seems upset. He's not sure they should go through with it. He doesn't want to lose his friends the way he lost his parents. "We have to move forward," Kanan tells him, and be ready to sacrifice for a greater good.
-
Sabine leads the attack, drawing the guards' fire, giving the others a chance to arrive. Once inside the tower, Chopper begins to install a spike that will let them take control of transmissions.
-
But more Imperials have arrived, including the Inquisitor. The rebels are outnumbered. Chopper finishes his upload, but with Imperials closing in, the team can't leave through the front entrance; Kanan sends them back inside, ignites his lightsaber, and readies for battle.
-
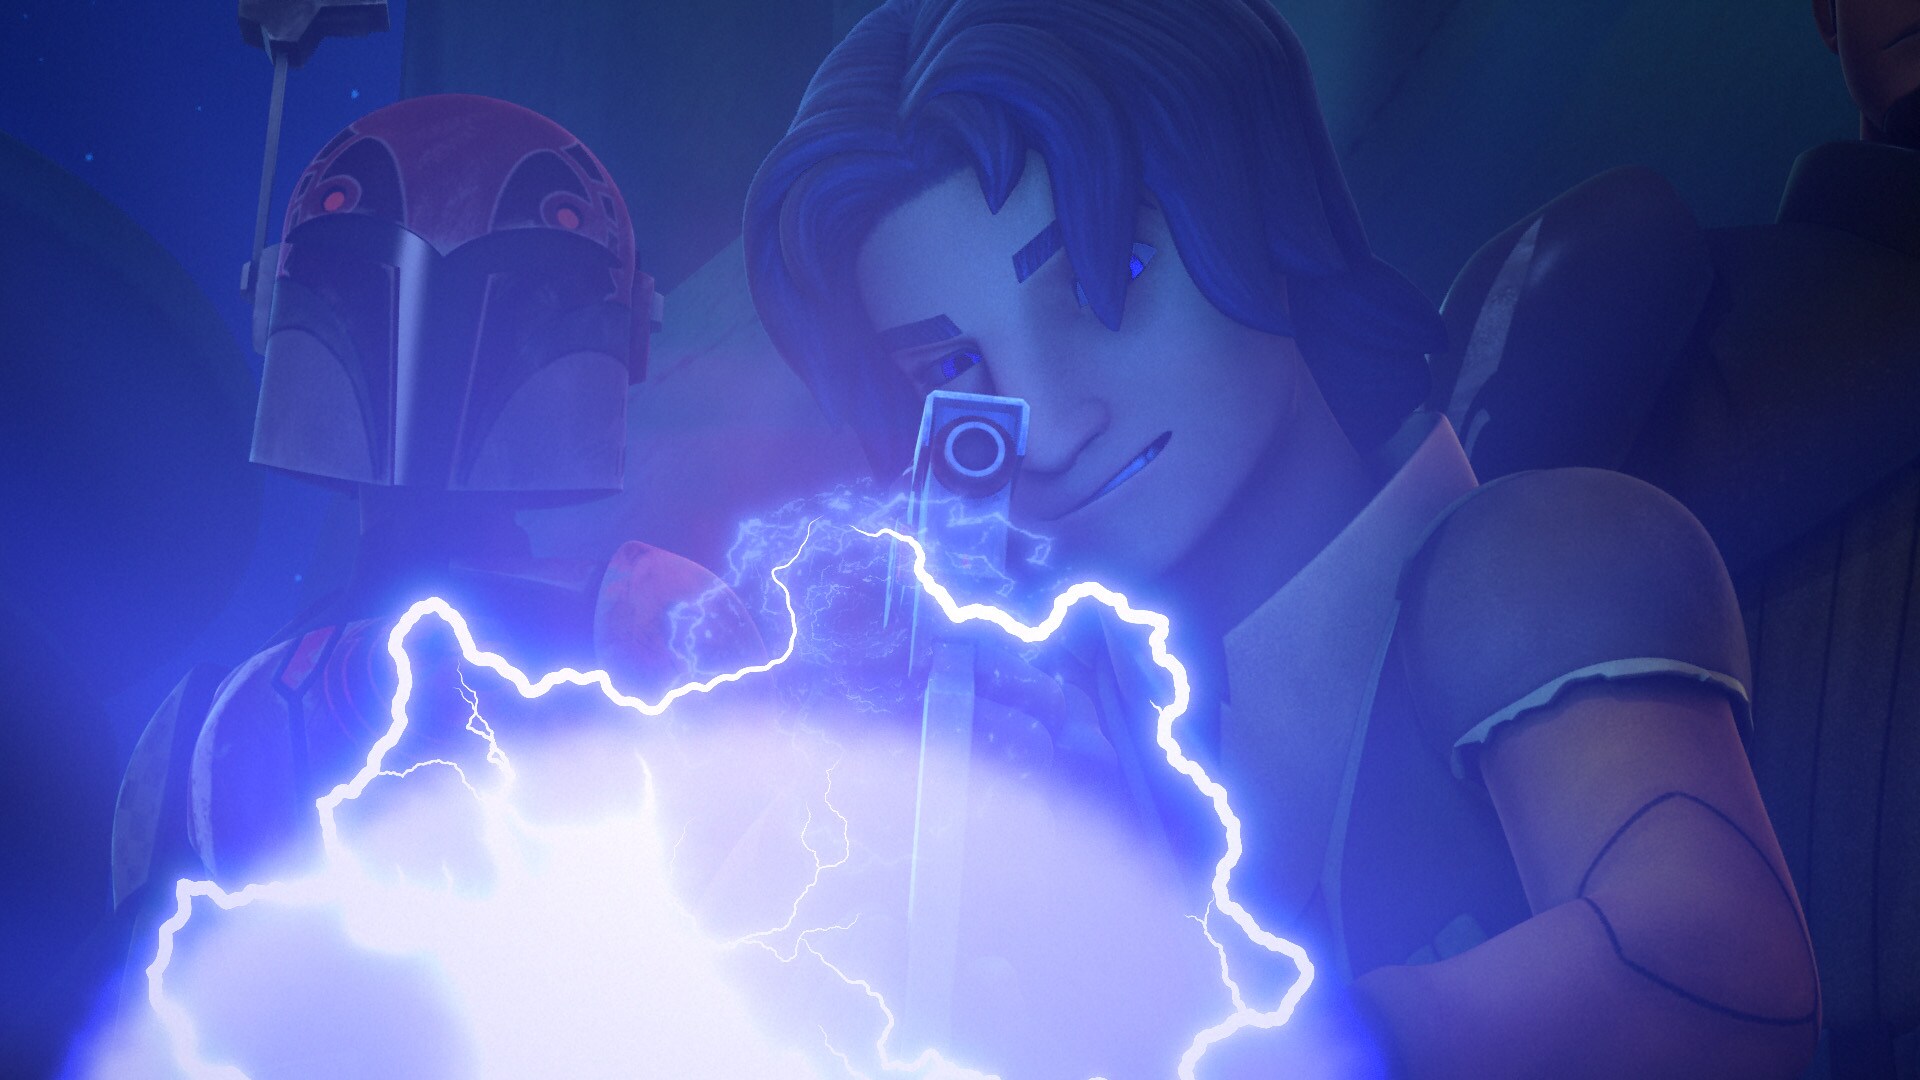
The Inquisitor leaps down from a gunship, and Kanan attacks; meanwhile, the Ghost crew emerges at the top of the tower. Ezra watches helplessly as the Inquisitor pins Kanan with the Force. With Hera arriving in the Phantom to rescue the team, Kanan commands that they leave him behind.
-
Back on the Ghost, Ezra completes the group's mission: he makes a broadcast, encouraging bravery in the face of the Empire's evils. In the streets of Lothal and other worlds, his message is heard.
-
Coldly, Tarkin orders the tower destroyed, while Kanan looks on in disbelief. "You don't know what it takes to win a war," he says. "But I do."
-
Ezra isn't sure if anyone heard his message, but Hera is confident. They are both, however, in agreement: this isn't over.
Call to Action Episode Gallery
TM & © Lucasfilm Ltd. All Rights Reserved