
© 2015 Disney

R2 Come Home Episode Gallery
- Back to R2 Come Home
- 19 Images


-
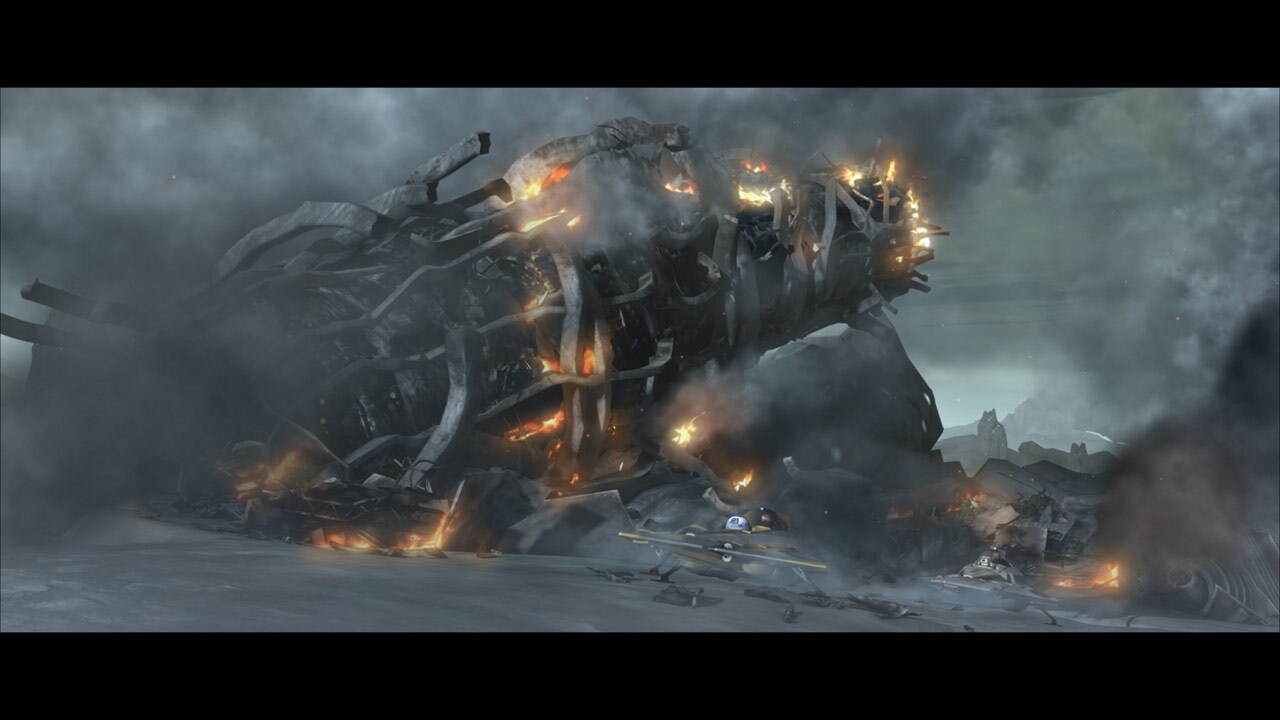
The Endurance has carved an enormous gash into Vanqor's crystalline landscape, leaving debris scattered for kilometers. The cruiser is a smoldering wreck, but the bridge appears mostly intact atop the ship's conning tower.
-
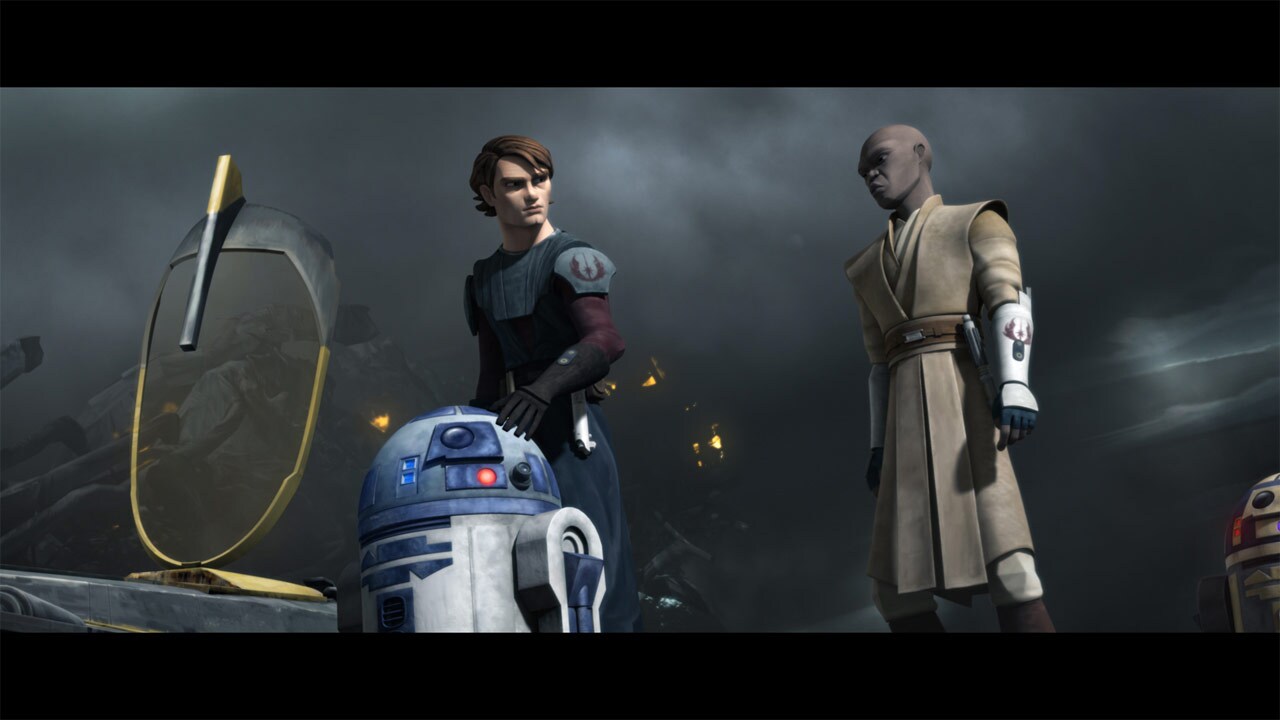
Mace and Anakin land their starfighters away from the shaky wreckage, and proceed on foot. Their astromech droids accompany them, R2-D2 with Anakin and R8-B7 with Mace. Artoo is jittery, worried about what the ruins may conceal. Mace has some misgivings about the human-like behavior exhibited by Skywalker's droid, but he presses ahead. R8 finds an opening amid the rubble that will lead them to the bridge.
-
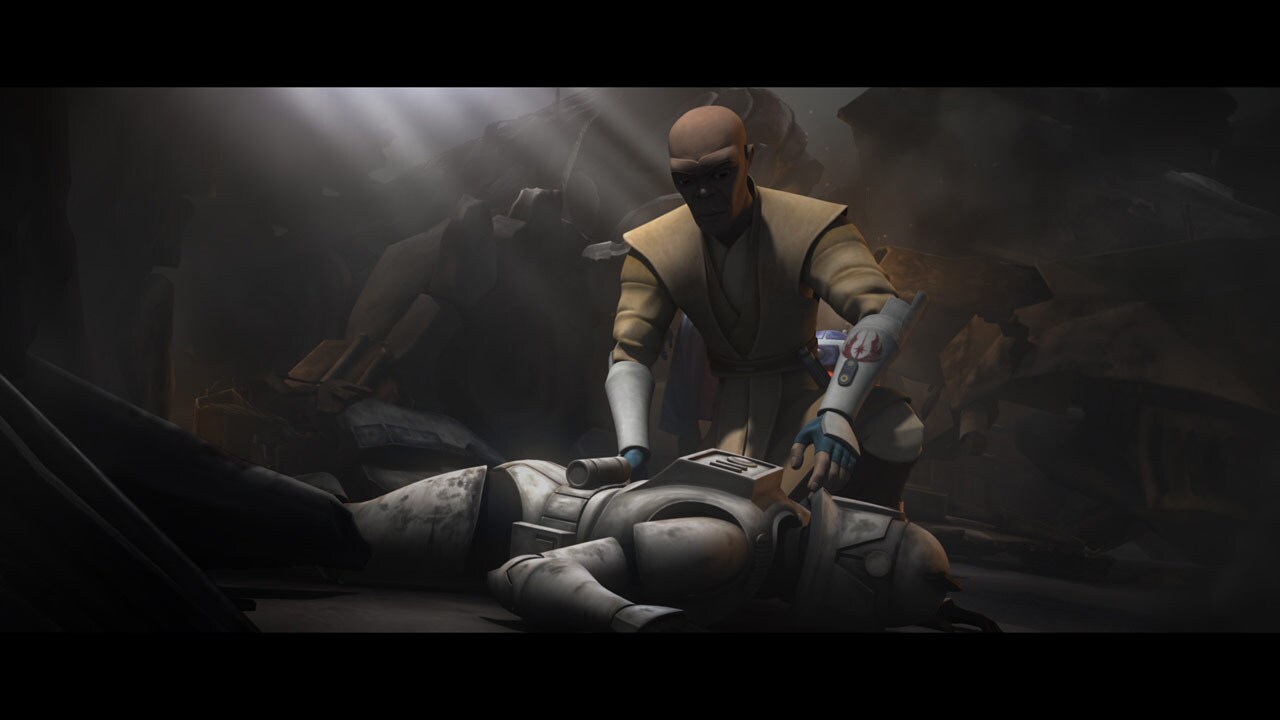
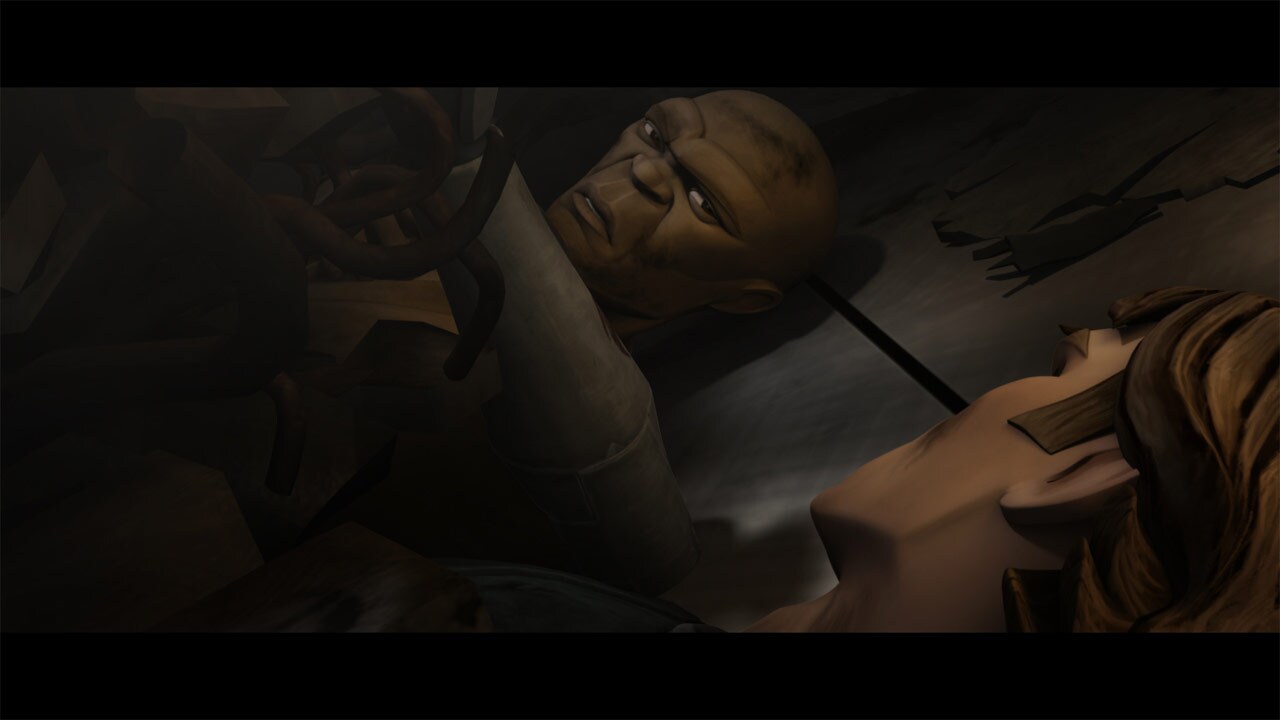
Inside the shattered hull, Artoo finds the bodies of two dead clones. Mace inspects them, finding blaster marks that reveal these troopers did not die in the crash -- they were assassinated. It appears Mace's would-be killer is still at large. Windu and Skywalker continue into the ship, leaving their droids to scan for survivors. They find more clone bodies, also shot, but no sign of Admiral Kilian or Commander Ponds.
-
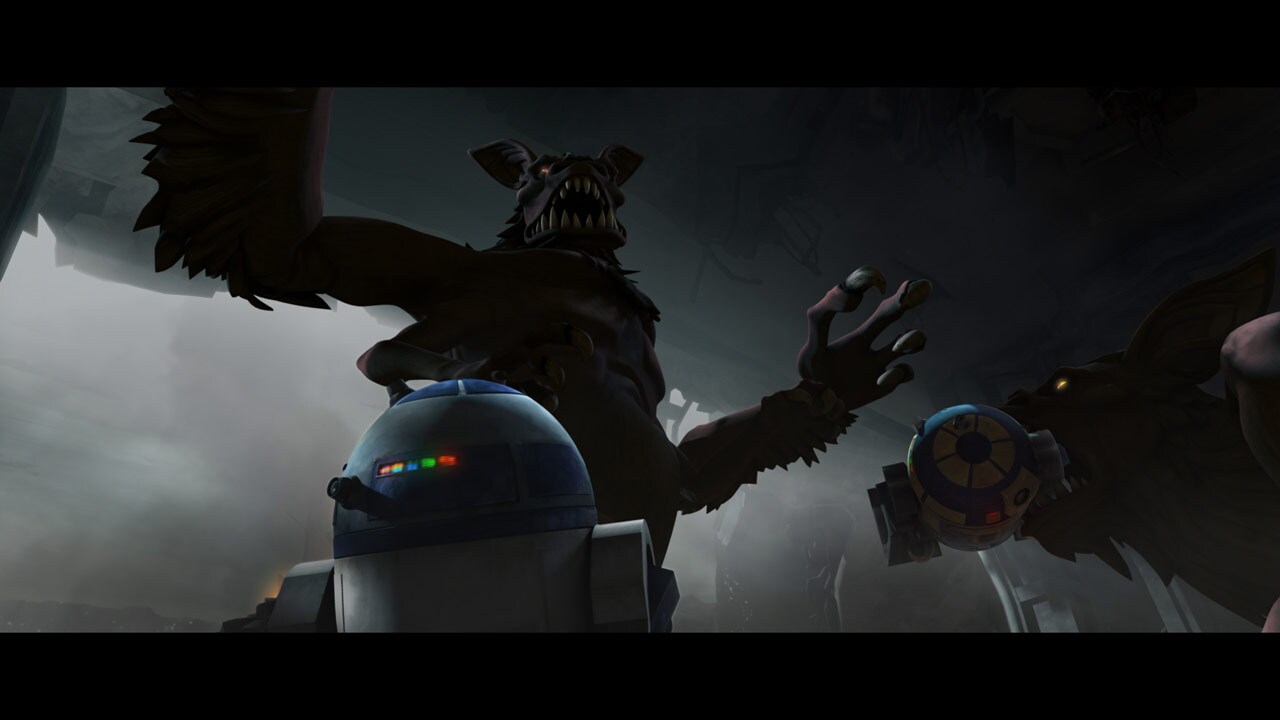
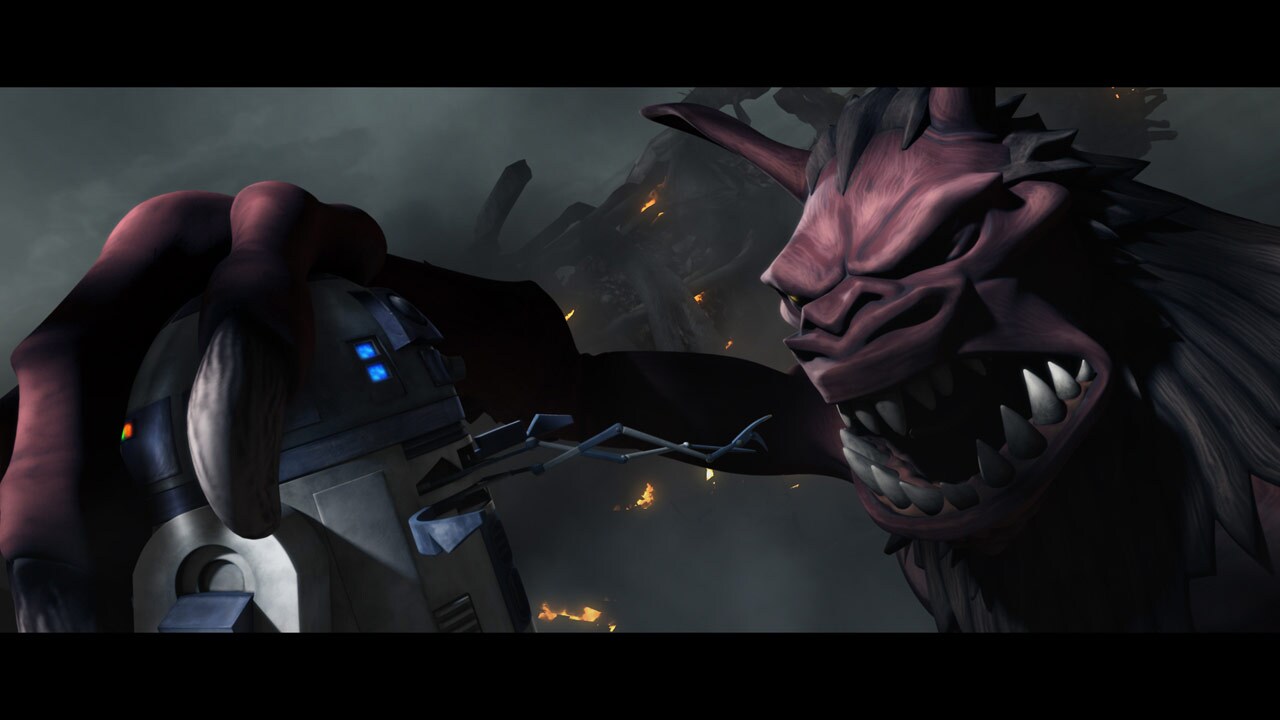
Outside, the astromech droids are suddenly attacked by vicious gundarks. Two of the creatures tear R8 apart, and swat Artoo about, but the little white and blue droid escapes into the debris.
-
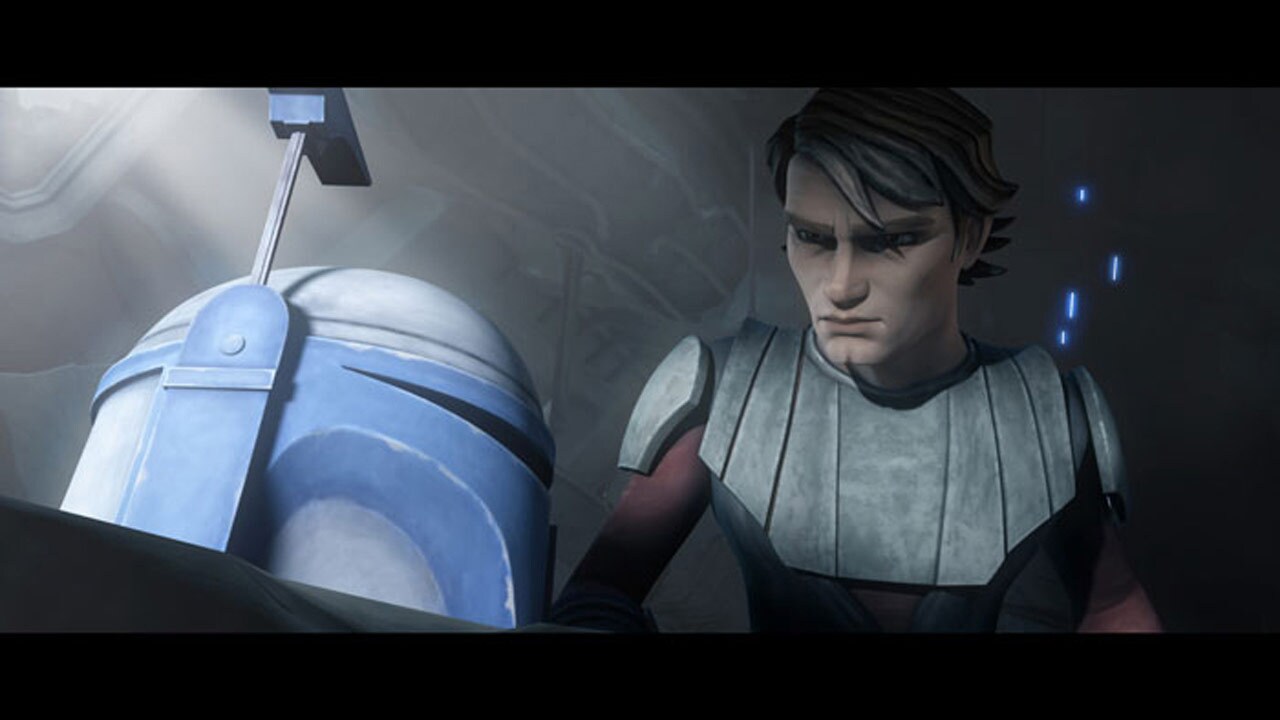
Anakin is surprised to find an out-of-place object amid the wreckage of the bridge: a blue and silver Mandalorian helmet.
-
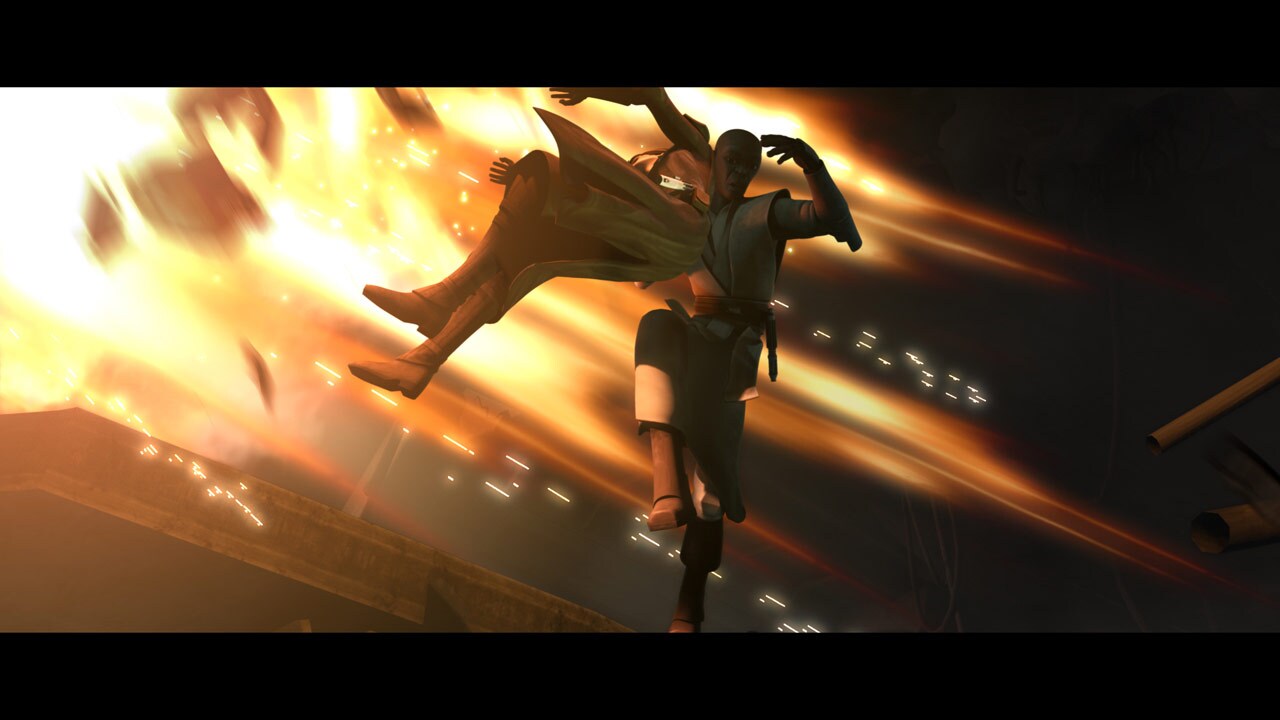
As Skywalker approaches, Mace begins to piece together the clues. He recognizes the helmet: it is that of Jango Fett, the man he killed on Geonosis. He realizes that Boba Fett was one of the clone cadets aboard the Endurance. He Force-pulls Anakin away from the booby-trapped helmet, just as it explodes, shattering the bridge.
-
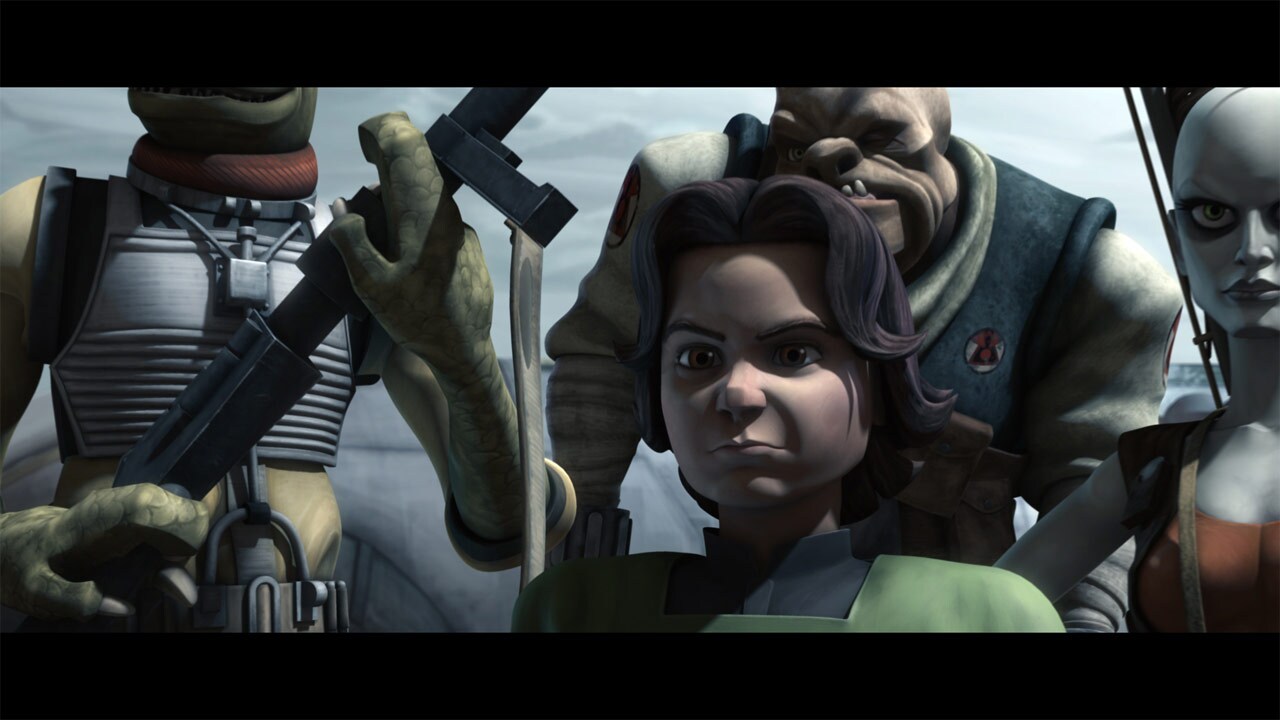
Some distance away, this explosion is watched intently through a pair of electrobinoculars. Boba Fett sees his trap sprung. With him stand a trio of bounty hunters: Aurra Sing, Bossk and Castas. Boba wants to ensure that Mace is dead by seeing his body. Castas is annoyed that Aurra Sing is putting so much stock into the boy's vendetta, but the job promises a hefty sum from the Separatists if the hunters are able to prove the death of two Jedi generals.
-
Aurra, Castas and Boba hop atop speeder bikes and flit to the wreckage to confirm the deaths, while Bossk is left to watch over their hostages: Admiral Kilian, Commander Ponds, and a clone navigation officer from the Endurance.
-
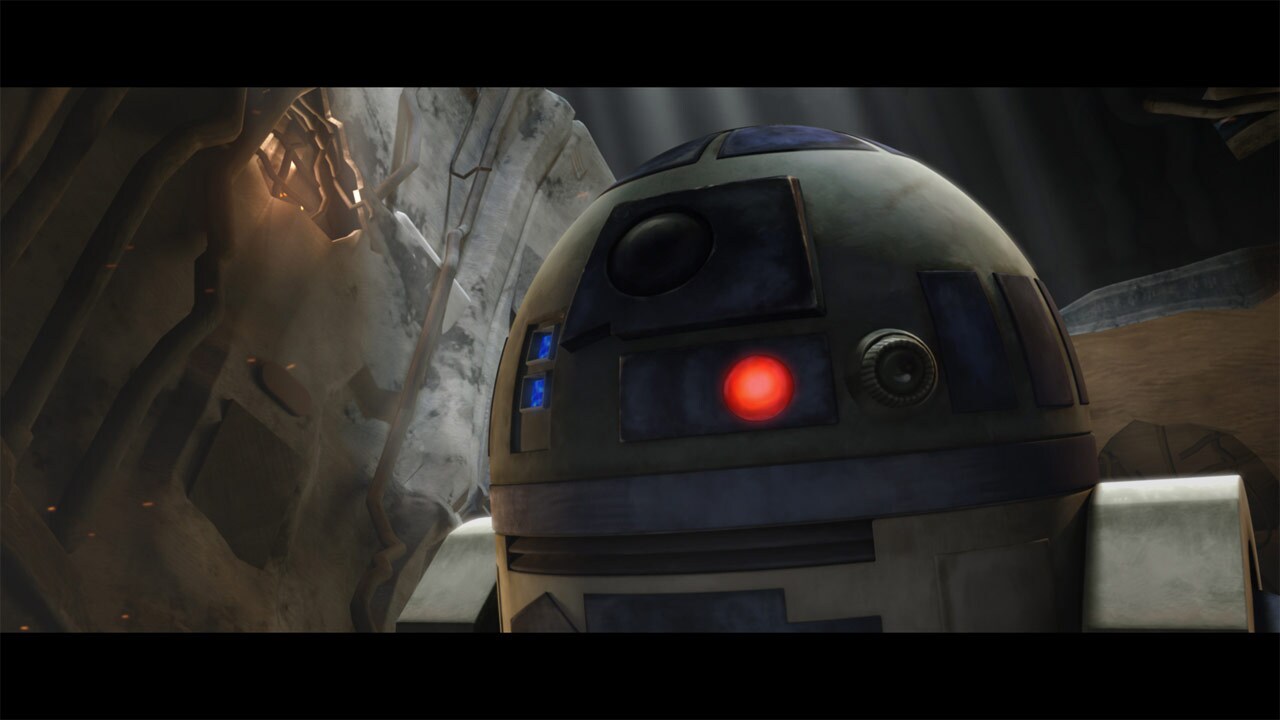
Artoo finds Anakin pinned under heavy debris and tries to clear some of the wreckage, but that causes the whole bridge to tremble. The ship is barely holding together. Anakin weakly tells Artoo to return to the fighters and contact the Jedi Temple for help.
-
Artoo spots the bounty hunter speeder bikes approaching. Castas, Aurra and Boba begin carefully climbing their way into the ruins of the Endurance. Artoo mischievously rains down debris and activates blast doors to slow their progress. When the droid drops a discarded thermal detonator down upon the hunters, they retreat from the shipwreck, declaring it too dangerous.
-
Mace awakens to find himself pinned alongside Anakin in the bridge. He tries to use the Force to clear the rubble, but it's too unstable. Anakin assures him that Artoo is getting help, but the Jedi Master does not share Skywalker's confidence in the little droid.
-
Artoo leaves the wrecked cruiser and returns to the parked Jedi starfighters. A gundark has returned to pounce on the droid. The creature lands on Anakin's Jedi starfighter. To escape the beast, Artoo ties the animal to the fighter and sends the ship blasting off, where it crashes into the shipwreck.
-
The explosion alerts the bounty hunters, who realize that someone is alive and active in the downed cruiser. Aurra orders Bossk to jam all transmissions, and the hunters hurriedly board Slave I.
-
Artoo jumps into the remaining starfighter -- Mace Windu's -- and attempts to raise a signal to Coruscant, but he cannot get past the jamming. He blasts off, and Slave I immediately catches sight of the fighter. Boba recognizes its markings as Windu's fighter, and he gives pursuit.
-
Artoo bobs and weaves Mace's fighter out of the Slave I's laser fire, and reaches the orbiting hyperspace rings. The droid docks the fighter into one of the rings and escapes into hyperspace, leaving the Slave I behind. Boba is devastated, but Aurra is confident she still holds the upper hand over Mace Windu with her hostages.
-
Artoo pilots the starfighter to the Jedi Temple on Coruscant and barges into a Jedi briefing room, interrupting Plo Koon's strategy session. Ahsoka is surprised to see Anakin's droid so animated. Artoo hurriedly plugs into a holoprojector, and plays an image of the injured Anakin asking for help. Plo Koon orders his ship prepared immediately.
-
Back on Vanqor, Mace reflects upon the scorched remains of Jango Fett's helmet. A series of explosions rock the shipwreck, and it appears that time has run out for Mace and Anakin.
-
Suddenly, the drone of a Republic gunship fills the room, as Plo Koon's troops hover outside the damaged bridge. Aboard the gunship, Ahsoka and Plo Koon use the Force to steady the Endurance's rickety bridge while Clone Commander Wolffe and trooper Comet rappel aboard, plucking Anakin and Mace from the ruins. They leap aboard the gunship just as the bridge finally collapses.
-
Anakin and Mace are placed on hovering gurneys and floated aboard a medivac gunship. They are diagnosed with serious burns, but no permanent injuries. Mace thanks R2-D2 for his devotion to duty.
R2 Come Home Episode Gallery
TM & © Lucasfilm Ltd. All Rights Reserved