
© 2015 Disney
Jedi Crash Episode Gallery
- Back to Jedi Crash
- 26 Images


-
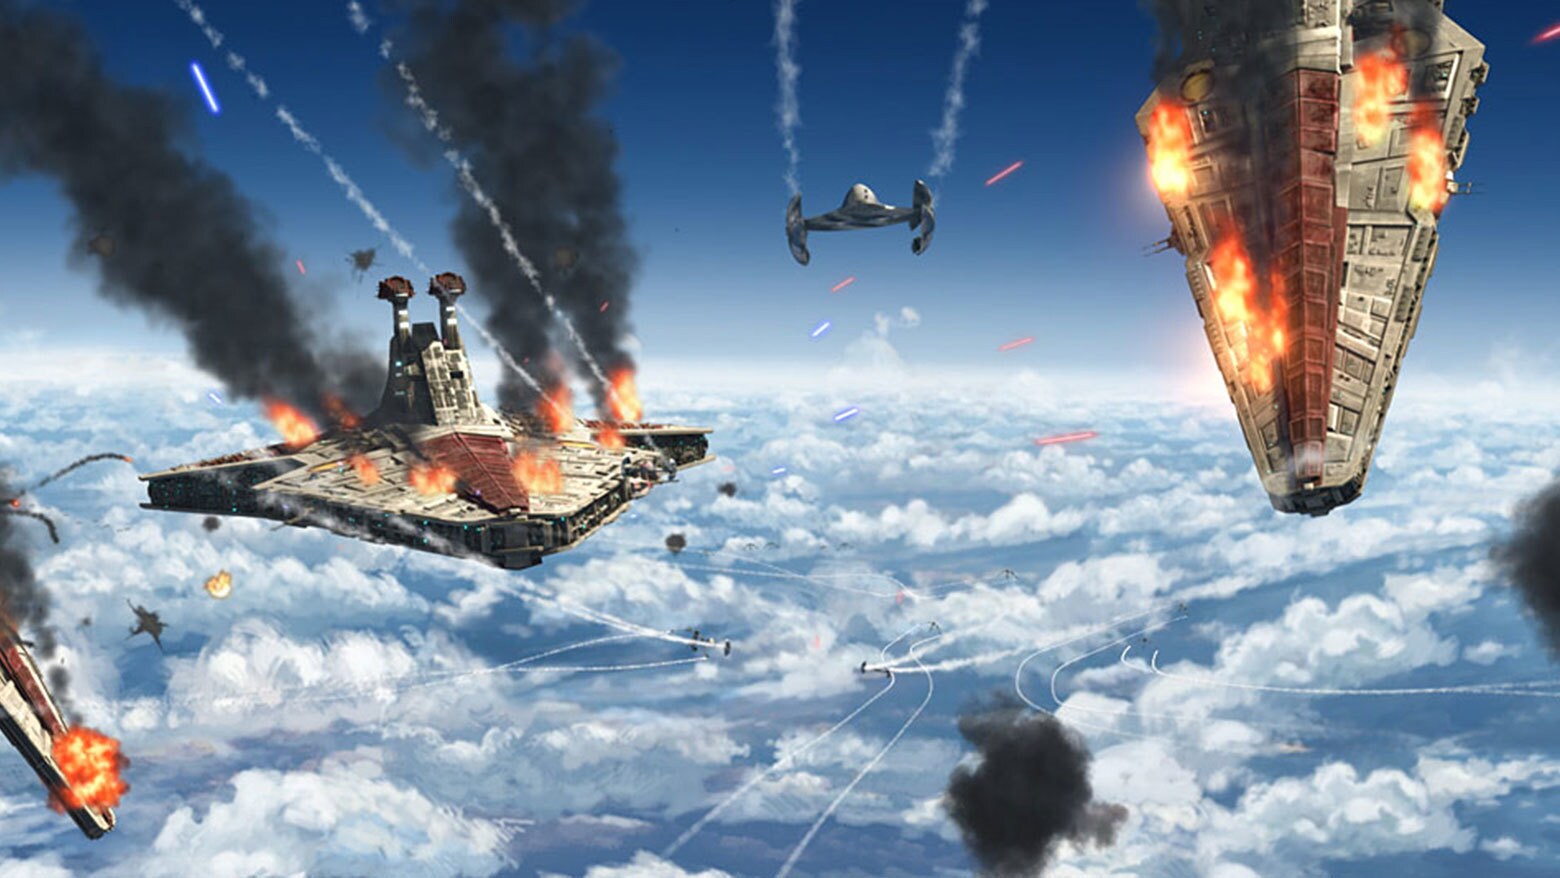
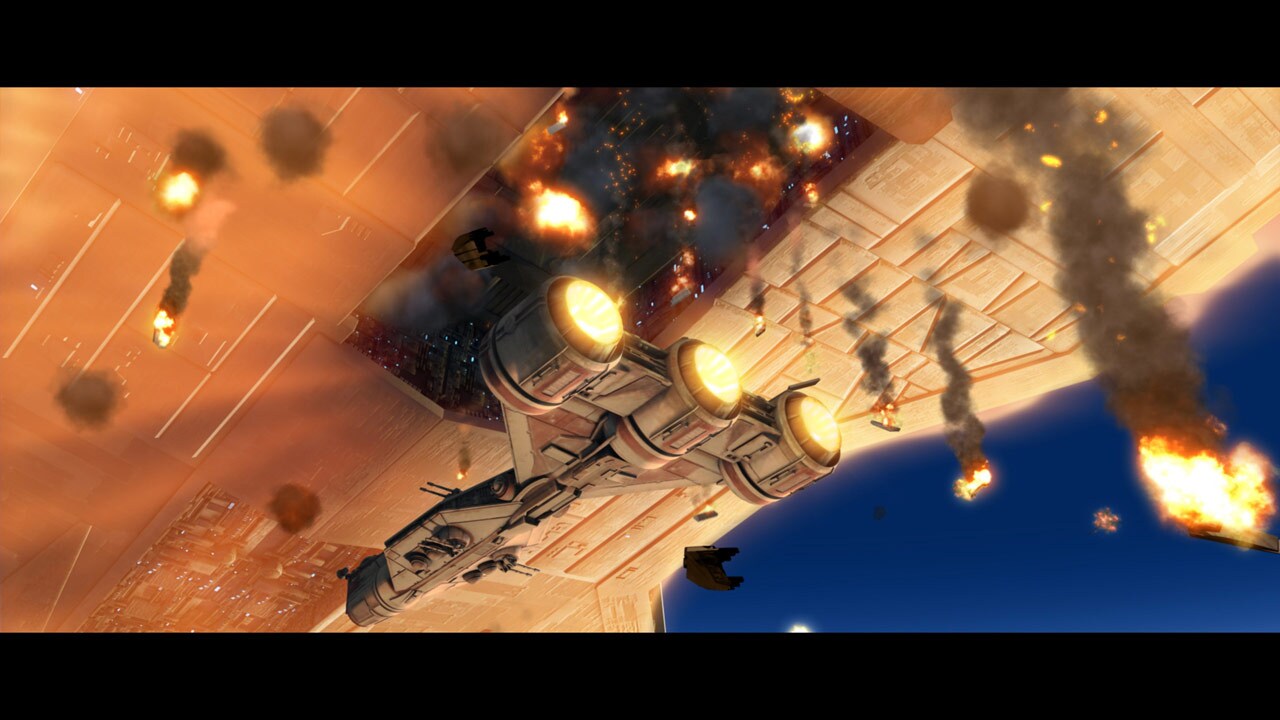
High in the atmosphere of the planet Quell, a trio of Jedi cruisers is pelted by concentrated blasts from a cluster of Separatist frigates. The occupants of the command ship's bridge are shaken by the repeated attacks.
-
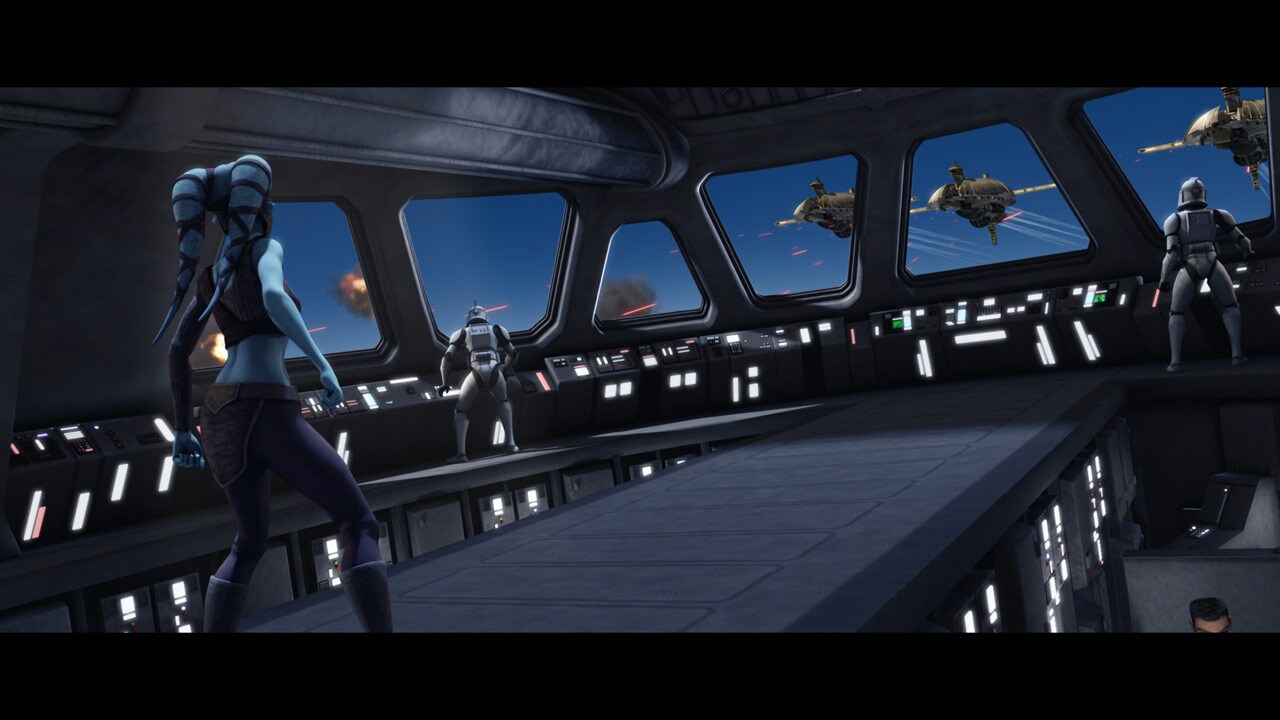
A bridge officer reports to Aayla Secura that the shields are gone. Before long, the command ship is the only Republic vessel still maintaining altitude. Its flanking cruisers are ablaze and being tugged into the clouds by gravity.
-
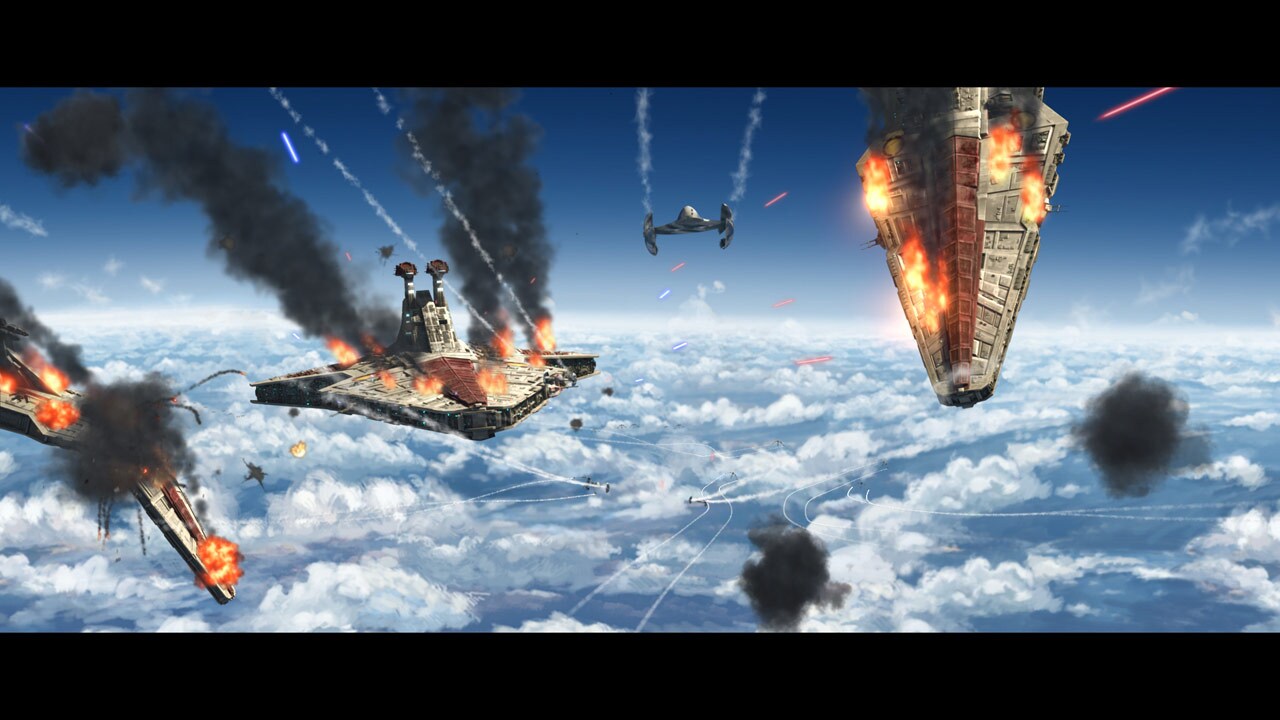
A cloud of airborne rocket droids spans the distance between Separatist and Republic vessels in no time. The flying super battle droids begin landing on Aayla's ship's battered hull. Aayla orders her clone officer, Commander Bly, to repel invaders.
-
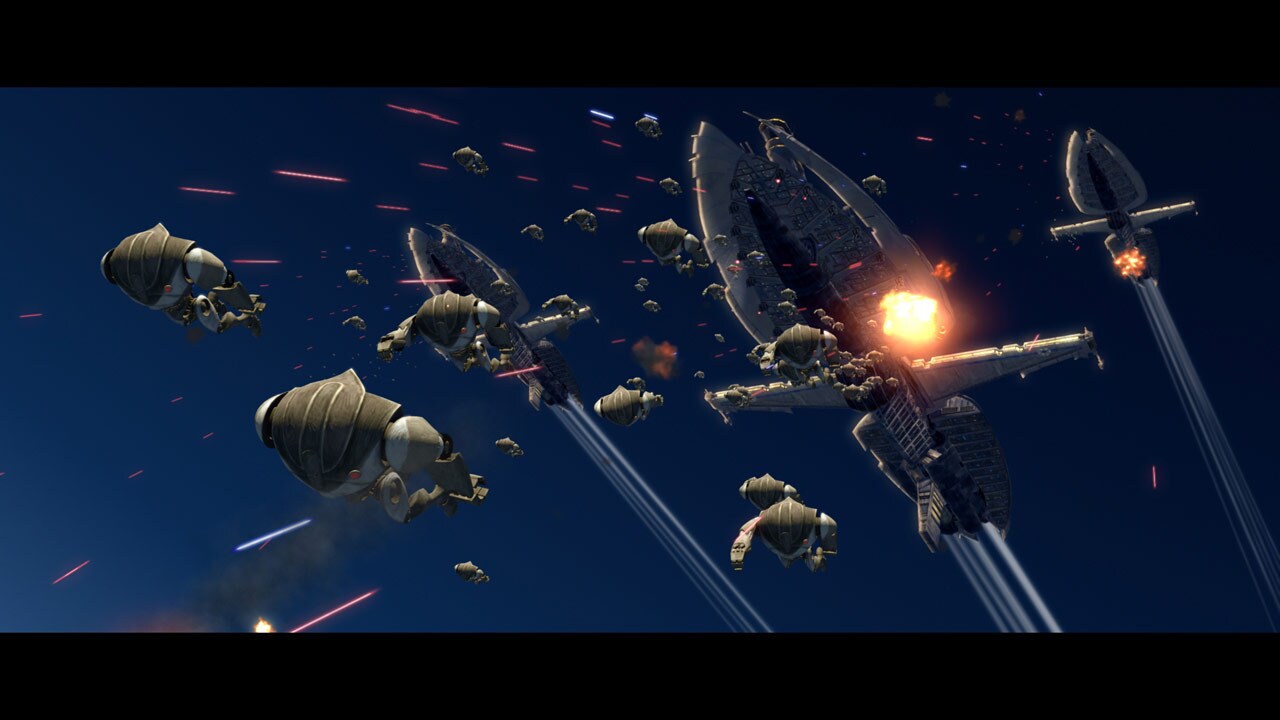
Republic reinforcements arrive! The Resolute, commanded by General Skywalker, arrives at the site of battle, and heavily armed gunships stream from its docking bays. They streak toward Aayla's flagship. The rocket droids spot the newcomers, and some blast off to intercept.
-
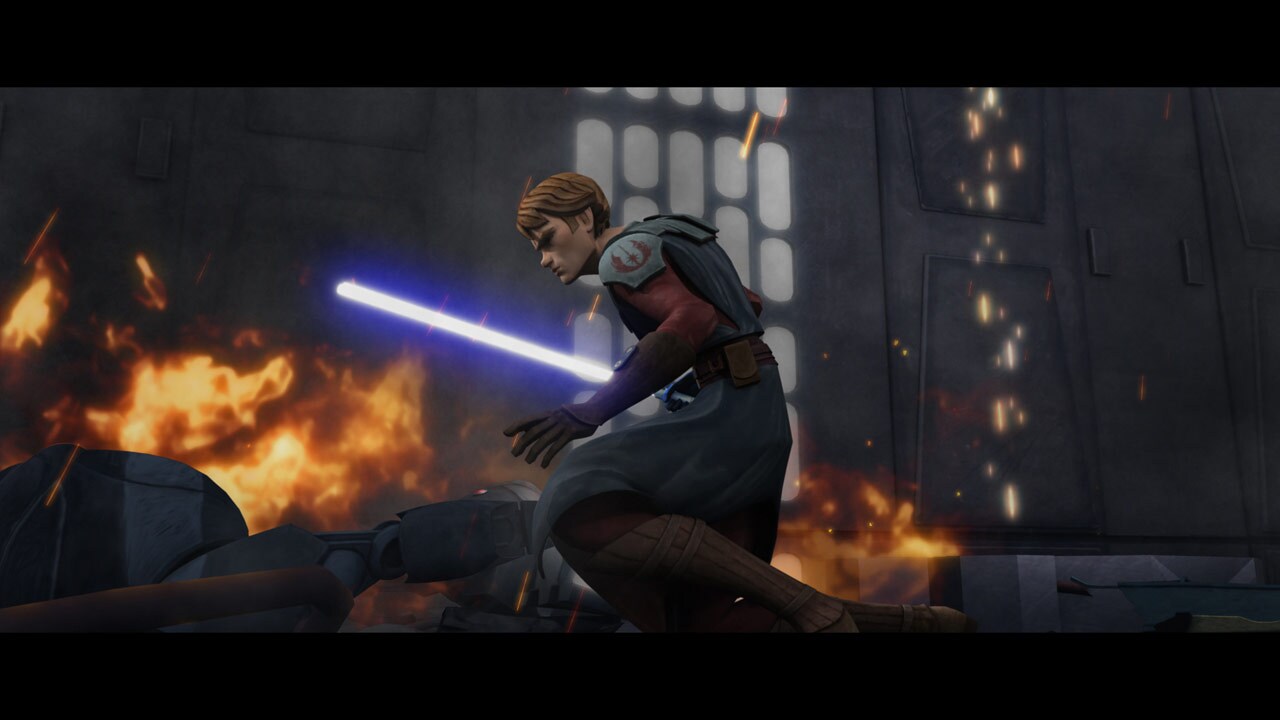
One droid lands atop Anakin's gunship and begins to tear apart the cockpit canopy. Anakin orders Rex to save the pilot while he leaps out the open door and onto a rocket droid. Anakin rides the out-of-control droid down to Aayla's cruiser.
-
Anakin lands his rocket droid in a hull breach and continues his fight aboard Aayla's ship, not missing a single step as he cuts down battle droids. The gunship slams into the hull breach moments later, and its occupants -- Ahsoka, Rex and more clones from the 501st -- spill onto the scorched deck.
-
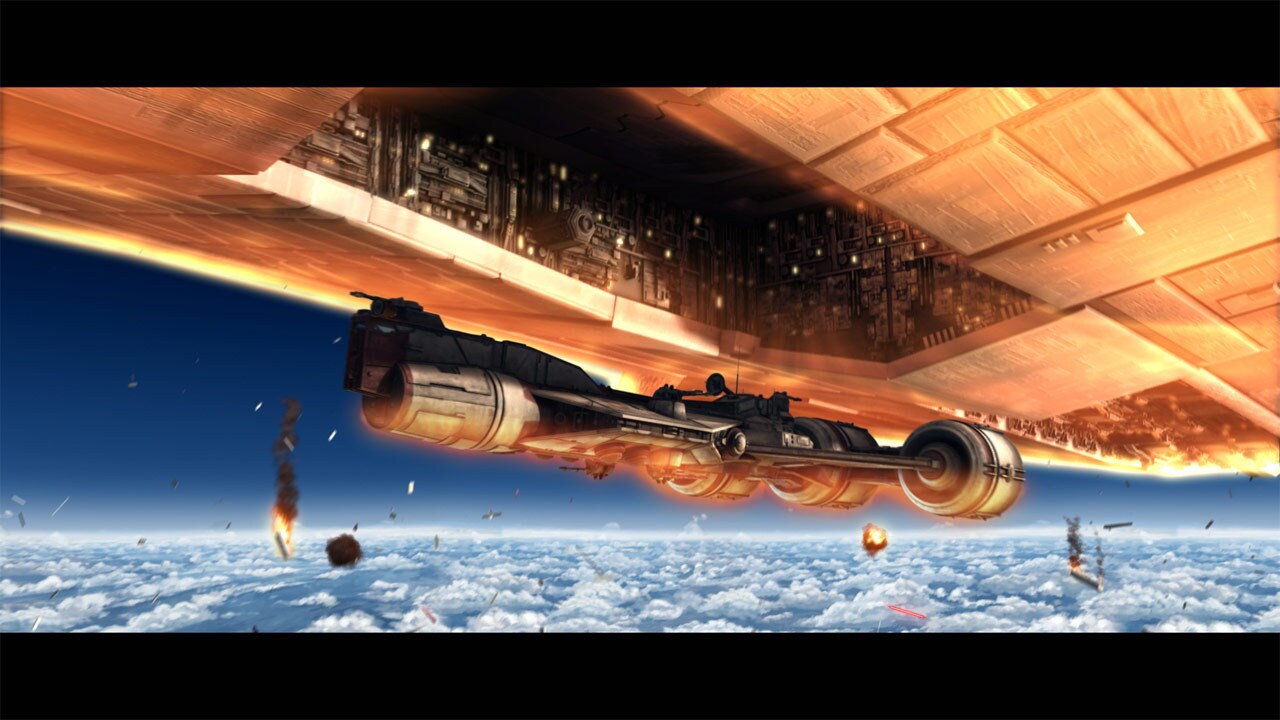
Ahsoka and Rex catch up to Anakin, and they in turn find Aayla and Bly. Anakin reports to Aayla that he's ordered a ship to dock in the lower hangar. The plummeting cruiser's belly hull begins to glow from atmospheric friction. A Republic frigate matches speed and eases into the belly hold, extending the docking port.
-
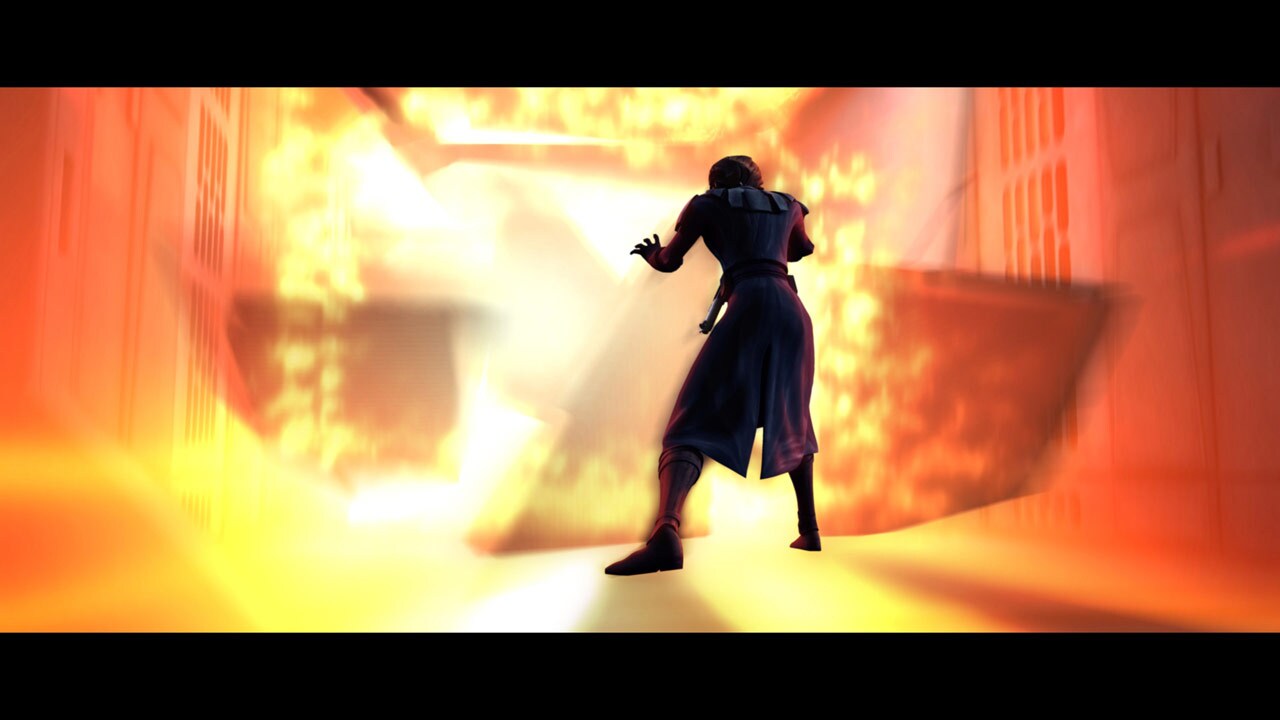
The Jedi arrive at the lower hold, extending the gangway. Just then a series of explosions tear through the corridors. Anakin alone spots the growing fireball. He uses the Force to push his fellow escapees into the gangway airlock. He then turns as the blast doors close on the explosion. The force of the blast slams him against the airlock.
-
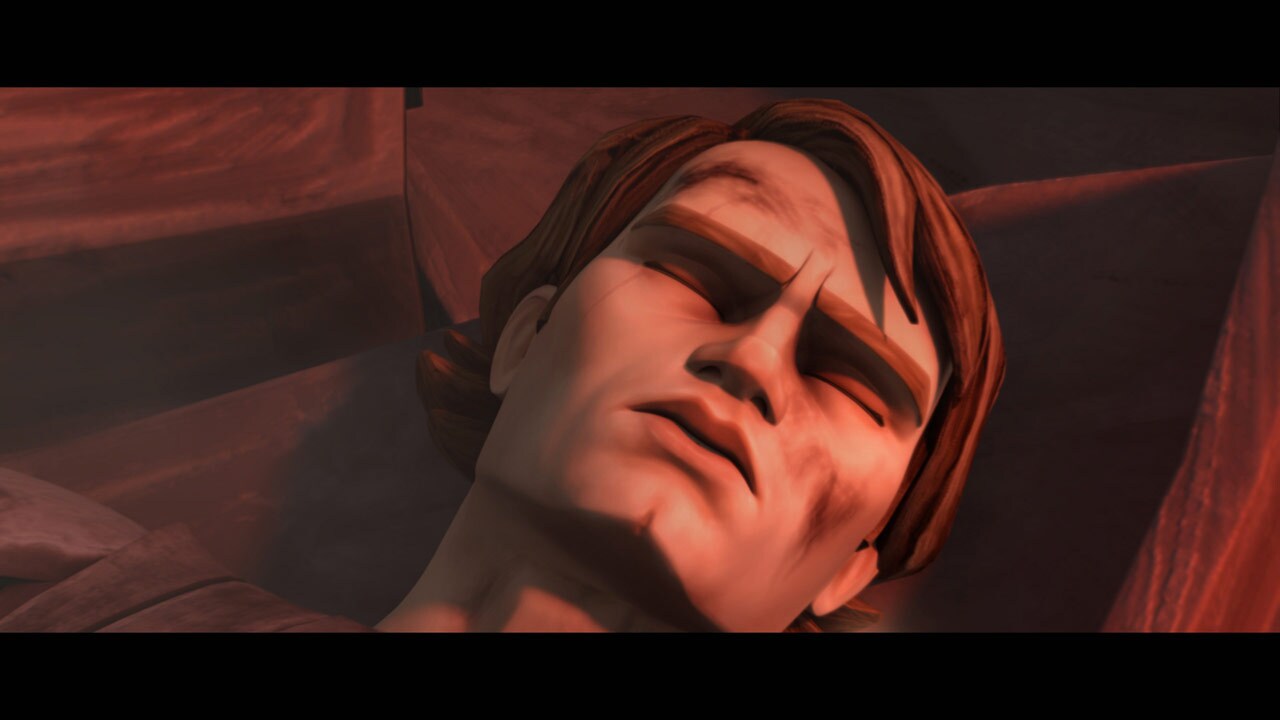
Ahsoka won't leave Anakin behind. She tries to open the blast door, but it will budge only enough for her to peer through and see him unconscious and gravely wounded. She uses her lightsaber to slice through the door. She pulls Anakin's body, but time is running out as the plummeting cruiser continues to convulse and shudder around them.
-
They make their way onto the frigate, which drops from the cruiser's hold and rockets away toward the Resolute. As the frigate begins docking with the Resolute, vulture droids fire at it. A hit shakes the cockpit, throwing the pilot forward into the controls, accidentally activating the hyperdrive.
-
The Resolute turns away from the frigate just as the smaller ship's hyperdrives engage, rocketing away from Quell at unimaginable speeds. Yularen orders the frigate's trajectories plotted.
-
As the damaged frigate tunnels its way through hyperspace, Ahsoka will not leave Anakin's side as he lies in the ship's medical suite. Aayla arrives, ordering her and Commander Bly to the bridge. Aayla suggests to Ahsoka that her greatest help to Anakin would be getting the ship to safety.
-
Bly has grim news. The result of the overhasty jump has plotted the ship on a direct collision course with a star. The crew returns to the bridge, desperately flipping switches to slow the ship down. Aayla orders a complete power down of the ship, but Ahsoka objects: such a move would shut off Anakin's life support. Regardless, Ahsoka carries out Aayla's command.
-
They cut power, and the frigate drops out of lightspeed. Its forward momentum still hurtles it towards the star. Aayla switches the power back on in time for the ship's drives to fire up, and it begins to turn away. Ahsoka slingshots the ship around the star, sending it hurtling towards a nearby grass planet.
-
The ship plows into the plains, bursting into flames. The clones and the Jedi blow the escape hatches and flee the burning wreckage. Ahsoka and Aayla carry Anakin's limp but living form. The twisted metal eventually burns itself out, and the Republic castaways erect a makeshift shelter to tend to Anakin. His condition is worsening. He will need help that night if he is to make it to morning.
-
Ahsoka suggests Aayla and Bly head to the south while she and Rex stay with Anakin. Aayla disagrees; the Jedi must work together, even if that means Ahsoka must leave Anakin behind. With difficulty, Ahsoka agrees. Captain Rex stays behind at the camp to watch over Anakin while the rest of the team leaves.
-
Bly's cursory search of the surrounding area has uncovered a carved tablet with a crude illustration of a humanoid fending off a predator. There are intelligent inhabitants on this grassland planet. Using the tablet as their only clue, the Jedi head out to seek the giant trees depicted in the carving.
-
Night falls. The scouting party arrives at an enormous tree. Giant falling seedpods nearly crush them, but Aayla spots a path in the grass suggesting that an intelligent culture has found use for the pods and has dragged them away from the tree. The team continues along this new direction.
-
Meanwhile, the sound of animals stirring in the grass keeps Rex on alert. Anakin begins to awaken just as a mastiff phalone, a deadly turkey-headed quadruped, lunges at Rex. The wicked animal pins Rex, but he manages to squeeze off a blaster shot that startles the monster and causes it to run away into the grasses.
-
Aayla, Bly, Ahsoka and the rest of the team continue their trek through the tall grasses. Two mastiff phalones lunge at them, bowling over the Jedi and tearing into the clones. Bly shoots one dead, and the other scampers away, but the damage has been done. The clones Cameron, Lucky and Flash are dead. The team, now half their previous size, keeps moving. Meanwhile at camp, Rex continues his vigil.
-
Dawn breaks. Bly, Ahsoka and Aayla discover a clearing with a village made of enormous seed pods. Lurmen villagers -- small, furred bipeds with huge, expressive eyes -- warily watch the outlanders as they approach.
-
The village elder, Tee Watt Kaa, greets them not with hospitality, but with suspicion. He asks to know their business; Aayla responds that they are peacekeepers in need of medical help. Tee Watt Kaa begins lecturing that violence breeds violence; he doesn't believe the Jedi are peacekeepers, but instead those who perpetuate war, fear and death. The Lurmen colonized Maridun, this grassland world, in an attempt to escape the Clone Wars.
-
The Jedi try to appeal to his compassion, but Tee Watt Kaa is looking out for the best for his people. With Ahsoka's heartfelt plea, Tee Watt Kaa agrees to send his son, Wag Too, a healer, to help Anakin.
-
Two mastiff phalones stalk the campsite, and Anakin can feel their approach. He cannot rest. He alerts Rex and the two draw weapons to defend themselves against the hungry creatures. Rex guns one down, but the other charges, smashing apart the campsite. Anakin is tossed aside and collapses in the dirt.
-
But before the mastiff phalone can turn to attack, it is suddenly circled by Wag Too, who trails a rope around the creature's legs. Ahsoka ignites her lightsaber, ready to strike the creature, but Wag Too tells her to stop. Even now, in the face of such a dangerous beast, the Lurmen are seeking a non-violent end. Ahsoka and Rex join Wag Too in tugging at the rope, tripping up the mastiff phalone.
-
Meanwhile, Bly tends to Anakin. Wag Too stabilizes his condition, and the clones prepare a gurney and carry the fallen Jedi back to the Lurmen village. Wag Too applies rags drenched in healing oils from the seedpods over Anakin, and he rests to recover. Anakin will recover, but the Jedi are still stranded on Maridun.
Jedi Crash Episode Gallery
TM & © Lucasfilm Ltd. All Rights Reserved