© 2015 Disney
Grievous Intrigue Episode Gallery
- Back to Grievous Intrigue
- 18 Images
-
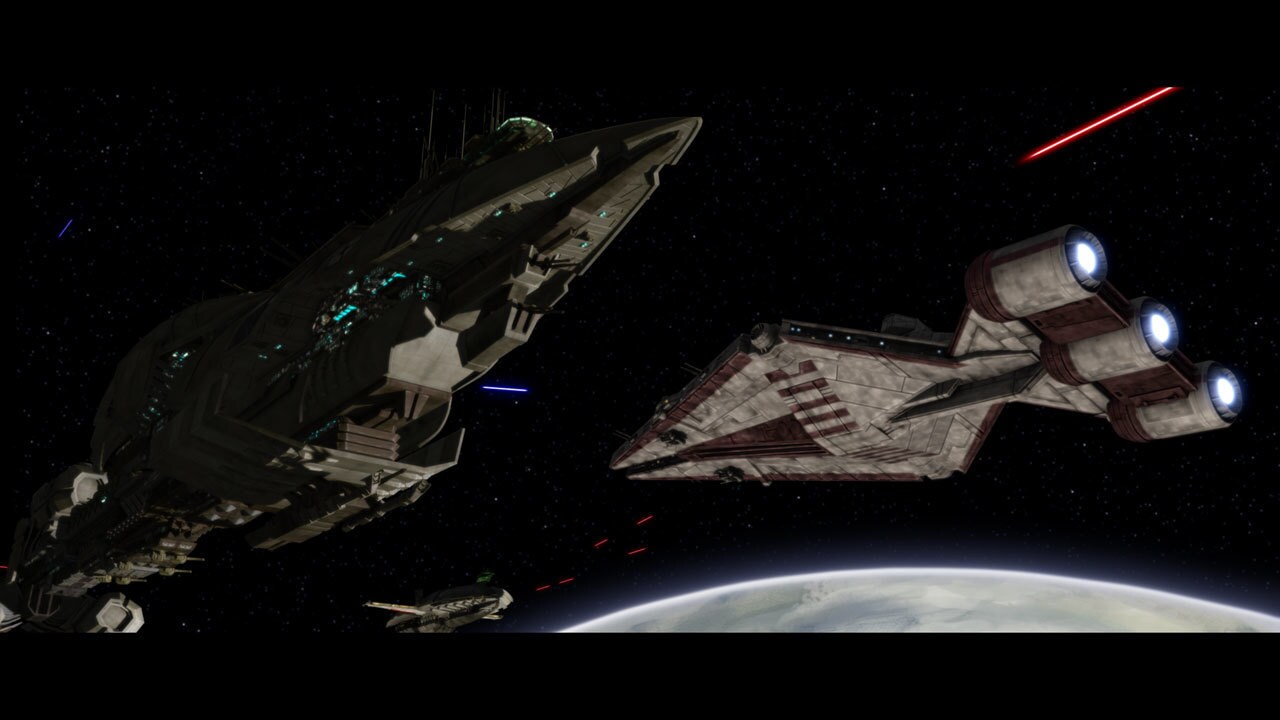
Deep in the Outer Rim, an enormous Separatist destroyer overpowers a lone Jedi cruiser. Aboard the Republic craft, Jedi Master Eeth Koth readies his troops to repel boarders. Super battle droids march into the captured cruiser, blasting away at Captain Lock and his squads of clone defenders. Grievous enters the ship, flanked by a crack squad of commando droids.
-
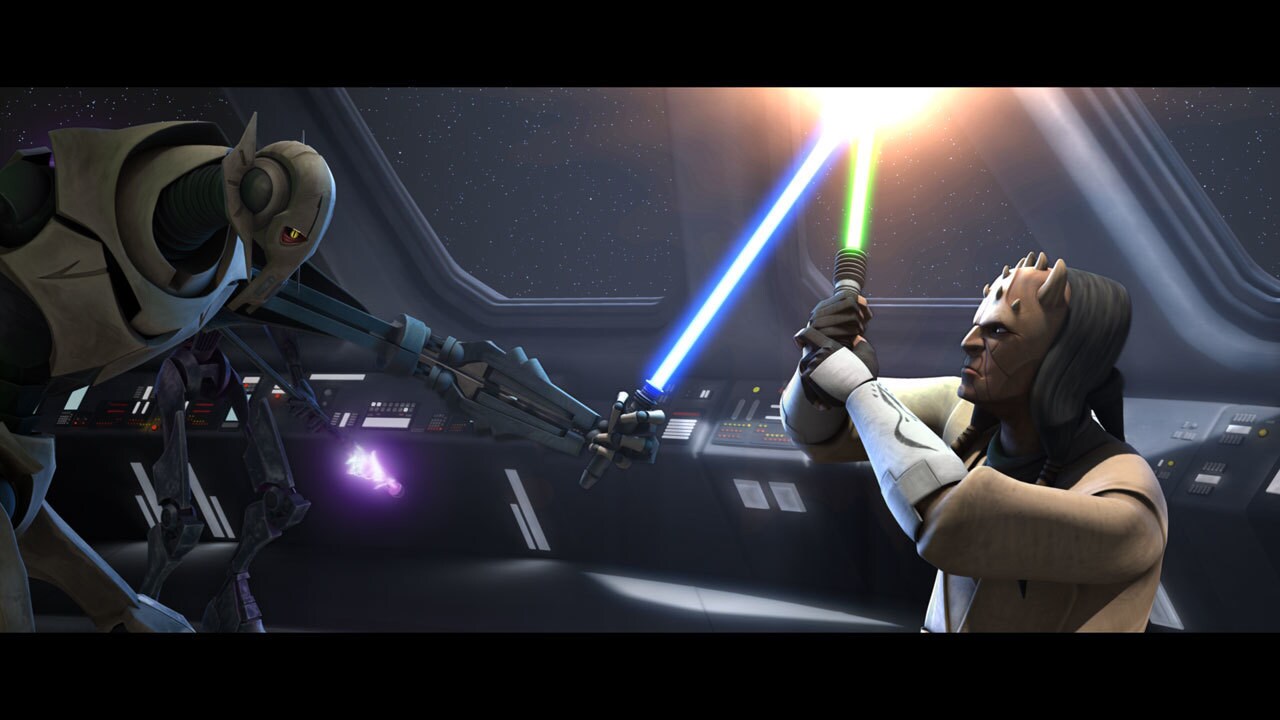
The agile invaders cut through the clones, and one even lands a blaster shot on Eeth Koth's arm. Koth continues fighting, slicing through the last of the commandos before the next wave of invaders arrive: electrostaff-wielding MagnaGuard droids. Backed by his bodyguards, Grievous enters the fray. Koth valiantly defends himself, but he is outnumbered and injured, and Grievous inevitably overpowers him.
-
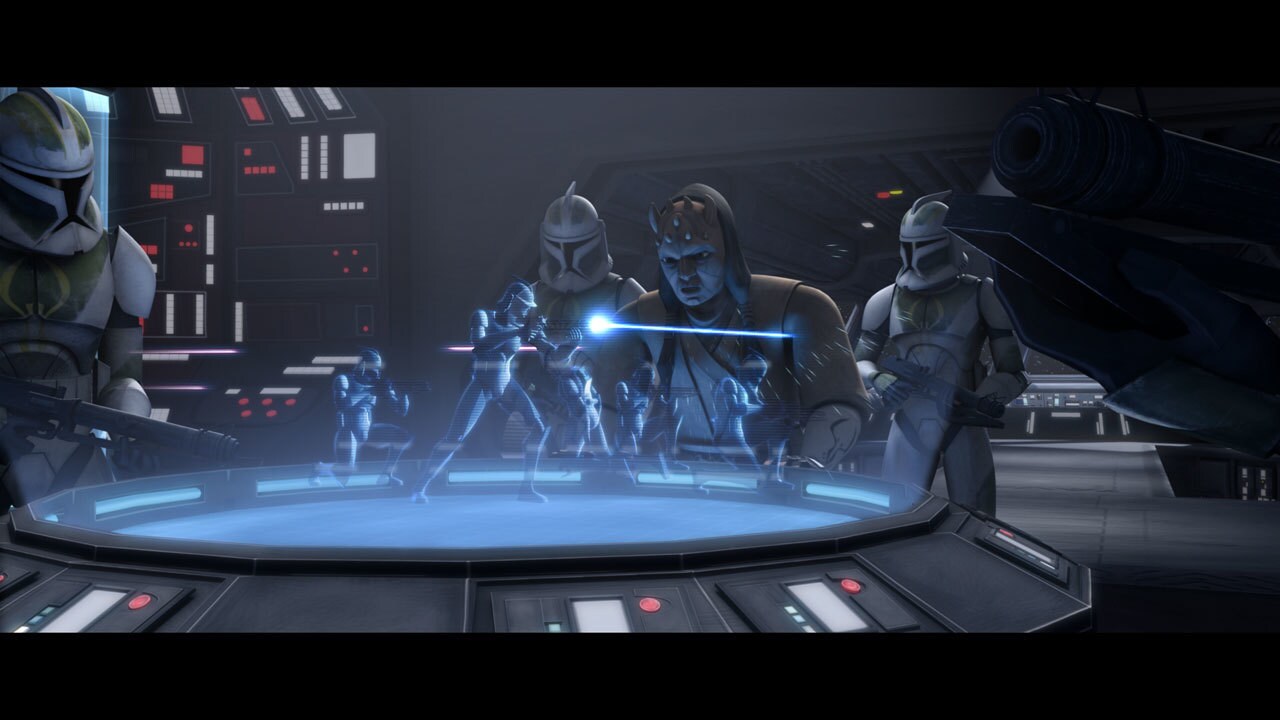
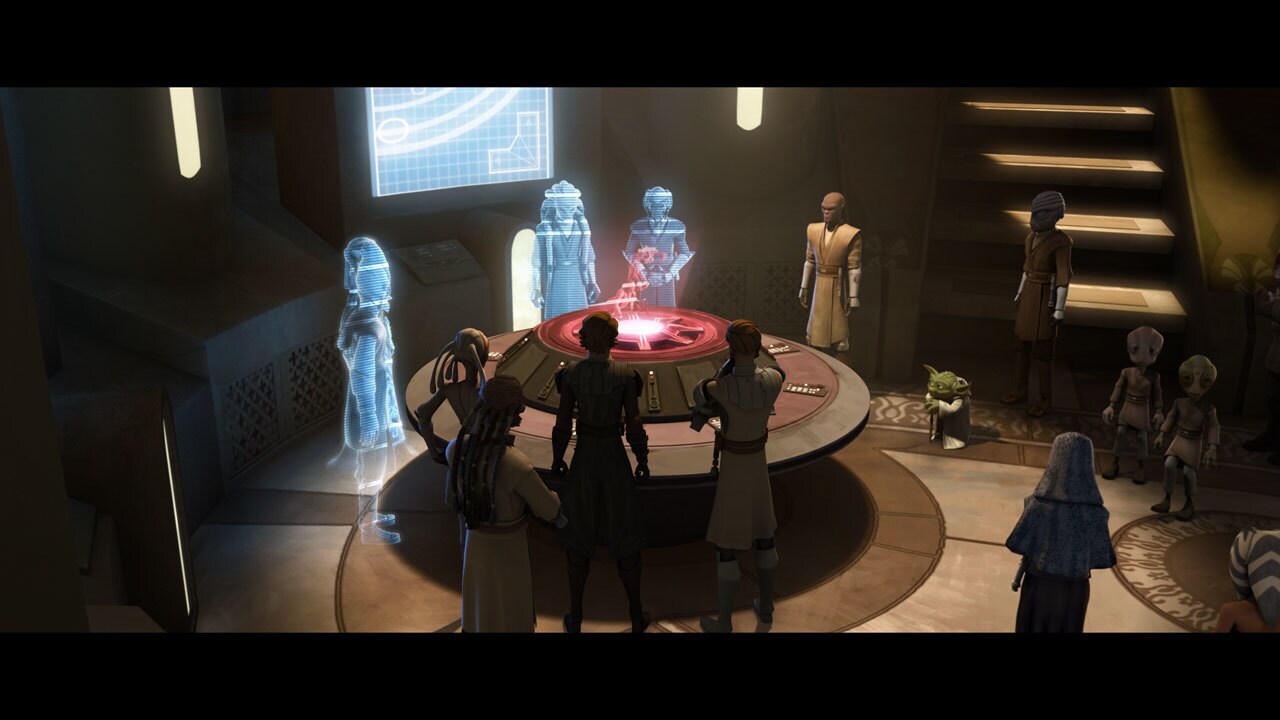
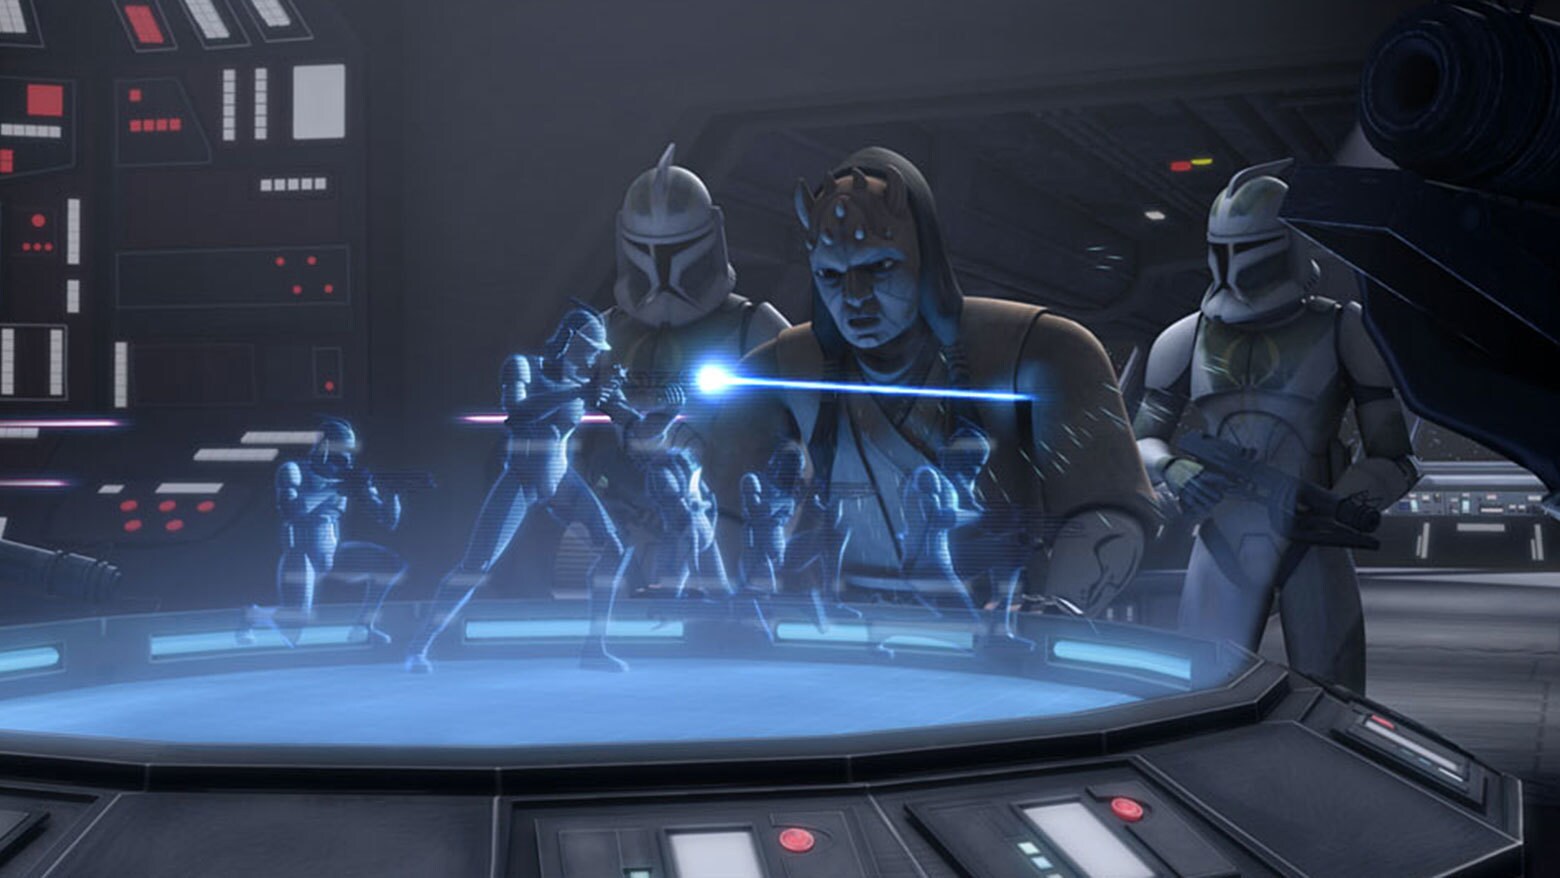
The assembled Jedi in the temple war room receive a holographic transmission from Grievous gloating of his victory over Koth. Anakin Skywalker and Obi-Wan Kenobi examine the image. By focusing on the otherwise inert form of Eeth Koth, the Jedi spot hidden hand gestures that the fallen Jedi Master is using to communicate his location: the Saleucami system. Kenobi, Skywalker and Adi Gallia volunteer to rescue Koth.
-
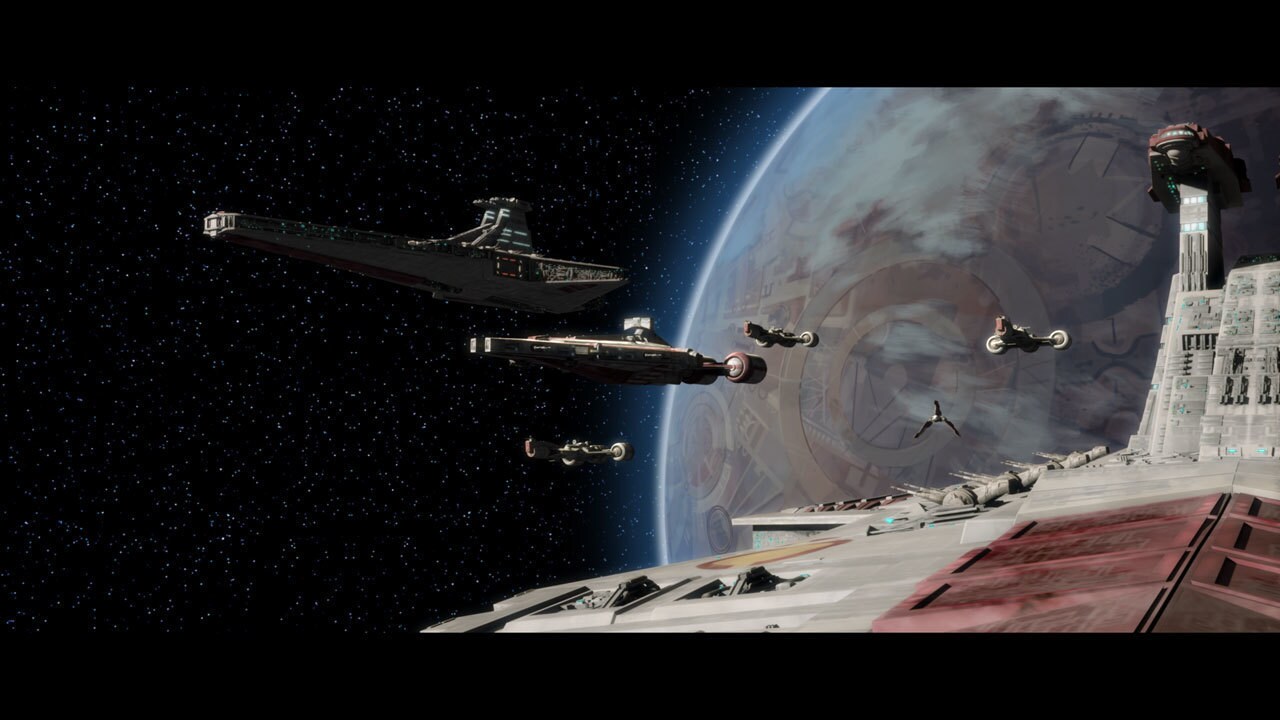
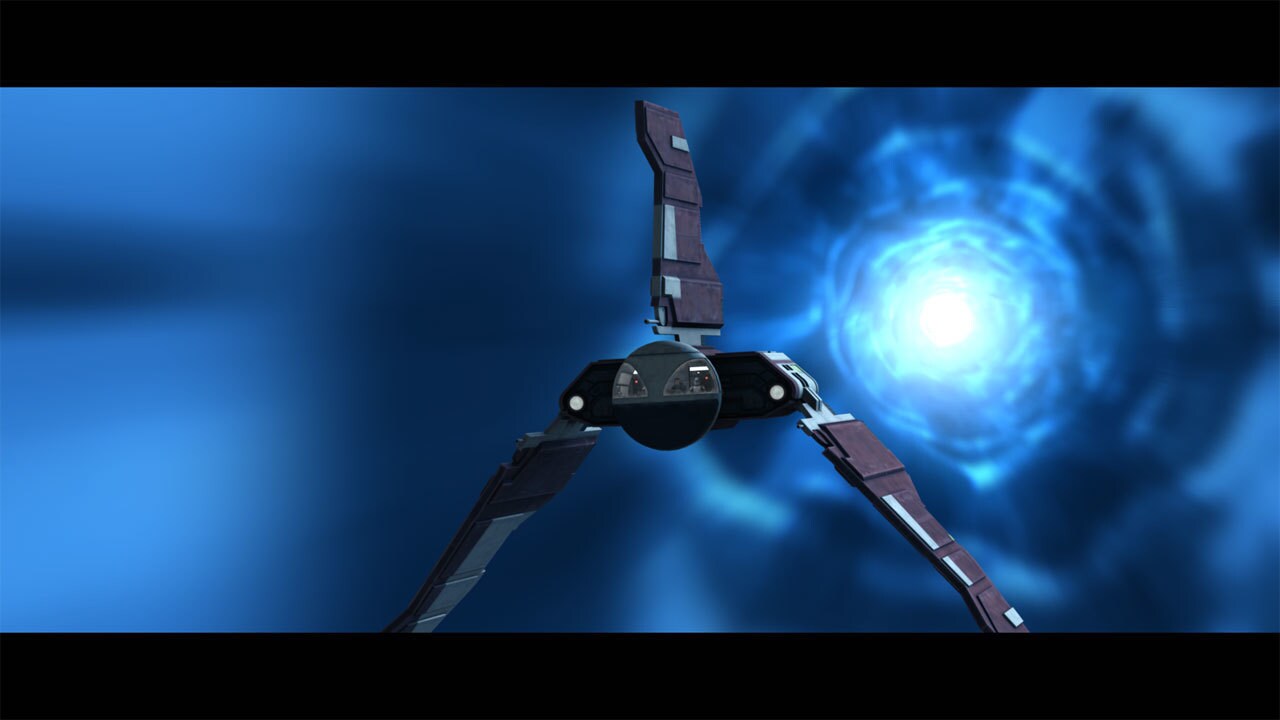
Before long, a Republic task force including three Jedi cruisers escorted by a light cruiser and three frigates launches from Coruscant. Kenobi commands the light cruiser, while Anakin, Captain Rex and Adi Gallia form the insertion team aboard a shuttle. The plan is for Kenobi's forces to engage Grievous, luring the general aboard the light cruiser. While this happens, Kenobi will transmit precise vector coordinates for the general's command ship to the shuttle.
-
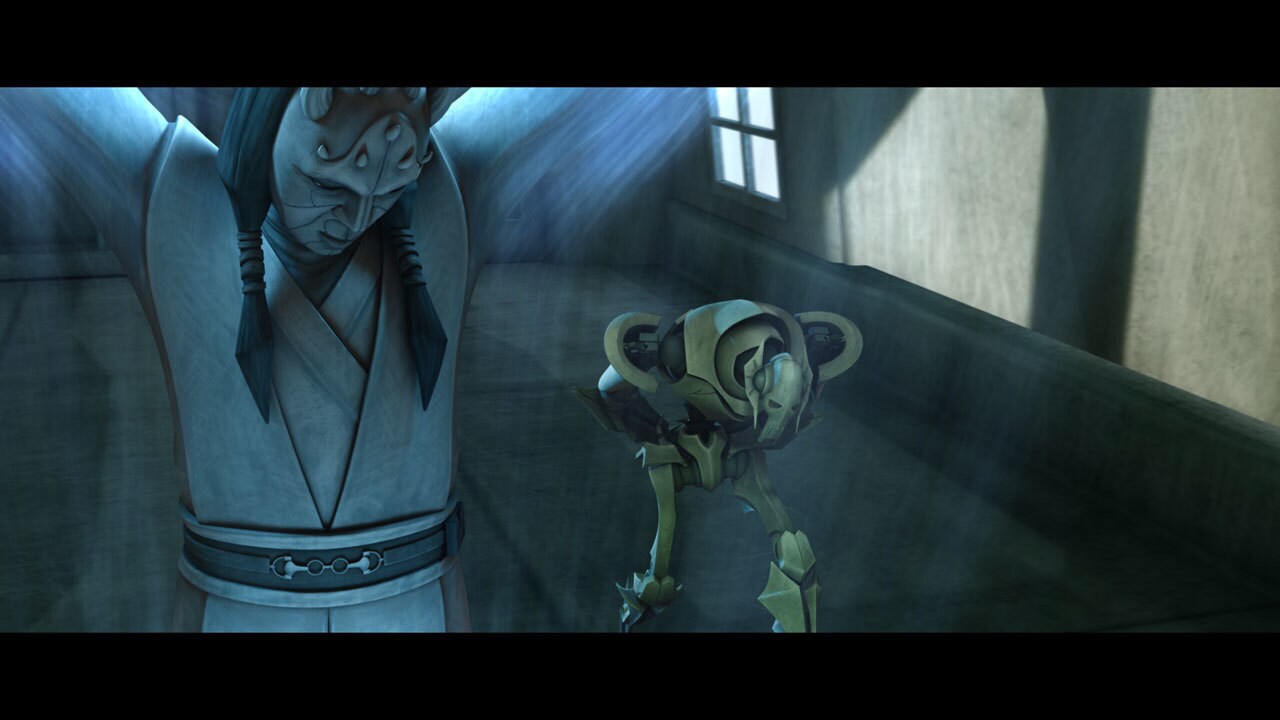
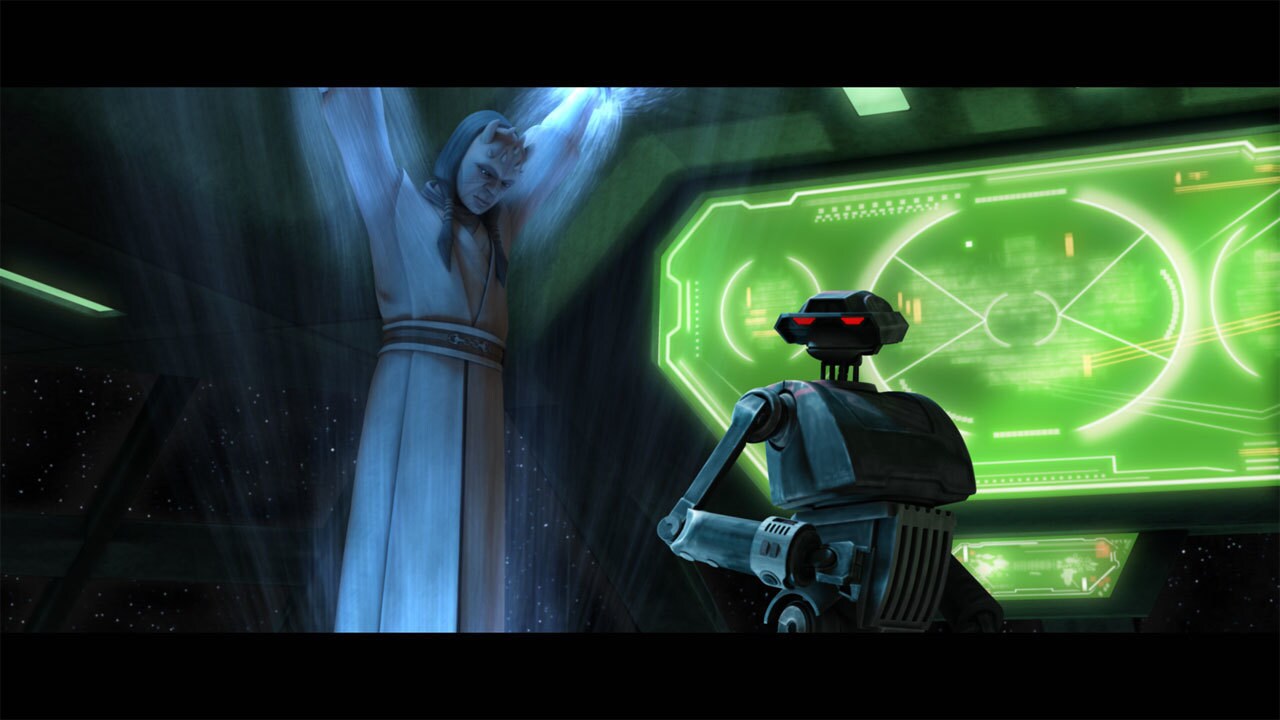
As Grievous prepares to land on Saleucami, the Republic ships pop out of hyperspace. Grievous hardly seems surprised. He brags to a captive Koth, suspended in a static-charged containment field, that he has been expecting this rescue mission and is prepared for it.
-
The smaller Republic escort vessels move forward to draw out the Separatist warships. Tactical droid TV-94 warns Grievous that the escort vessels are faster and more maneuverable than Grievous' destroyer, but the general is set on boarding the light cruiser in order to face Kenobi face-to-face.
-
Grievous' destroyer locks tractor beams onto Kenobi's cruiser and begins reeling it in. Having received the exact coordinates of Grievous' destroyer from Commander Cody, Anakin leaps his shuttle through hyperspace, emerging in the thick of the battle only scant meters above Grievous' hull. Skywalker uses his amazing piloting skills to land undetected on the destroyer's superstructure, and powers down.
-
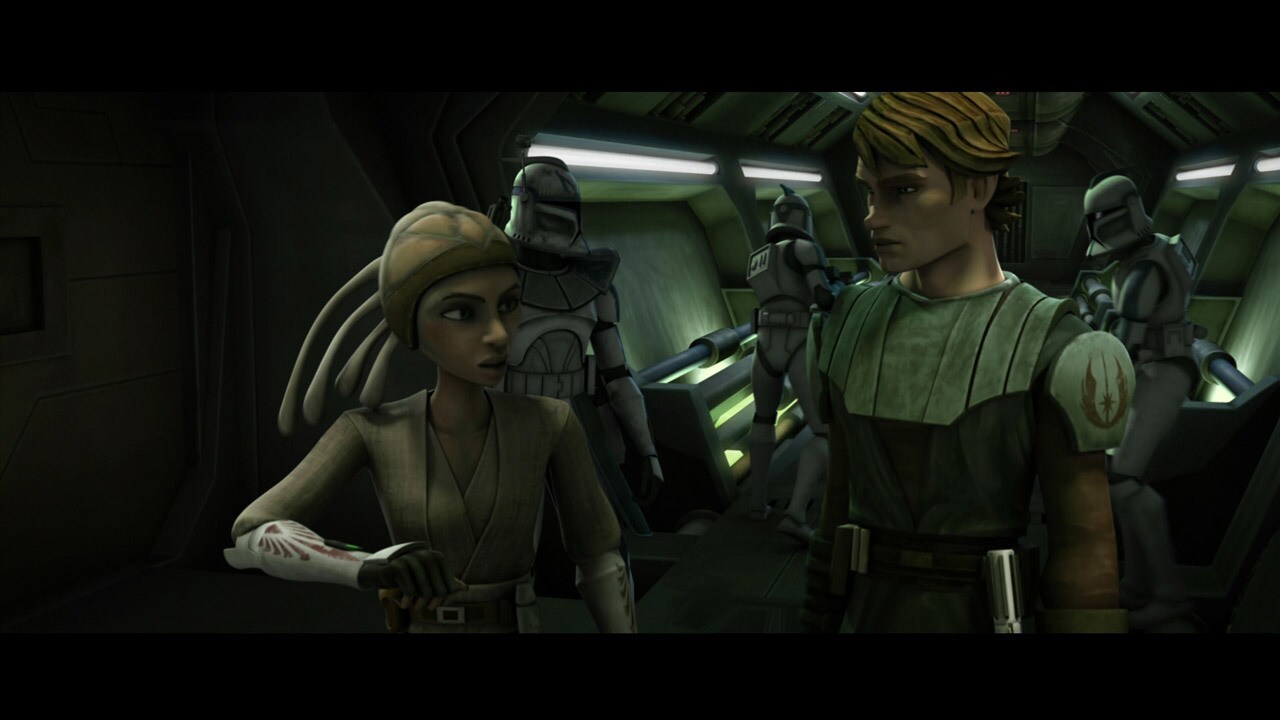
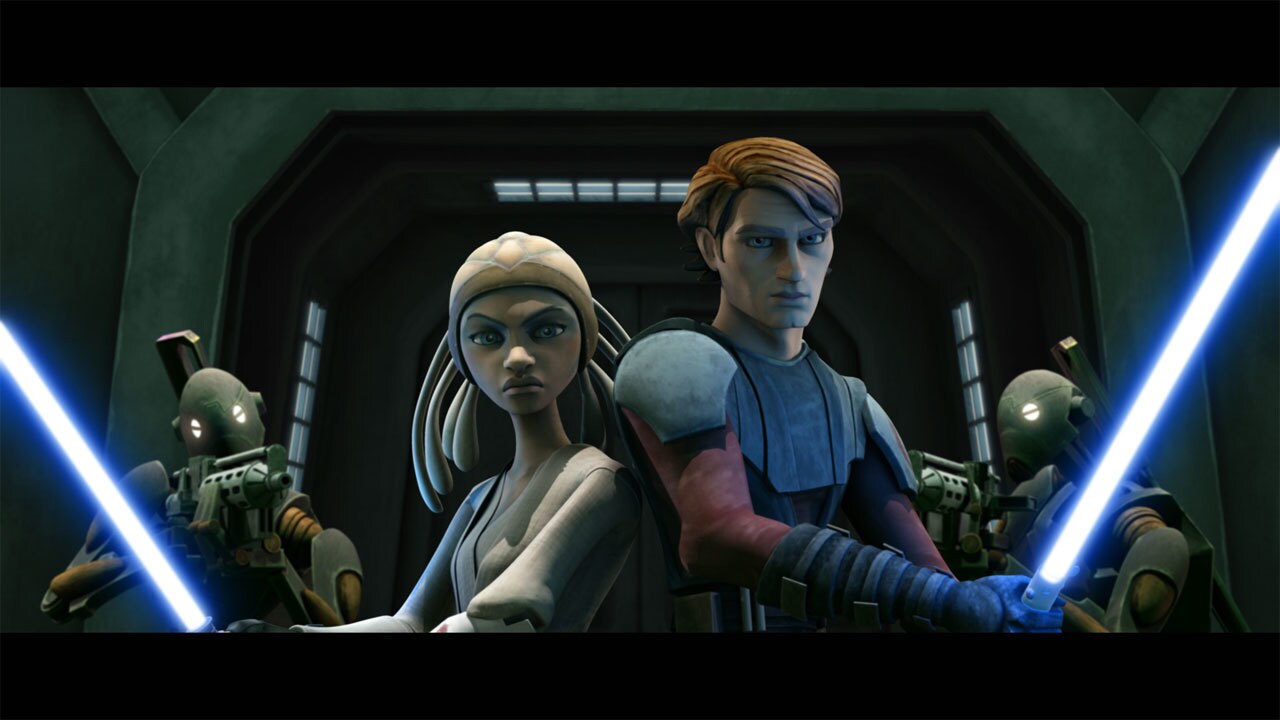
Skywalker, Gallia, Rex and several other clones then cut their way aboard the destroyer. Anakin orders Rex and the clones to guard their entrance while he and Adi penetrate deeper into the flagship to find where Eeth Koth is held.
-
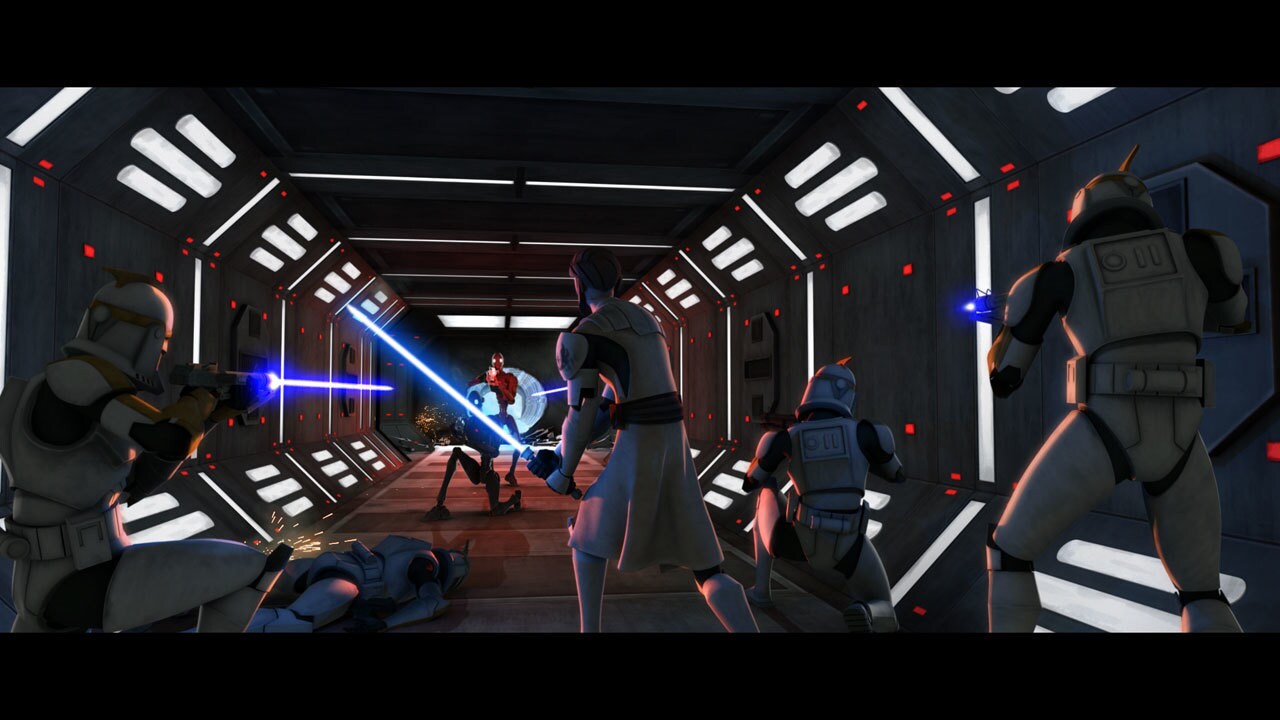
Aboard the light cruiser, Kenobi and Cody plan to keep Grievous engaged long enough for Skywalker to complete his mission. The first wave of invaders consists of commando droids. They are followed by MagnaGuards, and finally, Grievous himself. As Grievous engages Kenobi, he brags that he knows what Kenobi is plotting. He knows Skywalker has boarded his vessel and is attempting to free Koth.
-
Skywalker and Gallia cut their way past battle droid security to arrive at the bridge. There, they see Master Koth suspended in a containment field, but the tactical droid tending to him hardly seems surprised to see the Jedi. At his order, commando droids pop out from behind control stations, ready to face the Jedi. The whole rescue mission is a trap!
-
At the press of a button on his wrist control, the tactical droid sends painful electric surges through Koth's helpless body. Skywalker uses the Force to pull the droid toward him, and severs the droid's arm, knocking the wrist control away. A frenzied melee then erupts between the Jedi and the commando droids. Skywalker and Gallia narrowly defeat the droids, and free Koth from his prison.
-
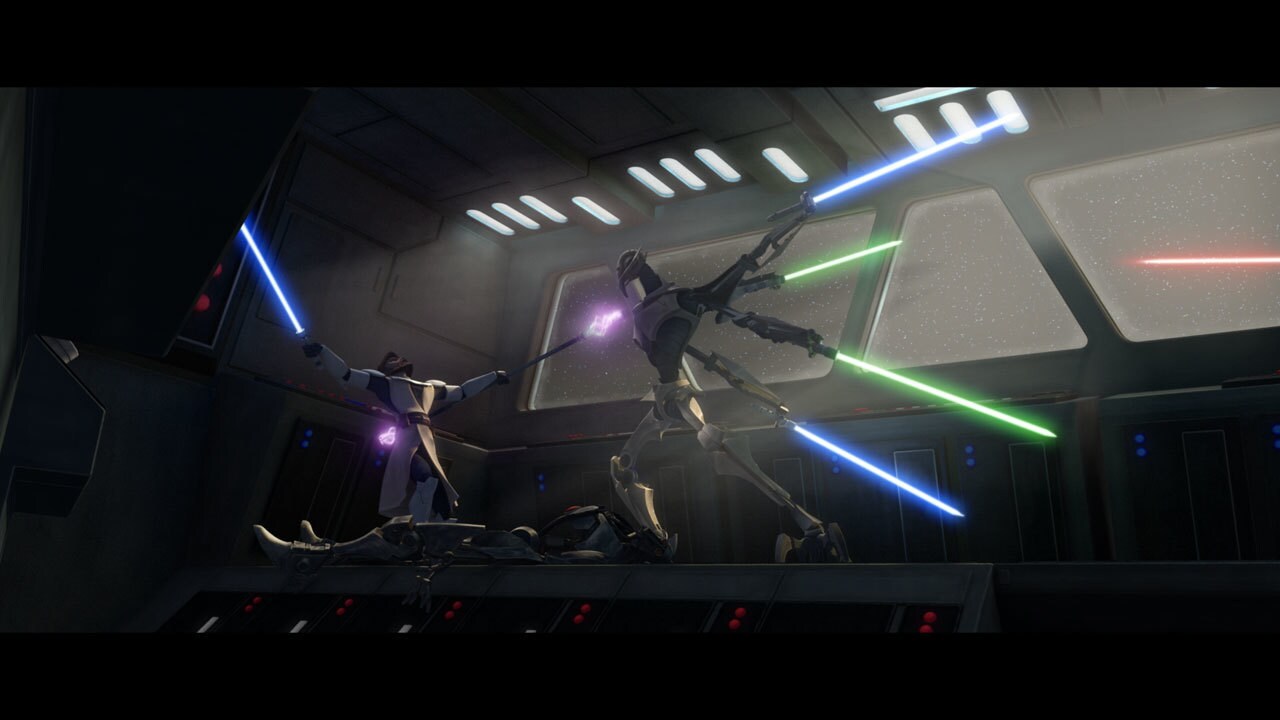
Kenobi desperately dodges Grievous' whirlwind attacks. He uses the Force to hurl the shattered body of a MagnaGuard droid directly into Grievous. Rather than surrender, Grievous scurries away on his spiky limbs. Kenobi radios to Skywalker that Grievous is on the move. With Koth rescued, the mission's priority shifts to preventing Grievous' escape. Anakin takes the injured Koth back to his shuttle, while Adi Gallia races ahead to intercept Grievous.
-
Commander Cody and his troops try to cut off Grievous as he makes his way to the airlock, but the slippery cyborg overpowers them. Grievous orders his ship to open fire on the light cruiser's engines, despite the point blank range. He commands his troops to prepare their landing ships for transit to Saleucami.
-
Kenobi arrives inside the docking tube, chasing Grievous as the whole conduit shudders and buckles from the death throes of the light cruiser. The two generals cross lightsabers again, but Grievous kicks his way free and makes it to his destroyer. There, he faces Adi Gallia, but their duel is cut short as the docking tube finally splits open.
-
A gust of air rushing into the vacuum blows the combatants apart. Cody grabs onto Kenobi before he goes tumbling into the void. Grievous' metal claws allow him purchase across the tilted deckplates, and he scrambles away. Gallia braces herself against a bulkhead, and fires a cable to Cody and Kenobi, who climb their way onto Grievous ship.
-
As Anakin's shuttle departs from the destroyer, he receives a distress message from Obi-Wan. Skywalker tells Obi-Wan to meet him at the destroyer's hangar, where he can extract them. Anakin soars into the hangar, hastily picking up Kenobi, Gallia, Cody and a surviving clone onto his shuttle.
-
Meanwhile, the infantry battle droids aboard the destroyer are boarding long-winged landing ships to make planetfall on Saleucami. Grievous, too, boards one of the vessels. The light cruiser finally erupts in a huge explosion that washes over the destroyer. Shrapnel from the cruiser slams into Grievous' landing ship, sending it tumbling to Saleucami's surface.
-
The Jedi return to their flagships as Grievous' destroyer lists away harmlessly. Obi-Wan Kenobi plans to take Commander Cody and Captain Rex with him to Saleucami to search for Grievous. Anakin will stay in orbit to mop up the space battle. Eeth Koth, grateful to be rescued, will be taken to a medical frigate.
Grievous Intrigue Episode Gallery
TM & © Lucasfilm Ltd. All Rights Reserved


