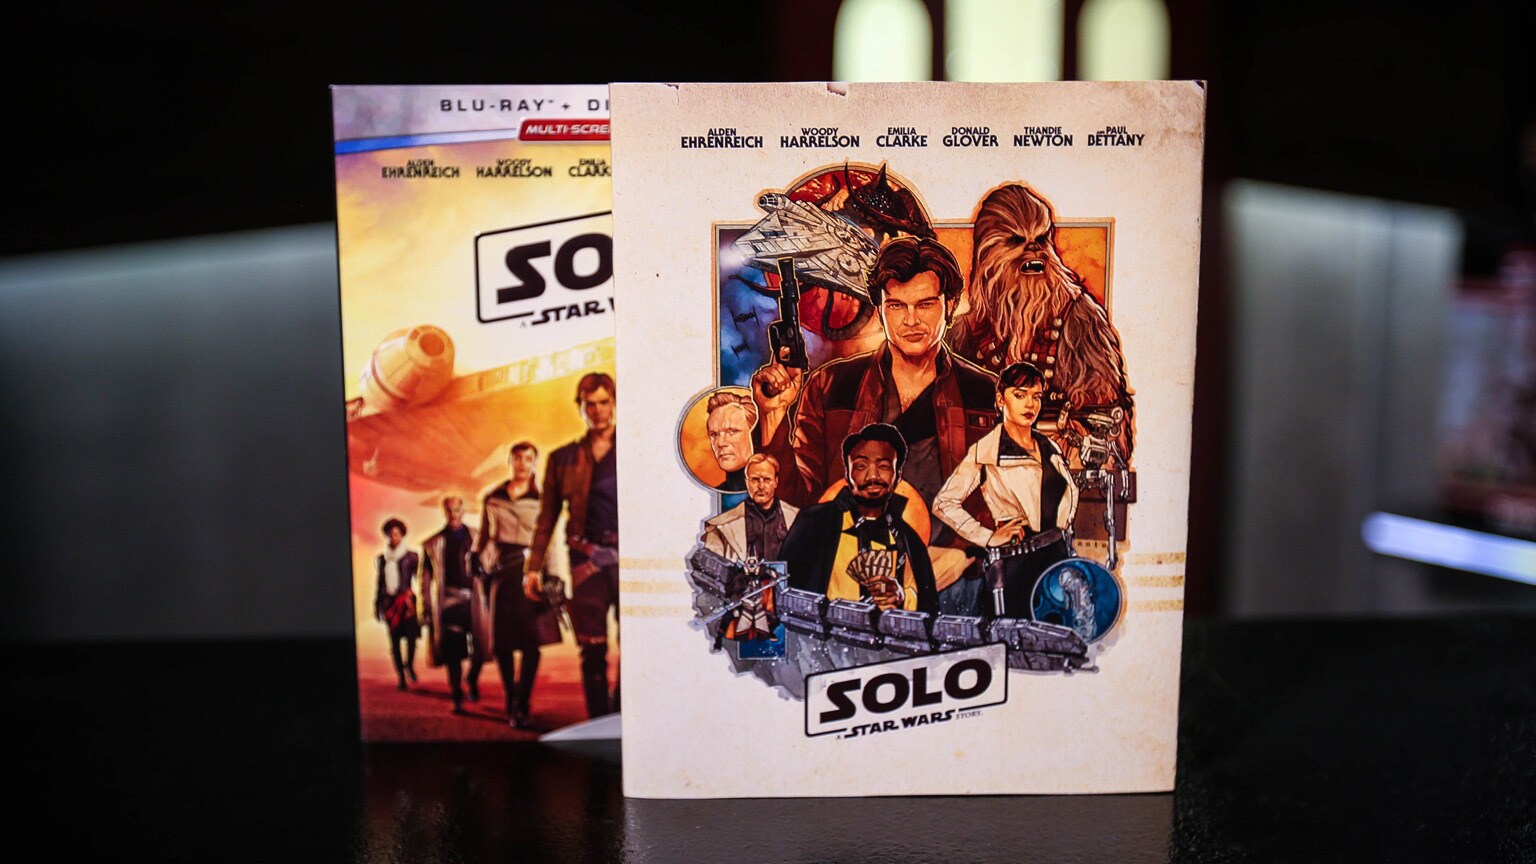
Solo: A Star Wars Story arrives today on 4K Ultra HD and Blu-ray (as well as On-Demand), and StarWars.com is celebrating!
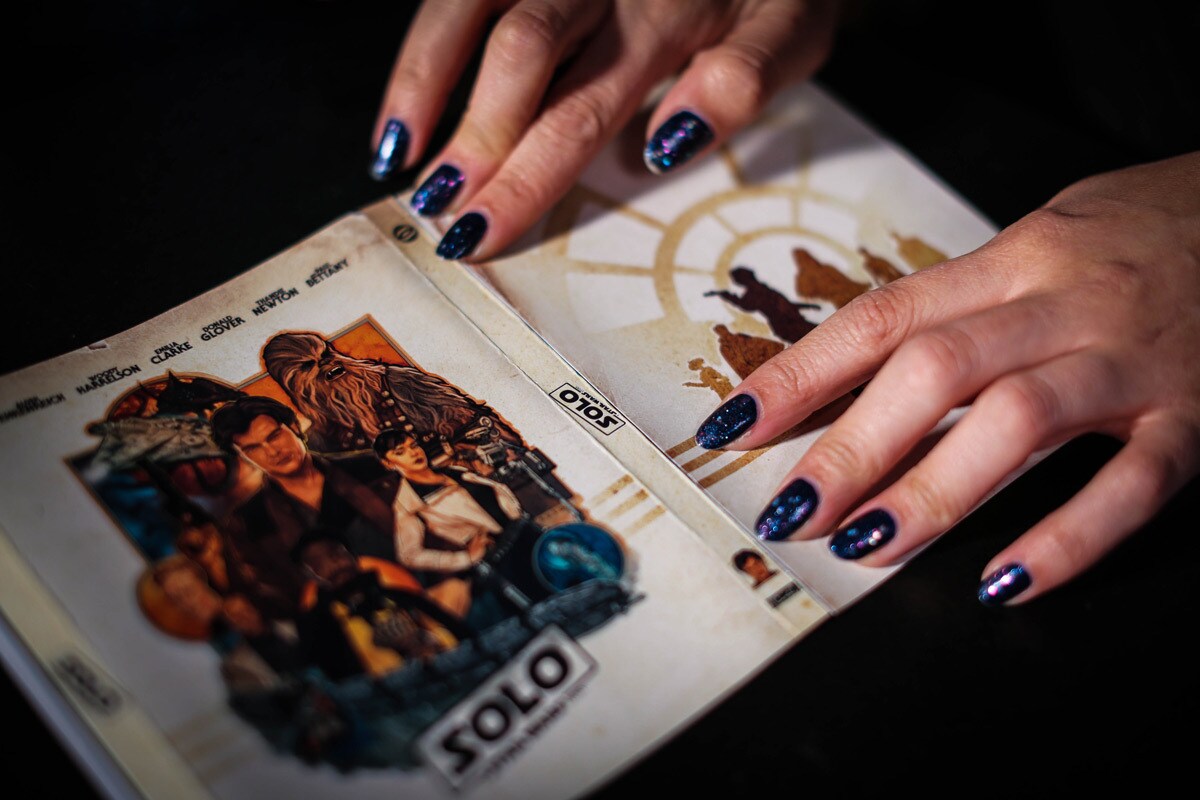
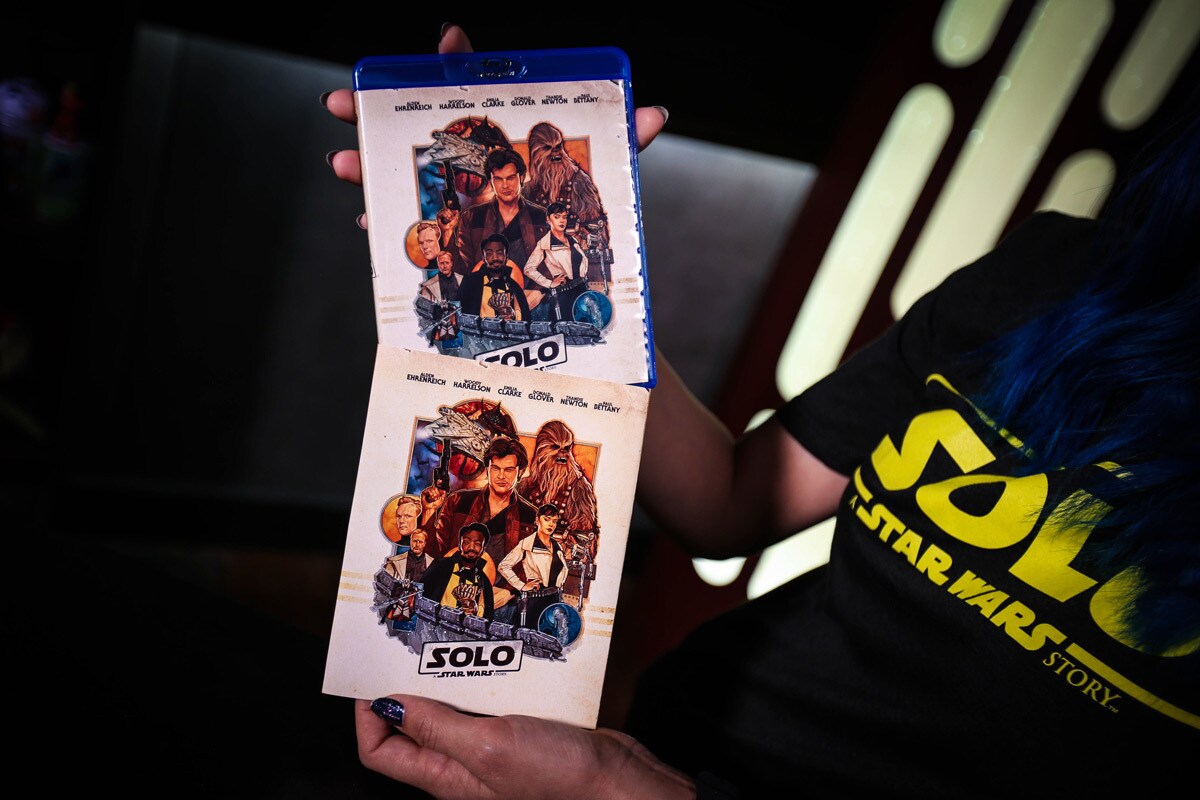
We've teamed up with artist Phil Noto -- whose credits include Marvel's critically-acclaimed Poe Dameron and Chewbacca series, along with covers on the upcoming Solo comic book adaptation -- to smuggle you a free, custom Solo insert cover and slipcover for the 4K Ultra HD and Blu-ray editions of the film. Check out the stunning cover image below!
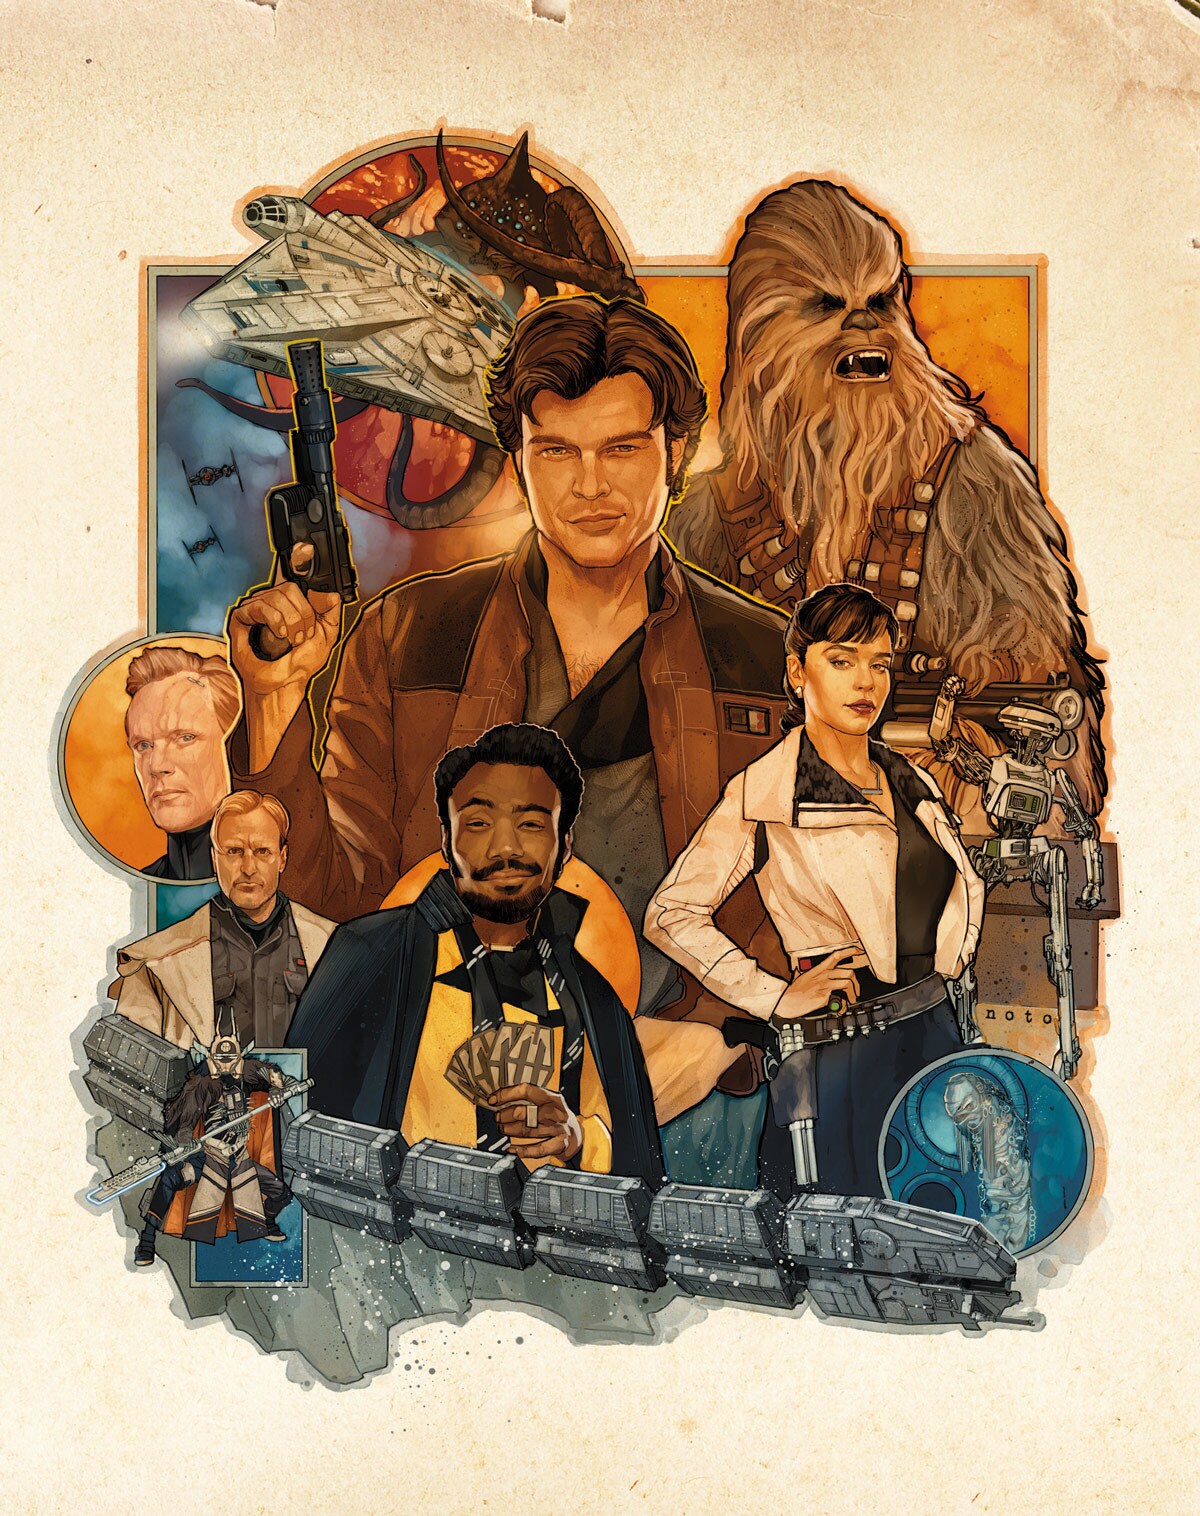
Ready to add the insert cover and slipcover to your copy of Solo? Punch it and follow the easy instructions below!
INSERT COVER
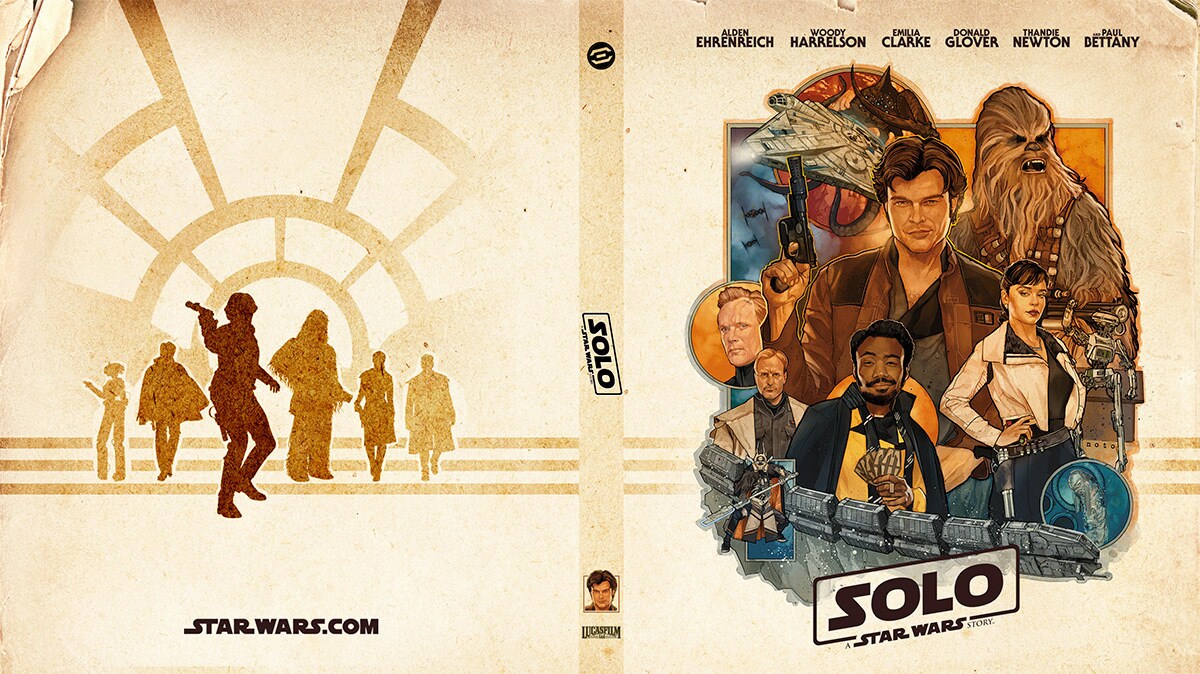
What You'll Need
- StarWars.com’s exclusive Solo Blu-ray insert cover design
- Access to an inkjet or laser printer
- Printer paper: Letter-sized (or A4 outside the US)
- Note: glossy photo paper recommended -- see TIPS section below.
- Scissors, paper cutter, or craft knife
- Ruler or other similar hard edge
- Gluestick or other clear paper glue
Step 1: Download the insert cover above.
Step 2: Print out in landscape format using quality settings appropriate for the type of paper you are using. Important: ensure your printer settings are set to print at actual size (100% scale).
Step 3: Cut out the cover. You can use scissors, a paper cutter, or a craft knife along the edge of a ruler to make sure your edges are straight.
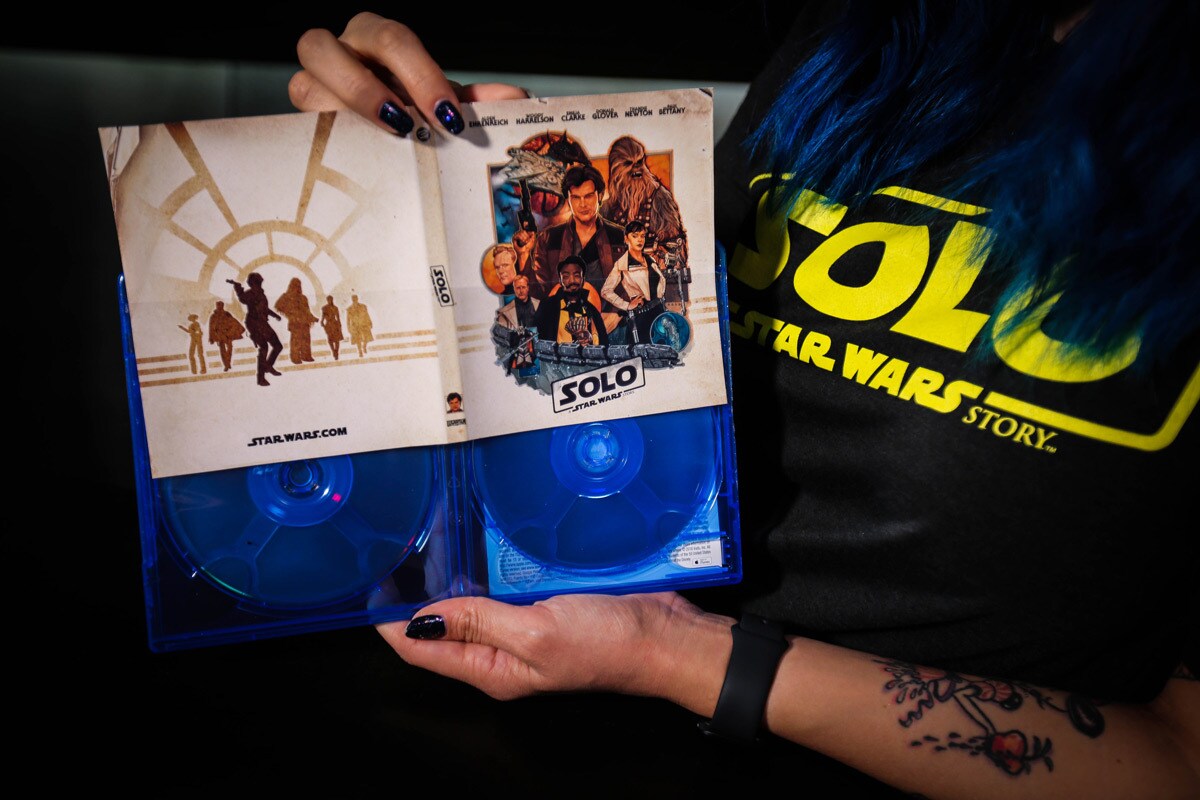
Step 4: Remove the original insert cover and slide the StarWars.com insert cover into your case.
Well done! You'll be the envy of scoundrels all over the galaxy. Ready to make the slipcover? See below!
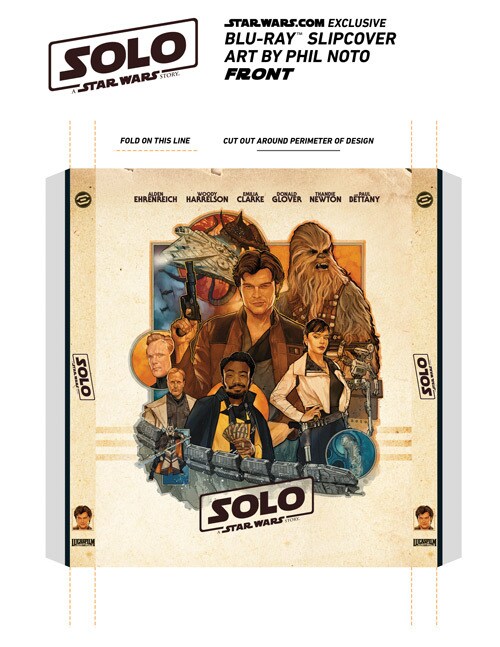
SLIPCOVER: FRONT
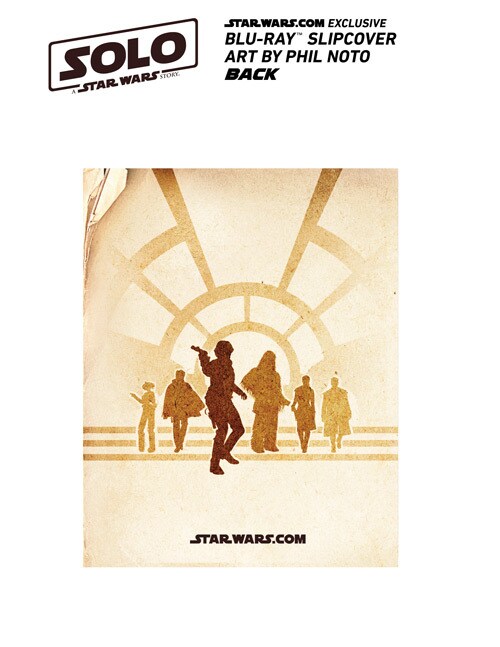
SLIPCOVER: BACK
What You'll Need
- StarWars.com’s exclusive Solo Blu-ray slipcover design (FRONT and BACK)
- Printer paper: Letter-sized (or A4 outside the US)
- Note: glossy photo paper or cardstock recommended - see TIPS section below.
- Scissors, paper cutter, or craft knife
- Ruler or other similar hard edge
- Gluestick or other clear paper glue
Step 1: Download both the slipcover FRONT and BACK graphics above.
Step 2: Print out in portrait format using quality settings appropriate for the type of paper you are using. Important: ensure your printer settings are set to print at actual size (100% scale).
Step 3: Note the 4 sets of orange dotted lines above and below the FRONT graphic. These indicate where you will make your folds in Step 5.
Step 4: Carefully cut the cover images out along the edges as marked. You can use scissors, a paper cutter, or a craft knife along the edge of a ruler to make sure your edges are straight.
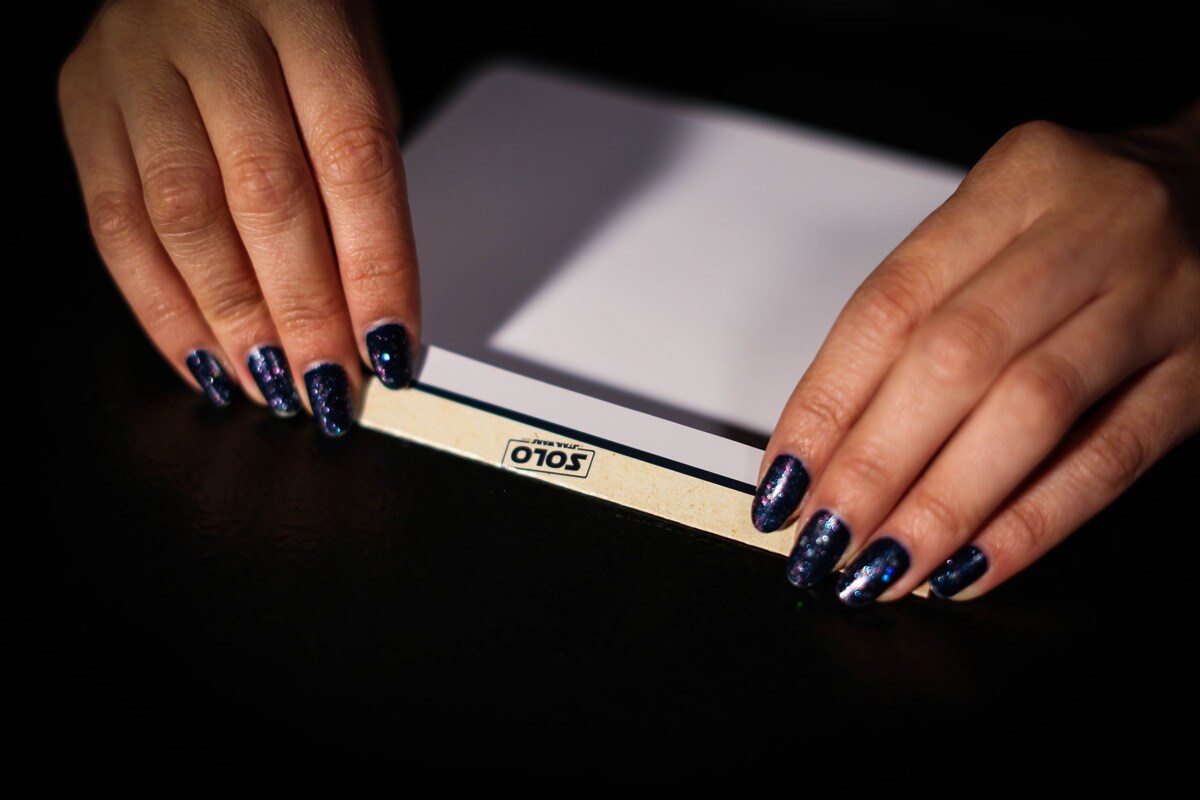
Step 5: Carefully fold 4 creases in the FRONT cover, having noted where those folds should be in Step 3.
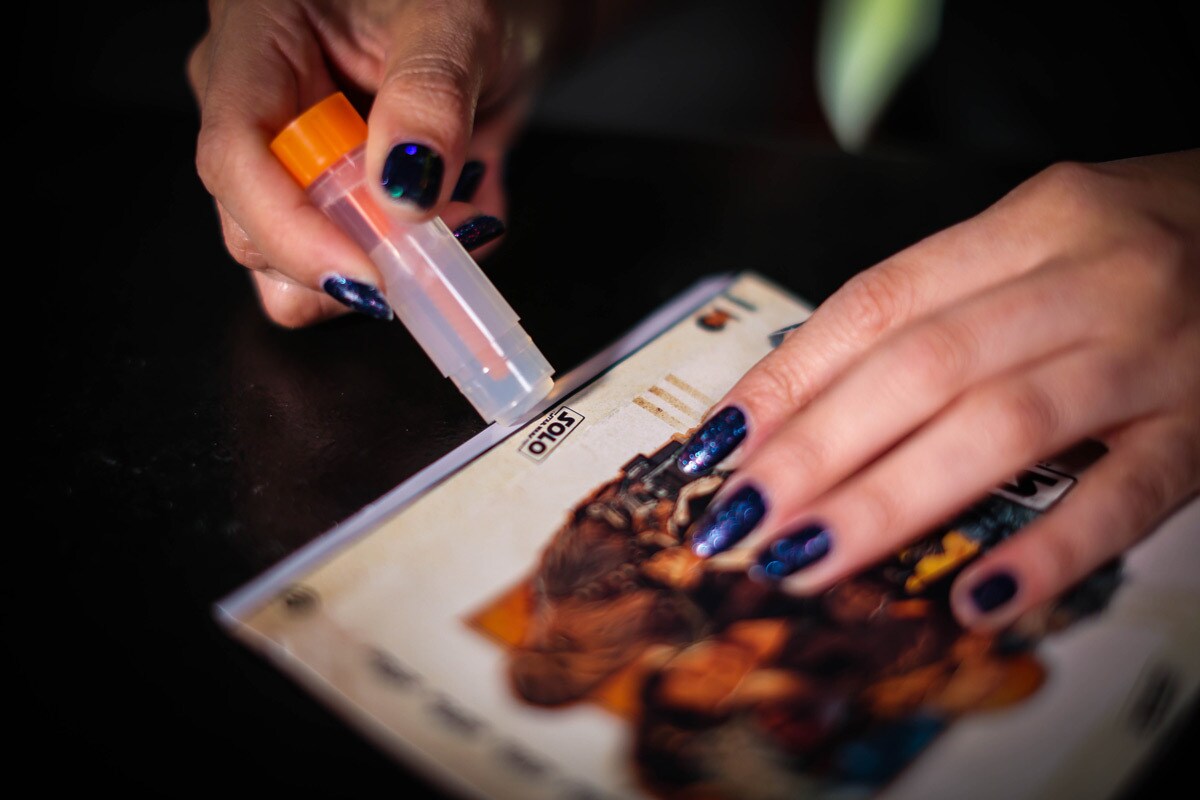
Step 6: Apply glue along FRONT cover flaps (gray and black areas) -- not too heavily, or it may cause ink to bleed.
Step 7: Carefully attach the BACK cover to the FRONT. Let dry.
Step 8: Once dry, slide over your Blu-ray case.
Now that's a special modification.
TIPS
- We find that glossy photo paper yields the best results, but, of course, use whichever printer or paper is available to you!
- If you do not have a printer, you might want to ask your local print center to print it for you.
- When printing, pay attention to the following settings in your printer dialogue:
- Scale: Print at actual size (100%), do not “scale to fit.”
- Quality: Set quality to the paper you are printing on. Typical options are “plain,” “matte photo paper,” “glossy photo paper,” etc.
- When glueing, you may want to apply glue to both the flaps and the side edges of the BACK slipcover design, in order to achieve better adhesion.
Enjoy your StarWars.com exclusive cover -- and Solo! We've got a really good feeling about this.
Solo: A Star Wars Story is available now on Digital and Movies Anywhere, 4K Ultra HD, Blu-ray, DVD, and On-Demand.
StarWars.com. All Star Wars, all the time.


