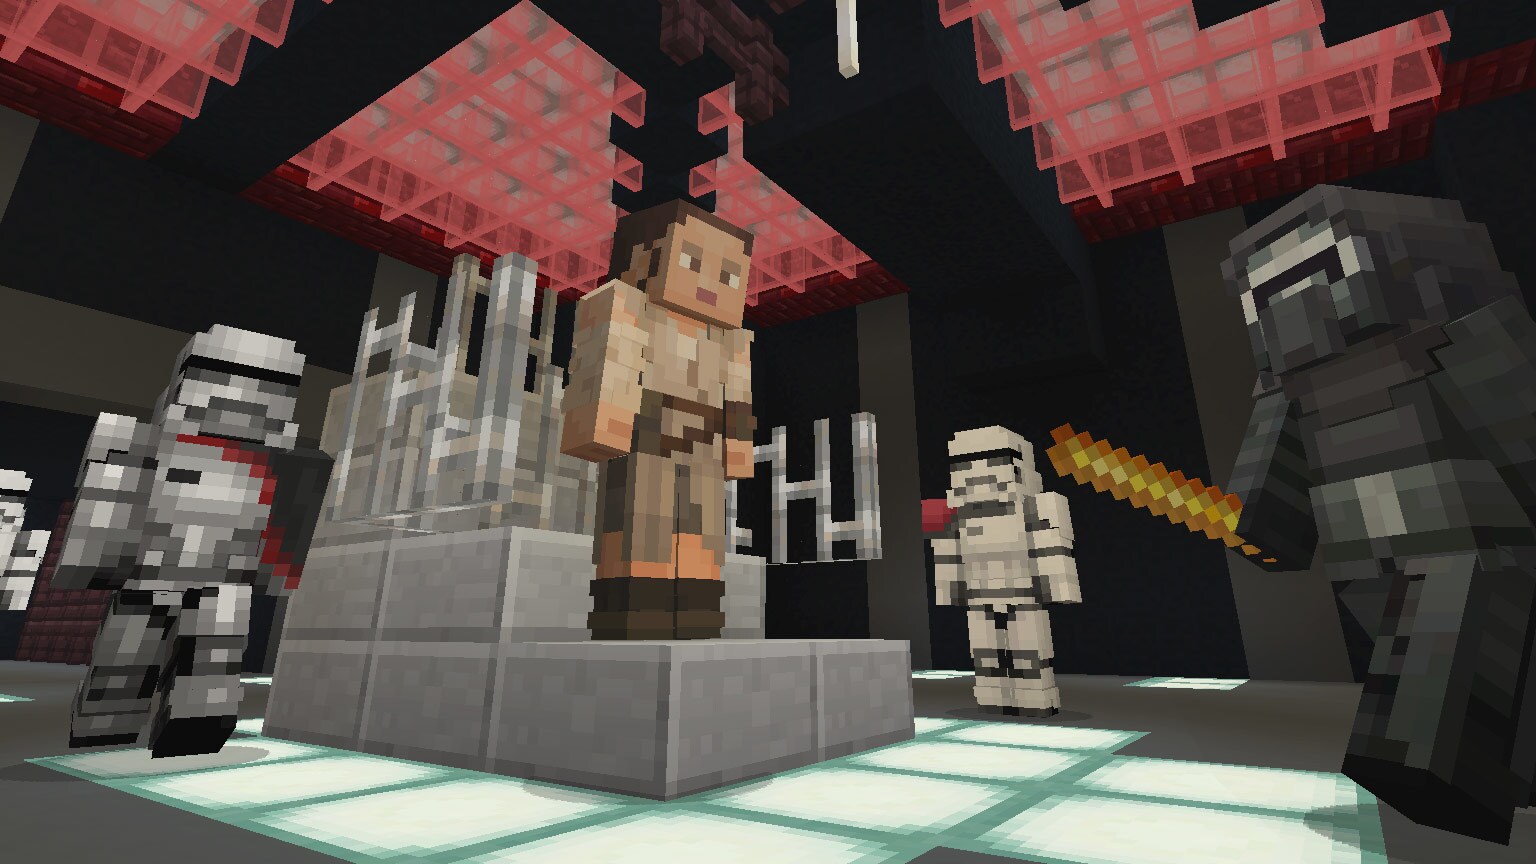
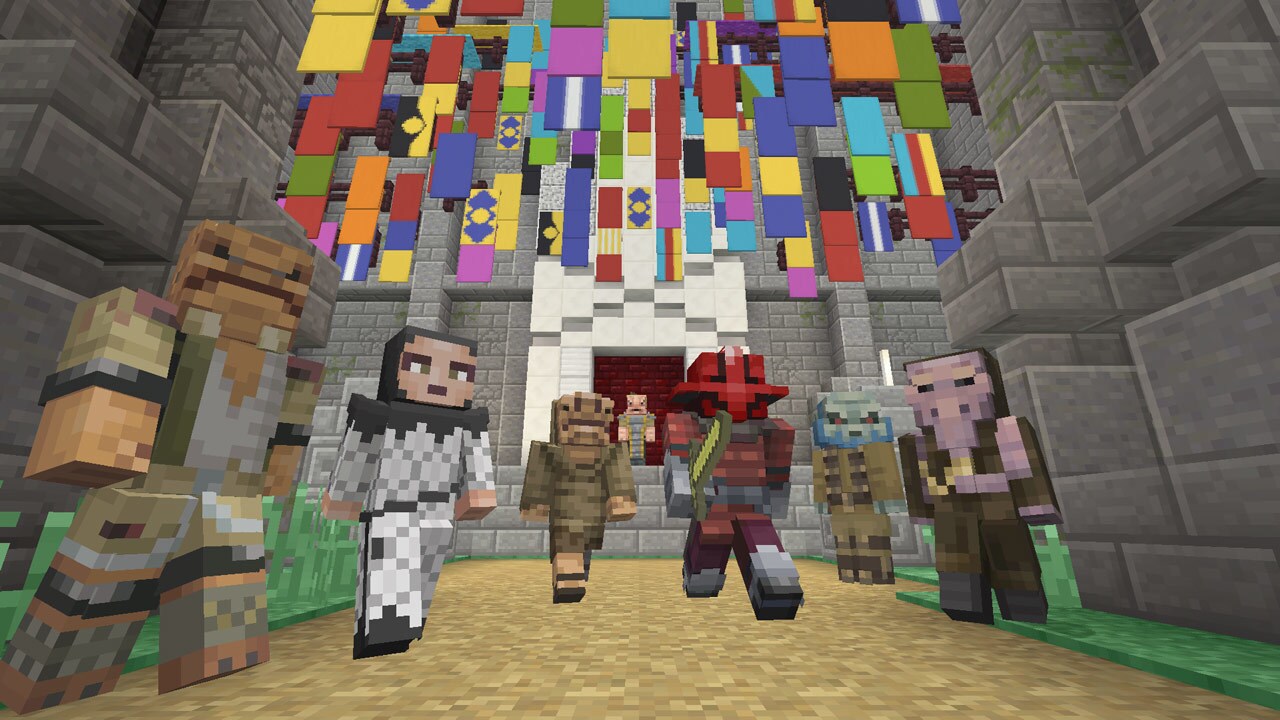
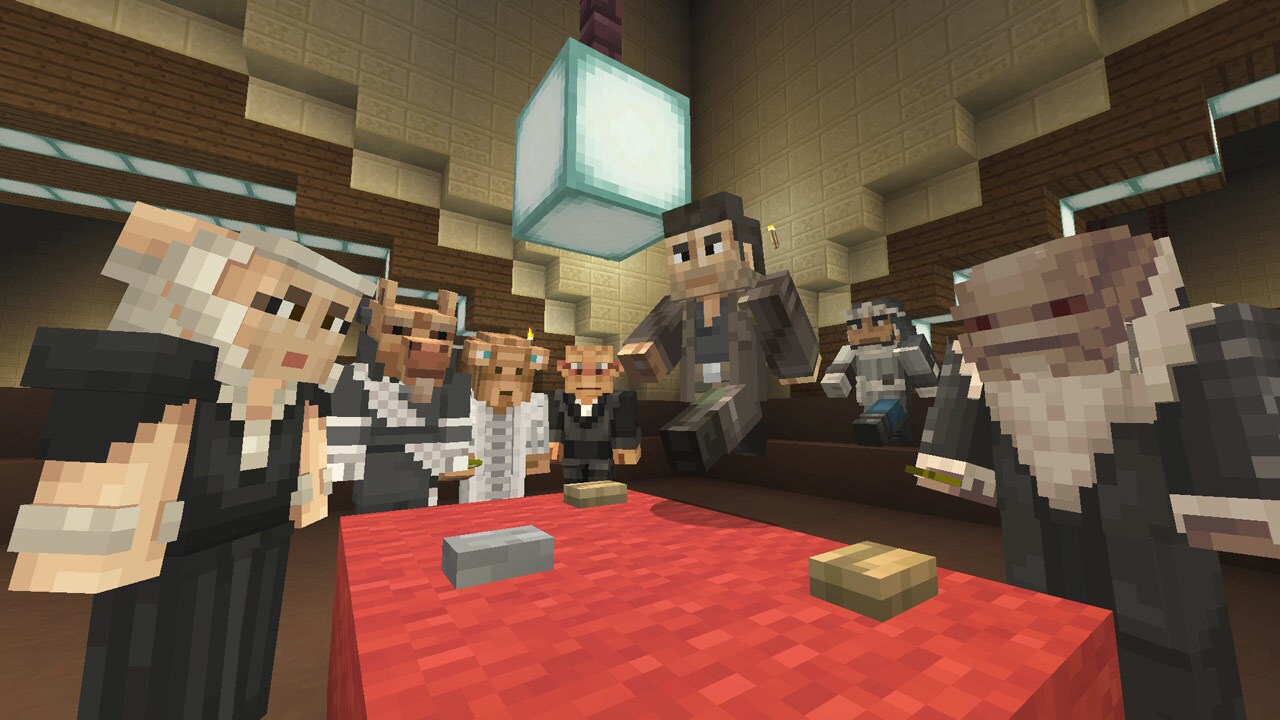
If you love Minecraft and think it could use more Rey, Kylo Ren, and Unkar Plutt, you're in luck -- Star Wars: The Force Awakens and Star Wars: The Last Jedi skins have arrived. The Star Wars Sequel Skin Pack, available for $2.99, was released last week and features both popular and obscure characters from the two latest films in the Star Wars saga. The pack includes two free skins, General Armitage Hux and Tallie Lintra, and a total of 53 (!) new character designs, making for a Starkiller Base-sized influx from a galaxy far, far away. (Now all you have to do is channel your inner galactic architect and start building your own Star Wars worlds.) StarWars.com caught up over e-mail with some of the talented folks behind these Star Wars skins -- lead artist Michael Hansen and artist Christopher Reeves of developer 4J Studios -- about translating our favorite good guys and bad guys into Minecraft's charmingly blocky look, the challenges in doing so, and some tips on building Star Wars settings.
StarWars.com: When it came to taking characters from Star Wars: The Force Awakens and Star Wars: The Last Jedi and adapting them into Minecraft form, what was the biggest challenge? It seems like it must be somewhat difficult, considering the simplified Minecraft aesthetic.
Michael Hansen: Star Wars has a wide spectrum of character designs, each with their own unique feature that makes them stand out from each other. The challenge for this pack, I would say, is finding that feature, small or large, and making that core to the overall design. Human characters for example, re-creating their unique facial features and expression to read well in only an 8x8 pixel space can be really tough. Using Kylo Ren as an example, it can boil down to simply the placement of the mouth. Ultimately, we made it 2 pixels wide and placed it at the lowest position possible; this allowed the face to appear longer than the others and to help illustrate his brooding personality.
As for the biggest challenge, alien skins are always a mind teaser because of their very organic design features. The key here is to focus on getting the overall silhouette blocked out and readable. Since we can add extra geometry to our skins, we can get fairly close without breaking the Minecraft feel.
StarWars.com What was the process overall?
Michael Hansen: We start with looking over the reference material gathered or provided, picking out the main features, collecting the color palettes, and deciding on an overall style for the pack. Once we are happy, we load up our base models and texture sheets in a tool specially made for creating skins.
Each person will be assigned a skin and off they go. Each team member has a different work flow preference when it comes to creating skins but sometimes this is also driven by the complexity of the character. Skins which tend to take the longest are usually the ones which require extra geometry to convey more of their character and features. However, occasionally some skins just work perfectly first time. It is a very much "case by case" basis. During all this development we have an open dialogue between everyone, bouncing ideas and thoughts around to get the best result at this stage.
As the skins are being completed, I will review them and provide feedback on anything that needs changing or tweaked to lift the overall design. Once all the skins are completed, they go into the next stage of reviews with myself and David [Keningale, art director at 4J Studios]. Here, we go over all the skins, checking over everything from reference material, colors, style, lighting, geometry, etc. If anything needs to be adjusted, it goes back into the pipeline and repeats this stage until we are satisfied. When we are happy with the whole pack, we send it off to go through the same process again with Mojang, reviewing feedback and implementing any changes needed.
After this, all the character approval sheets will be sent off to Lucasfilm for their approval. If there is any feedback, the skin goes back to the beginning to start the journey all over again. This sounds like a lot, but the process is smooth and rather quick and it is important for controlling quality and style. When everything is approved at this final stage, it is off for testing and bug fixing before wrapping up the pack, getting ready for release, and starting on the final marketing images.
StarWars.com: There are a lot of new character skins here -- 53 in total! Which one skin would you say you're most proud of? Why?
Michael Hansen: Um…difficult choice. I think the team has done an excellent job portraying all these characters. If I had to pick one, I would say the Brixian character who you might see in the background of the Canto Bight scene. We were wondering how we would get this one to work due to its complex shape and design. It wasn’t as big a challenge as we’d anticipated though and it was one of those skins that came together surprisingly quickly. I was really pleased with the results.
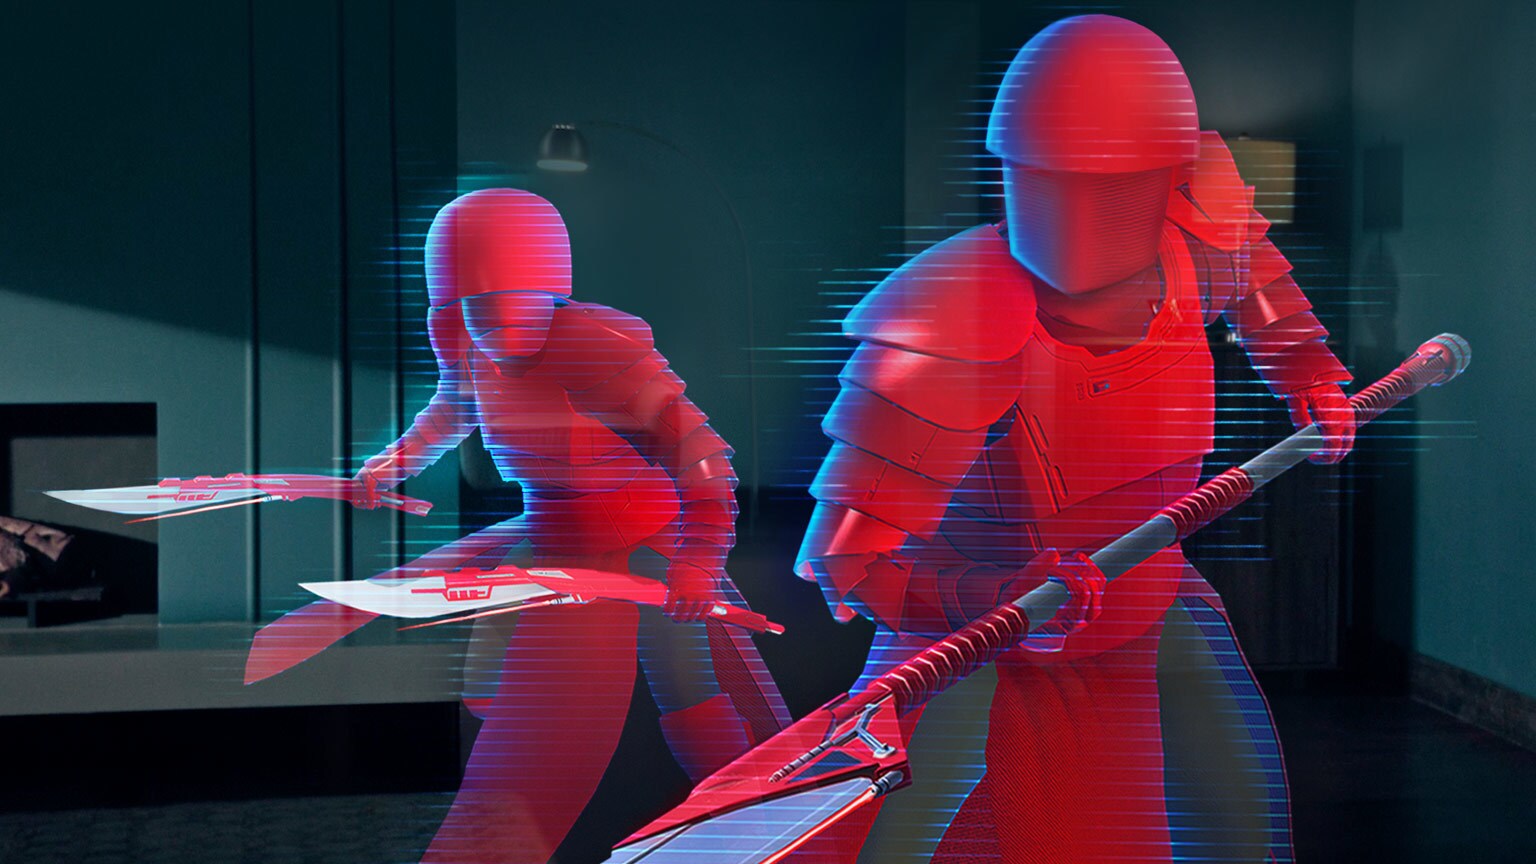
StarWars.com: I actually really like the Praetorian Guards. Their plated armor seems perfect for Minecraft.
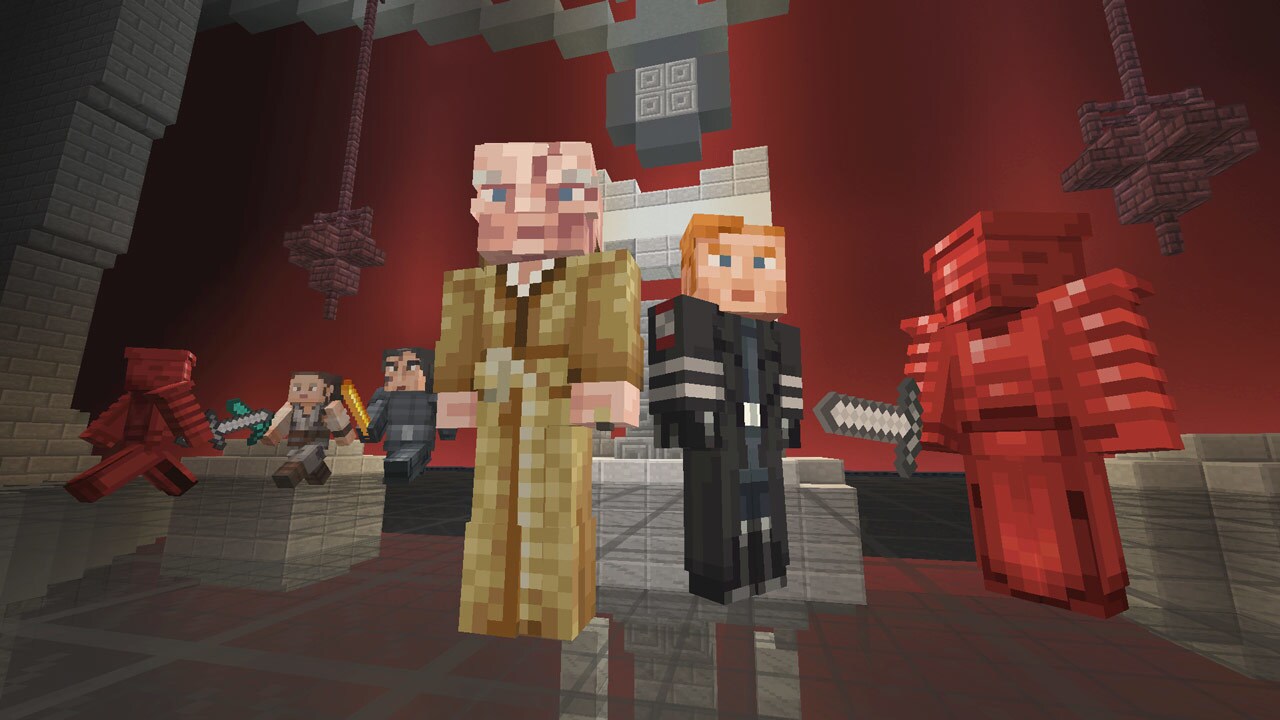
Michael Hansen: Their overall design does fit the clean-cut styling of Minecraft very well. There were a few back-and-forth design changes with the helmet and how shiny the armor should be, but it all came together in the end.
StarWars.com: The screenshots released show some great Minecraft builds of locations from The Last Jedi and The Force Awakens. Any tips for someone who wanted to create, say, Snoke's throne room?
Christopher Reeves: Snoke's throne room had two main effects: the reflection on the ground and the lighting setup. The reflection we achieved by building the entire scene again upside down, separating the topside from the underside with a layer of black stained glass. This is a bit of a camera trick; the illusion breaks if you look over the edge of the glass platform and see the build below. The lighting of the scene was done through the use of glowstone blocks just behind the camera position, and by hiding torches behind certain blocks along the back wall, much in the same way as you would set up lighting for a photograph.
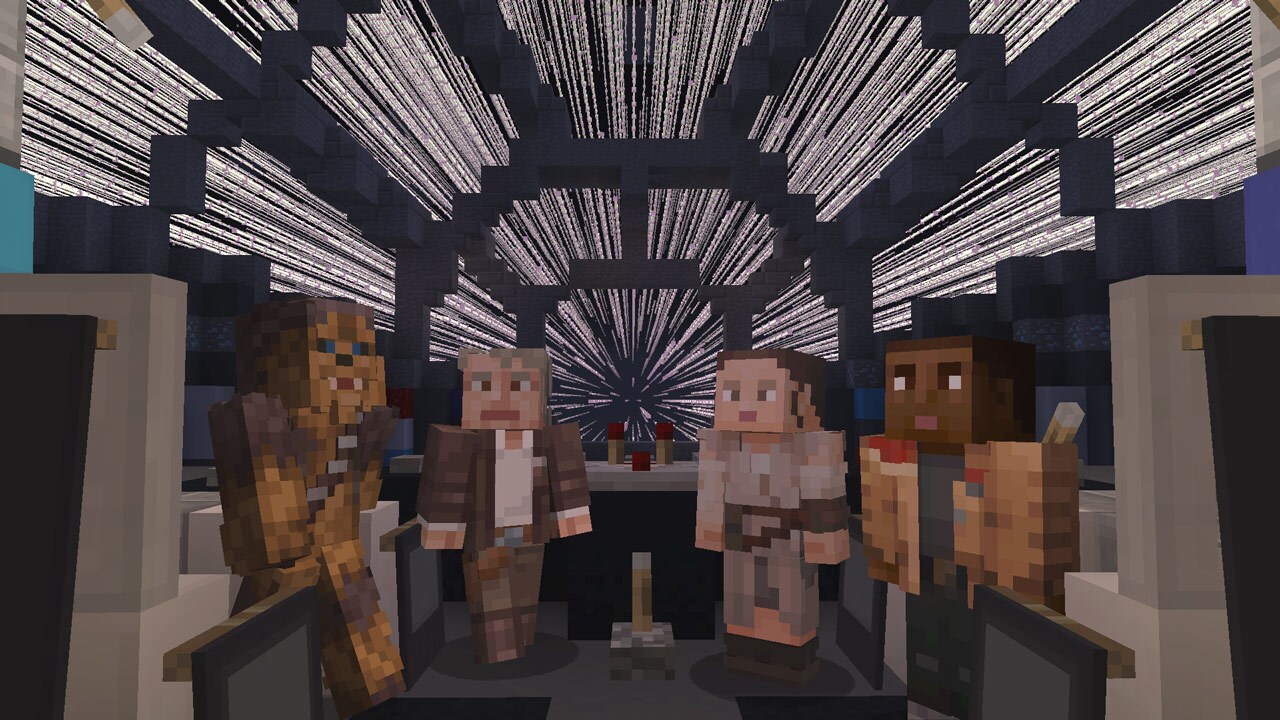
With a fixed camera angle you can really do lots of tricks to make a scene work. In our Millennium Falcon shot we really wanted to recreate the jump to light speed, as it is a classic image. This was created mostly through a depth trick which allowed me to build the intricate windows of the cockpit with more detail than I would normally have, but still keeping the foreground and characters to scale. Given the camera would never move, I simply built the window frame much further out from where the characters are -- the illusion is easily broken if the camera changes position from the center of the cockpit, though. As for the star field warping, we placed lots and lots and lots of end rods, stacked end on end. Simply taking the shot at night was enough to give the desired effect.
Dan Brooks is Lucasfilm’s senior content strategist of online, the editor of StarWars.com, and a writer. He loves Star Wars, ELO, and the New York Rangers, Jets, and Yankees. Follow him on Twitter @dan_brooks where he rants about all these things.


