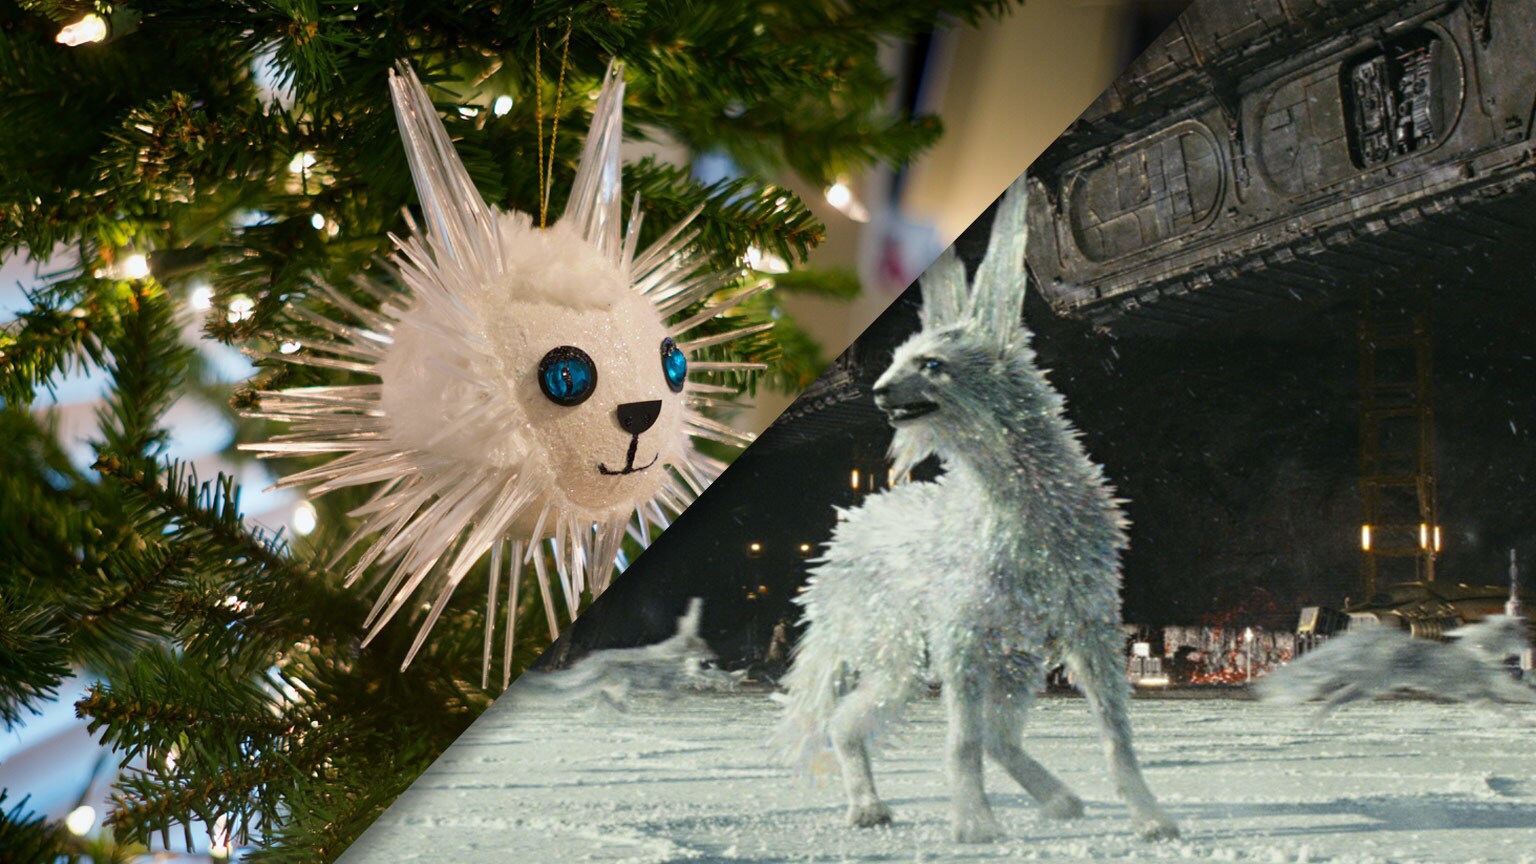
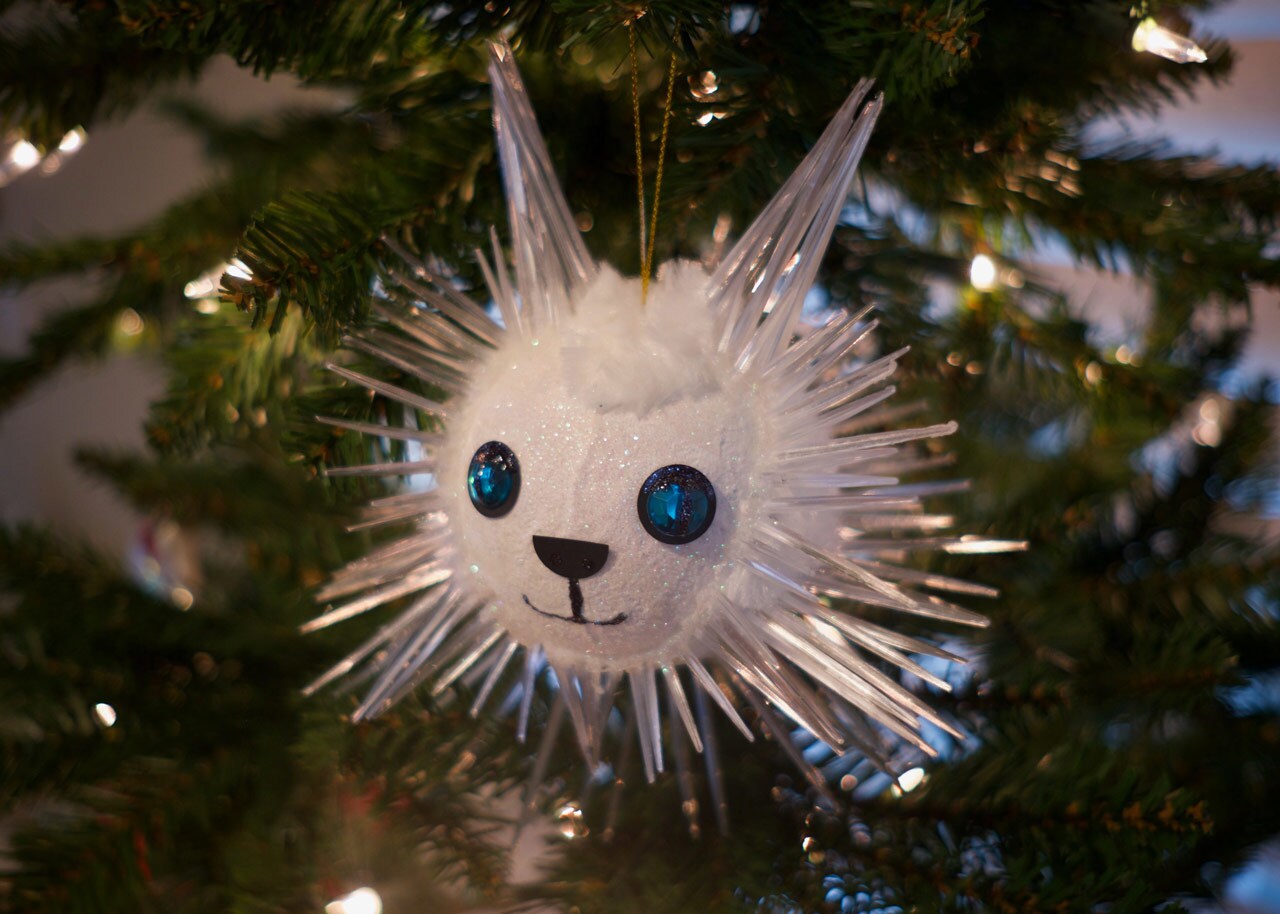
The iridescent and glittery vulptex, also known as the crystal fox, a creature new to the Star Wars galaxy, is making its dazzling debut in The Last Jedi. The sparkling animal can not only be found on the shimmering surface of Crait, but on your twinkling tree this holiday season, as well -- with the help of this how-to for a DIY vulptex ornament.
What You'll Need*
- 1 round papier-mâché ornament
- White acrylic paint
- Clear toothpicks (4 inches long)
- White craft fur
- Fur template
- White iridescent glitter
- 2 blue gemstones
- 5/8” hole punch
- Black cardstock paper
- Black glitter glue
- Scissors
- Hot glue gun
- School glue
*The activities in this article should only be done with adult supervision.
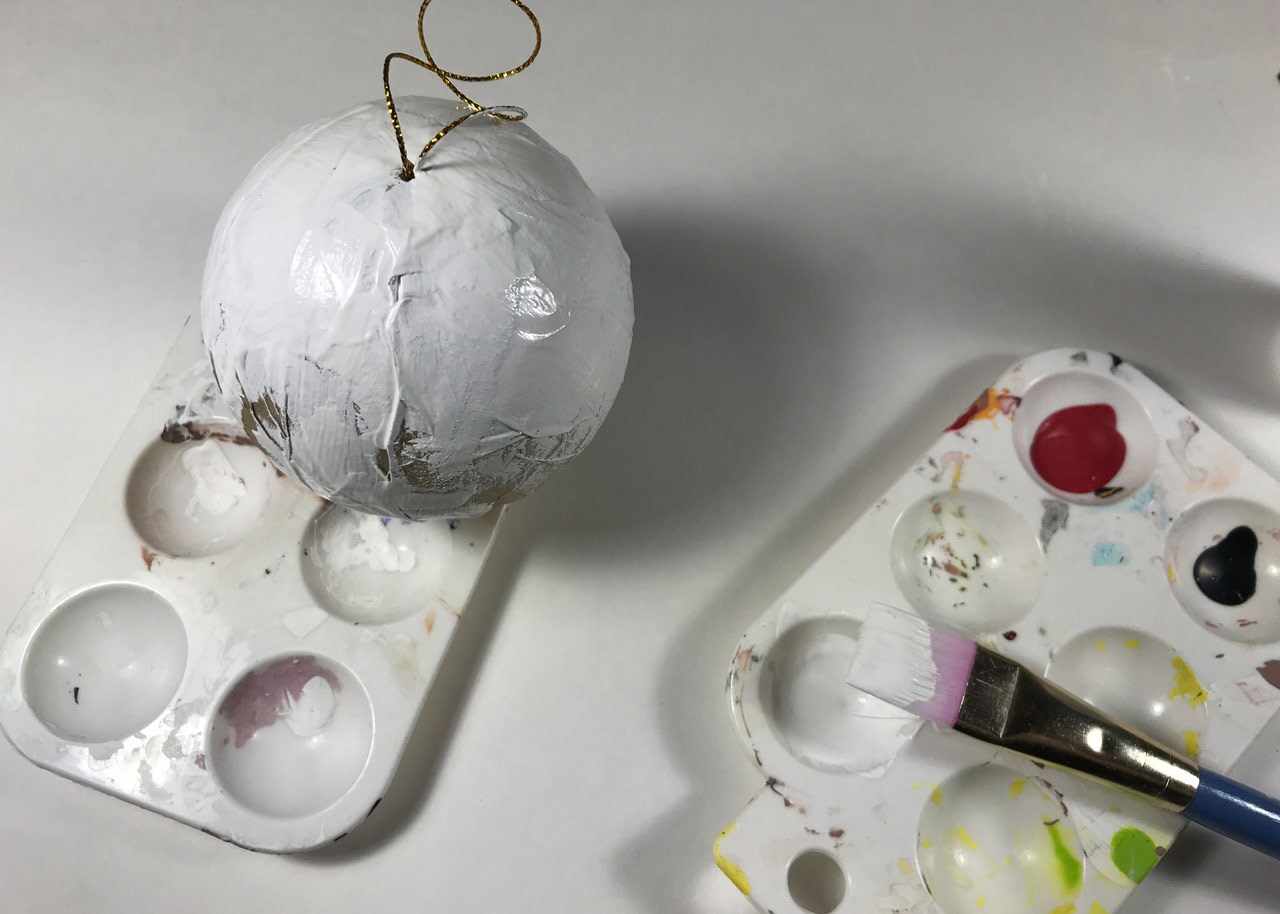
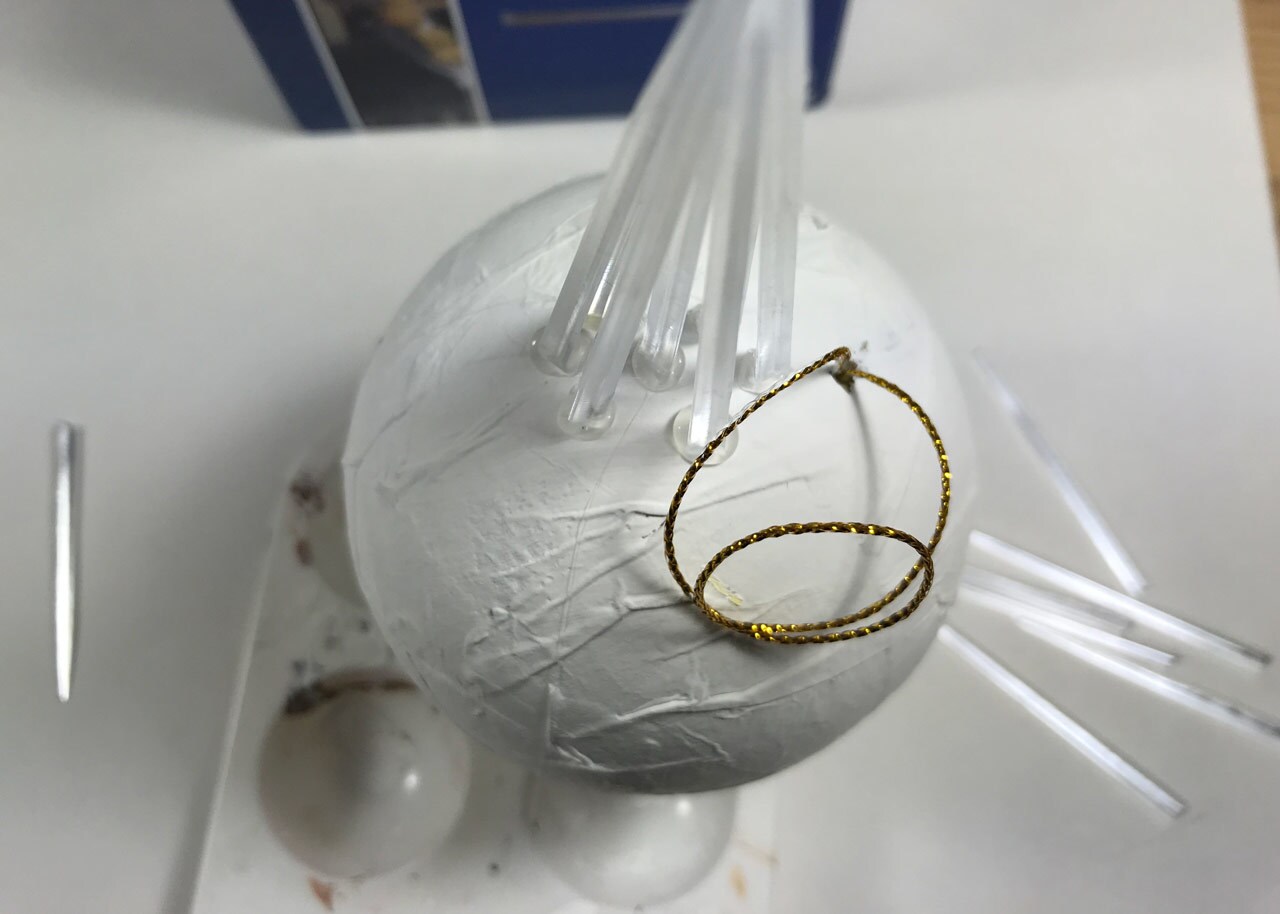
Step 1: Paint the ornament completely white, and let dry.
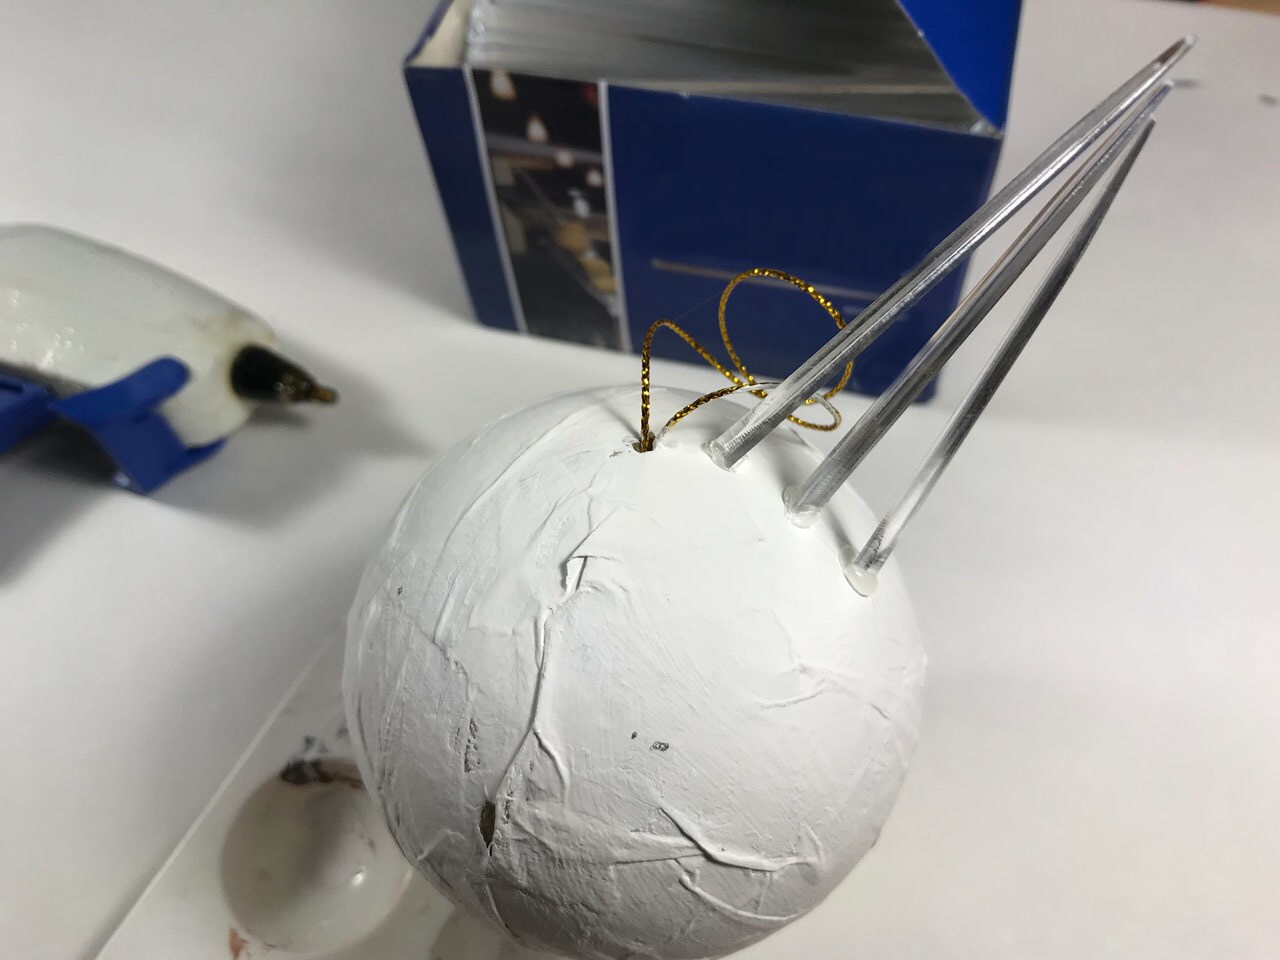
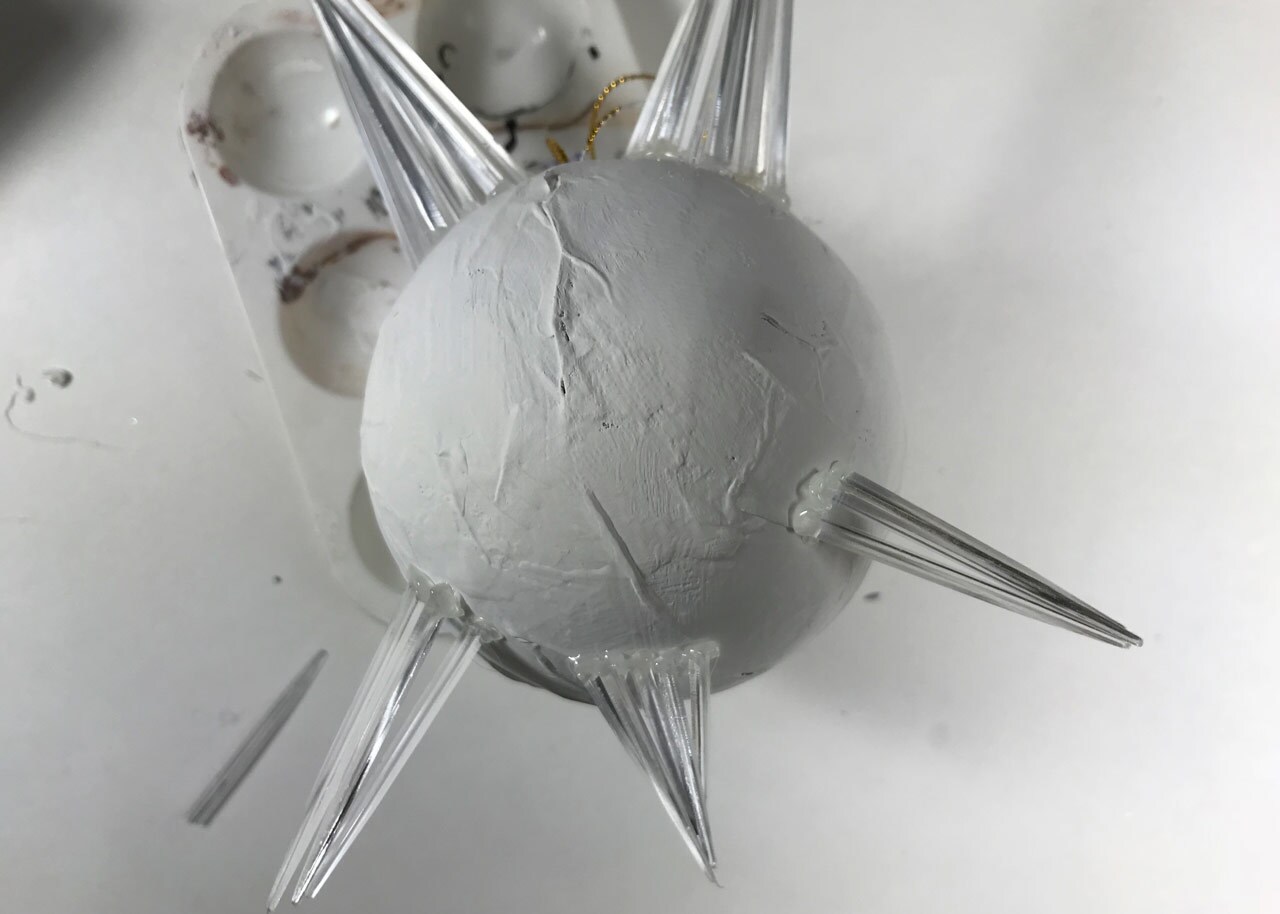
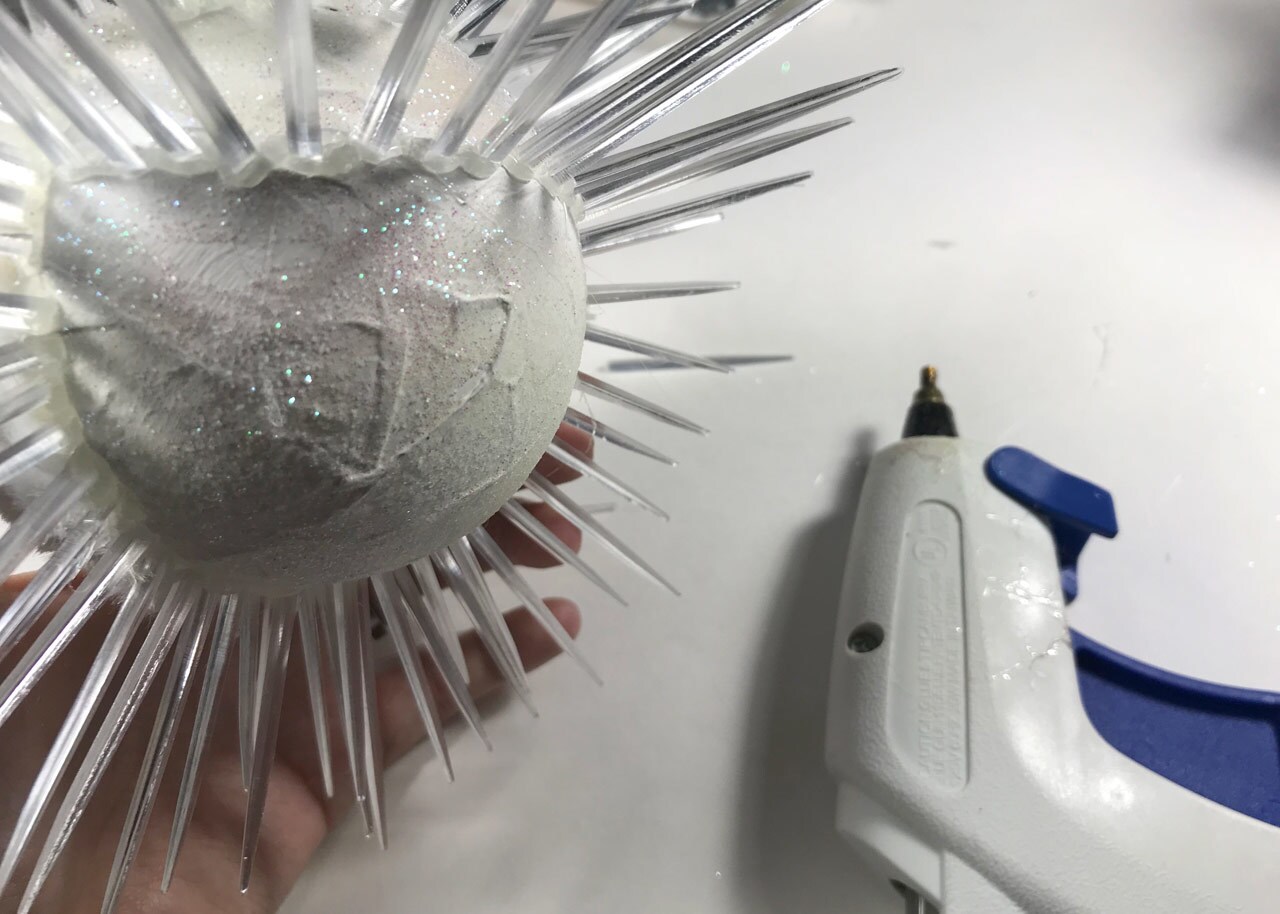
Step 2: Snap the clear toothpicks in half or a little longer, depending on how long you’d like the vulptex’s ears to be. Hot glue one 2”-3” toothpick on the top of the ornament where the center of the ear would be, and then two on each side to create a triangle shape.
Step 3: Continue hot gluing toothpicks, all approximately the same size, around the middle toothpick in a circular shape. Make sure all toothpicks form a point at the top.
Step 4: Repeat the process for the other ear.
Step 5: Snap the clear toothpicks approximately in half. Using the same technique, create one triangle shape on the bottom of the ornament, and two more on either side of that one.
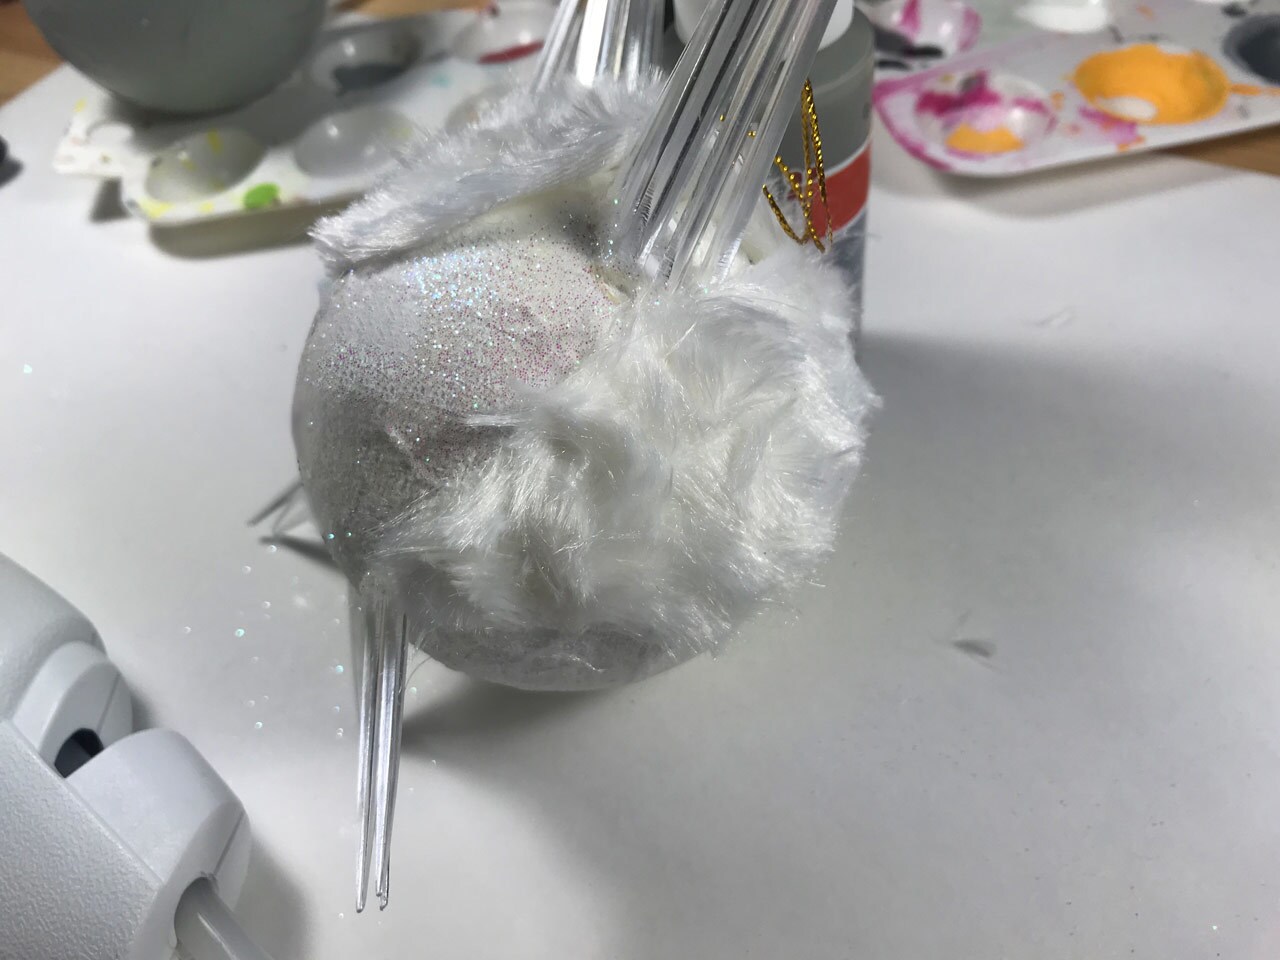
Step 6: Cover the ornament in white school glue, and then sprinkle the white iridescent glitter on top. Let dry. Continue on all sides of the ornament until it’s completely covered and dry. 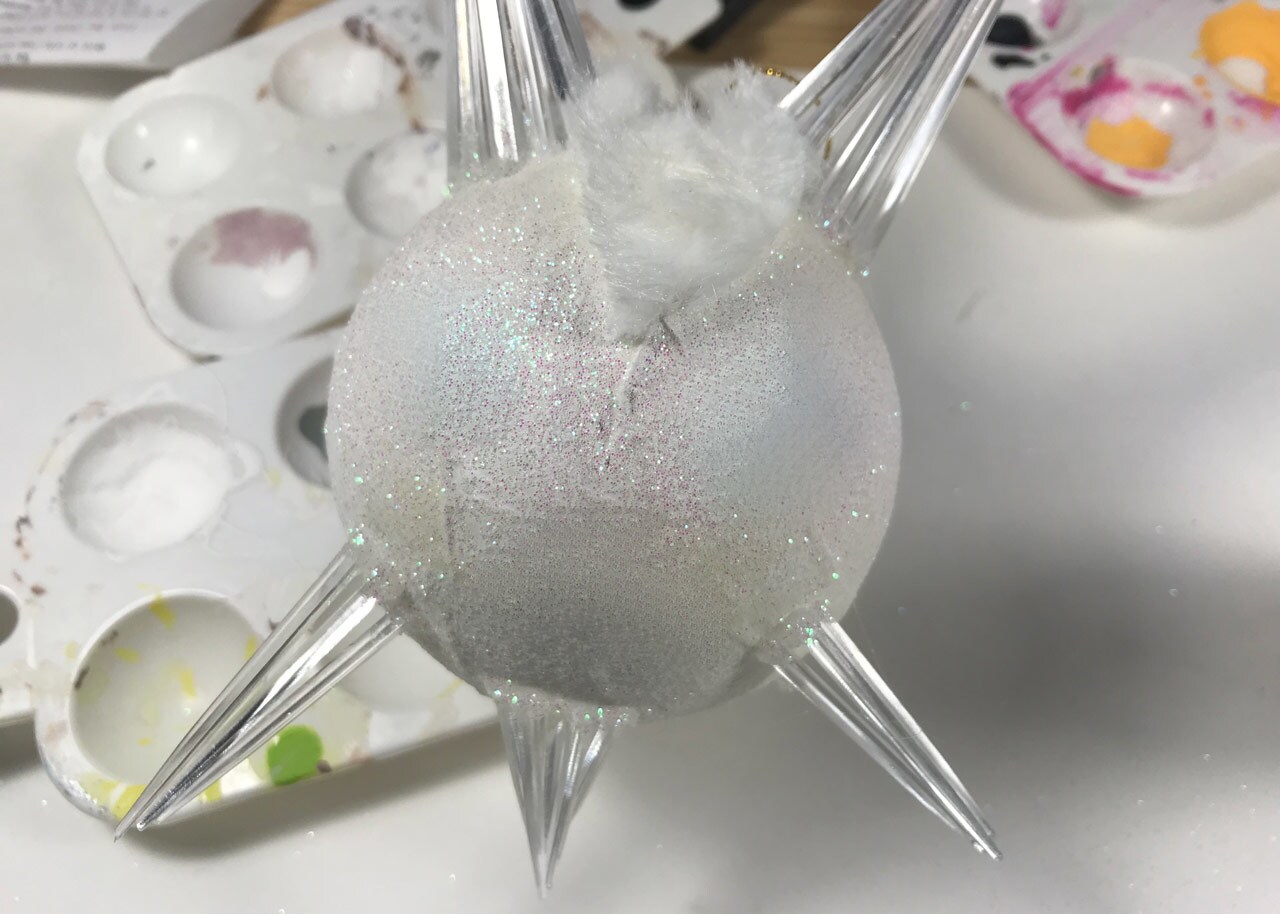
Step 7: Print and cut out the fur template, and use it to cut three pieces of white craft fur. Cut a small slit in the middle of one piece and thread the ornament string through. Hot glue the piece of fur to the top of the ornament so that the pointed end creates a “forehead” for the vulptex. (You may have to press and glue it more around the ears to get it to lay down flat.)
Step 8: Glue two more pieces of craft fur to frame the face, covering half of the back side of the ornament.
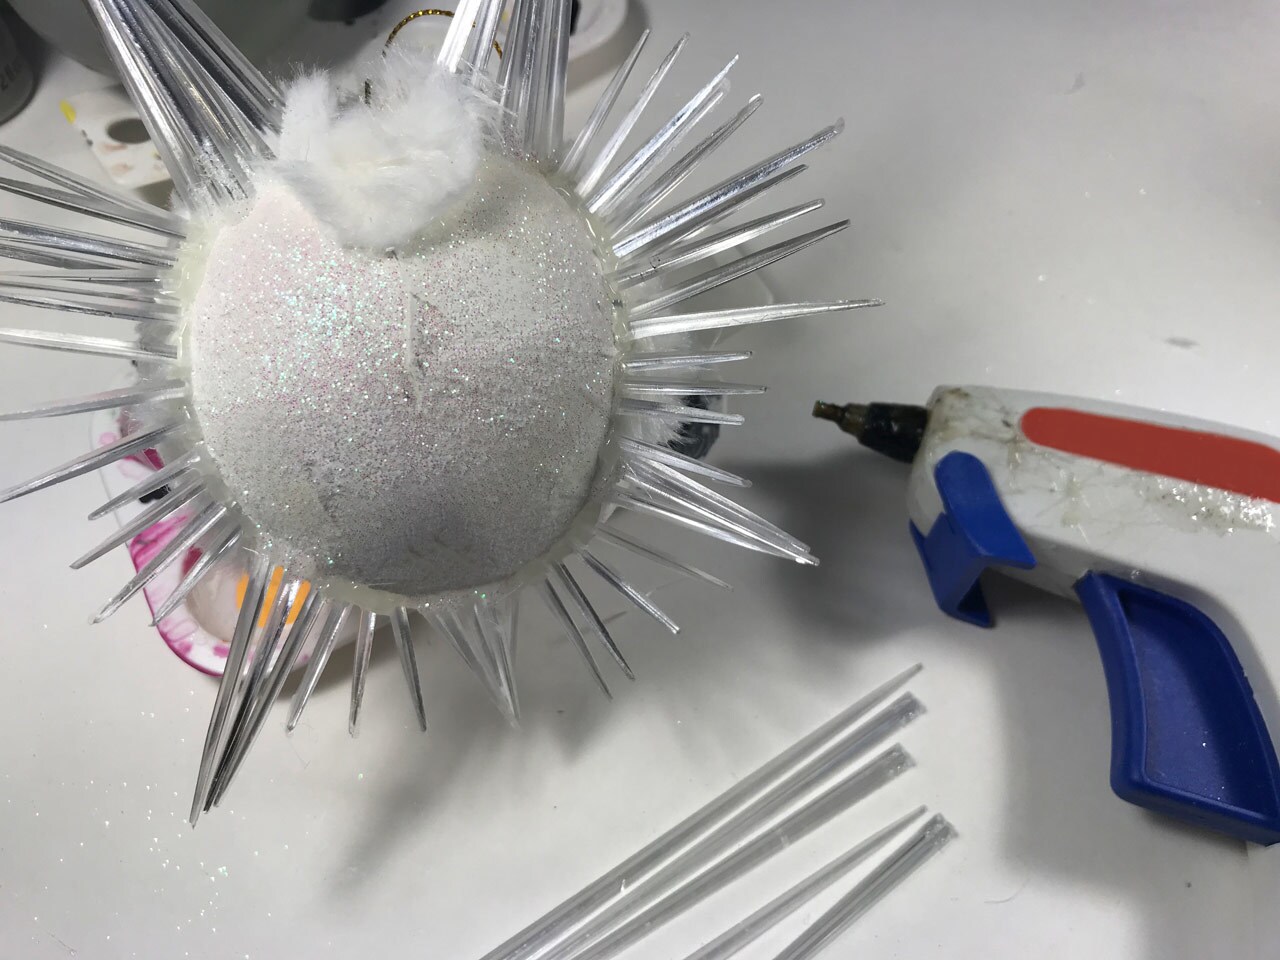
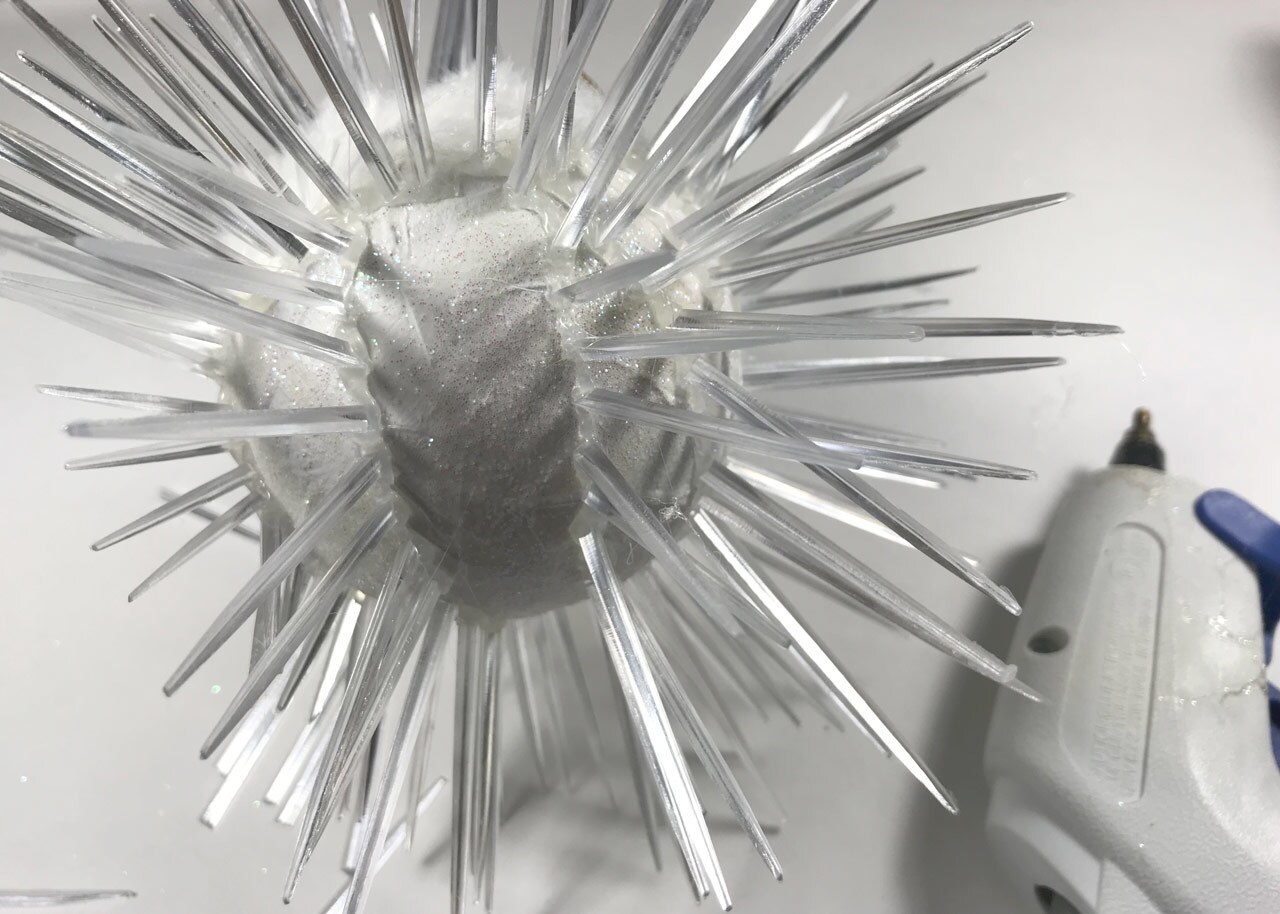
Step 9: Next, break a number of toothpicks into pieces about two inches or shorter, and hot glue them around the fur and face of the vulptex.
Step 10: Repeat on the back, gluing toothpicks approximately the same size around the back side of the ornament.
Step 11: Fill in the space on the back with more toothpicks about two inches in length. You can glue them in rows or completely fill in the back, depending on your preference.
Step 12: Use the white school glue and cover the dried hot glue at the base of the toothpicks with white glitter, and take the opportunity to fill in any spots you may have missed previously.
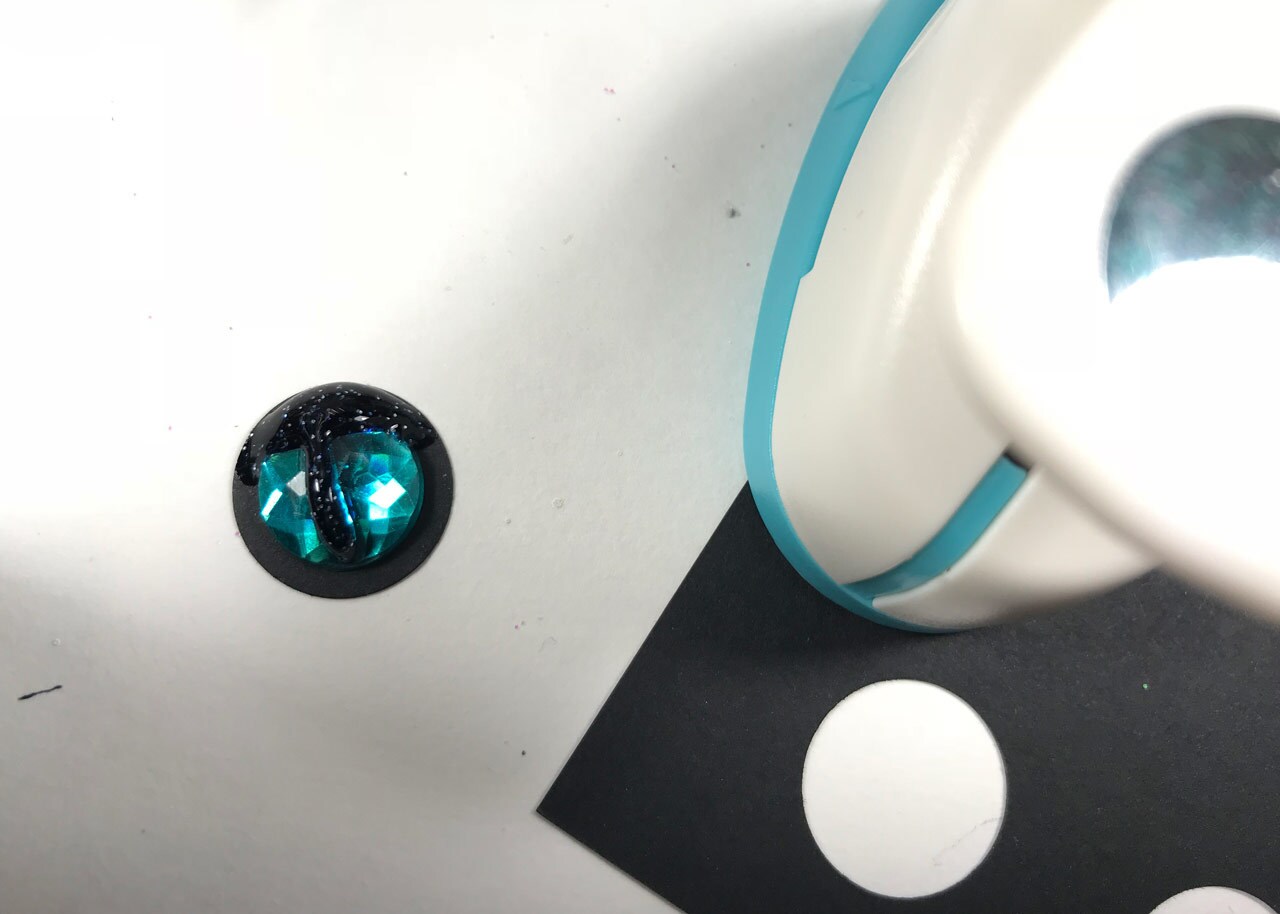
Step 13: While the glitter is drying, cut three holes with the 5/8” hole punch in the black cardstock paper. Glue the blue gemstones to two black paper circles. Use the black glitter glue to fill in the top to create an eyelid, and gently draw a line down the middle of the gem for the vulptex’s pupil. Let dry and repeat on the other gem.
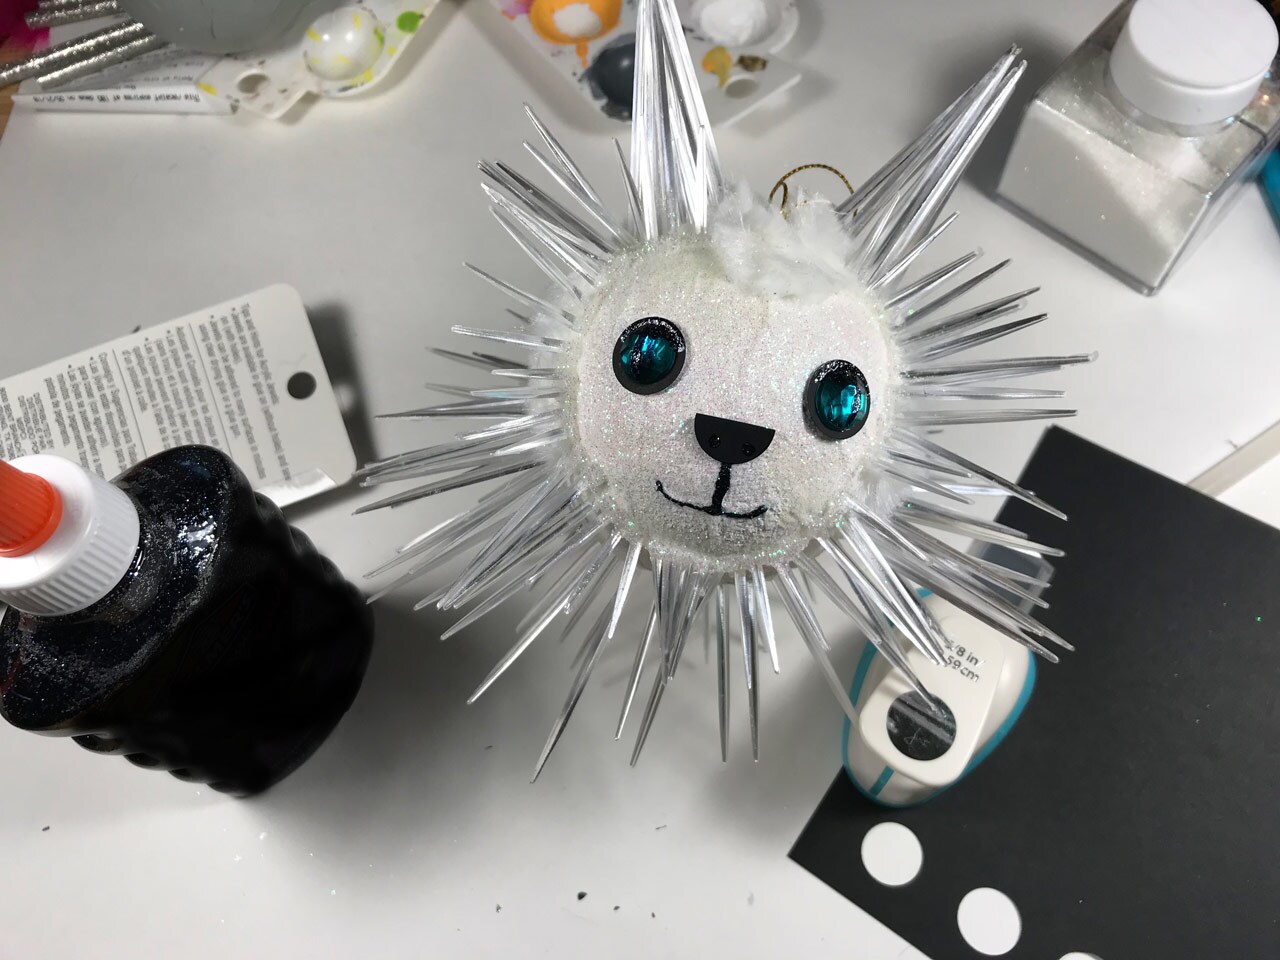
Step 14: Cut the other black cardstock circle in half, and use the black glitter glue to make two small circles in the middle of it. This will be the vulptex’s nose. Let the glue dry.
Step 15: Glue the eyes and nose to the ornament. Use the black glitter glue to draw a mouth (with a slight smile, if you’d like).
Let all glue dry completely. Your vulptex is ready to prowl your tree!
Kelly Knox is a freelance writer who loves creating crafts with her daughter. Follow her on Twitter at @kelly_knox, and take a look at her blog the st{art} button for more Star Wars art projects and craft ideas.


