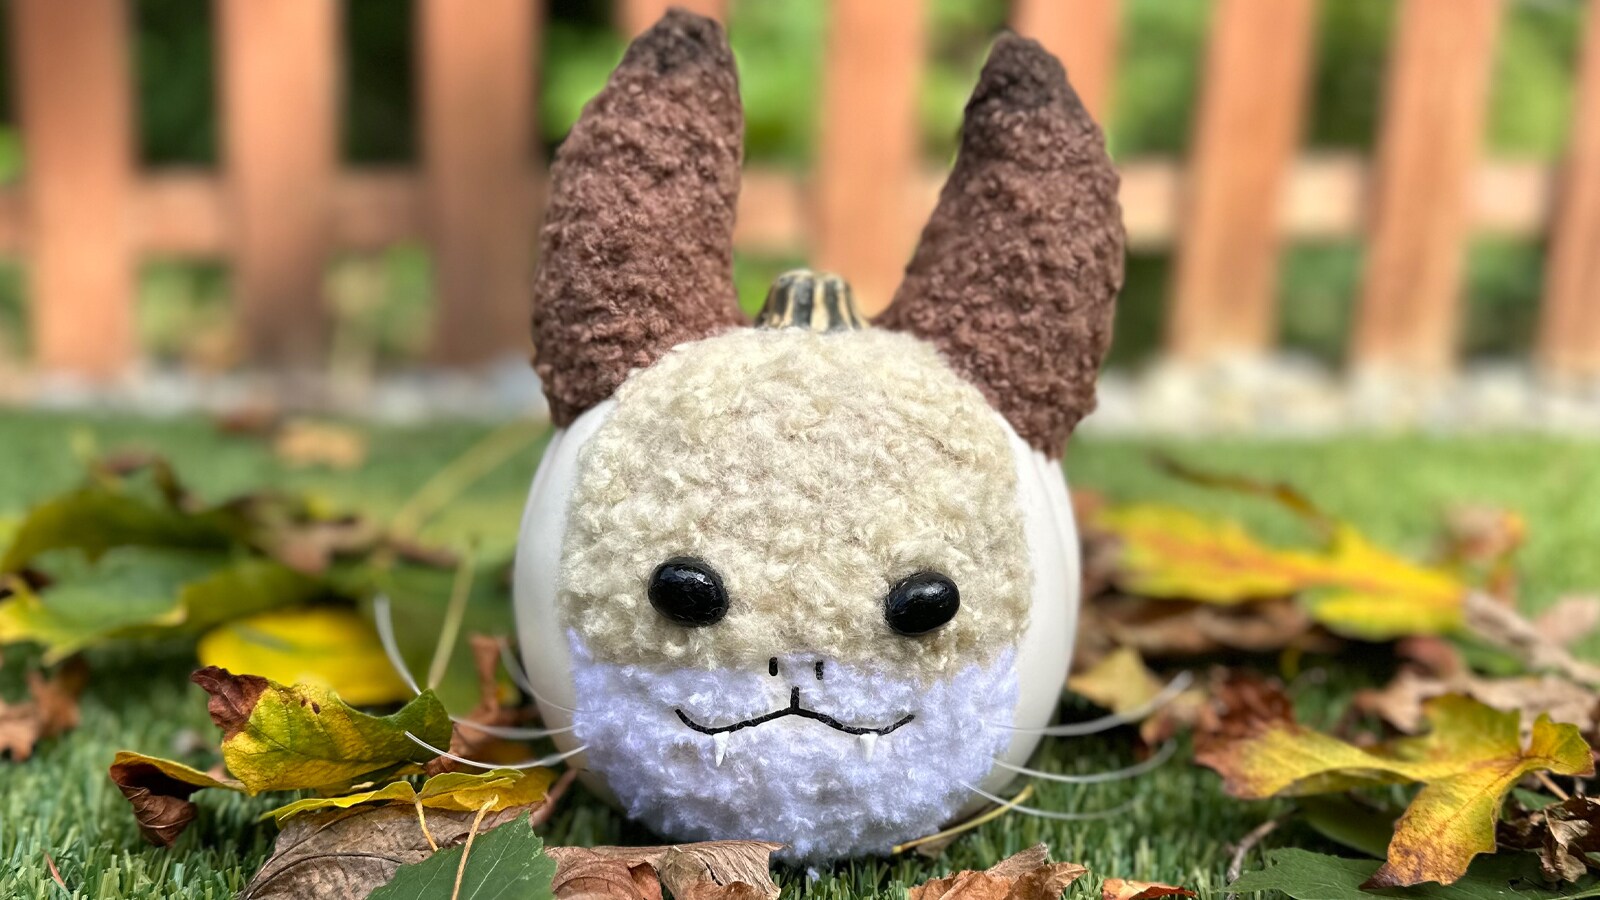
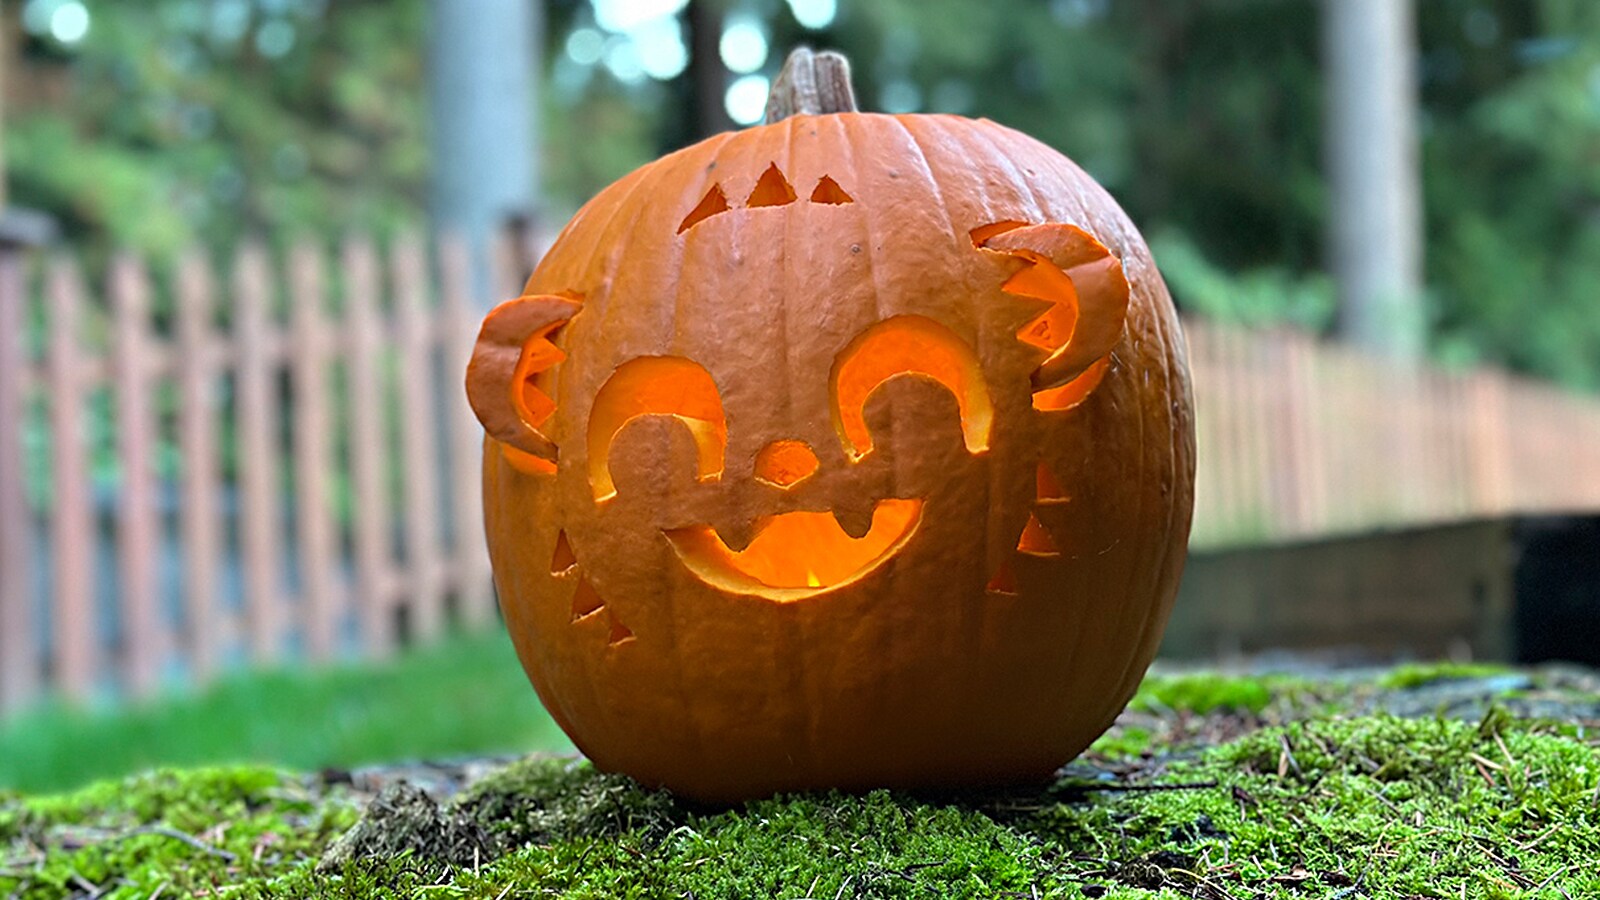
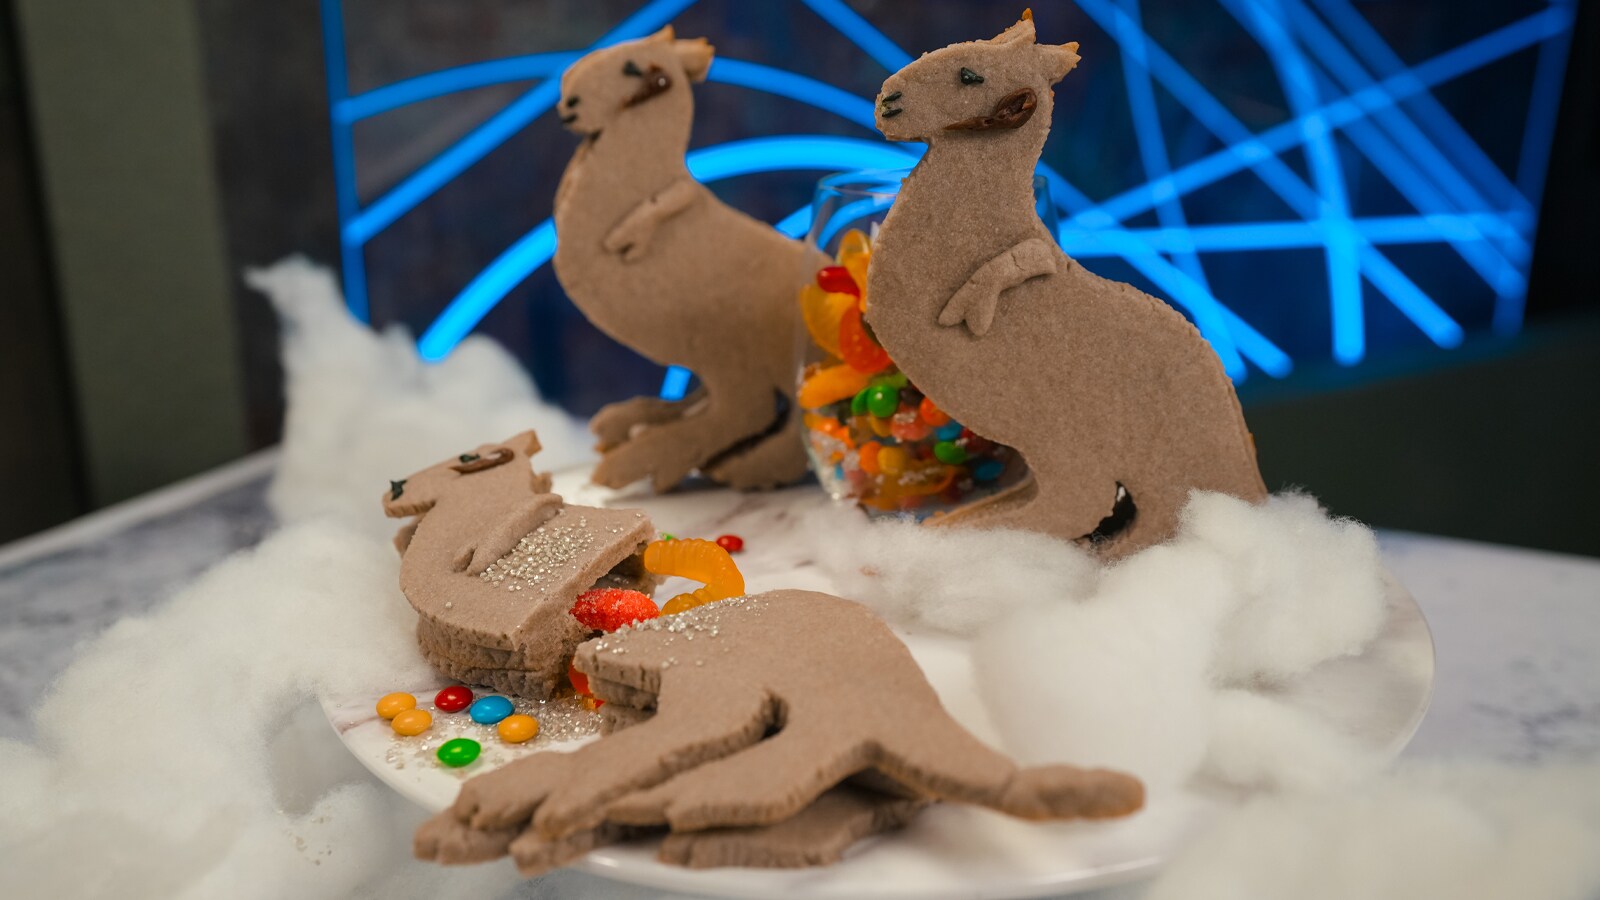
Loth-cats aren’t much help when you’re attempting to decipher an ancient star map, but they are good at napping on your favorite chair. And shelf. And desk. As the days turn cooler and the leaves begin to fall this Halloween season, think about cozying up your place with a lounging Loth-cat on the table just like Sabine Wren. This do-it-yourself pumpkin craft might be as close as you can get to having your very own iconic Star Wars pet in our galaxy!
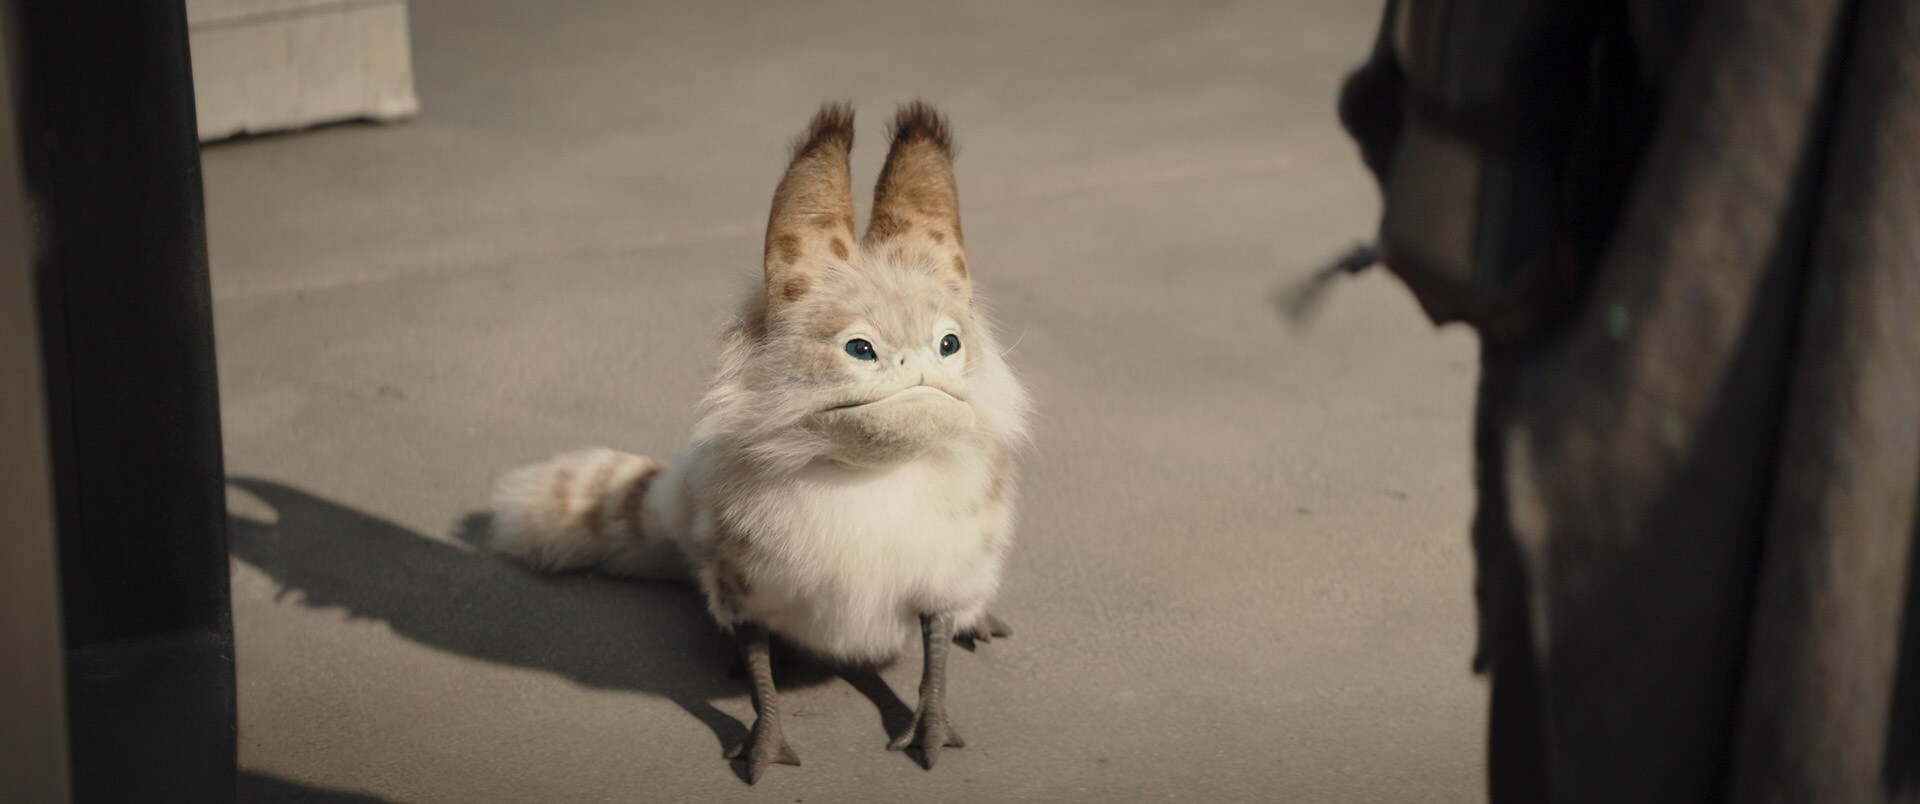
While you’ll need some patience for this DIY, you can rewatch some of your favorite Ahsoka episodes while you’re waiting for everything to dry. Let’s get to it!
What You’ll Need
- 6.5” foam craft pumpkin, white
- Pencil
- Foam clay (sometimes called modeling foam)
- Armature wire
- Wire cutters
- Pushpin
- Aluminum foil
- Dark brown acrylic paint
- Paint brush
- Light brown acrylic paint
- Black acrylic paint
- Clear gloss varnish
- School glue
- Dark brown yarn, light brown or tan yarn, and white yarn
- Three small bowls or plastic baggies
- Scissors
- Craft knife
- Black or dark brown pastel (optional)
- Fishing line
Get Started!
The activities in this article should only be done with adult supervision.
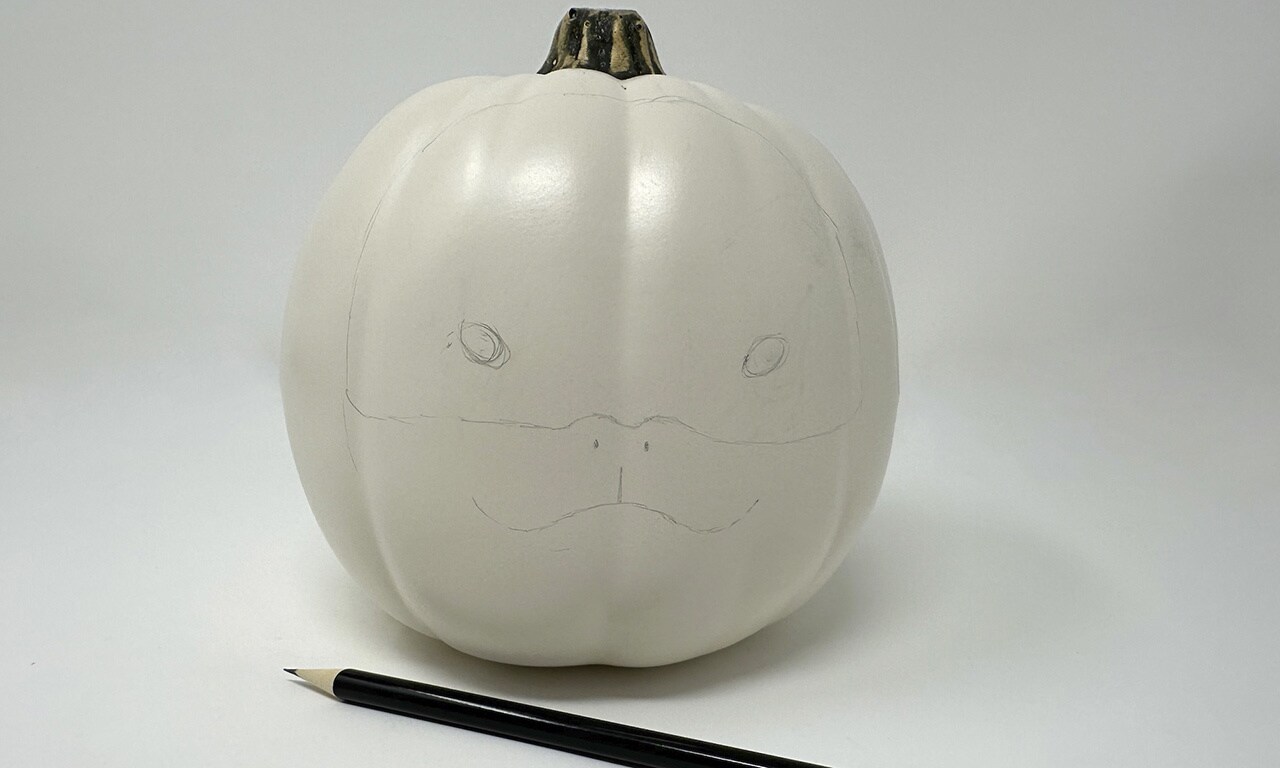
Step 1: Use the Loth-cat seen in the first two episodes of Ahsoka as a guide to roughly sketch its face on the craft pumpkin.
Step 2: Use the foam clay to make two round eyes, each about an inch in length. Set aside to dry.
Step 3: Next, use the wire cutters to cut two pieces of armature wire about 4” in length.
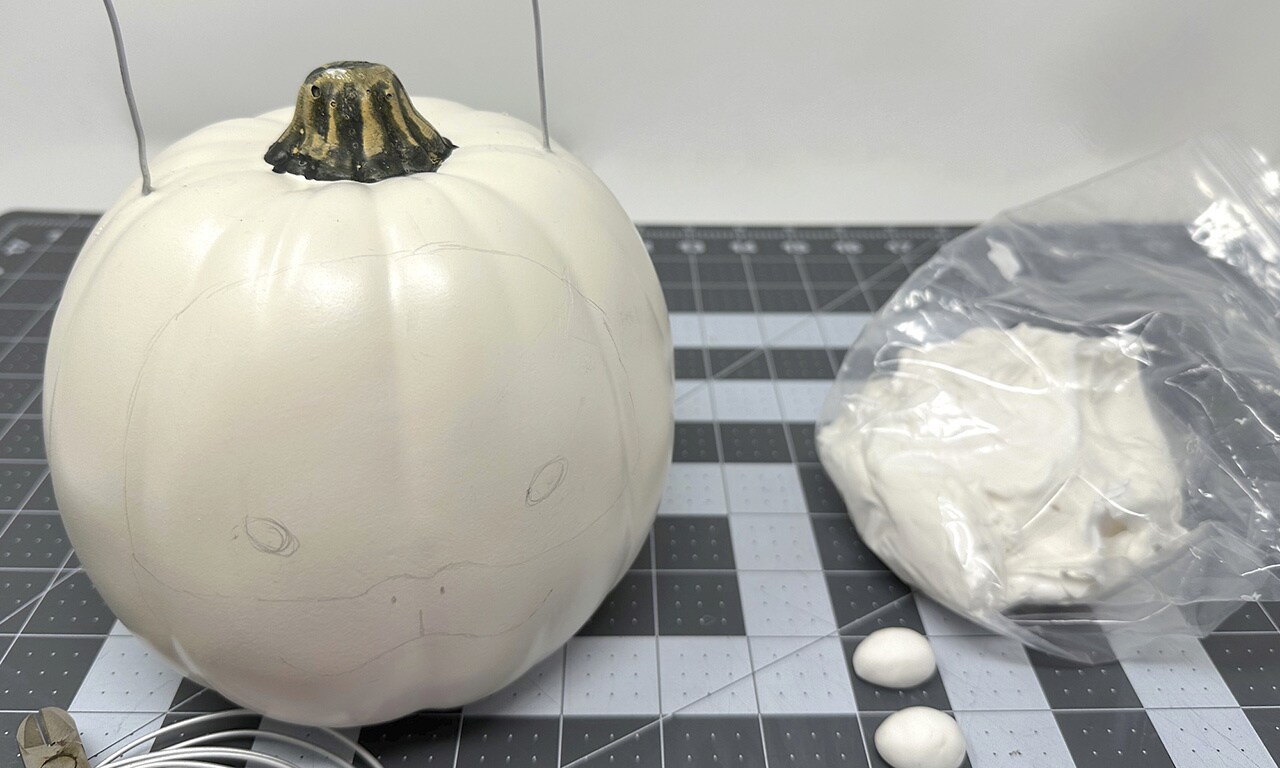
Step 4: Gently pierce the pumpkin with the pushpin on either side of the stem where you’d like the center of the ears to be. Push the armature wire pieces into those holes. Add glue if necessary for a solid hold.
Tip: Armature wire bends easily, so you may need to hold the bottom end of the wire with pliers to push it through.
Step 5: Tear a medium-sized piece of aluminum foil from the roll. Wrap it around the armature wire and sculpt it to make a slightly curved Loth-cat ear shape. Repeat on the other wire.
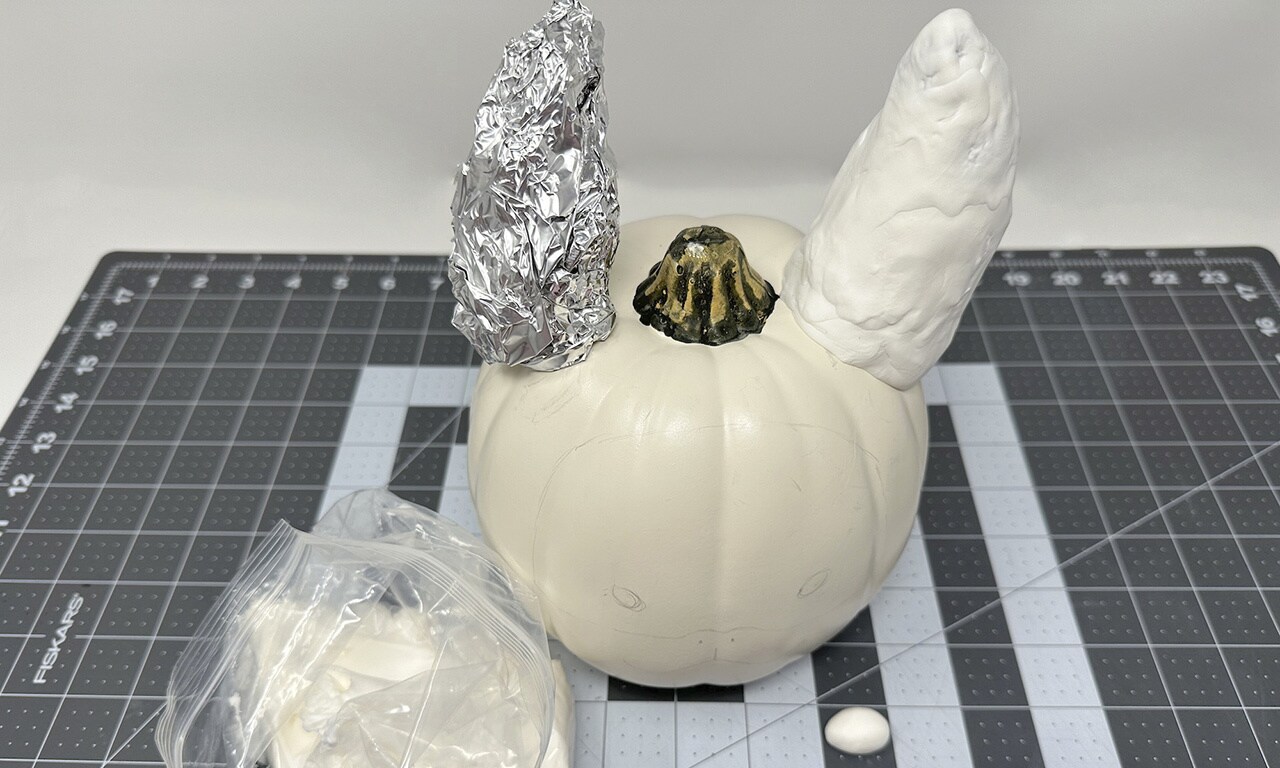
Step 6: Cover the entire ear with the foam clay until none of the foil is visible. Repeat on the other ear. Let the foam clay dry, preferably overnight.
Tip: Foam clay isn’t blended or smoothed easily, but don’t worry about it. It will be covered in later steps.
Step 7: Paint the two ears with the dark brown acrylic paint and let dry.
Step 8: Paint the face you sketched with the light brown acrylic paint. Let dry.
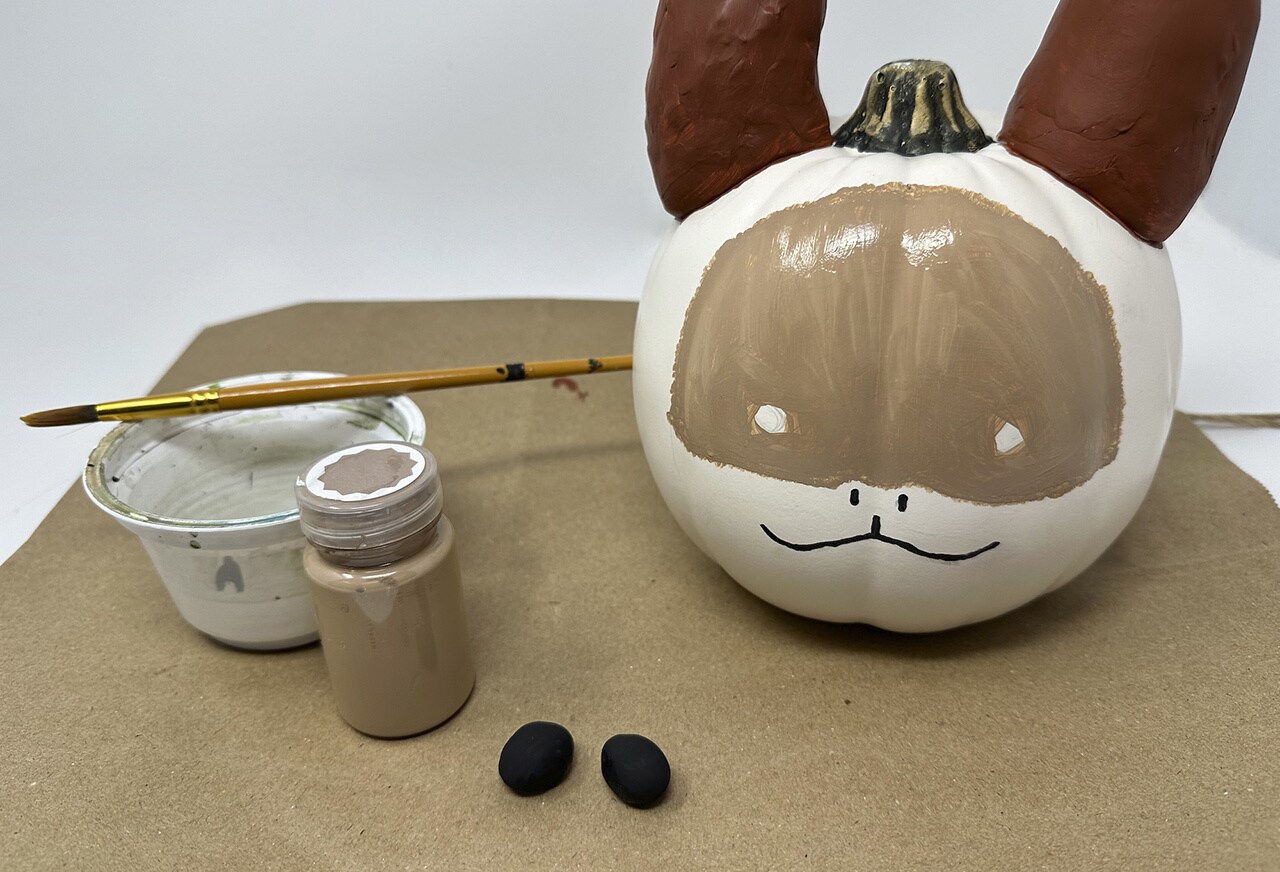
Step 9: Paint the two eyes and the Loth-cat’s nose and mouth with the black acrylic paint. Let dry.
Step 10: Add one or two coats of the clear gloss varnish to both eyes. Let dry.
Step 11: Glue the two eyes in place on the Loth-cat’s face and let dry.
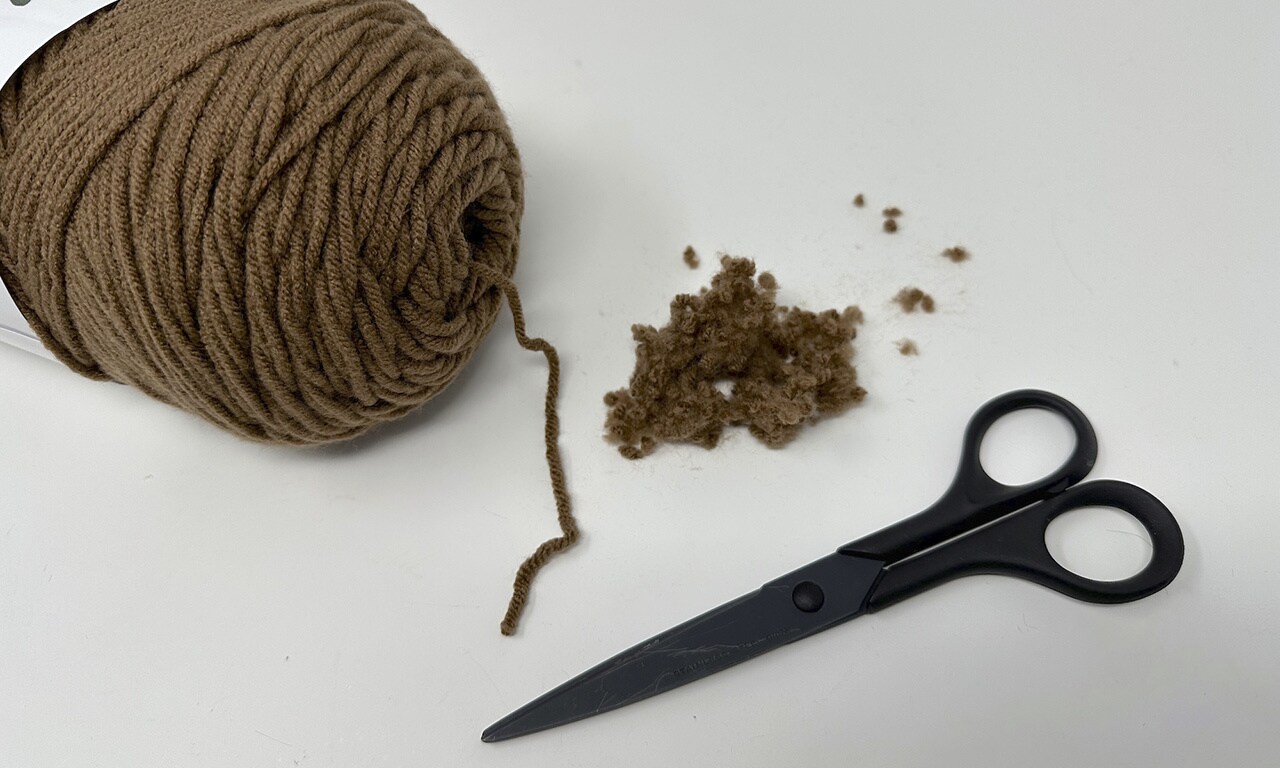
Step 12: Working on one yarn color at a time, use the scissors to snip tiny pieces off the end of the yarn string to make fuzzy flocking. Work over a small bowl or workspace and collect the pieces into a plastic baggie. Cut enough dark brown pieces to completely cover both ears, and a couple of handfuls of the light brown and white pieces for the face.
Tip: Your hand will get tired from using scissors, so be sure to take breaks and rest!
Step 13: Cover one ear in a layer of school glue and gently press the brown flocking on top. Pieces will fall off as you add fluff — this is a messy process! Continue until the entire ear is covered in glue and fur, then repeat on the other ear. Let dry.
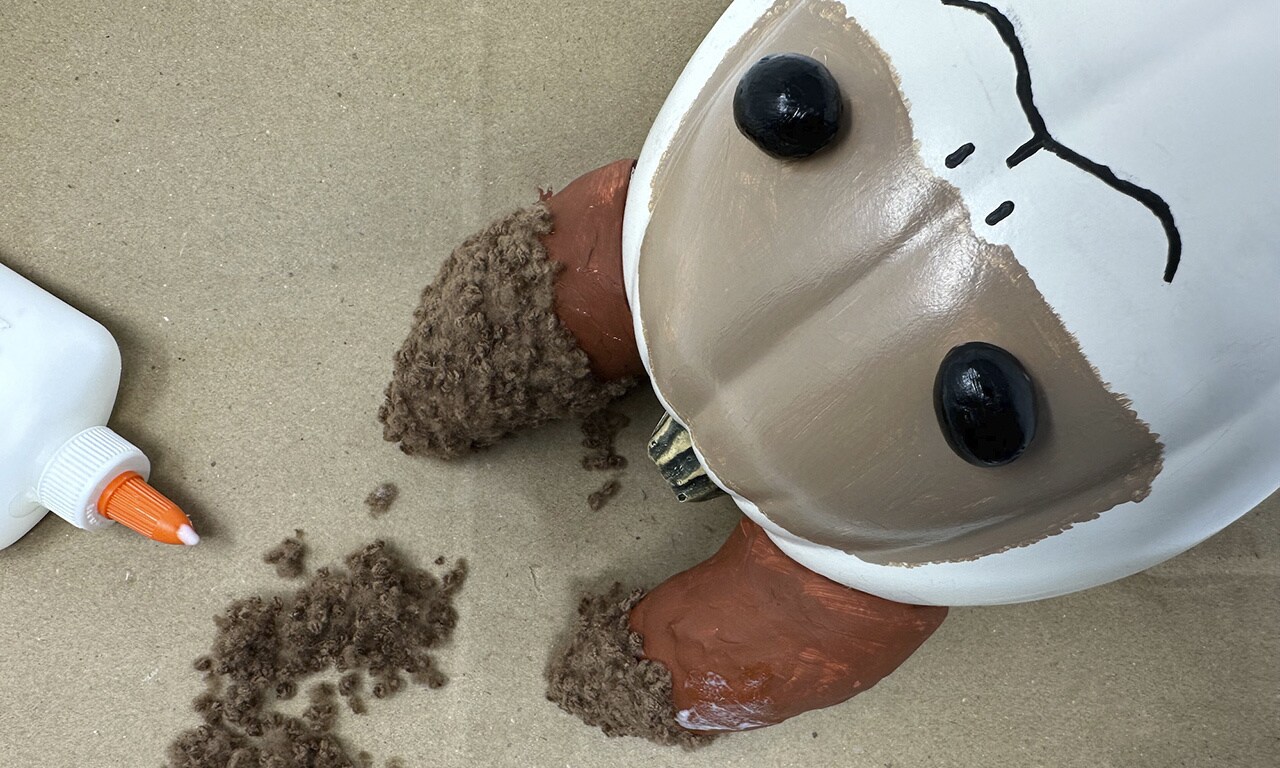
Step 14: Once dry, you can run a dry paint brush over the ears to remove flocking that isn’t secured. Additional fluff can be glued on top of previously glued fluff to fill any patches.
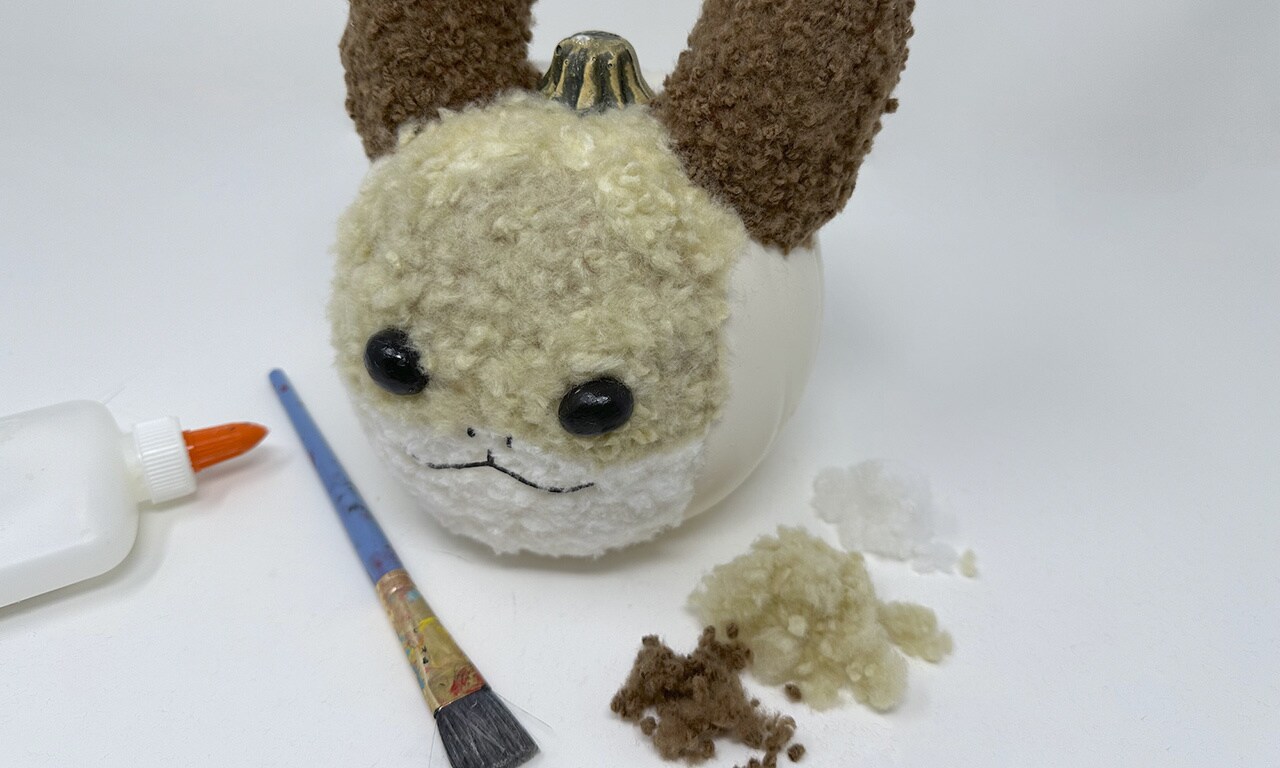
Step 15: Repeat with the light brown fur on the top half of the face and the white fur on the lower half. Leave the nostrils and mouth uncovered. Let all glue dry and fill in any patches as needed.
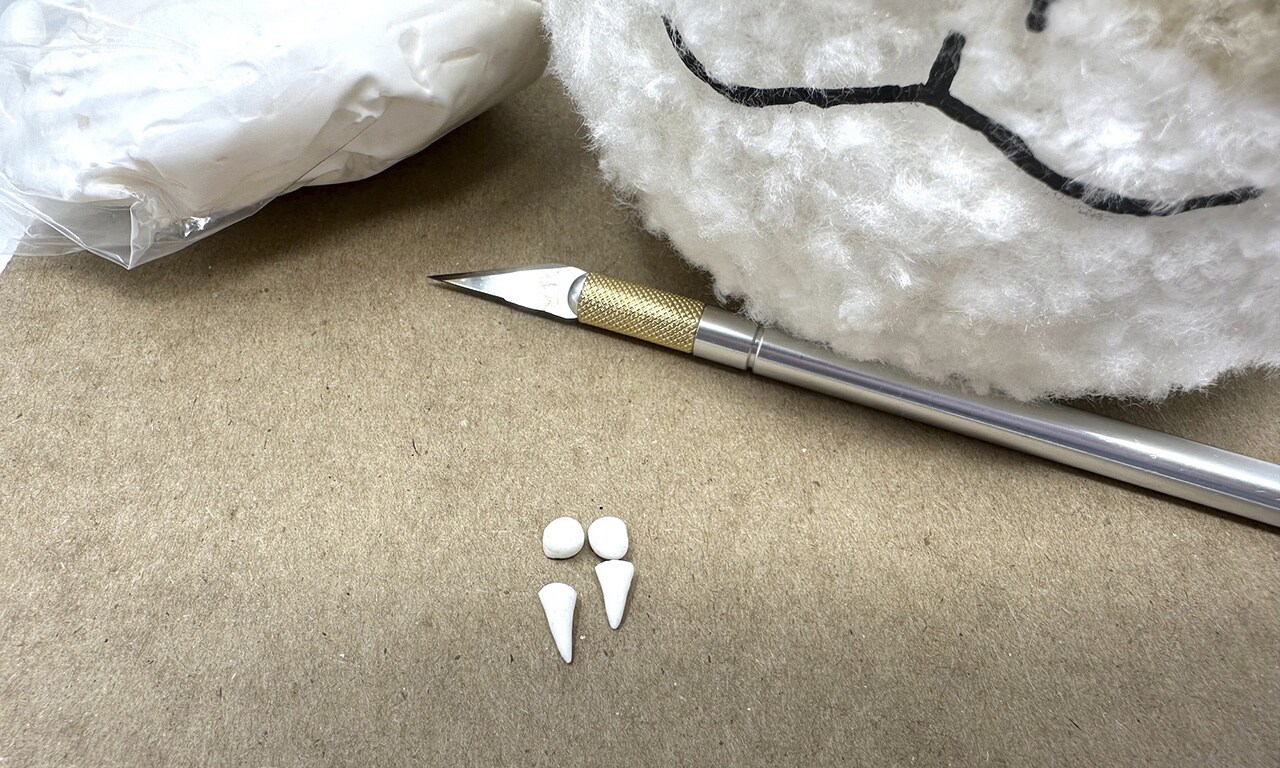
Step 16: Take two small pieces of the foam clay and roll them with one pointed end. Let dry, and then use a craft knife to cut the rounded tops off so the teeth are the same length (about ¼ inch).
Step 17: Glue the two teeth in place and let dry.
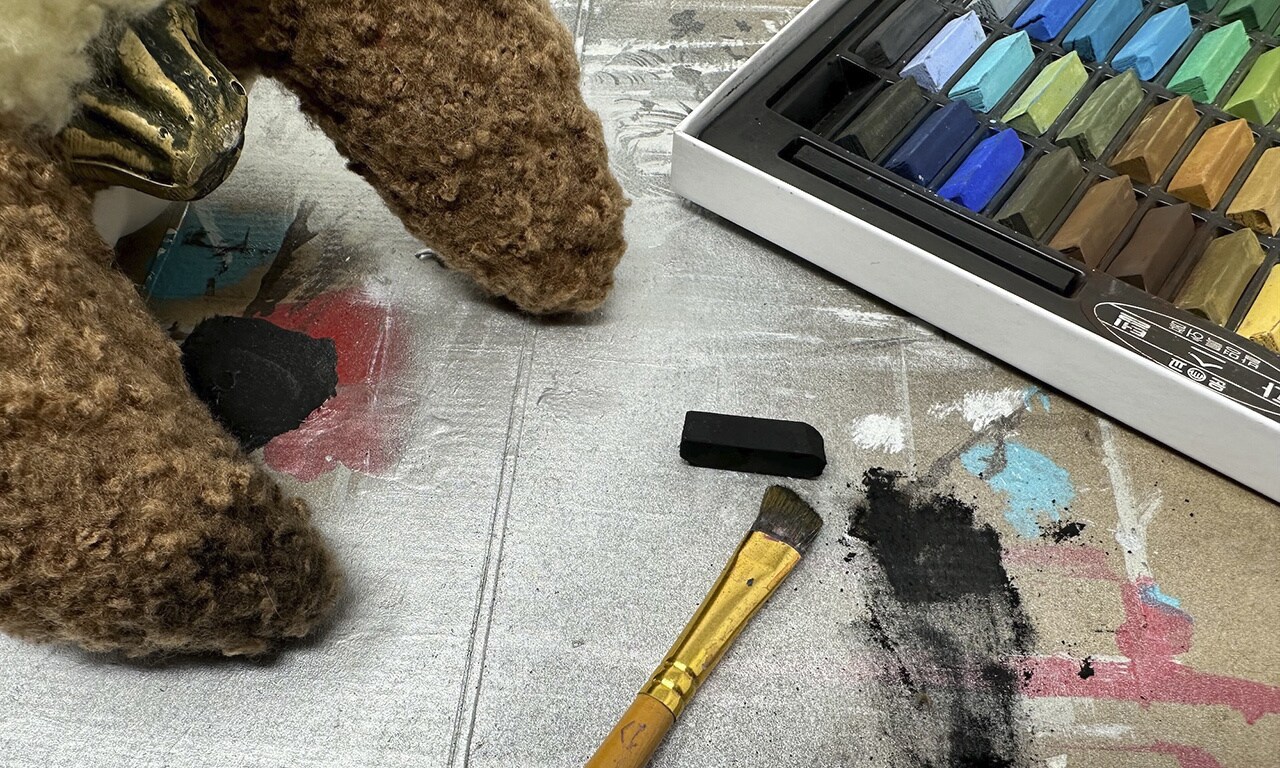
Step 18: If you’d like to add more colors to the pumpkin, use black and brown pastels and a dry paint brush to dab the pastel powder on to the fur.
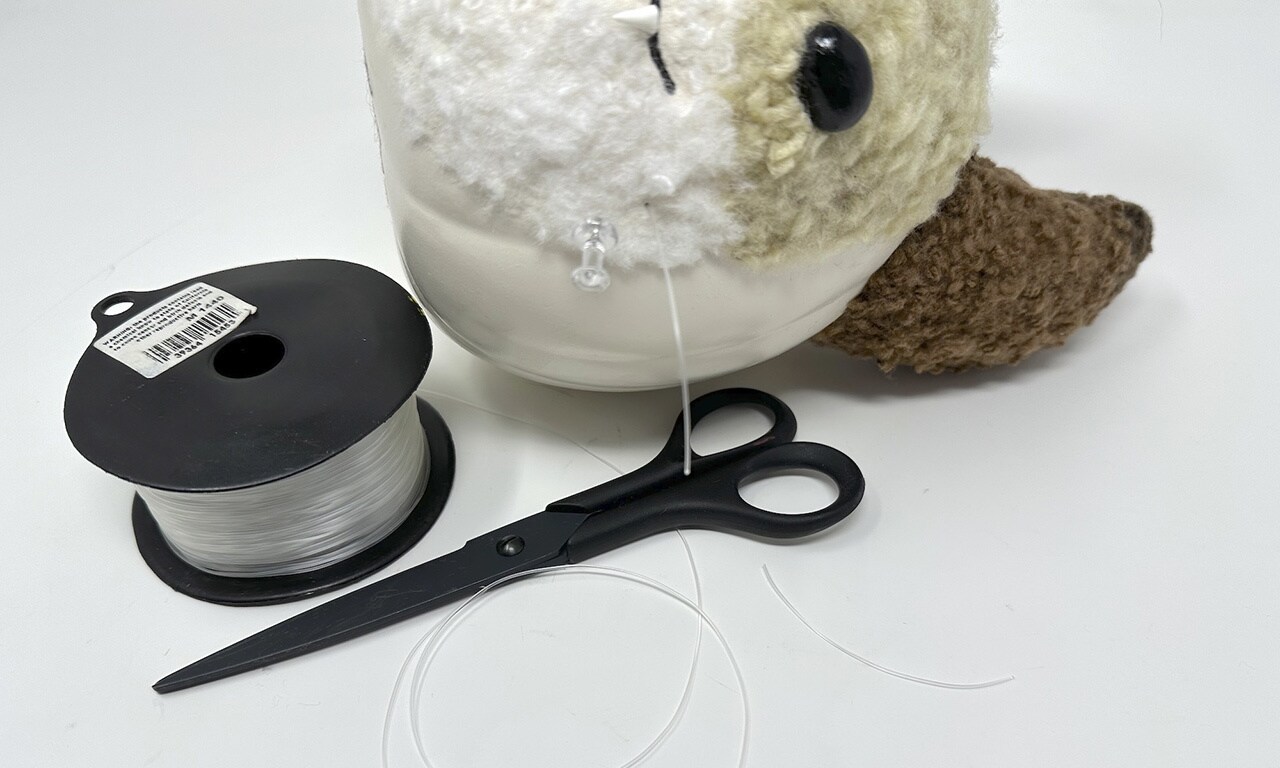
Step 19: Finally, use the pushpin to make six holes in the pumpkin, three on either side of the Loth-cat’s cheeks.
Tip: If you’re having trouble getting the pushpin through the pumpkin, you can heat it with a candle or lighter first.
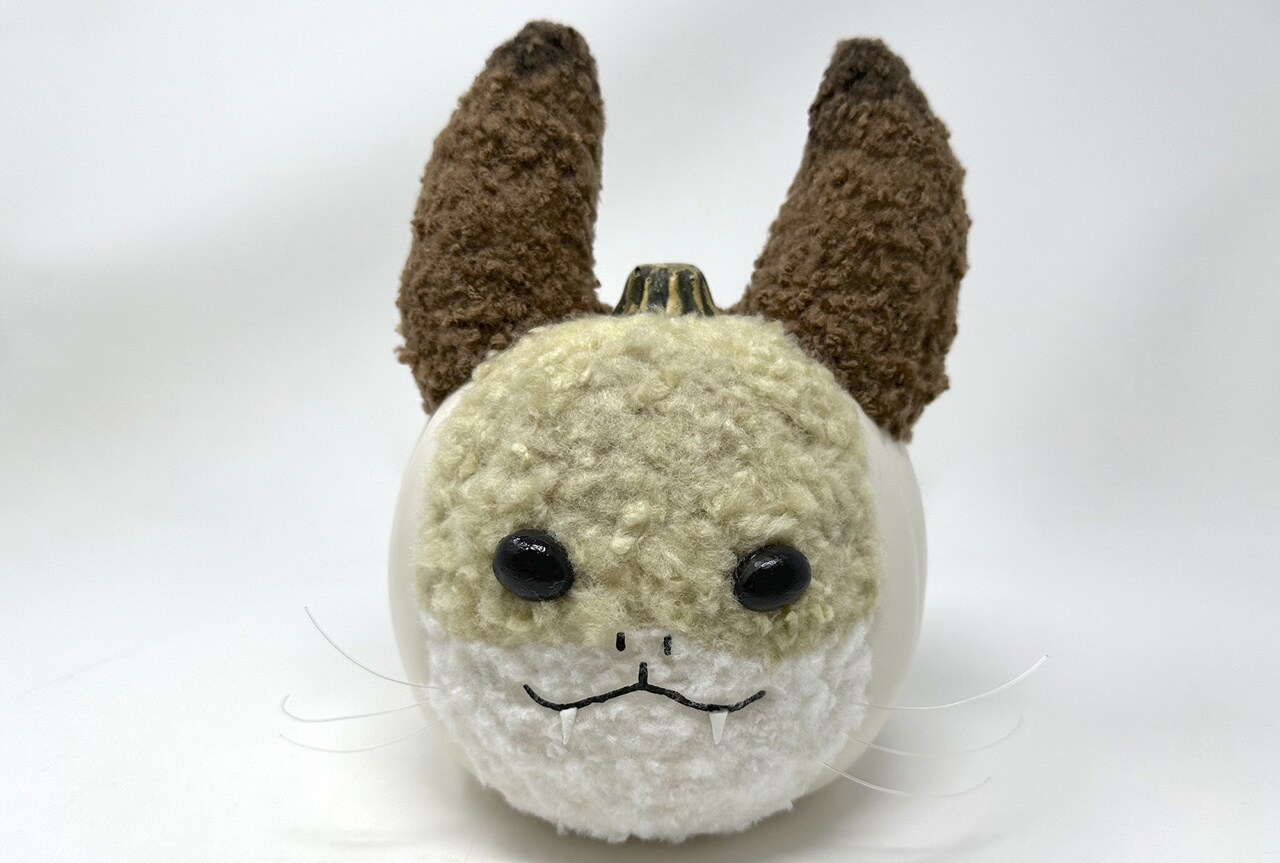
Step 20: Cut six pieces of fishing line, each a few inches in length. Push a piece into each of the holes you made to finish the Loth-cat’s whiskers. You can add glue and more fur on top of the hole if needed.
You’ve done it! You have your very own Loth-cat!
Your fuzzy friend makes a perfect scary season decoration. We won’t tell anyone if you decide to leave it on display year-round.


