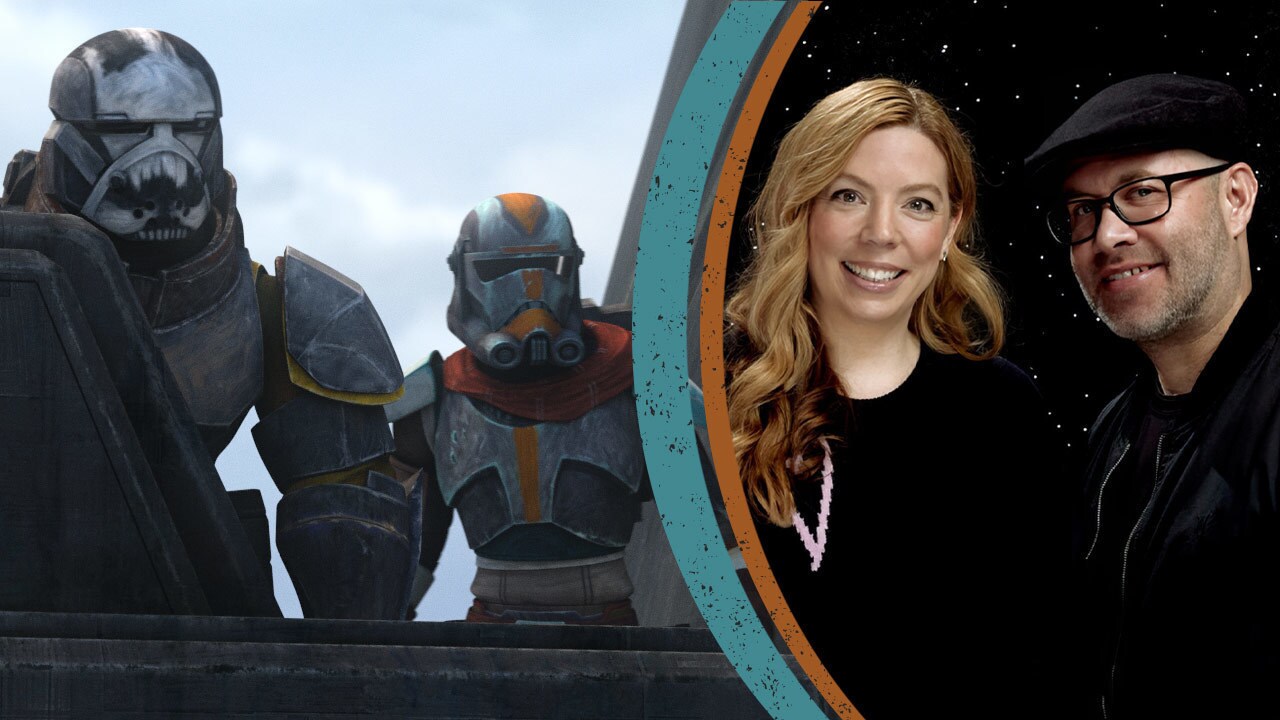
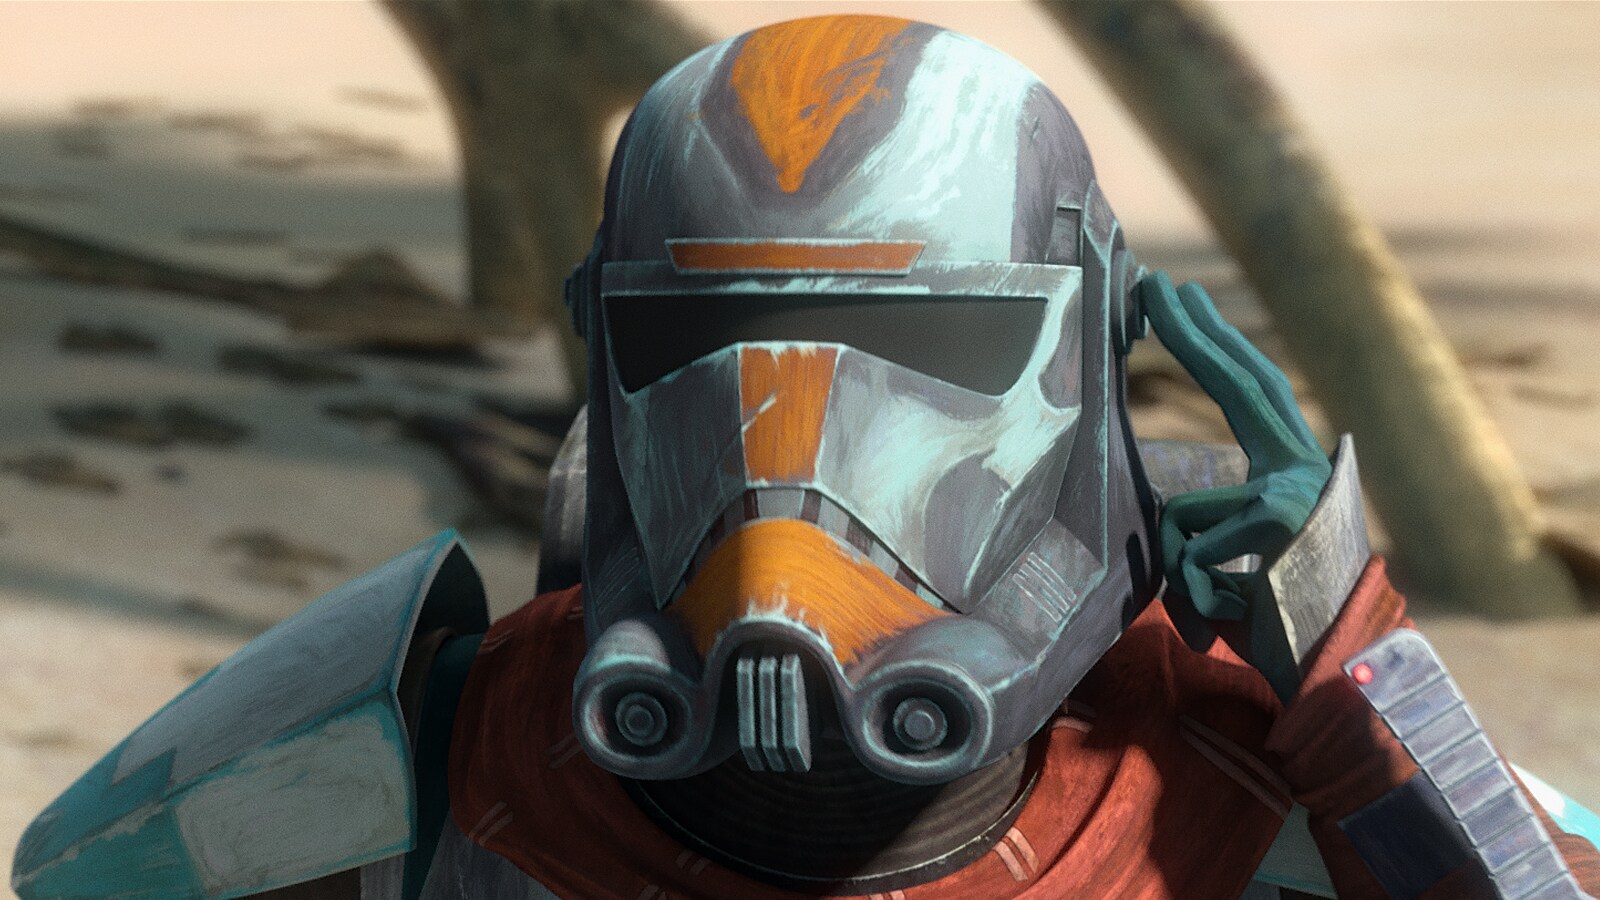
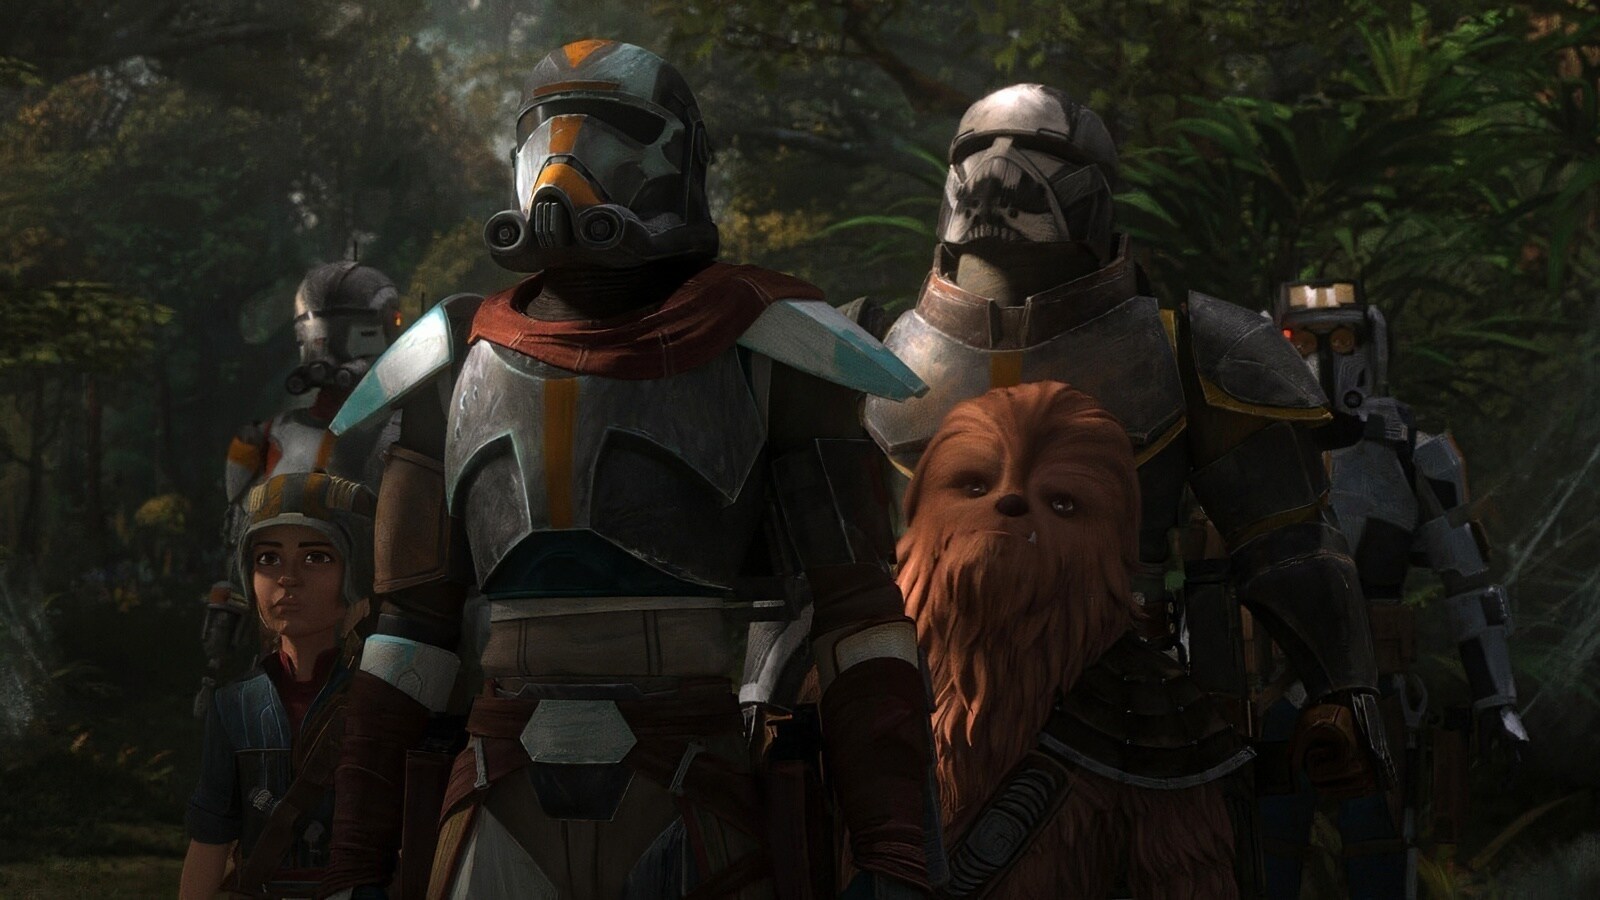
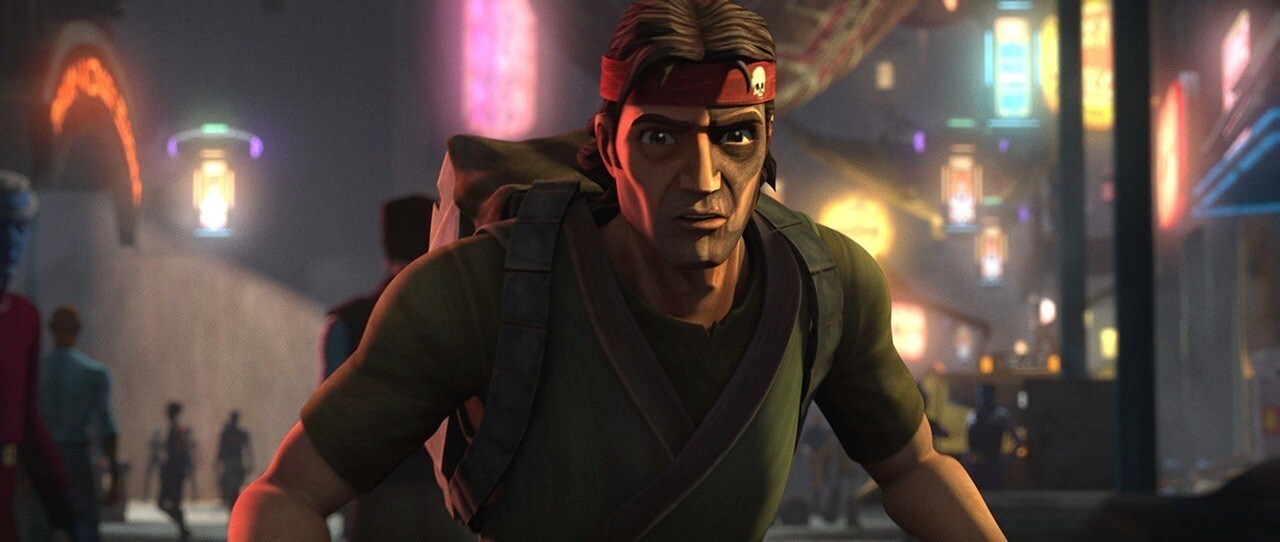
They might be clones, but each member of the Bad Batch has their own unique look that makes them instantly recognizable. You know team leader Hunter right away by his distinctive black face paint and red headband. (And his timeless hairstyle. We can’t forget that that.)
Make Hunter’s style, as seen on Star Wars: The Bad Batch, all your own with an easy-to-make red headband! No matter your sewing skill, you can put this Bad Batch headband together for Halloween, Disneybounding, or, if you’re truly gutsy, everyday wear. Here’s the how-to.
What You’ll Need
- Red T-shirt, XL
- Scissors
- Ruler or measuring tape
- Clothes iron
- Sewing pins
- Red thread
- Sewing needle or sewing machine
- Headband template
- Black acrylic paint
- Paint brush
- White acrylic paint
Get Started!
The activities in this article should only be done with adult supervision.
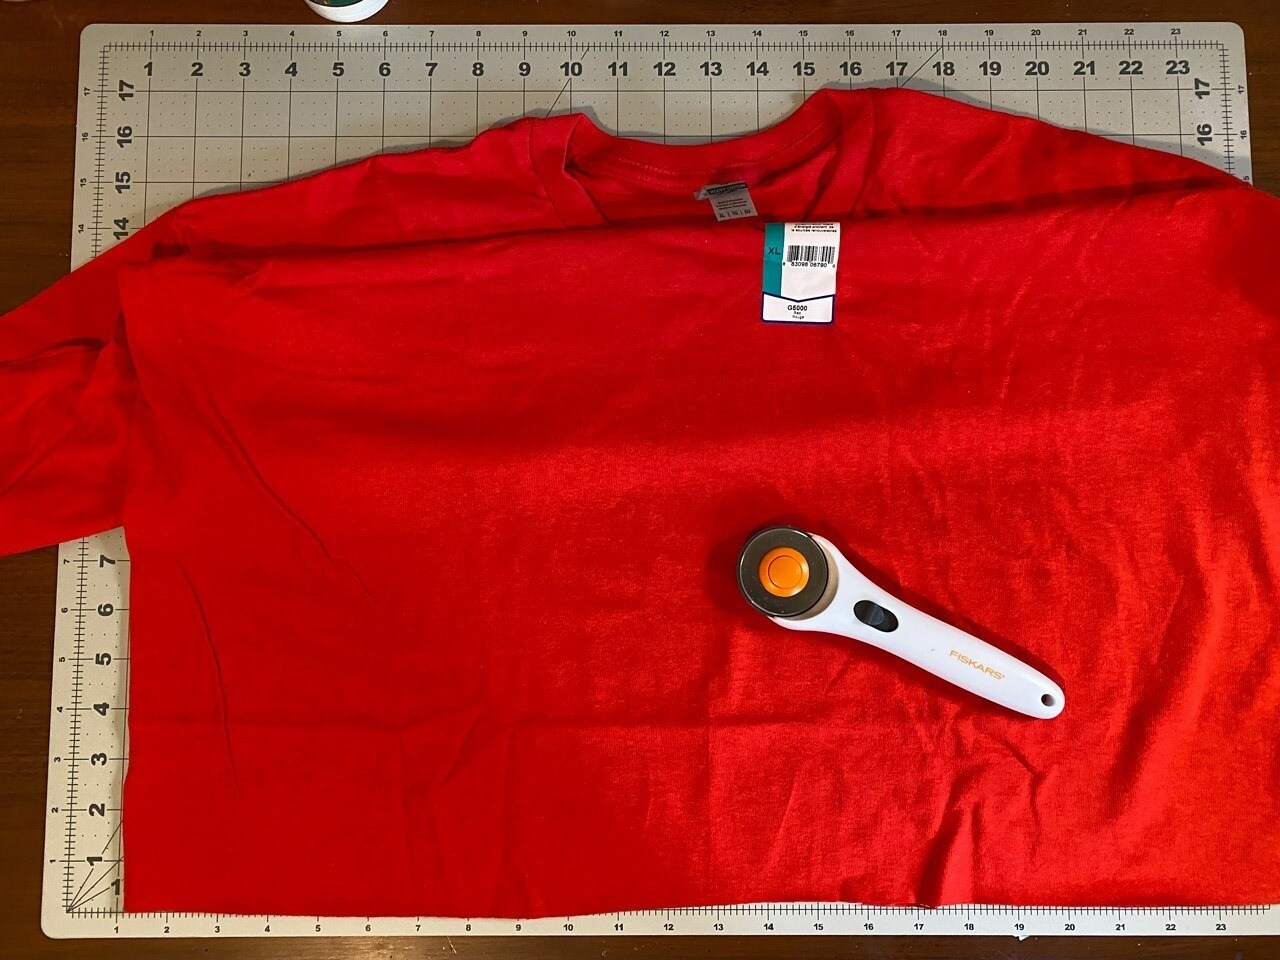
Step 1: Cut a strip of fabric from the bottom edge of the shirt, 4 inches in width. Cut the loop to make one long strip of cloth.
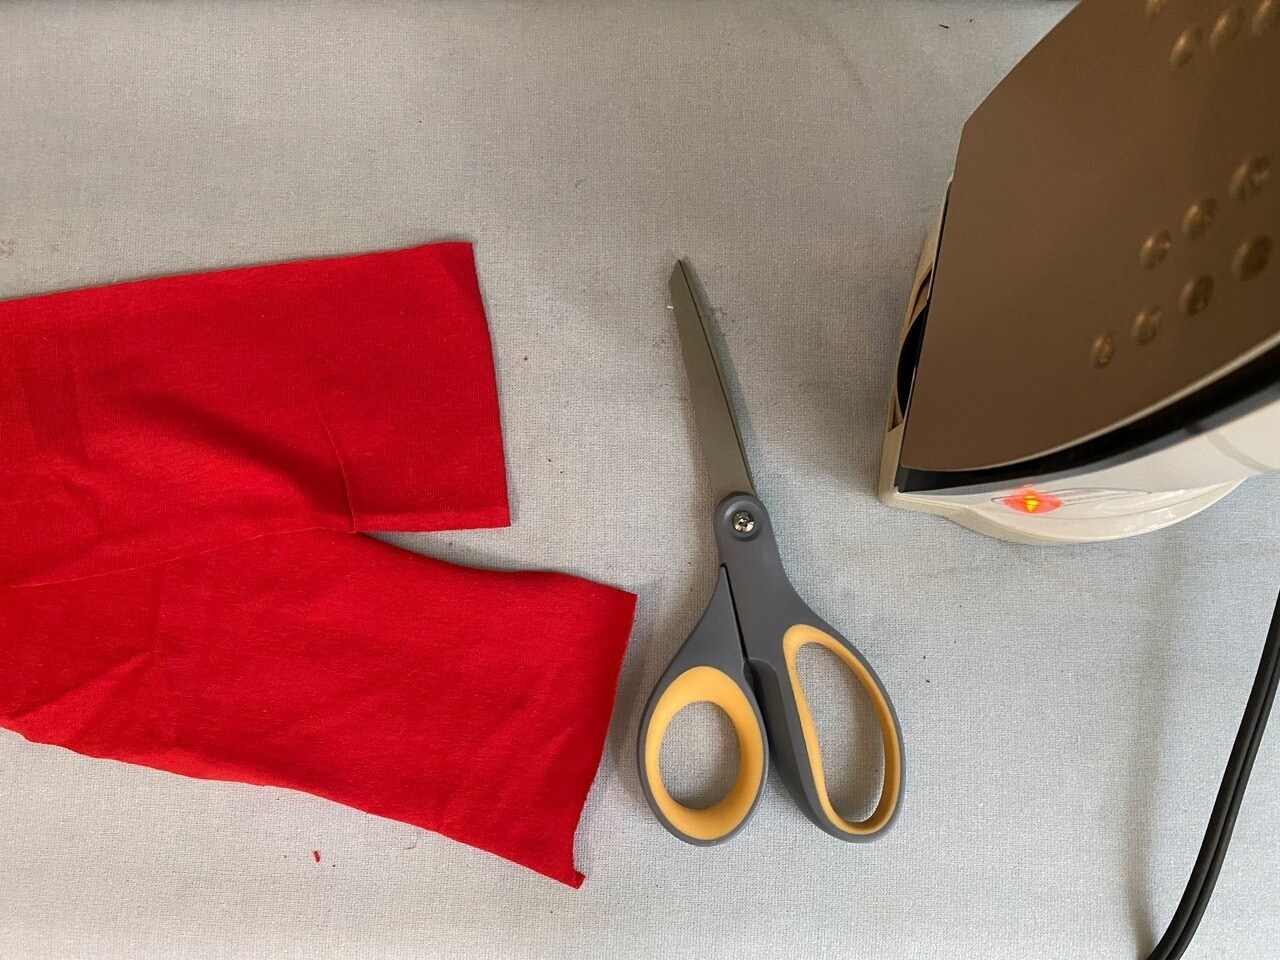
Step 2: Fold the red fabric strip in half lengthwise. Pin the long edge together. Optional: You can iron the strip after folding in half to make sewing the edges easier.
Step 3: Sew the strip together on the long edge, leaving the two ends open. Tip: Can’t sew? Use hot glue to stick the two edges together instead. Just take care to not burn your fingers.
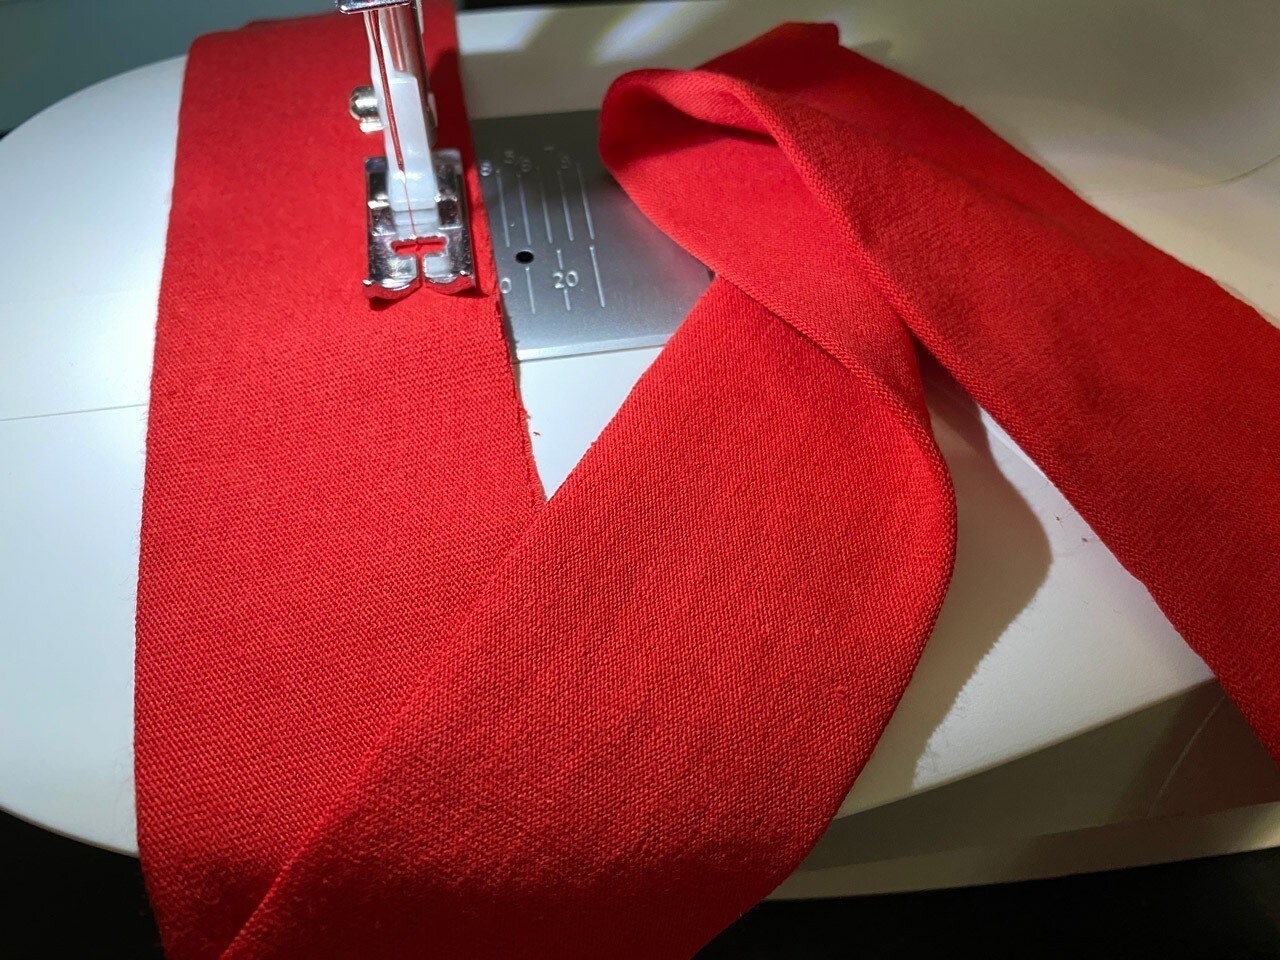
Step 4: Turn the red strip inside out to make a tube shape.
Step 5: Twist the fabric so that the seam is in the middle of the back side of the headband. Press it with the iron to flatten it.
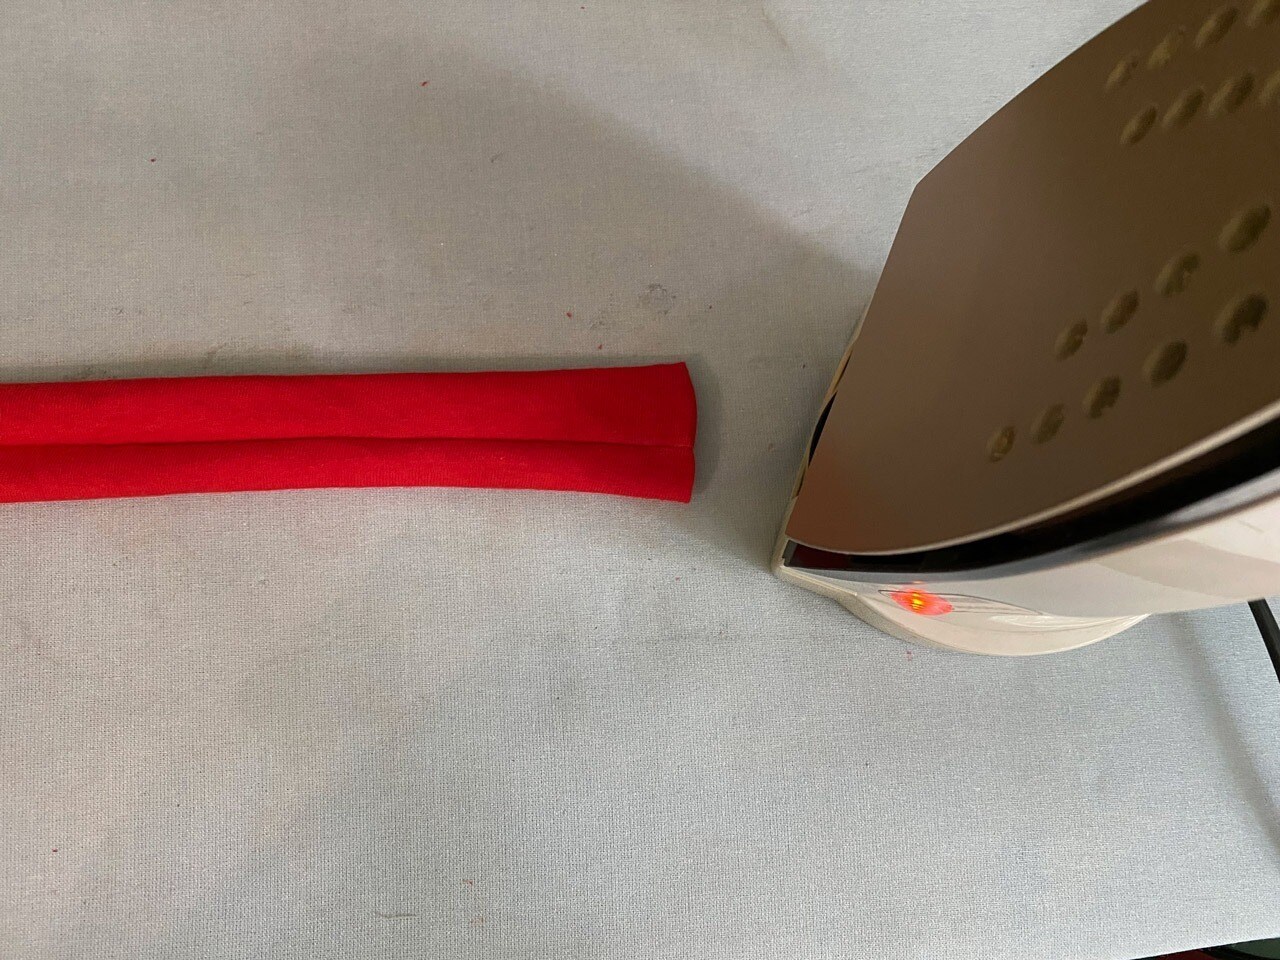
Step 6: Fold in the ends. Press the ends with the iron, and then stitch or glue them closed.
Step 7: Next, print the headband template. Cut out the gray shapes and discard them.
Step 8: Place the template on the headband, just to the left of the center. Dab the entire template gently with the black acrylic paint.
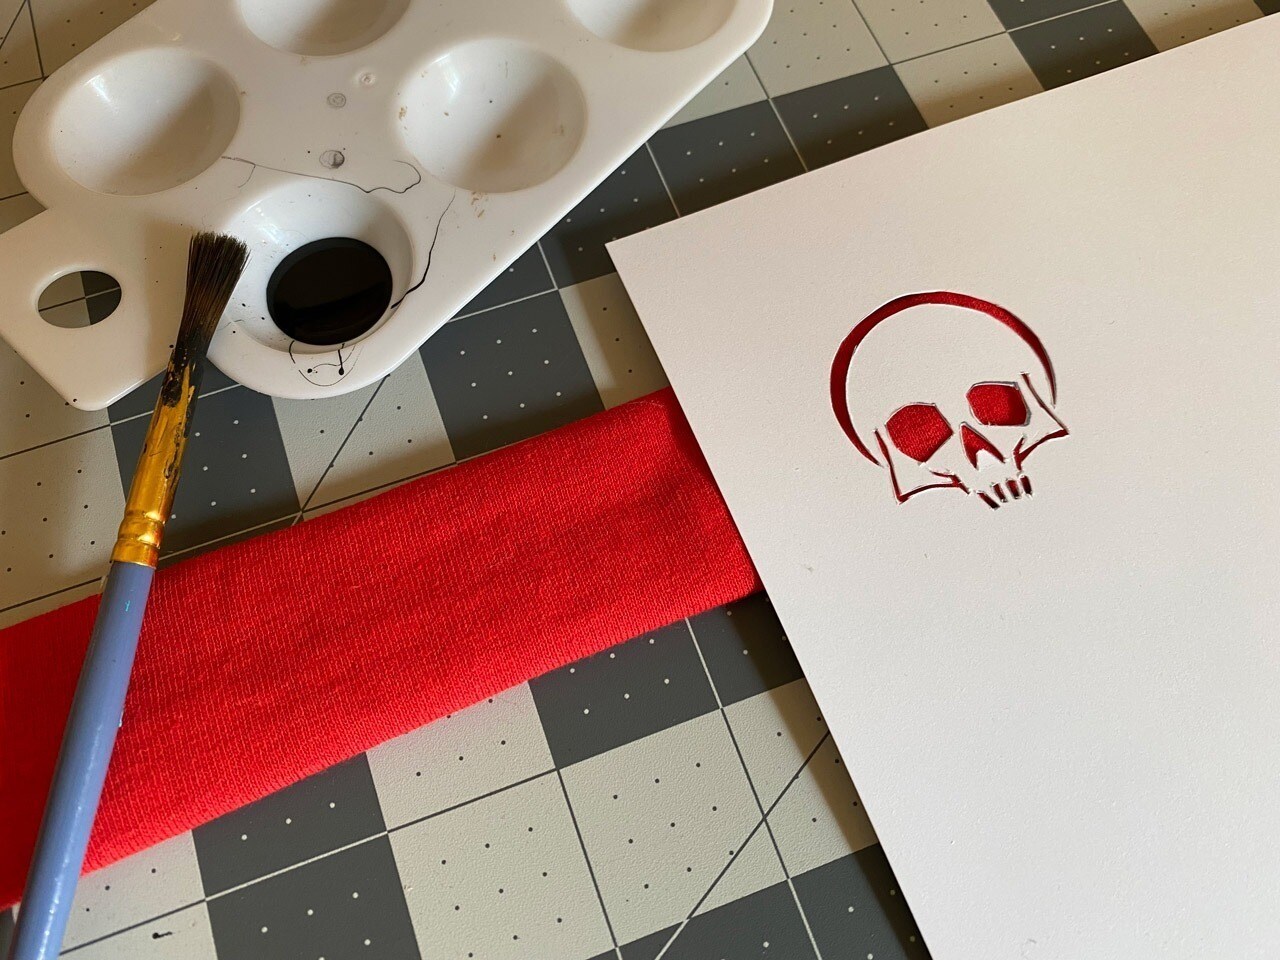
Step 9: Remove the template and let the paint dry.
Step 10: Fill in the skull with the white acrylic paint. Paint in the teeth on top of the black teeth you painted, leaving just a little bit of the edges visible to outline them. Let the paint dry.
Step 11: Repeat with another layer or two with the white paint for the best coverage. You can also touch up any of the black details as needed. Let the paint dry completely between layers.
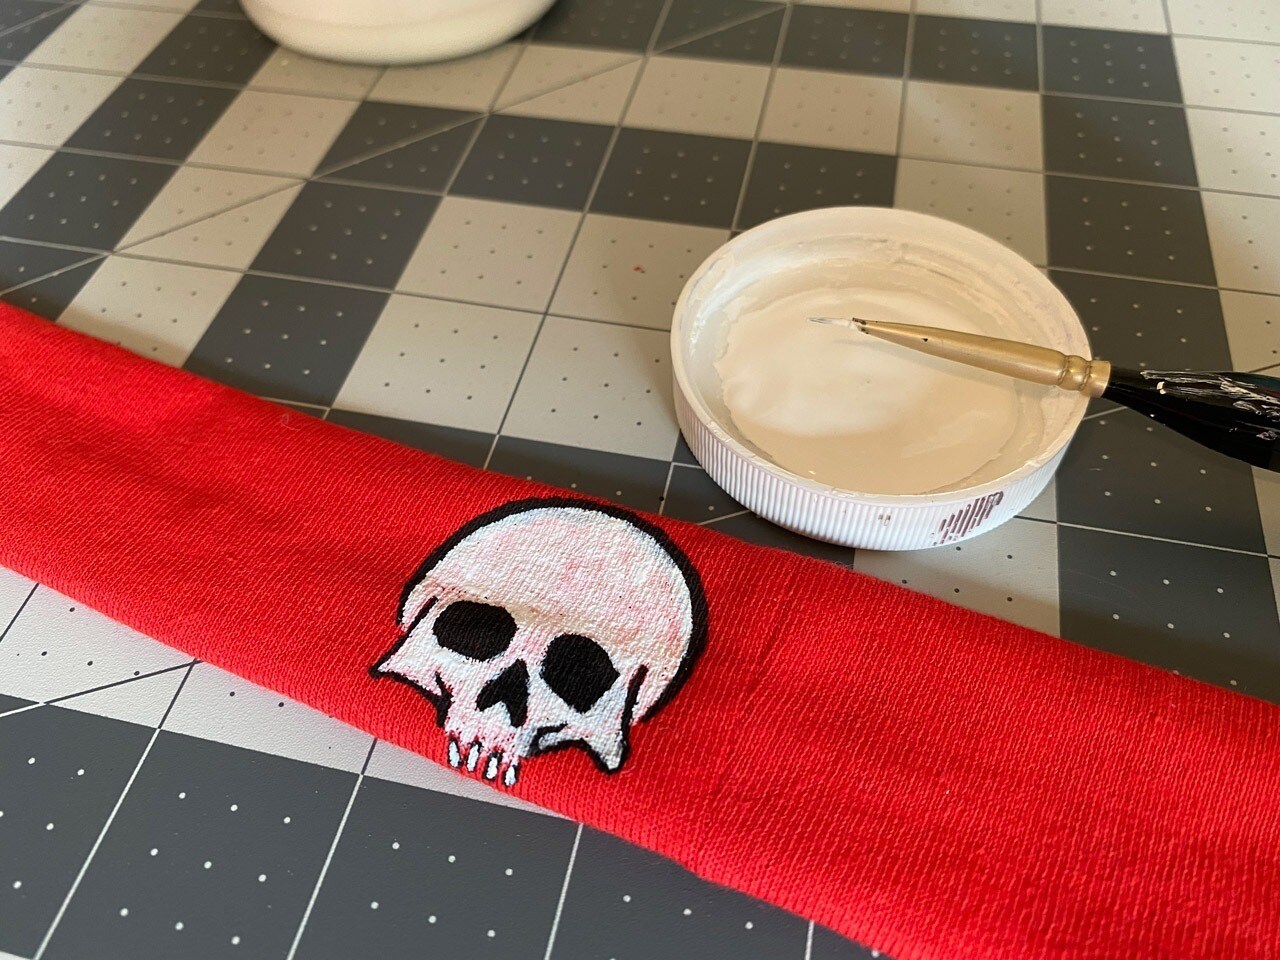
Once all paint is dry, your Hunter headband is complete!
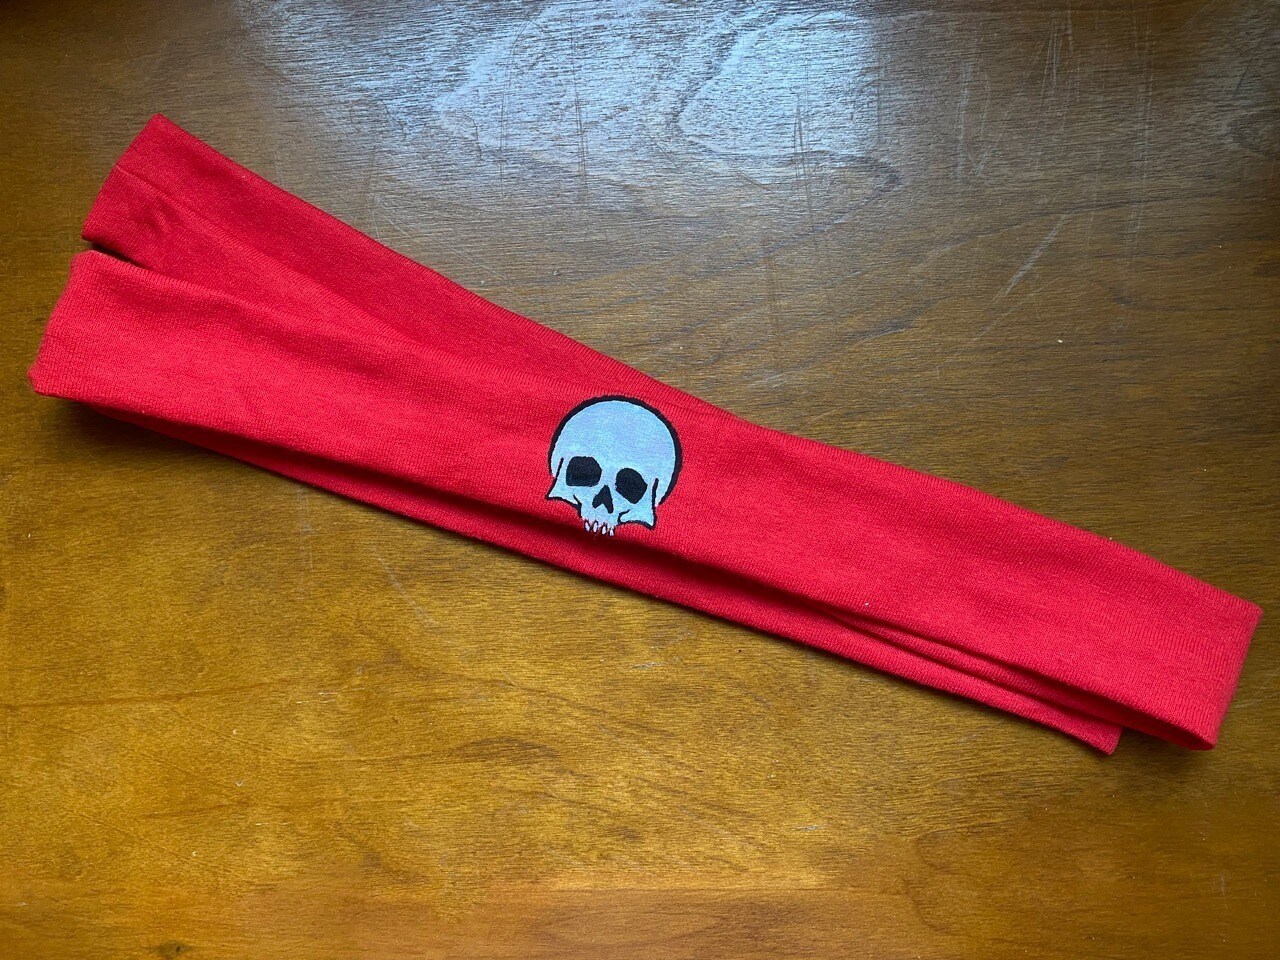
Wear your headband with a green shirt, green vest, khaki pants, and the boots and belt to complete Hunter’s casual look. And don’t forget the iconic half-skull on the left side of your face!


