
Blink and you might miss an incredible Star Wars: Return of the Jedi cameo in Andor’s second season! A wooden AT-ST puppet dances in the hands of its young puppeteer during a communal meal on Mina-Rau.

You can make your own AT-ST marionette puppet in real life even if you’ve never worked with wood before — or been to the Outer Rim! Turn wooden toy blocks into an Imperial walker with glue, a few tools, and a lot of elbow grease. Just don’t leave it out around any unsupervised Ewoks.
This project is not intended for children.
What You’ll Need
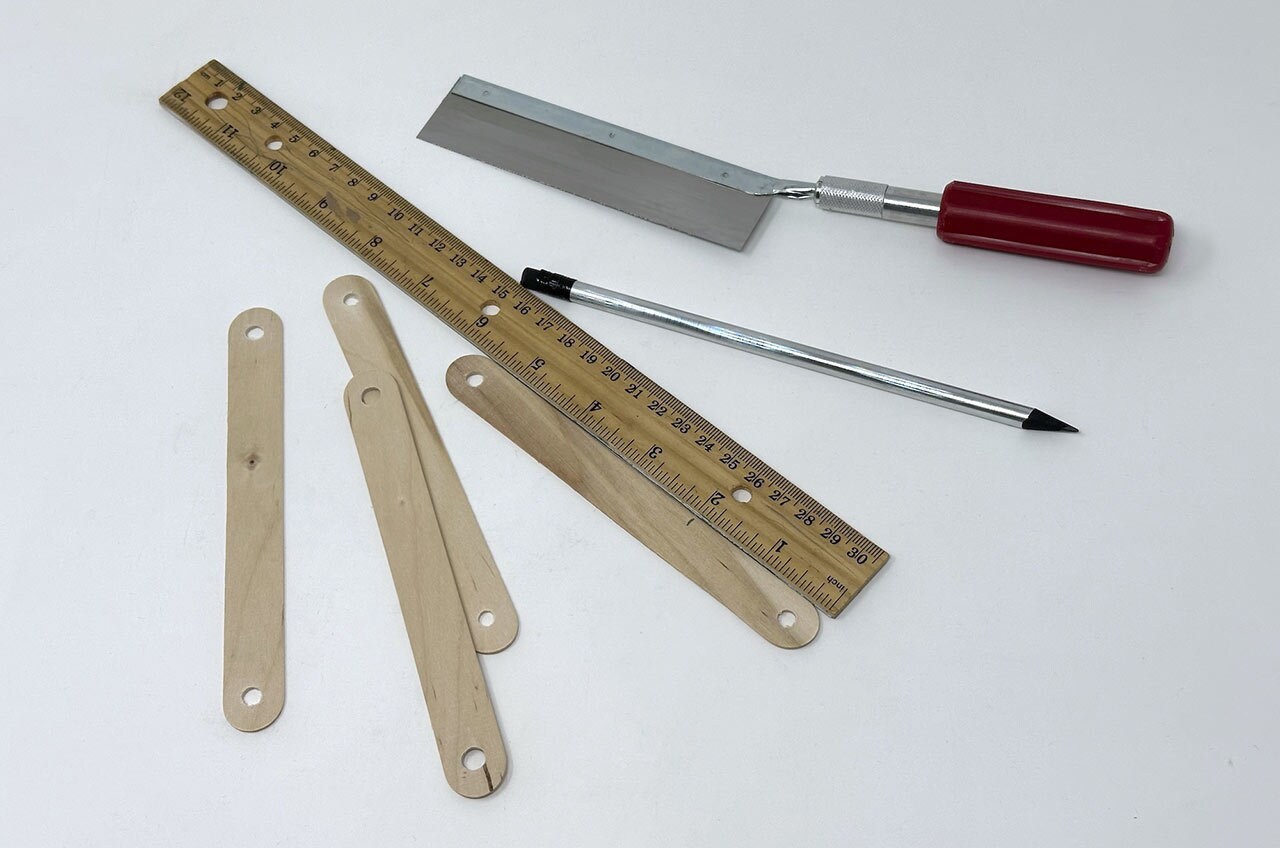
- 4 large wood craft sticks
- Wood hand drill
- Rotary tool
- Ruler
- Pencil
- Small handsaw
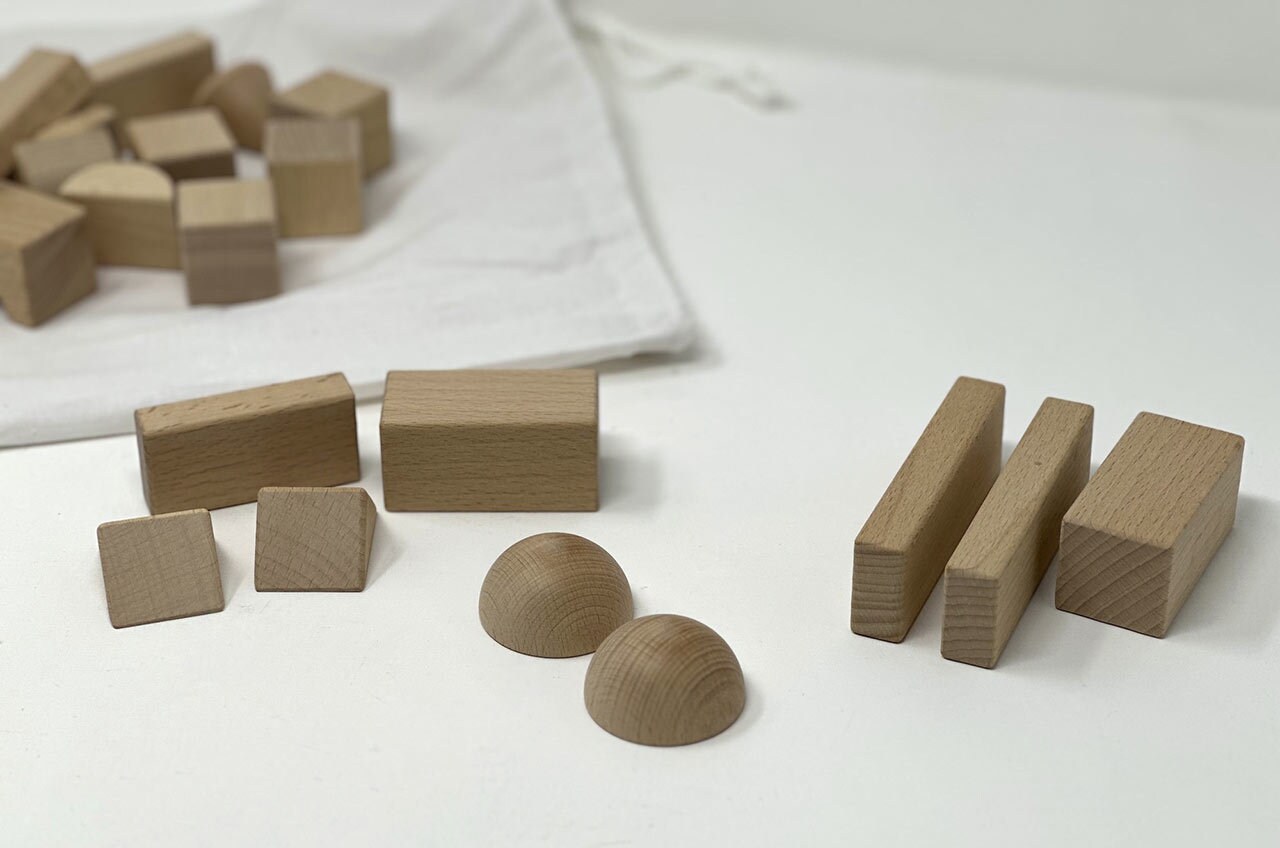
- Wooden toy blocks or pieces of wood
- Two wood half-spheres (1.5” diameter)
- Wood glue
- Sandpaper or sanding block
- Wood filler
- Two 1.5” diameter wood discs
- 4 wood axle pegs
- 4 small wood discs (under 1” in diameter)
- 3 small wood discs (1” in diameter)
- Thin balsa wood
- Gray acrylic paint
- Paint brush
- 2 toothpicks
- Black permanent marker or acrylic paint
- Black craft foam
- 2 1/16” screw eyes
- Scissors
- Twine
- 2 pieces of 12” pre-drilled driftwood
Let’s Craft!
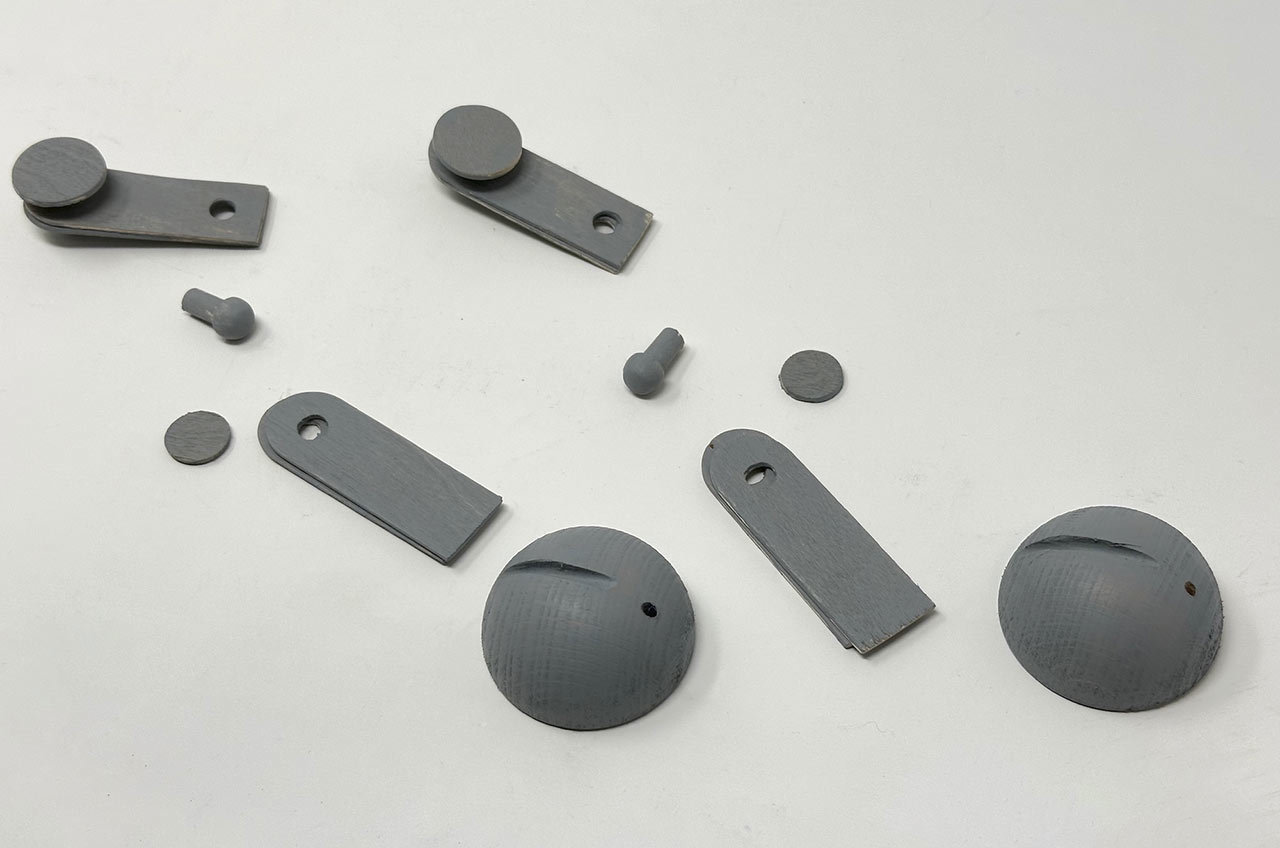
Step 1: At the top of all 4 craft sticks, drill a hole slightly larger than the wood axle pegs, then drill a second hole at the bottom of 2 of the craft sticks.
Step 2: Measure and mark two inches from the ends of the craft sticks, then cut for 8 2” leg pieces in total.
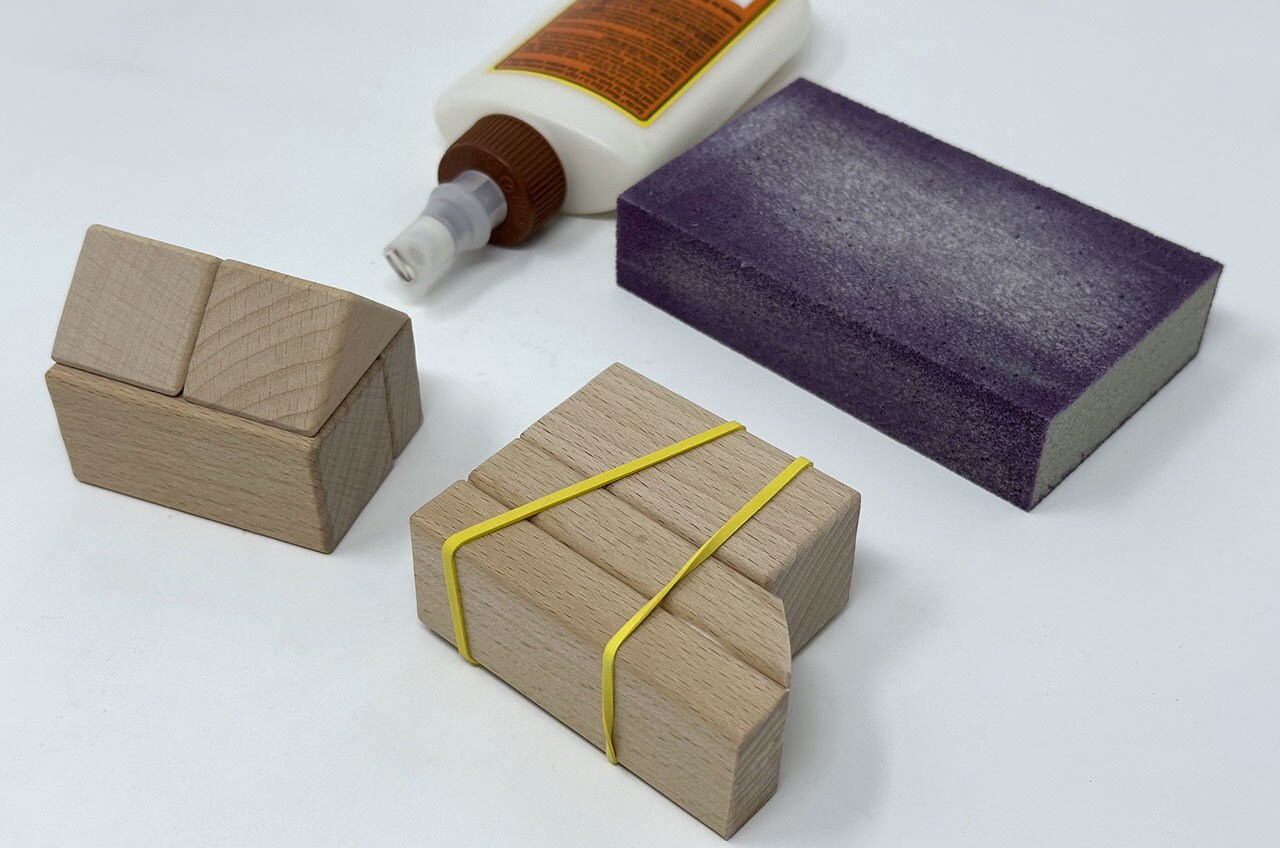
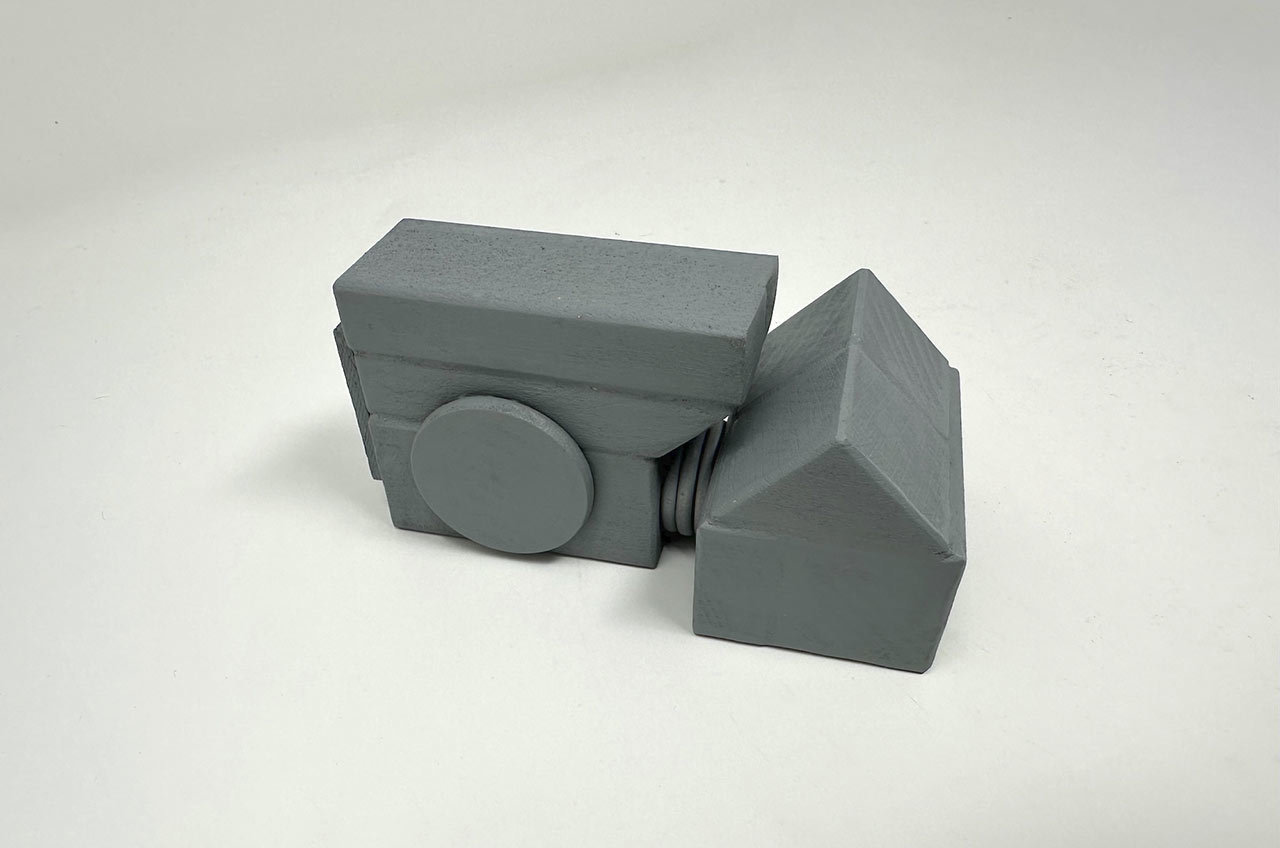
Step 3: Cut wood pieces or find and arrange wooden toy blocks to make a 2.5” wide x 3” tall head with an angular “jaw.” (For example, one wide rectangle block and two thin rectangle blocks.)
Step 4: Cut wood pieces or arrange more toy blocks to make a 1.75” tall x 2” wide body with an angled front. (For example, one thin rectangle block, one wide rectangle block, and two triangle blocks.)
Step 5: Glue the wooden blocks for the body and set aside to dry.
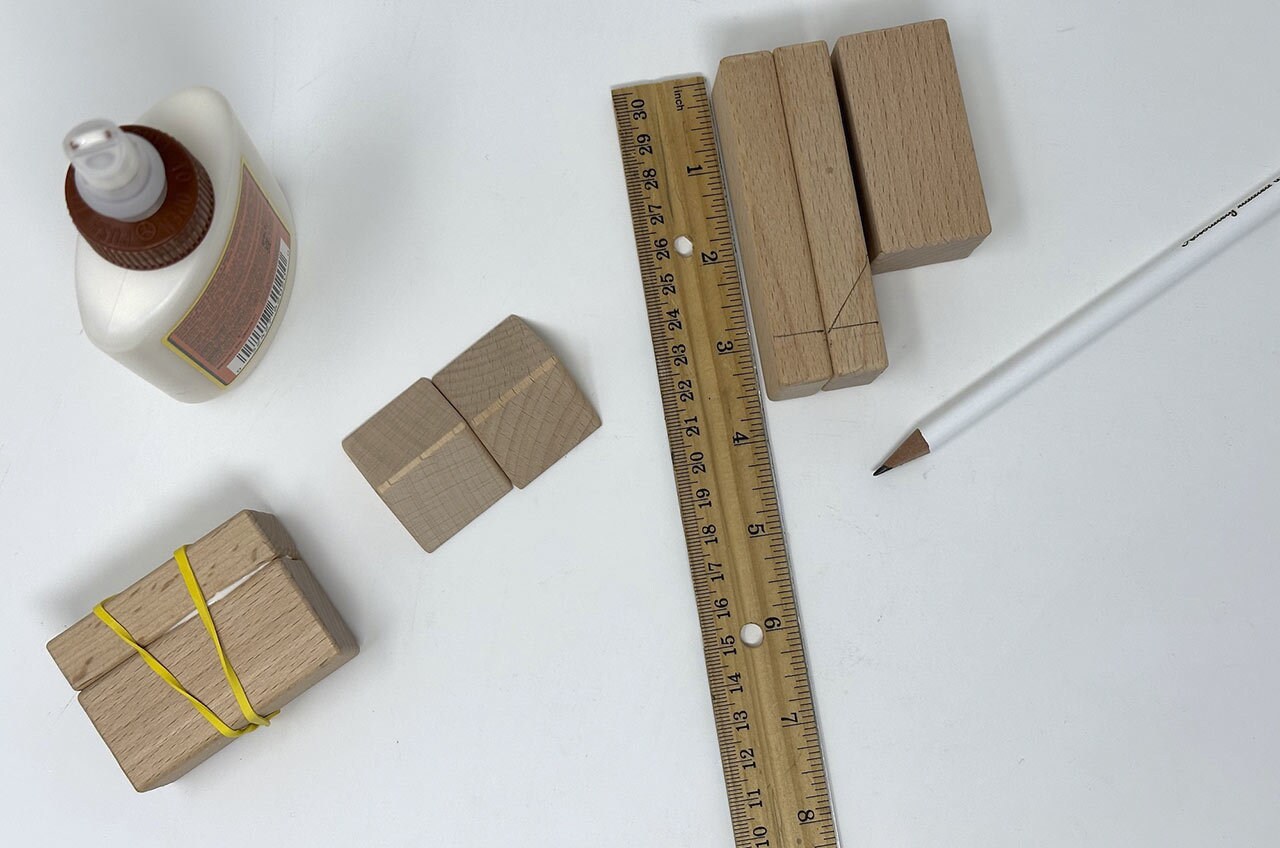
Step 6: Arrange the wood pieces for the head with the longer pieces in the front and smaller piece in the back. Measure and mark 3” down from the top on the front pieces. On the middle block, draw an angle from the corner of the small block to the 3” mark.
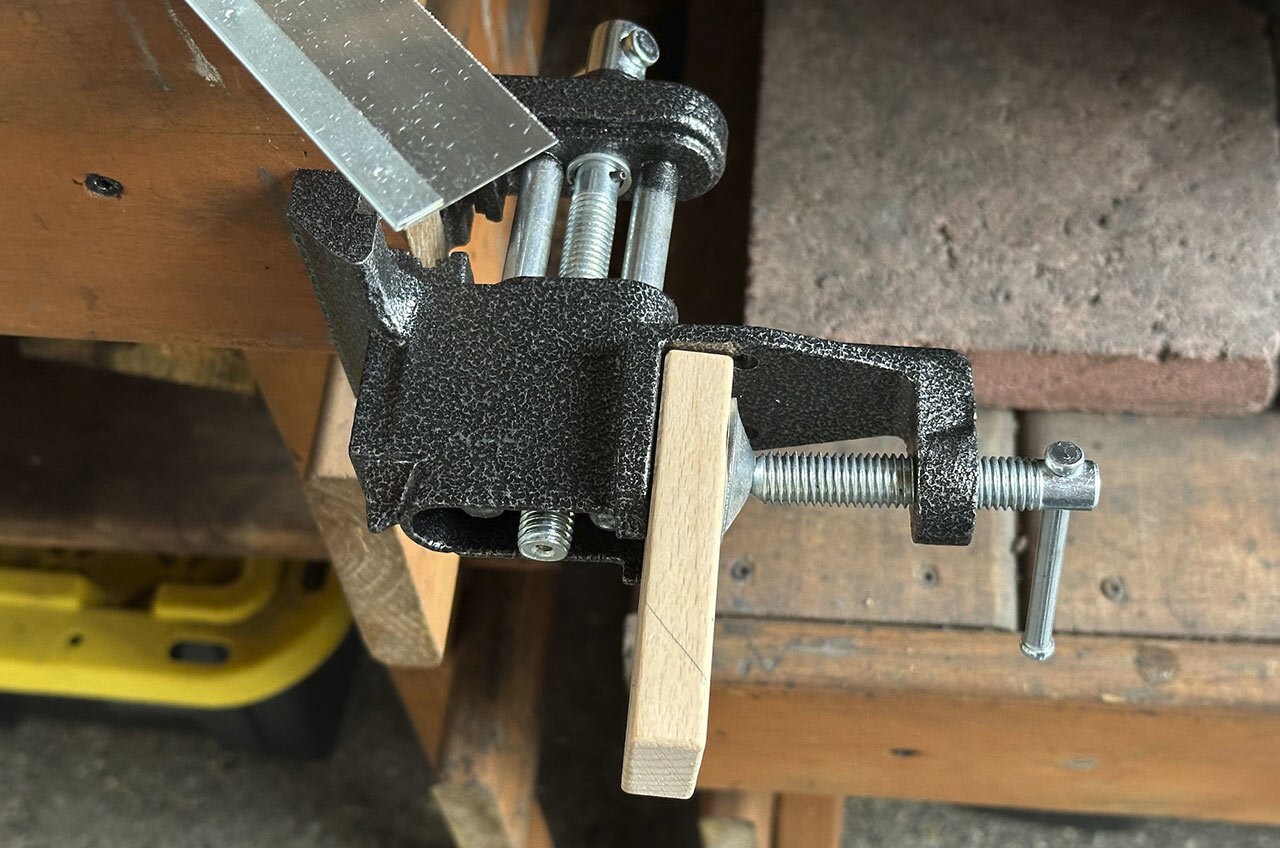
Step 7: Use a handsaw to cut the thin rectangle block without the angle, then cut the angle for the second thin block.
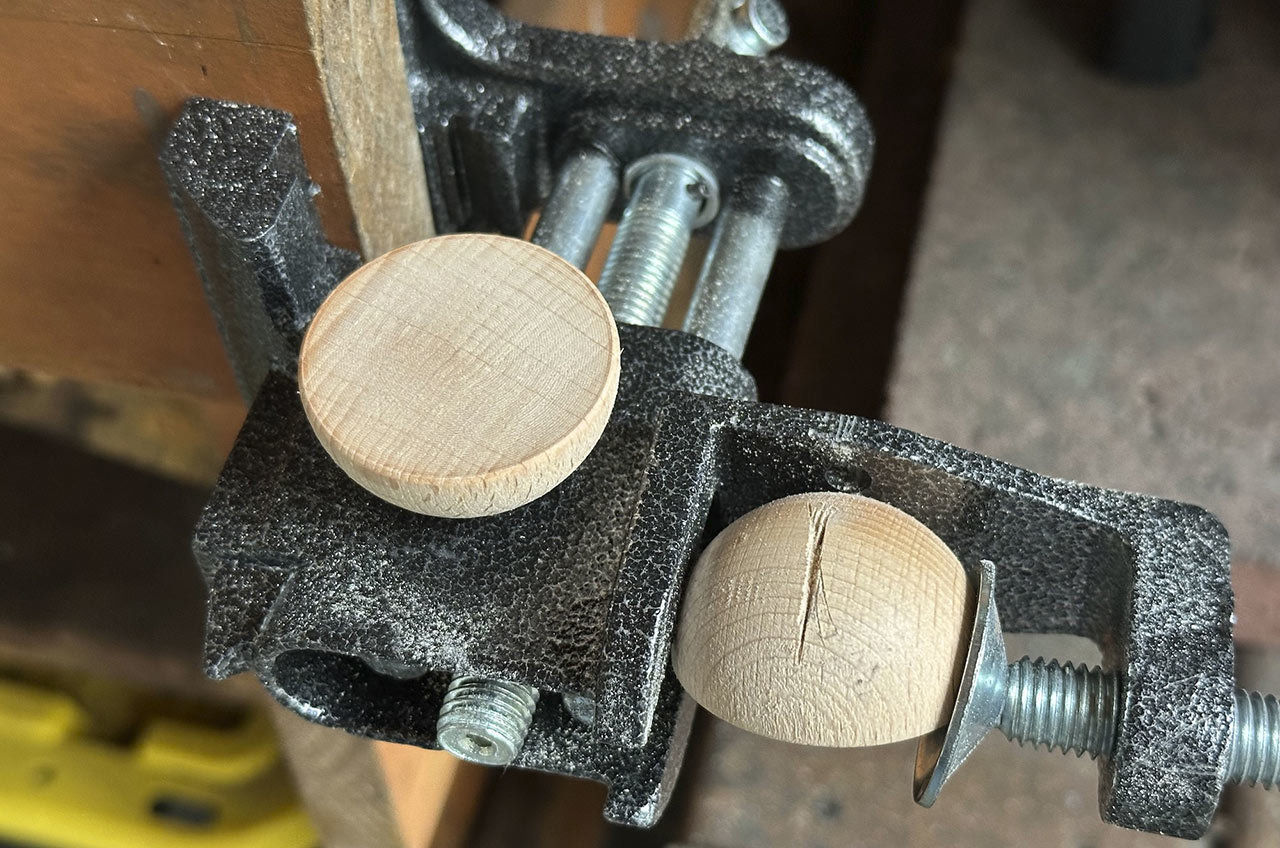
Step 8: While you’re using the saw, cut a notch in the back of the two half-spheres for the legs to slot in later. Set aside for now.
Step 9: Glue the head pieces together with the angled block sandwiched between the other two. Let dry.
Step 10: Use wood filler to fill the gaps created by the blocks. Once dry, sand the sides of the head and body flat.
Step 11: Glue two 1.5” wood discs on either side of the head.
Step 12: Glue three 1” wood discs together, then glue them on top of the body to make the neck.
Step 13: Drill a hole in the front of the two half-spheres.
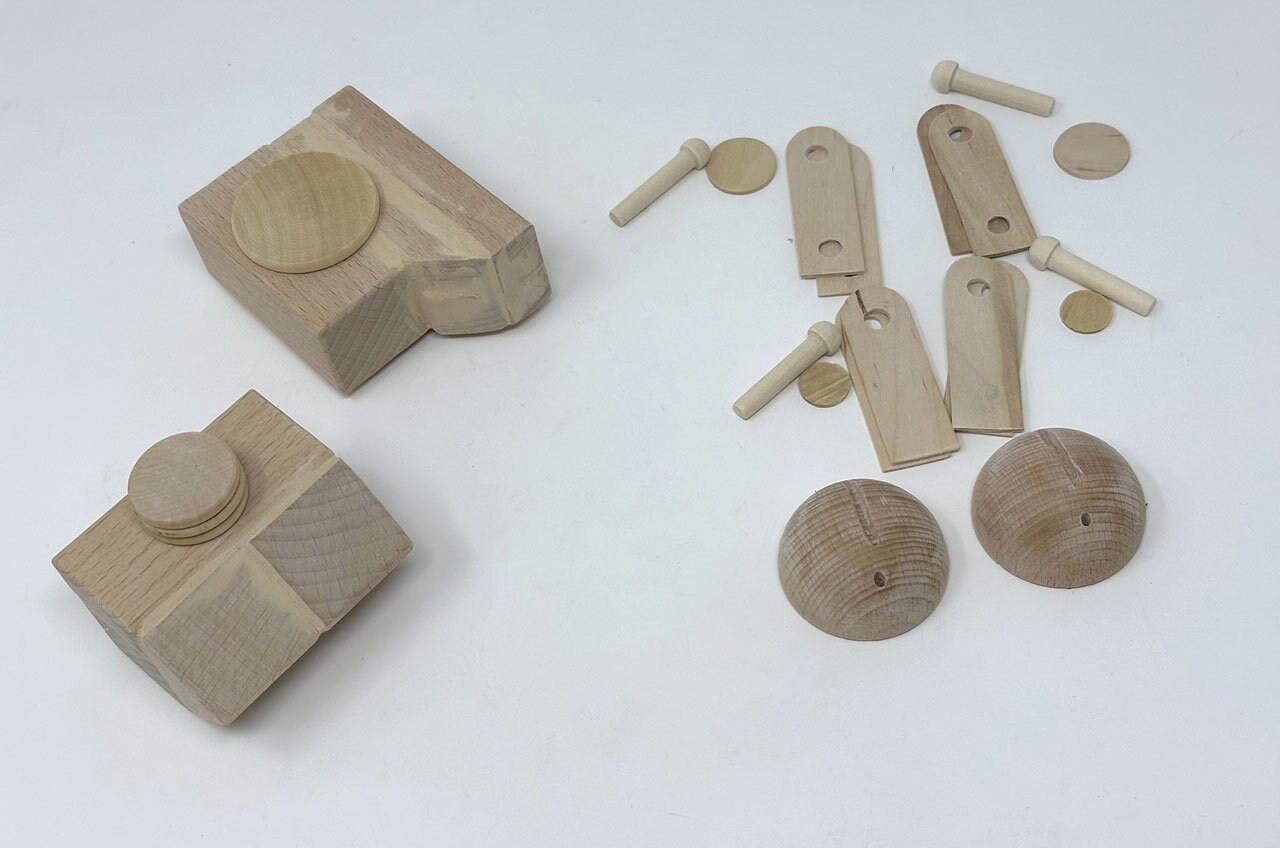
Step 14: Gather the 4 wood peg axles and 4 small wood discs for the legs so you can paint them in a moment.
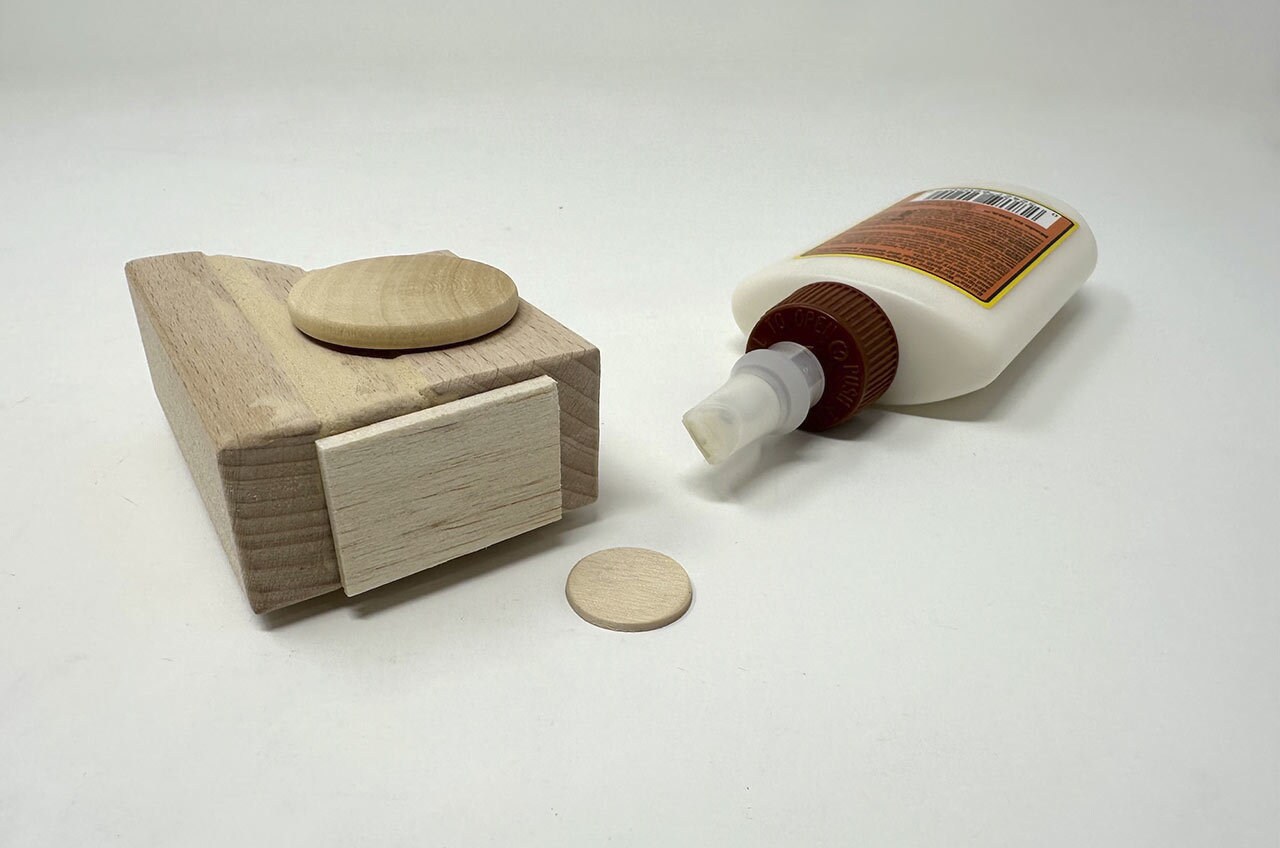
Step 15: Cut a small rectangle of thin balsa wood for the top of the AT-ST’s head. Glue it in place, then glue a small wood disc on top.
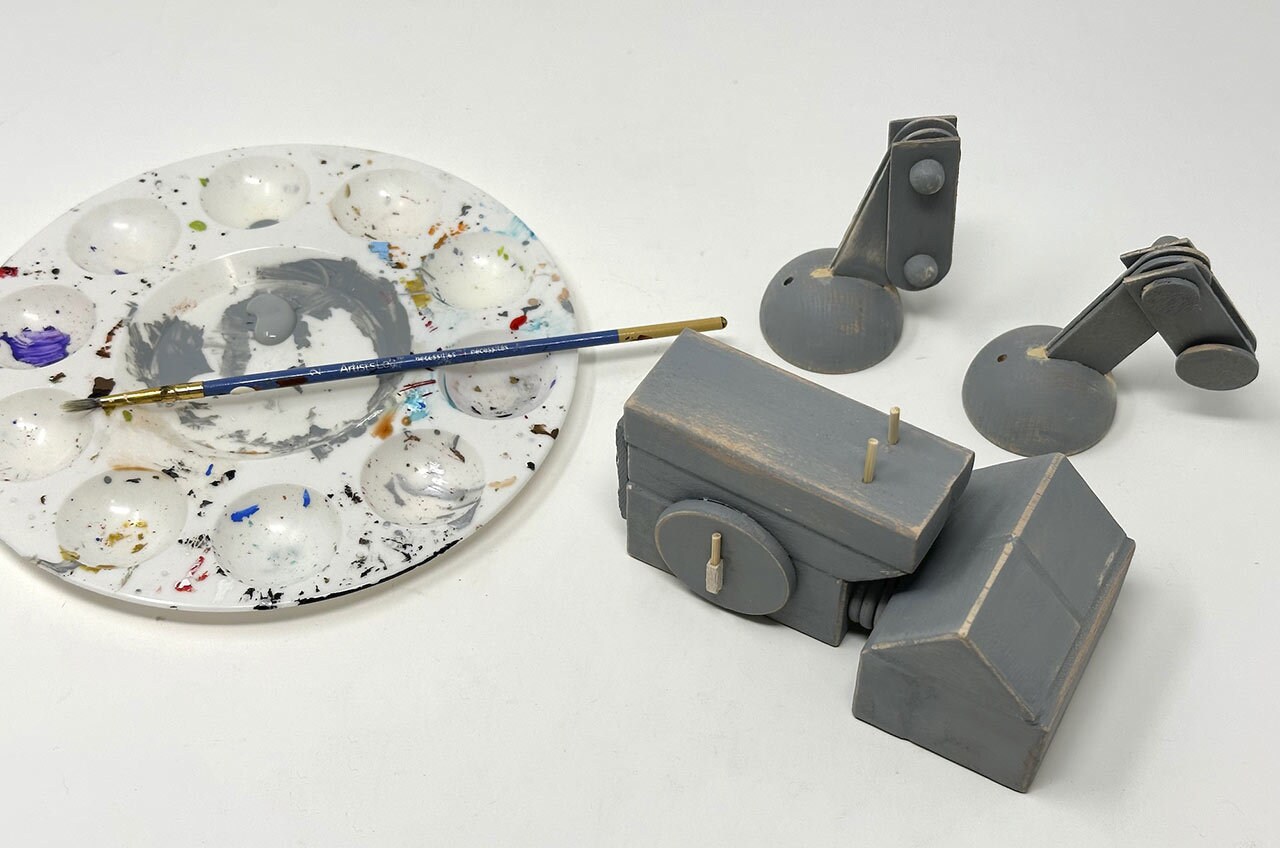
Step 16: Paint the head, body, and all leg pieces with the gray acrylic paint. Let dry completely.
Step 17: Line up 2 craft stick pieces with the double holes at the top for the “hip.” Stick the peg through. Trim the end of the peg so it’s about 1 cm in length. Glue a small wood disc on the unfinished end of the peg and let dry.
Tip: The joints should feel loose and move easily. Before gluing, you might need to widen the holes again if paint got inside.
Step 18: Repeat the step above with the other 2 craft stick pieces with double holes, but with the wood disc on the opposite side.
Tip: The wood discs will be glued to the sides of the puppet later. Make sure the finished ends of the wood axles are facing outward and the wood disc joints are facing inward.
Step 19: Sandwich 2 craft stick pieces between the “knee” of the leg you just glued. Trim and stick the peg through, then glue a small wood disc to the unfinished end. Repeat with the other leg.
Step 20: Glue the head to the neck.
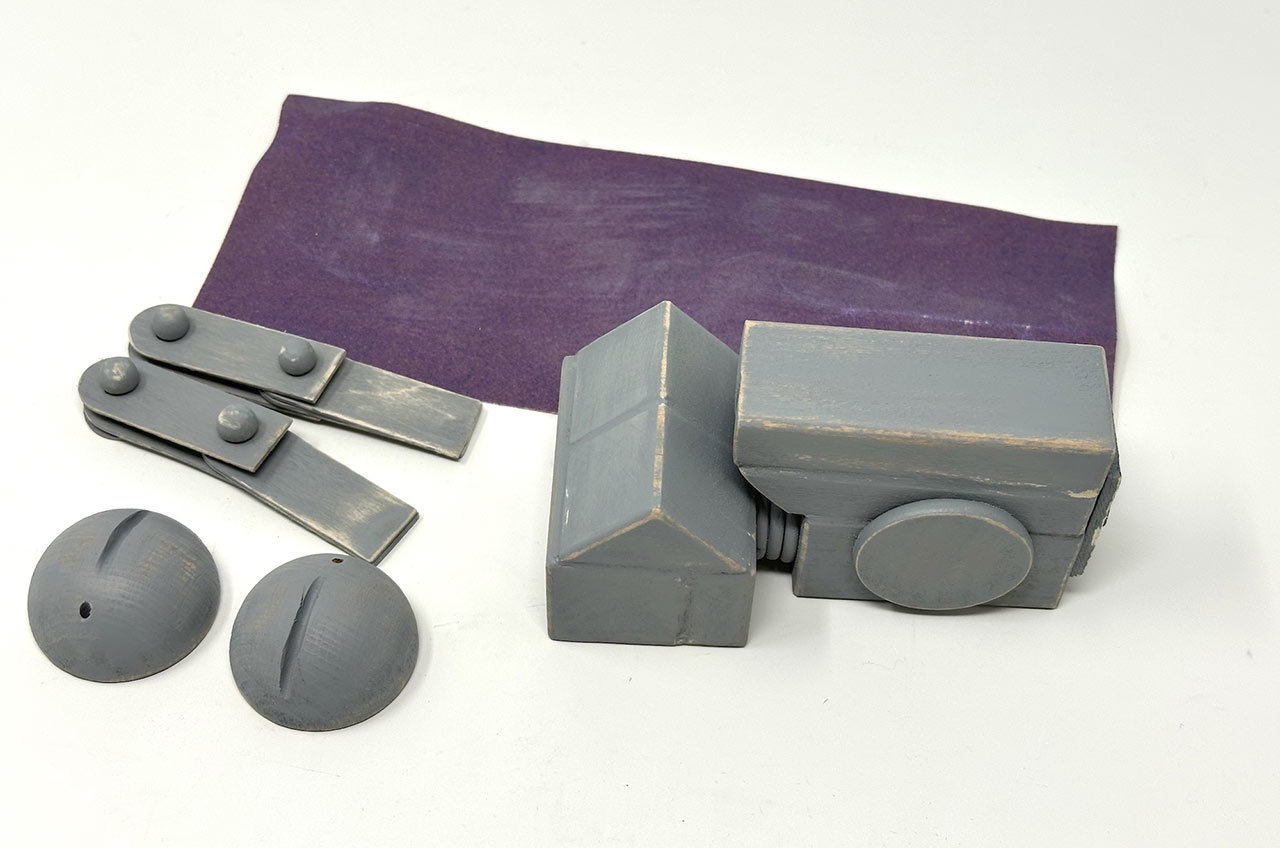
Step 21: Add age and weathering to the painted pieces with sandpaper.
Step 22: Cut small pieces of balsa wood and toothpicks to make the weapons on the side of the head.
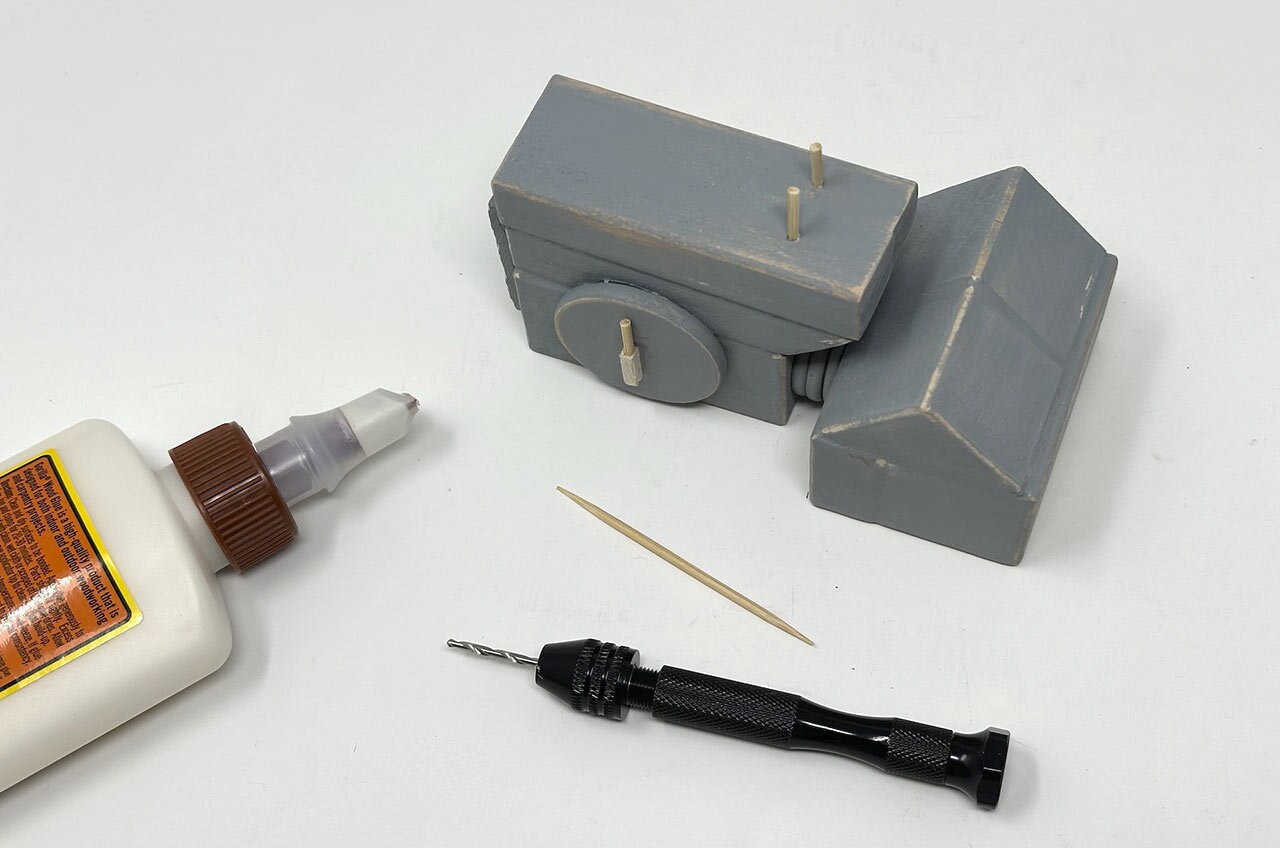
Step 23: Drill two small holes near the bottom of the AT-ST’s “face,” then glue two trimmed toothpicks inside.
Step 24: Use a rotary tool to widen the notches in the feet you cut previously until the “ankles” of the legs fit snugly inside. Glue them in place, then fill any gaps with wood filler.
Step 25: Paint the weapons, wood filler, and any spots you might have missed. Let dry.
Step 26: Paint the tips of the toothpicks on the face black.
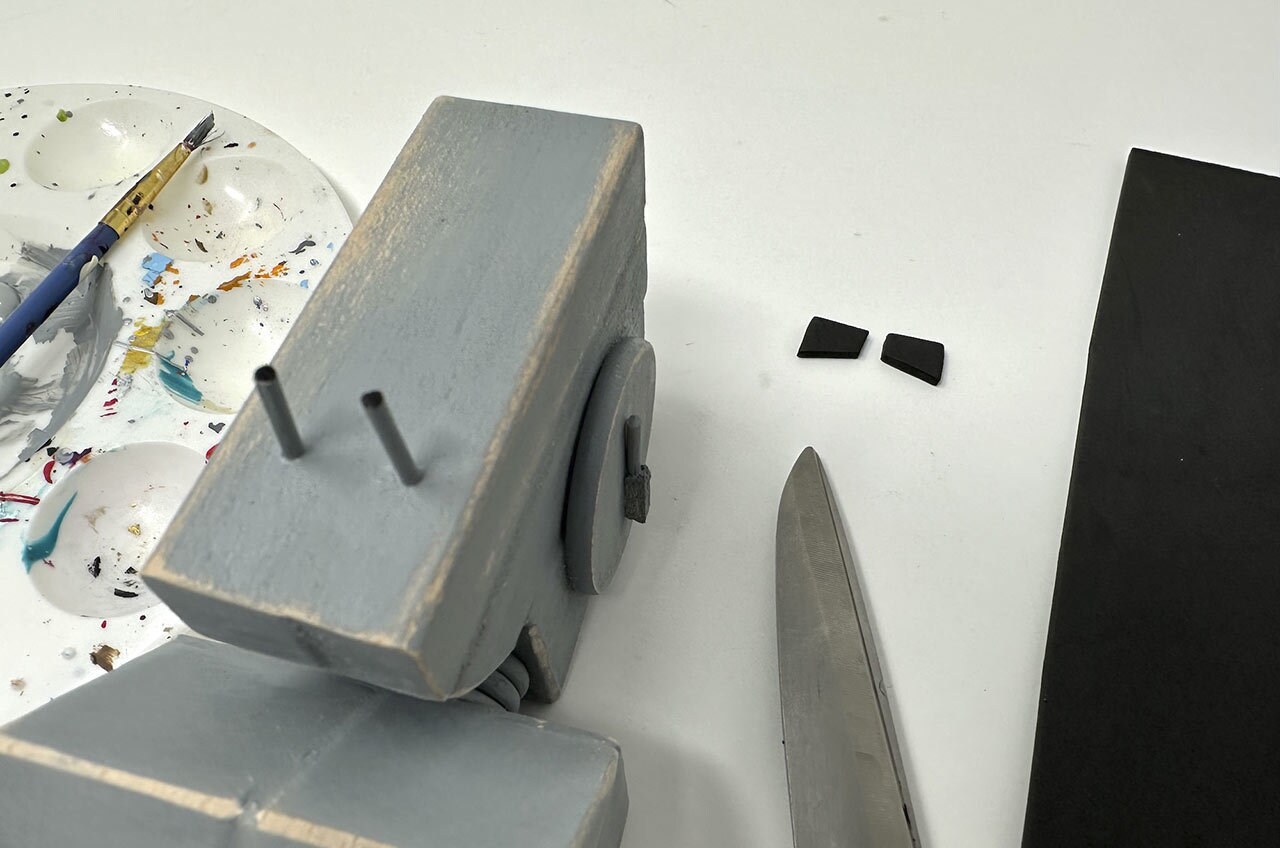
Step 27: Cut two small rectangular shapes from black craft foam, about 1 cm in length each, to make the “eyes” of the AT-ST. Glue them in place near the top of the face, then drybrush gray paint on the edges to add weathering.
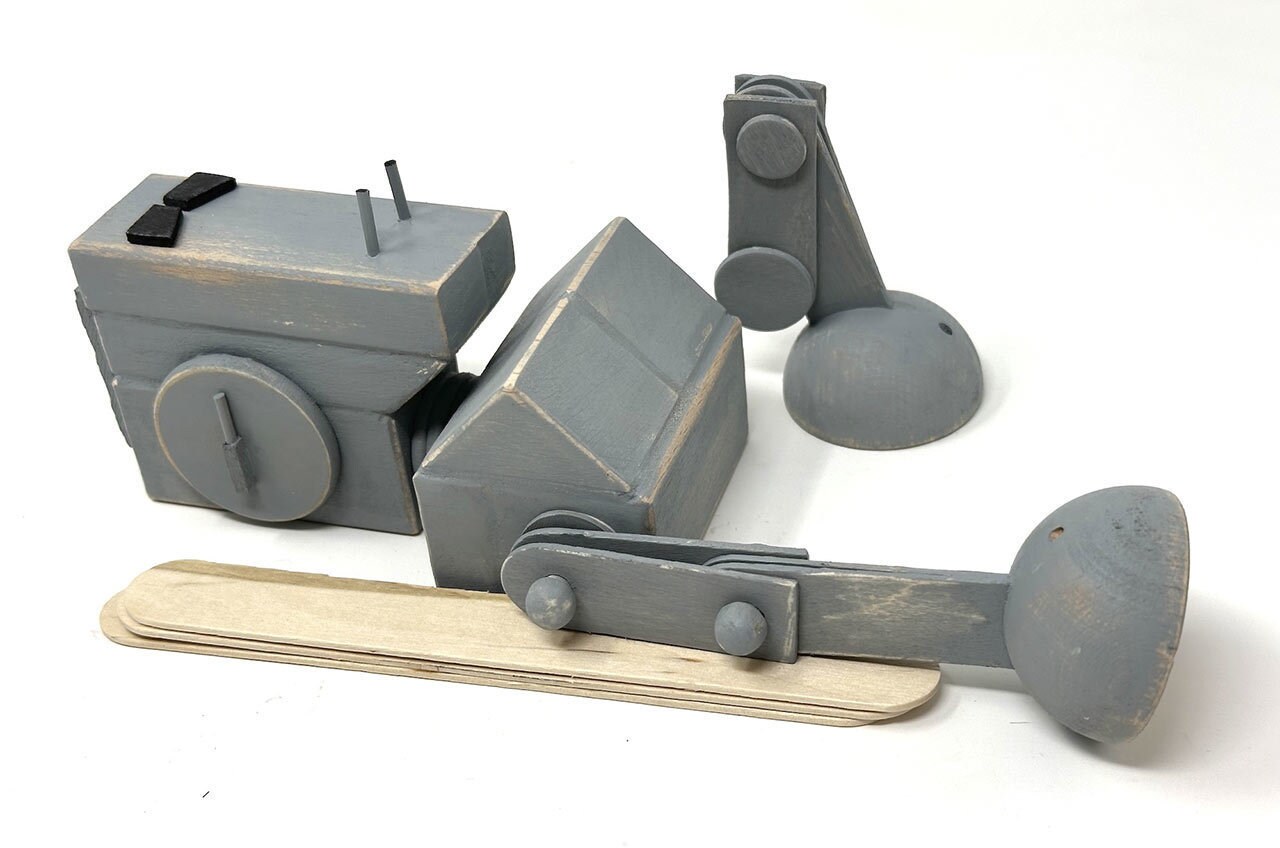
Step 28: Glue the legs on the sides of the body. Rest them on a few craft sticks so they lie straight as they dry.
Step 29: On the top of the head, screw in two 1/16” screw eyes on either end.
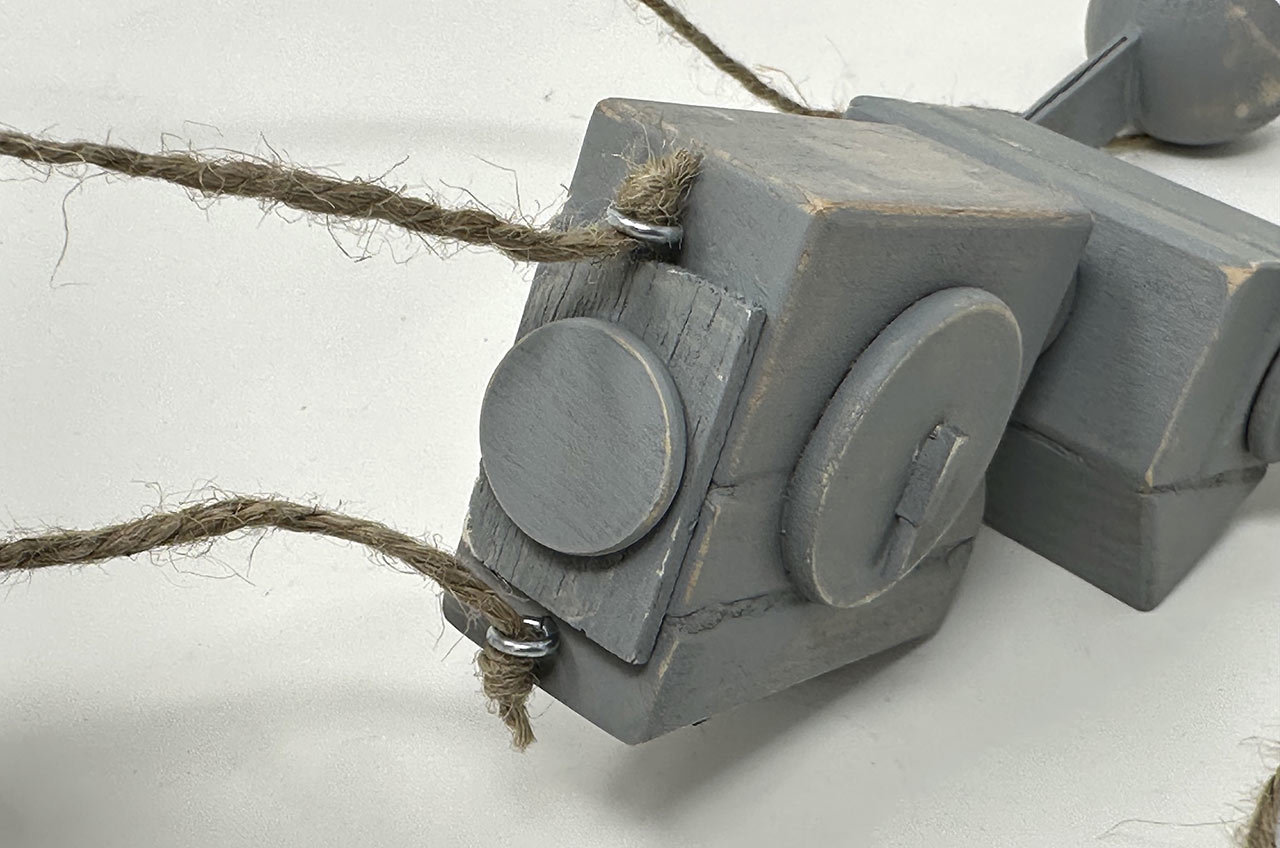
Step 30: Tie a knot in four pieces of twine. Pull each one through a screw eye on the head, and then one through each foot.
Step 31: Wrap twine around two 12” pieces of predrilled driftwood to tie them together in an X shape.
Step 32: Tie the ends of the feet strings through the holes of one driftwood stick.
Step 33: Tie the two head strings near the center of the other stick.
Tip: While the length of the strings is left to preference, the two strings in the center should be shorter than the leg strings.

Your AT-ST puppet is complete!
Practice making your AT-ST walk and dance. You’ll get the hang of it quickly!