

Empire at 40 | Latest News + Features


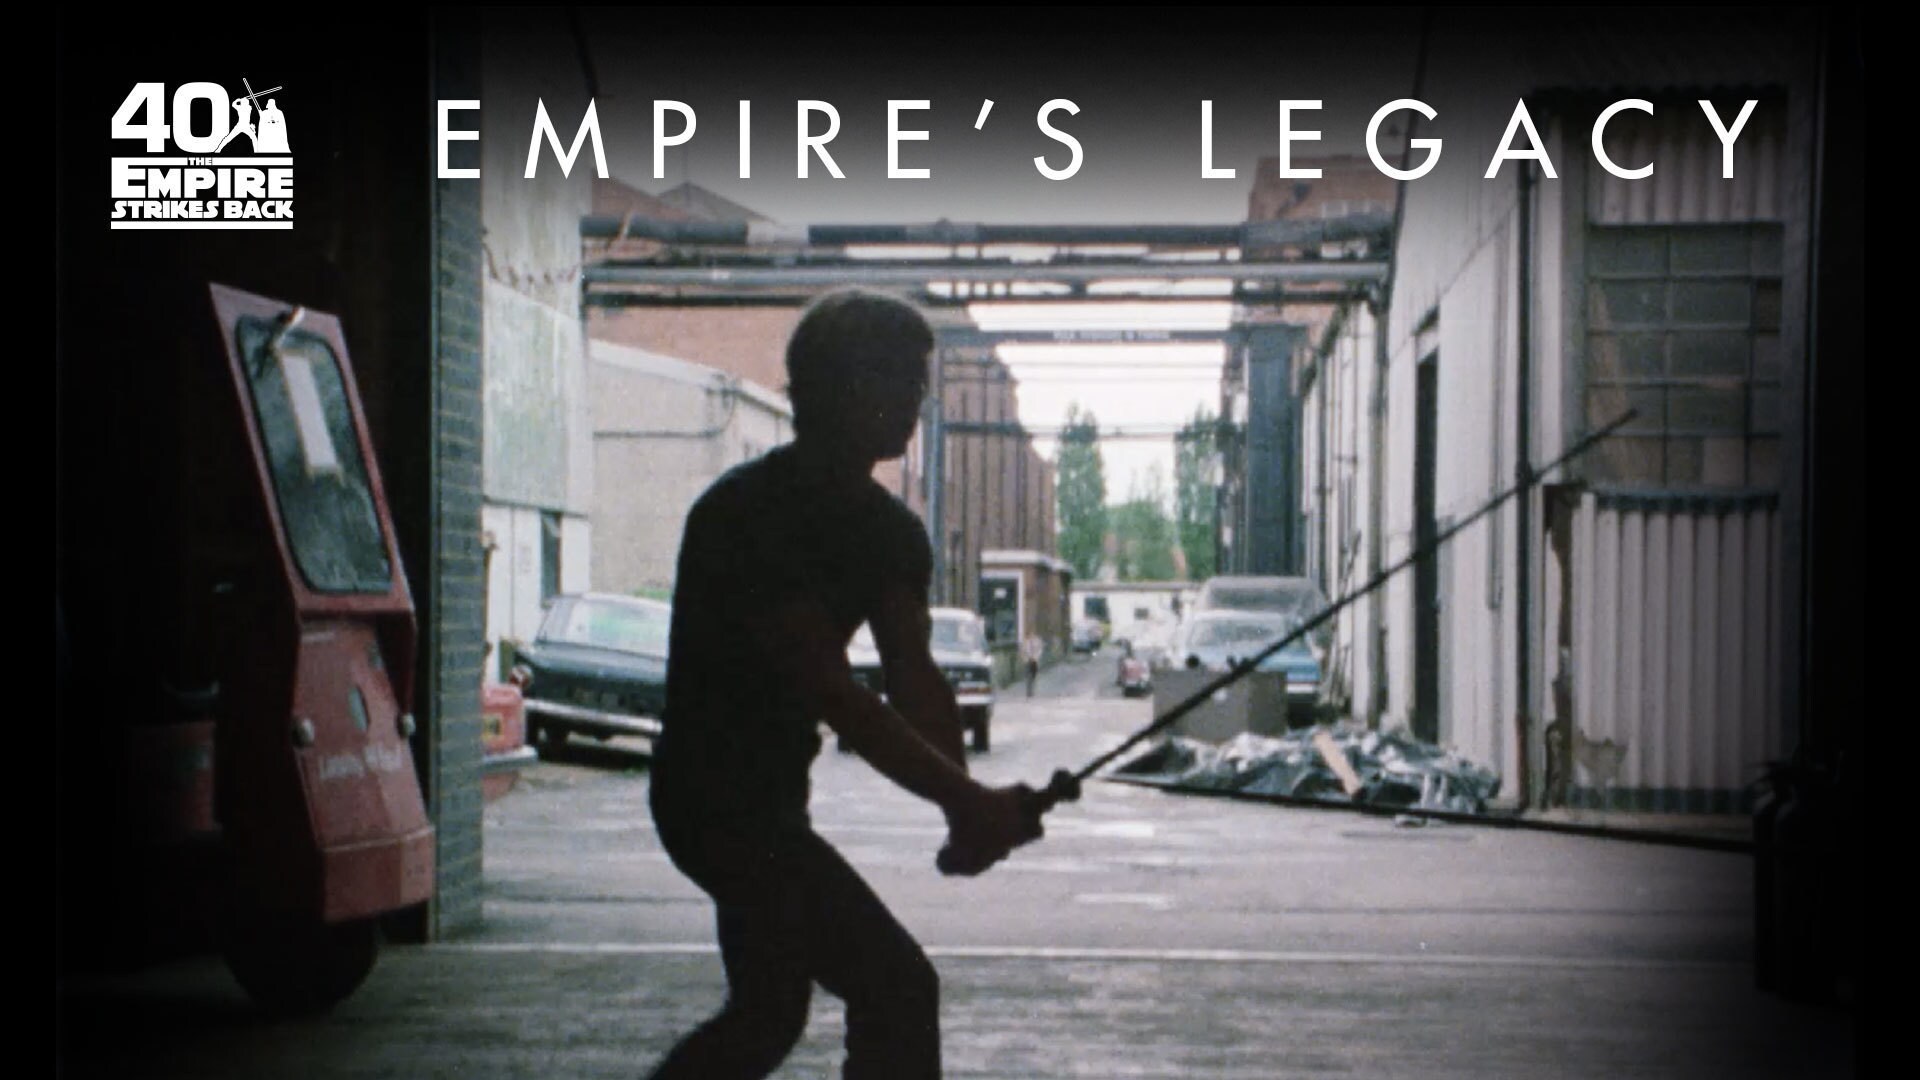
Celebrating 40 Years of Empire Featurettes
Empire at 40 | Exclusive Interviews


Empire at 40 | Transmissions from Lucasfilm.com
Happy 40th Anniversary, Empire!
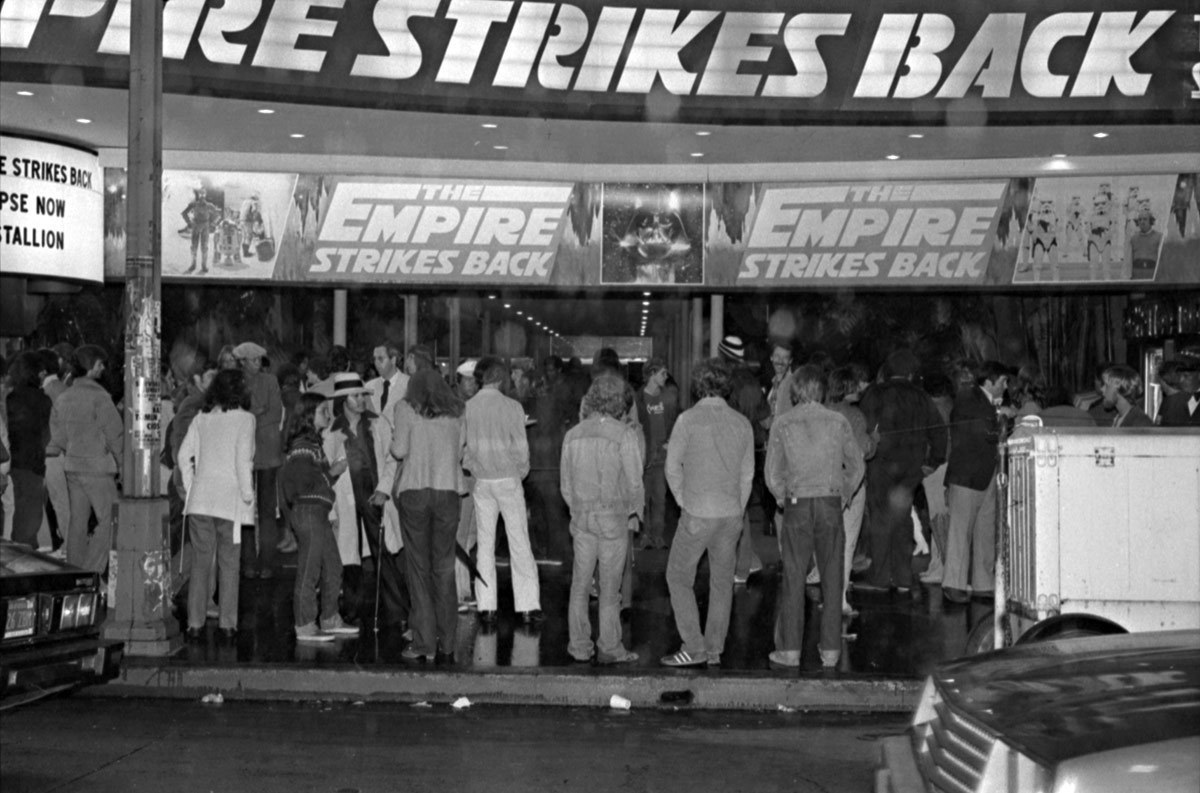
"When it came time to open Empire, there was tremendous excitement and everybody agreed we should try something that had never been done before. So we opened it at the Egyptian Theater in Los Angeles at midnight—and then kept running it without stopping for one full day."
- Sid Ganis (Vice President: Publicity, Lucasfilm)
Scenes


Behind the Scenes

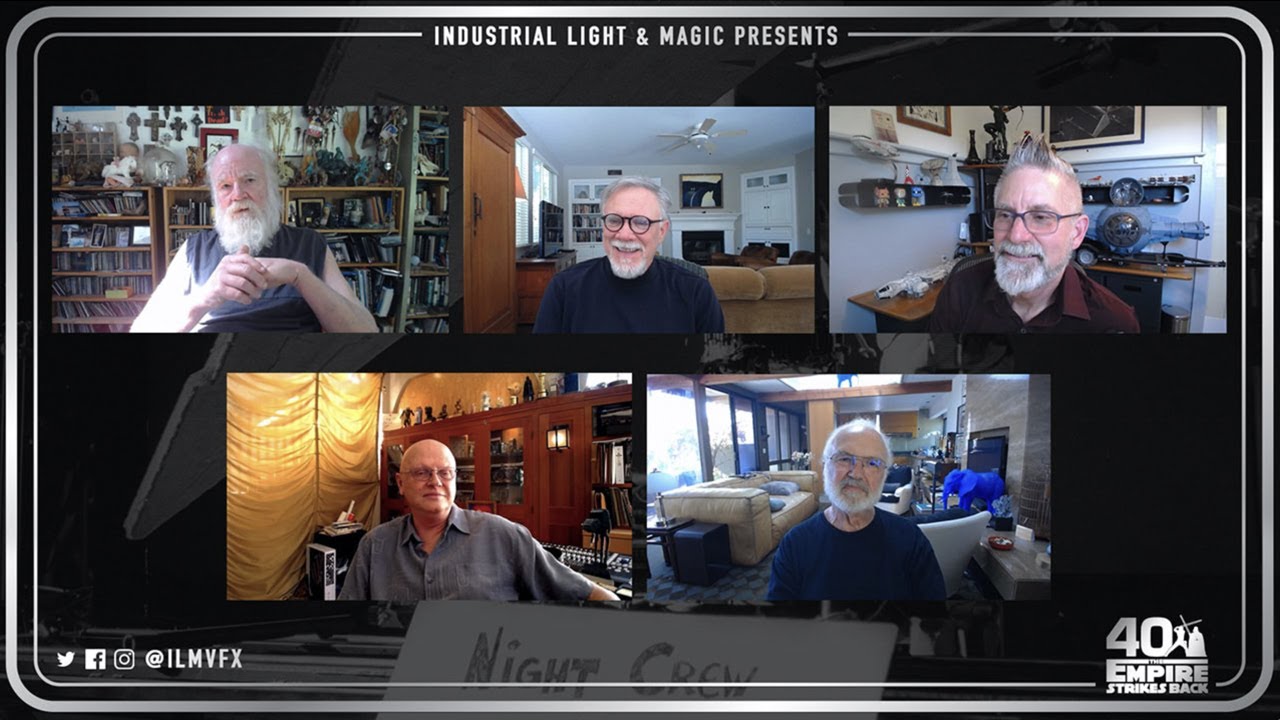
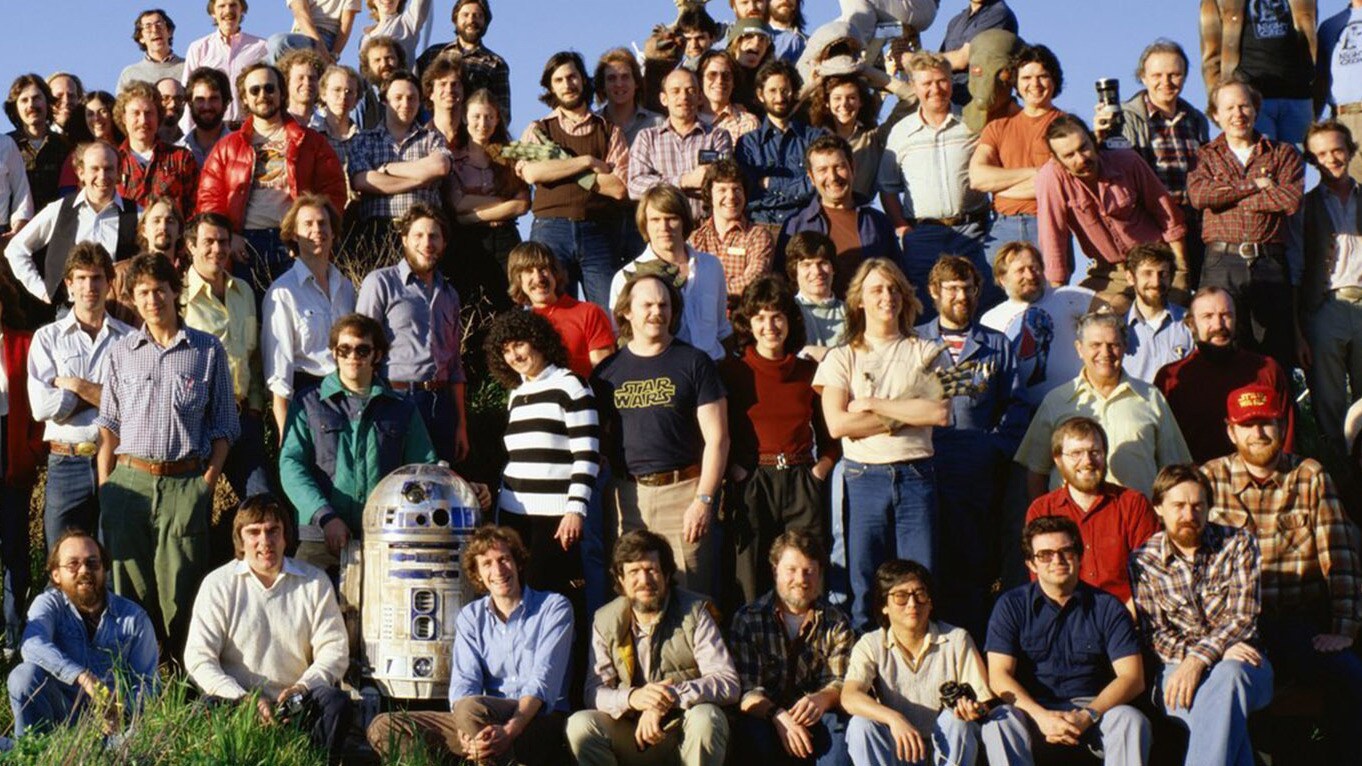
Industrial Light & Magic Presents: Empire at 40
A conversation with effects legends Dennis Muren, Joe Johnston, Phil Tippett, & Lorne Peterson. Live streaming today at 4:00PM PDT.
© 2015 Disney
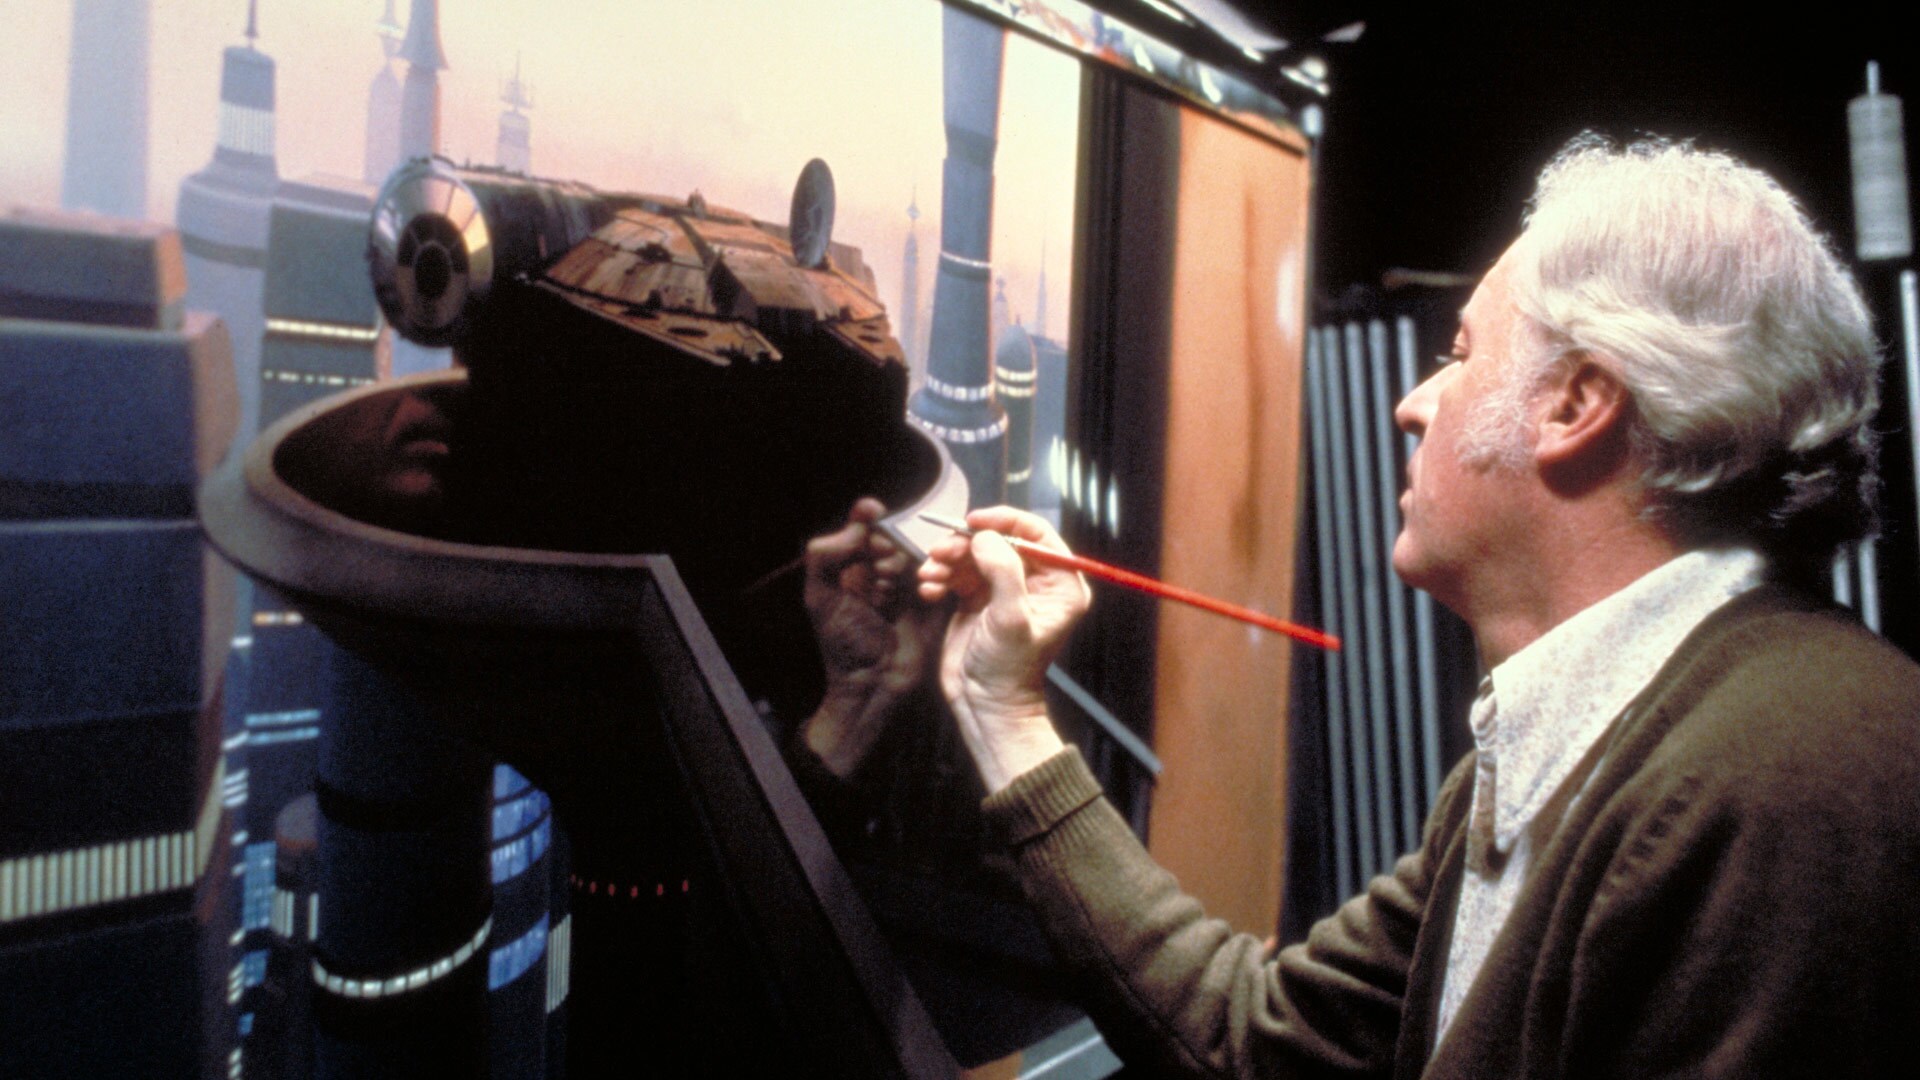
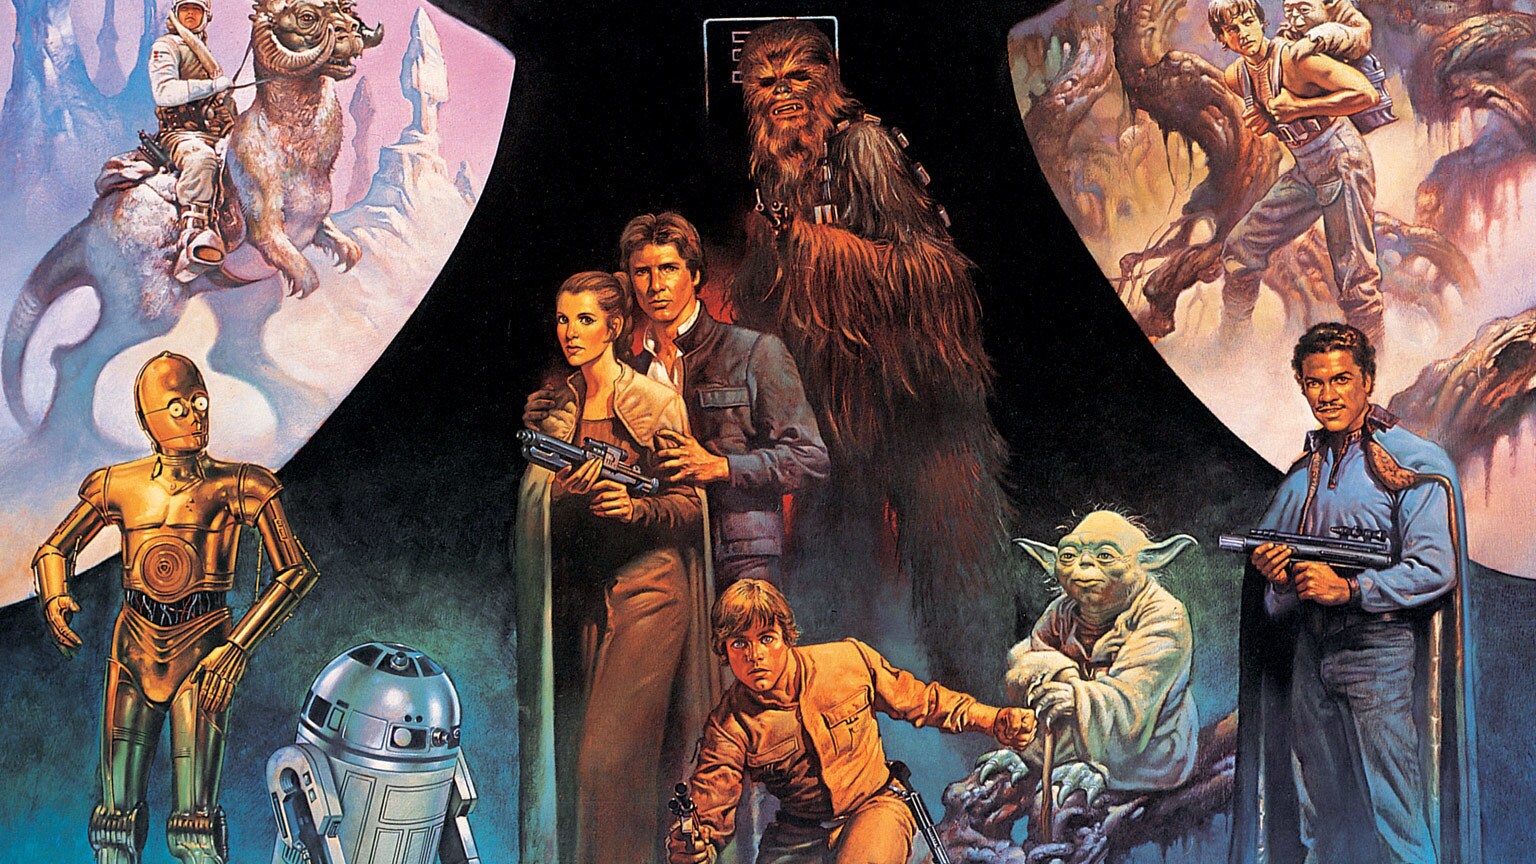
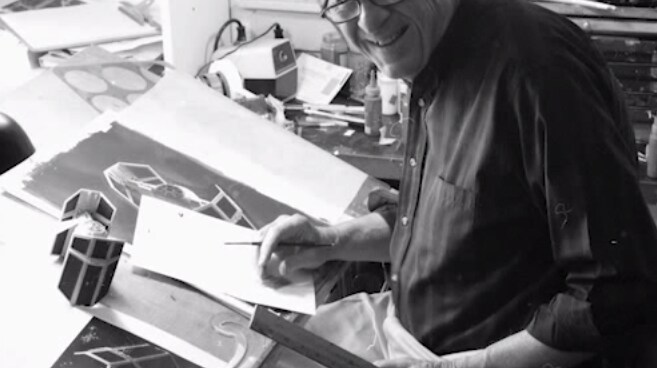
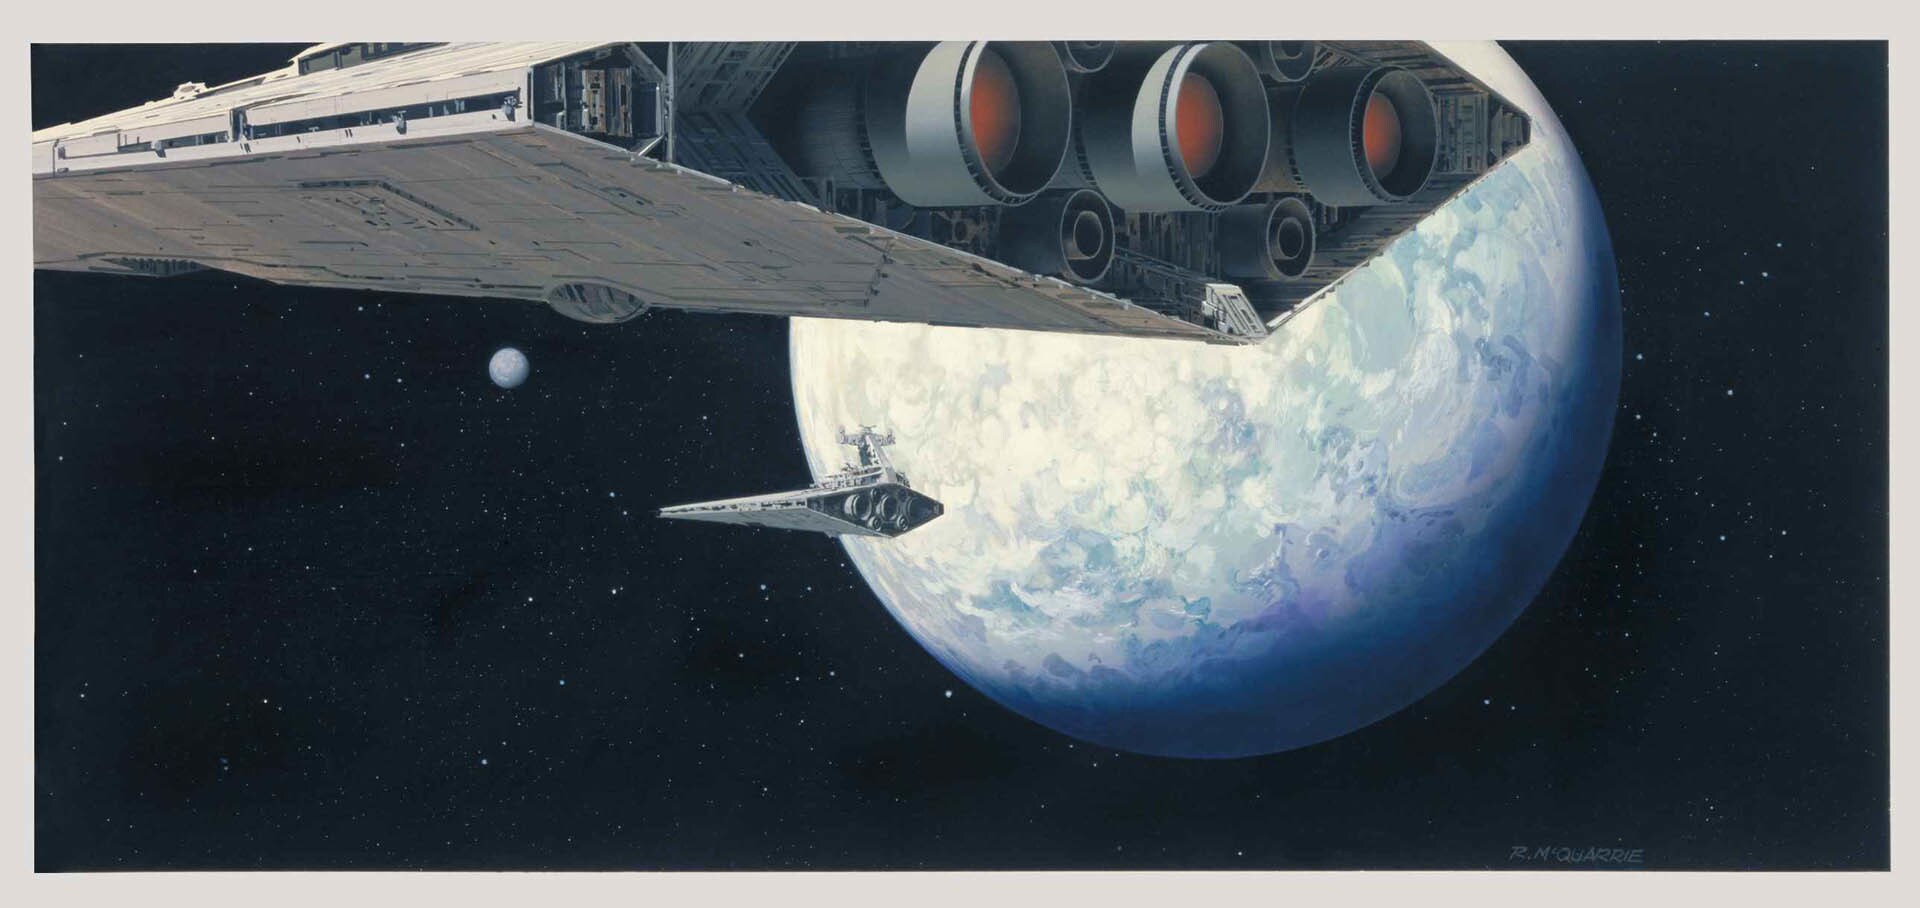
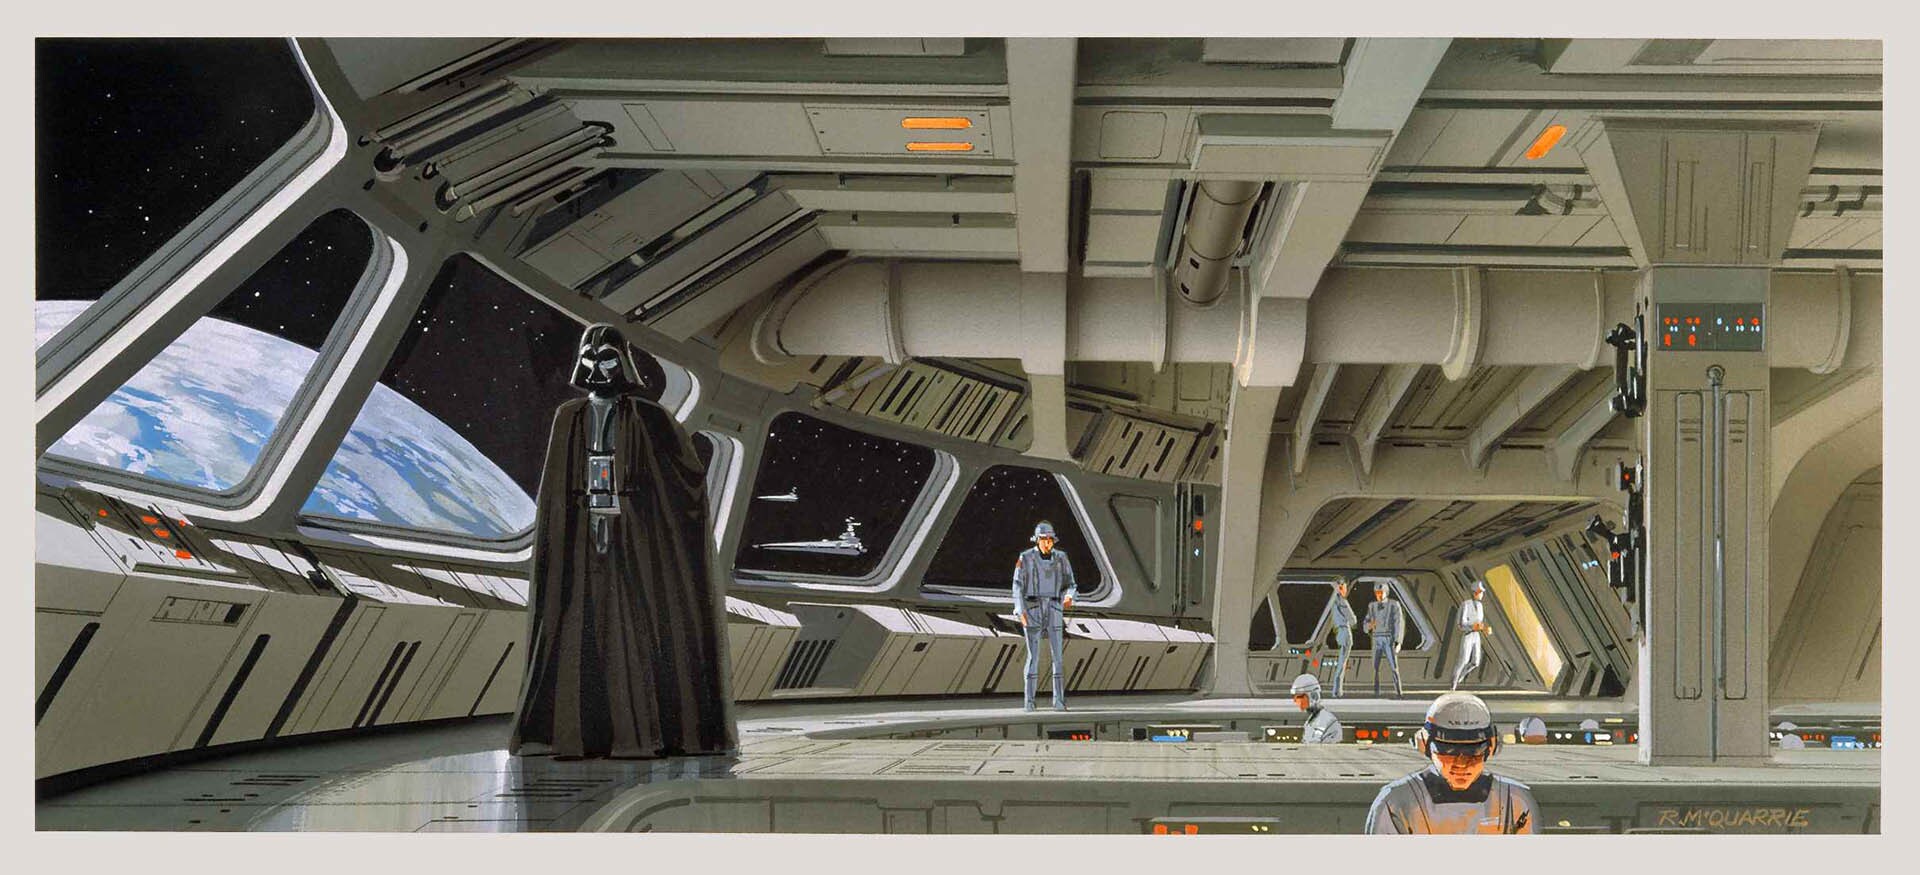
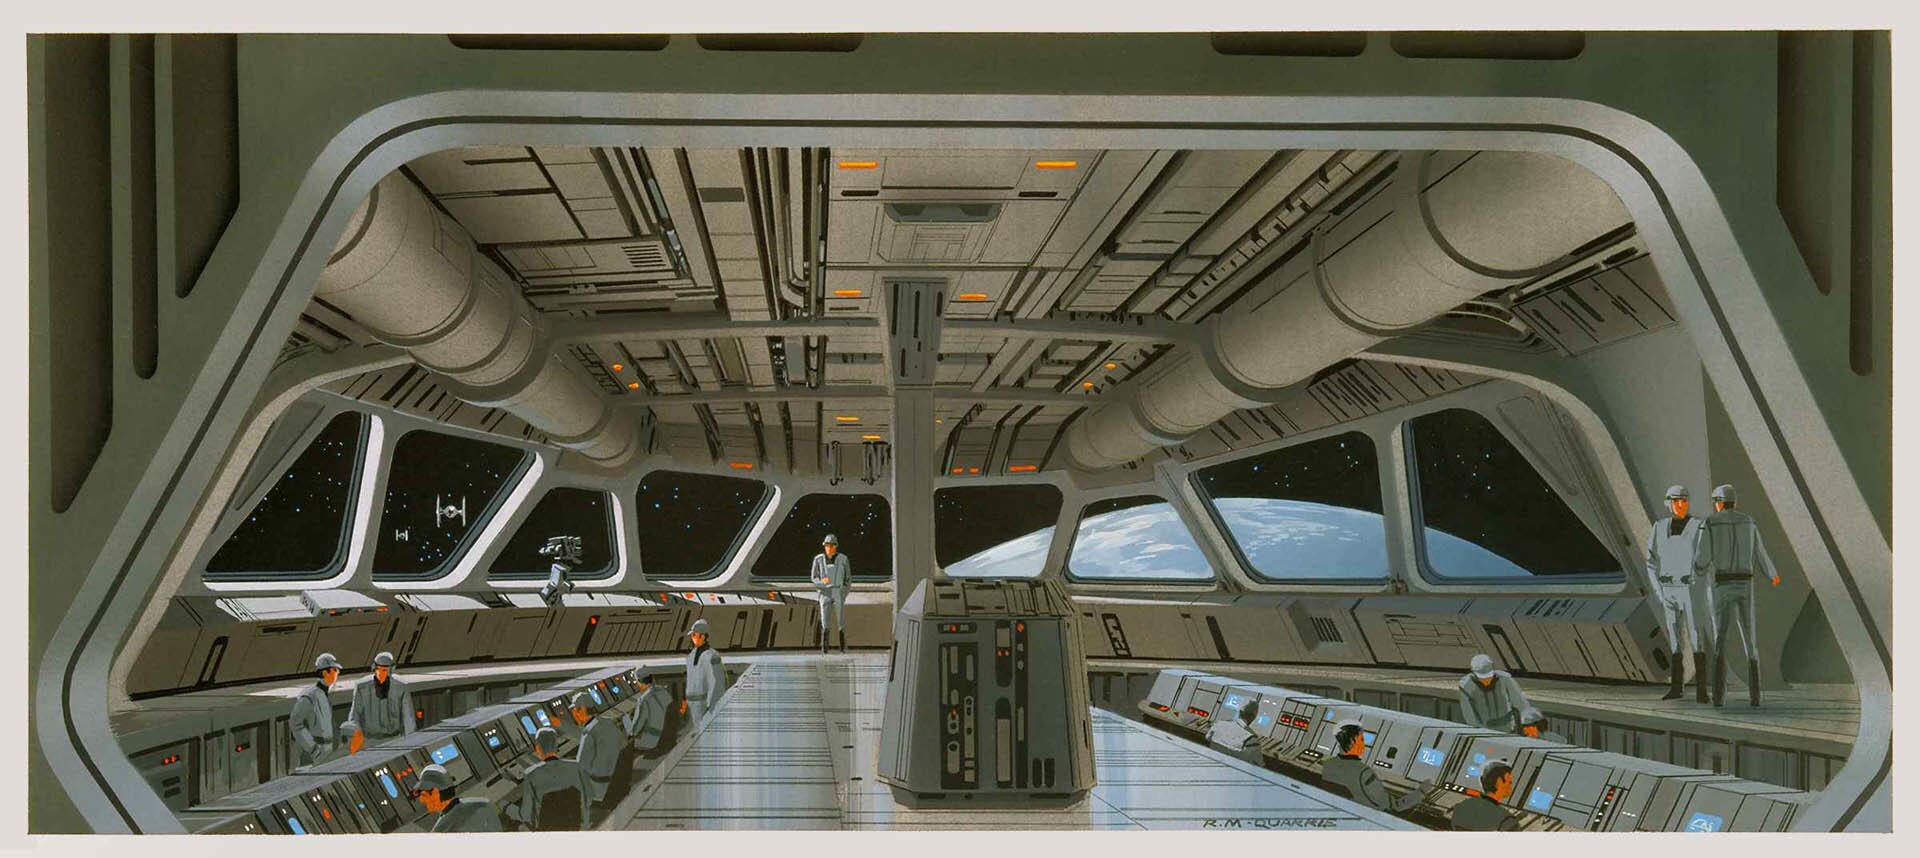
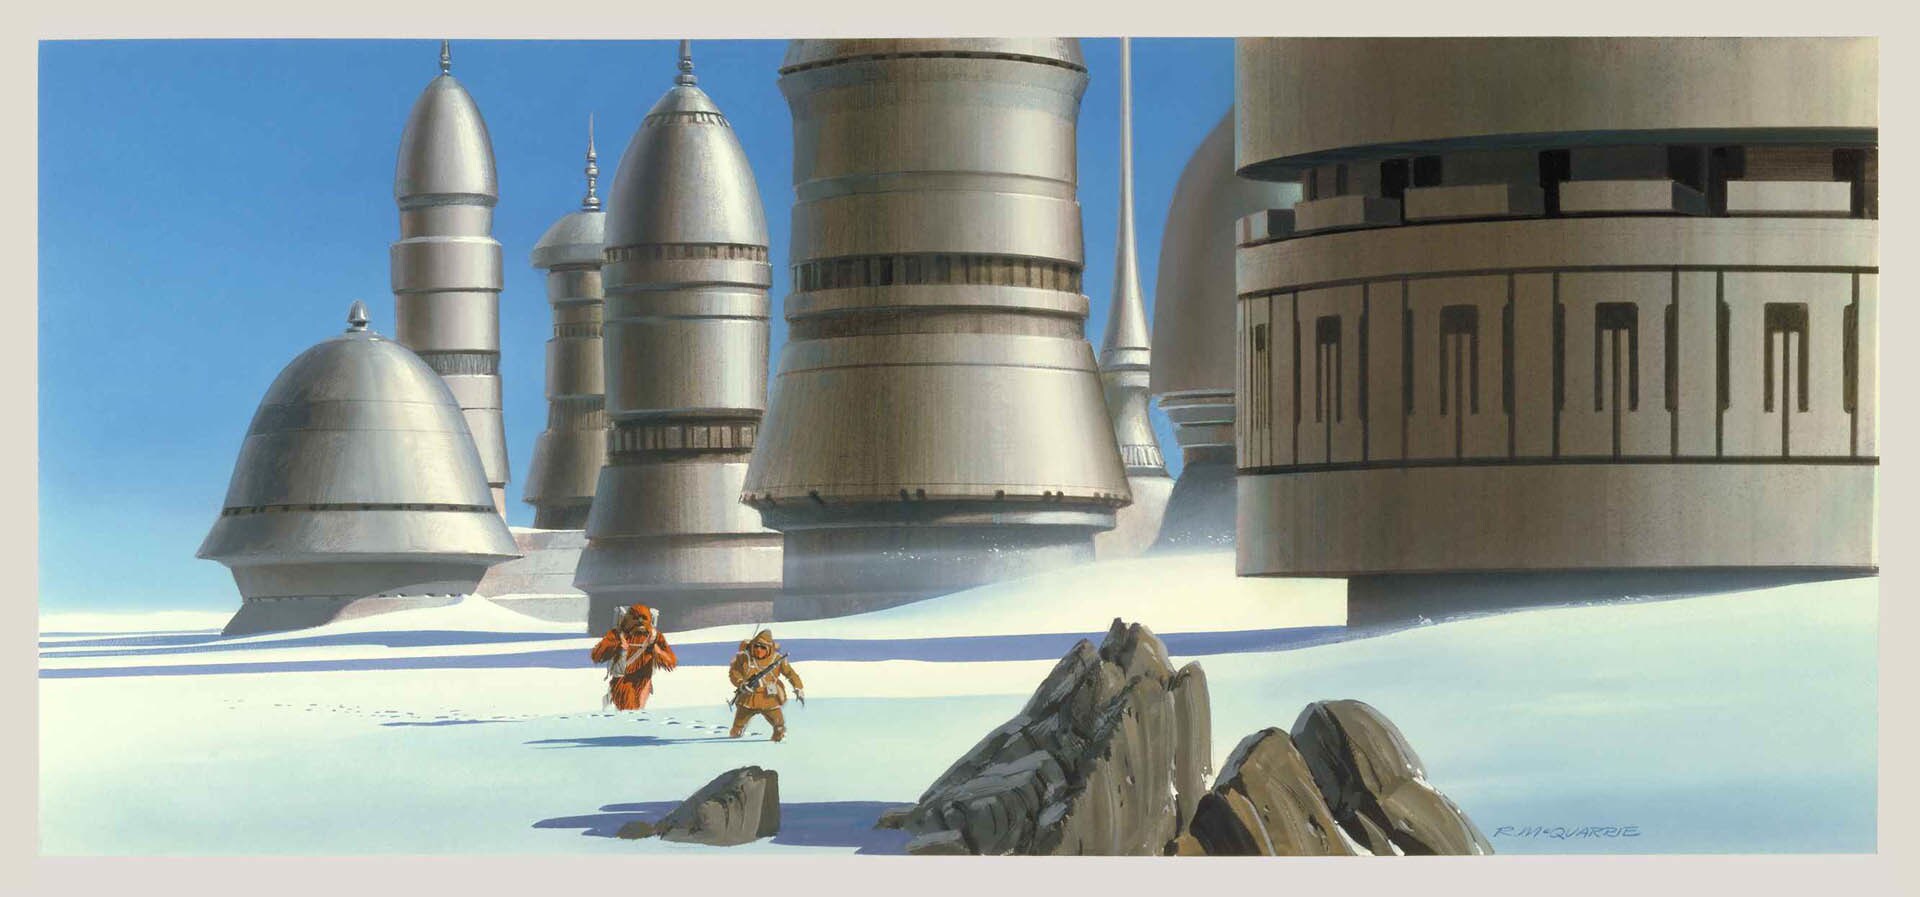
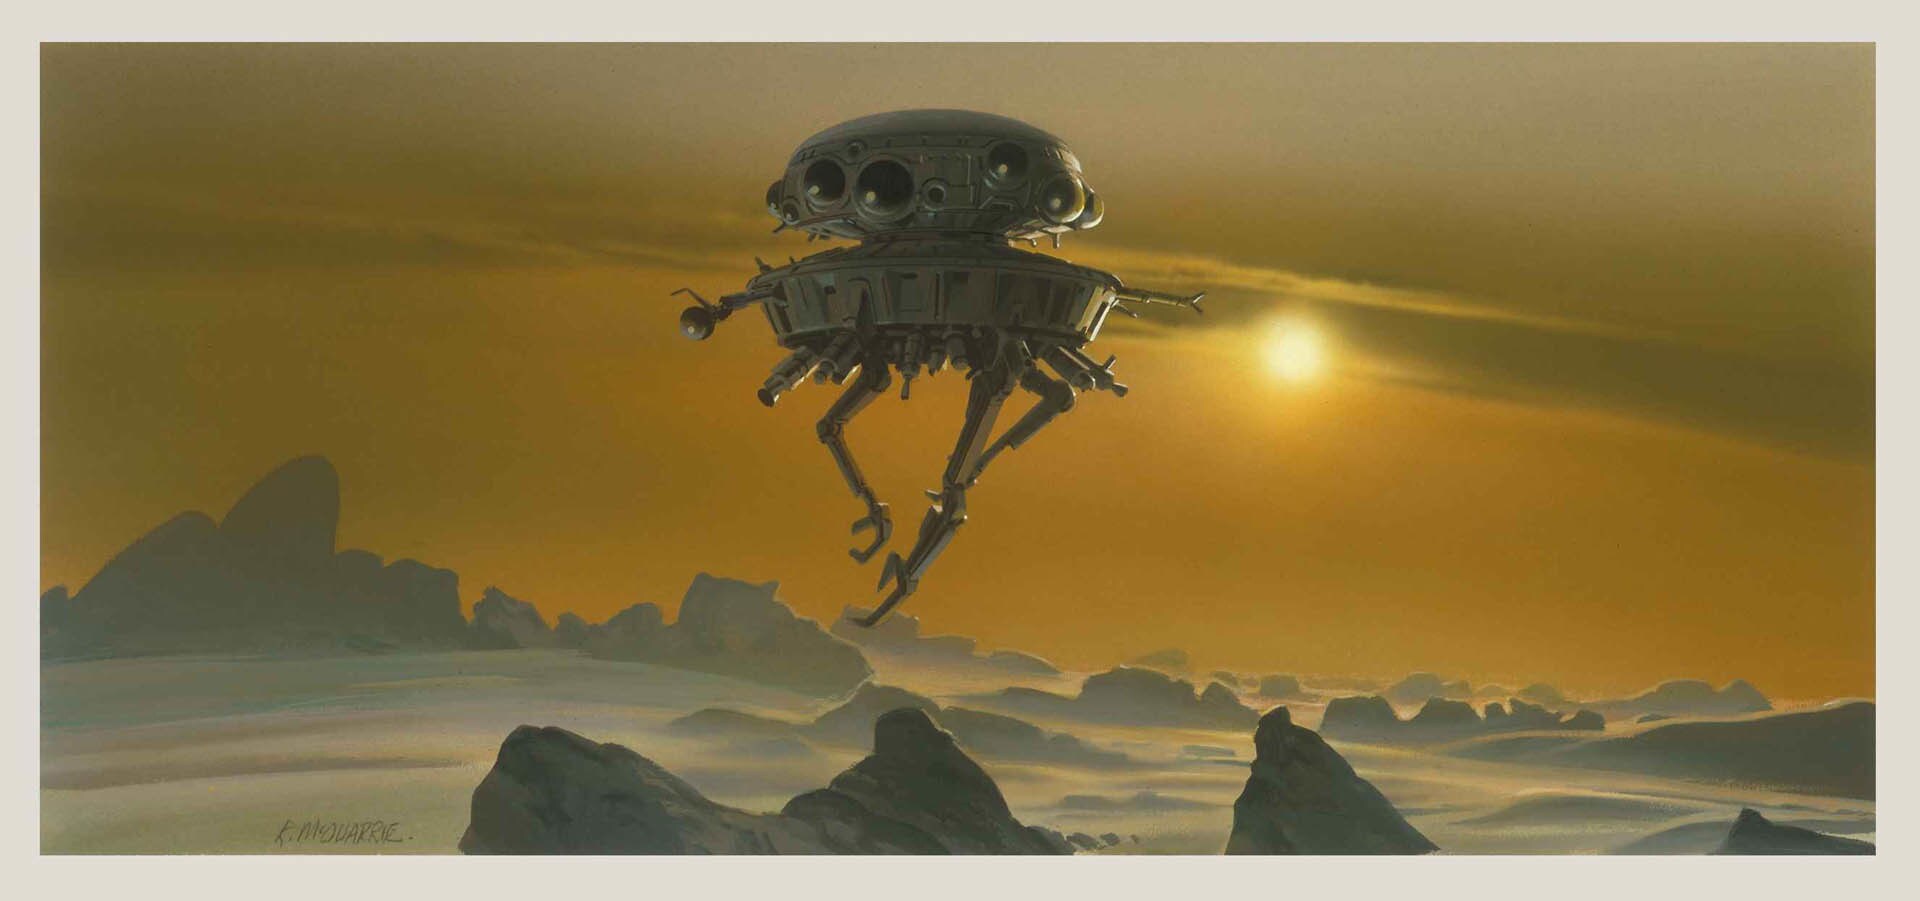
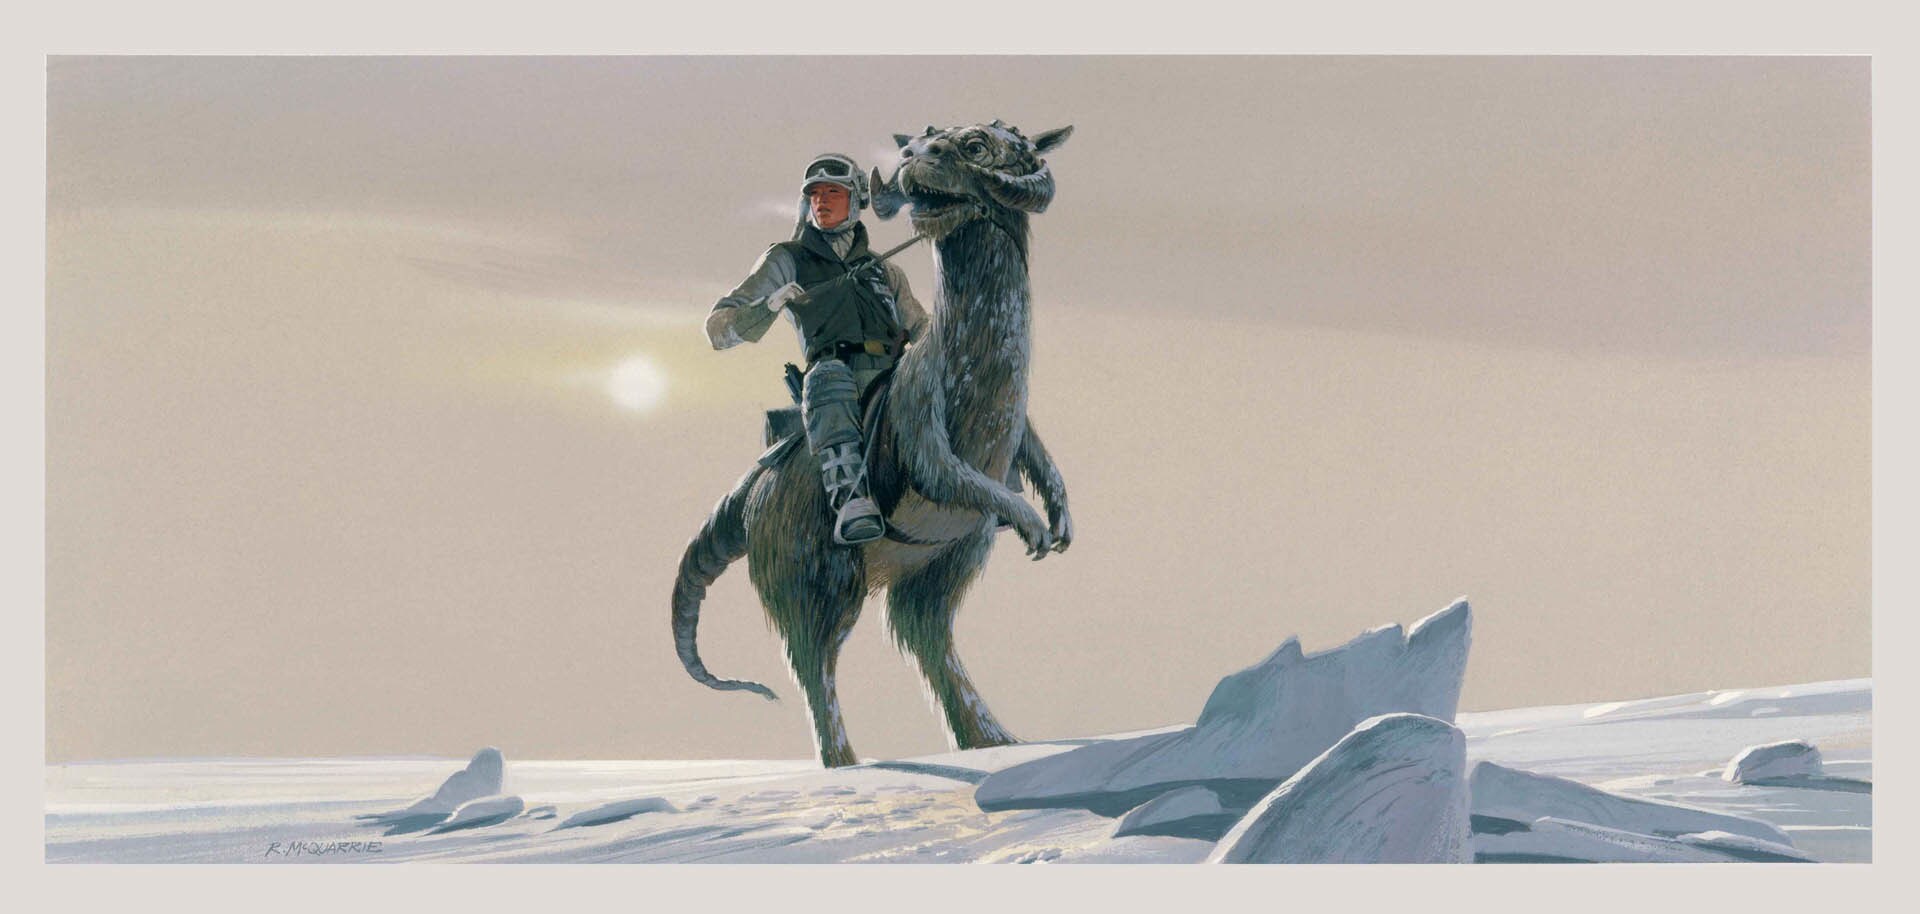
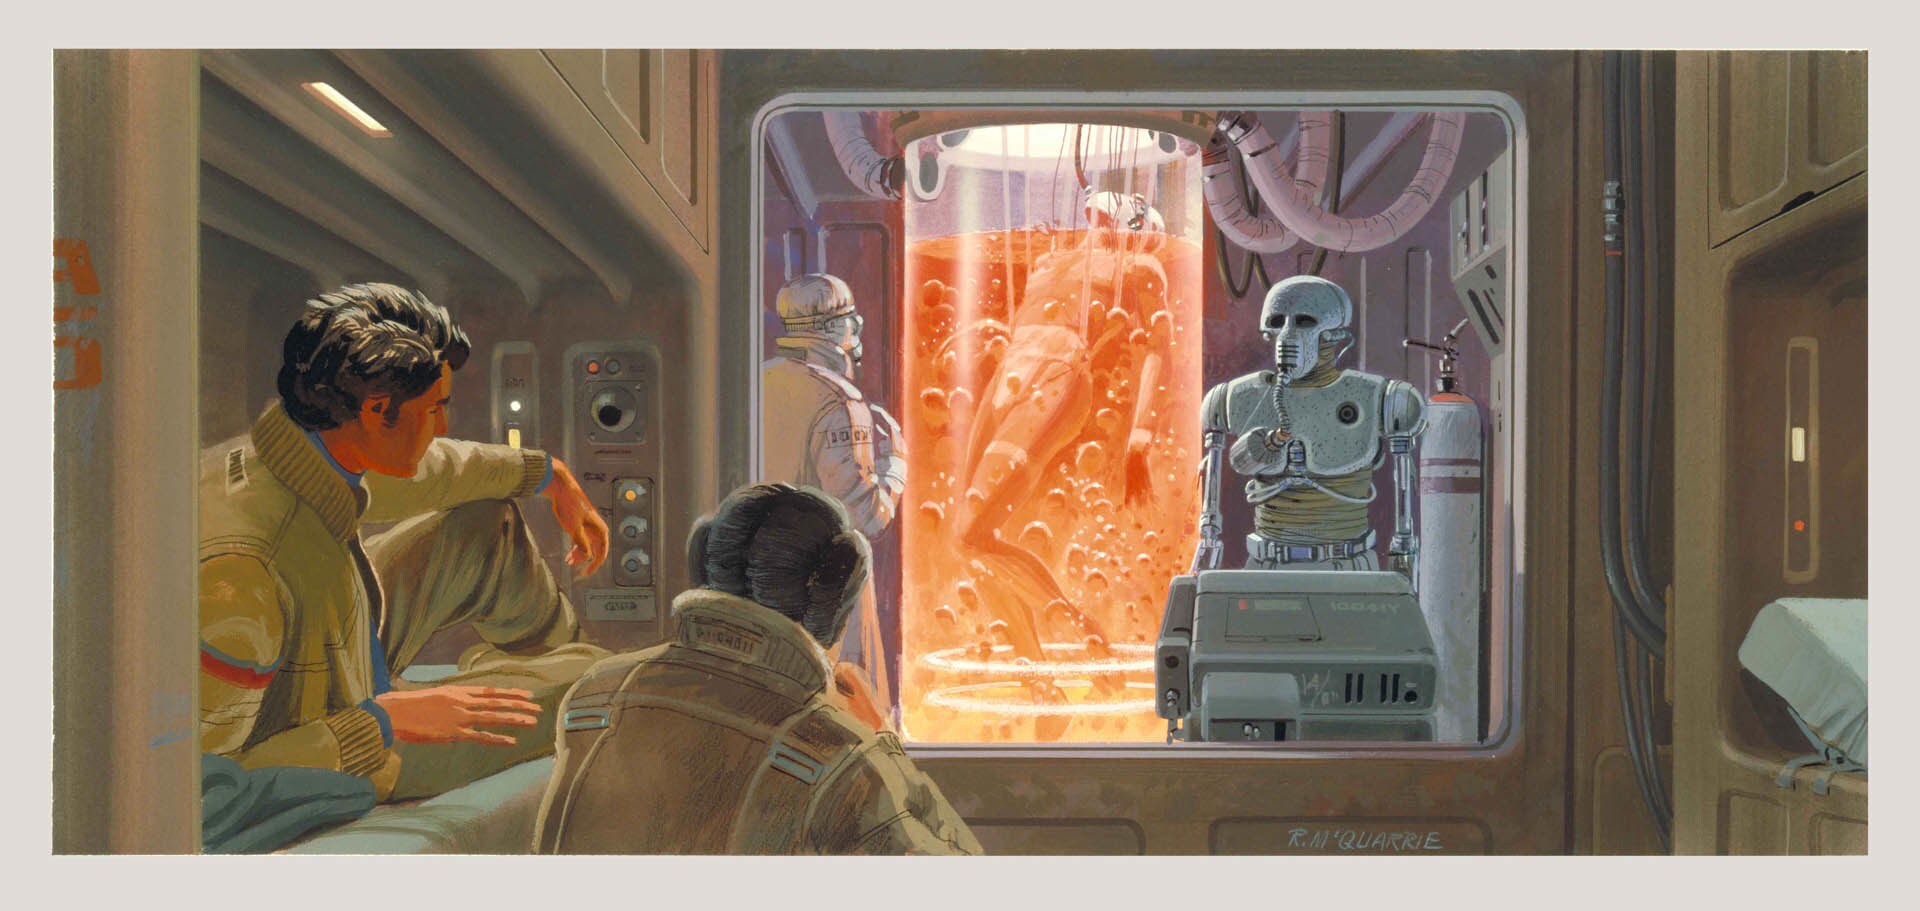
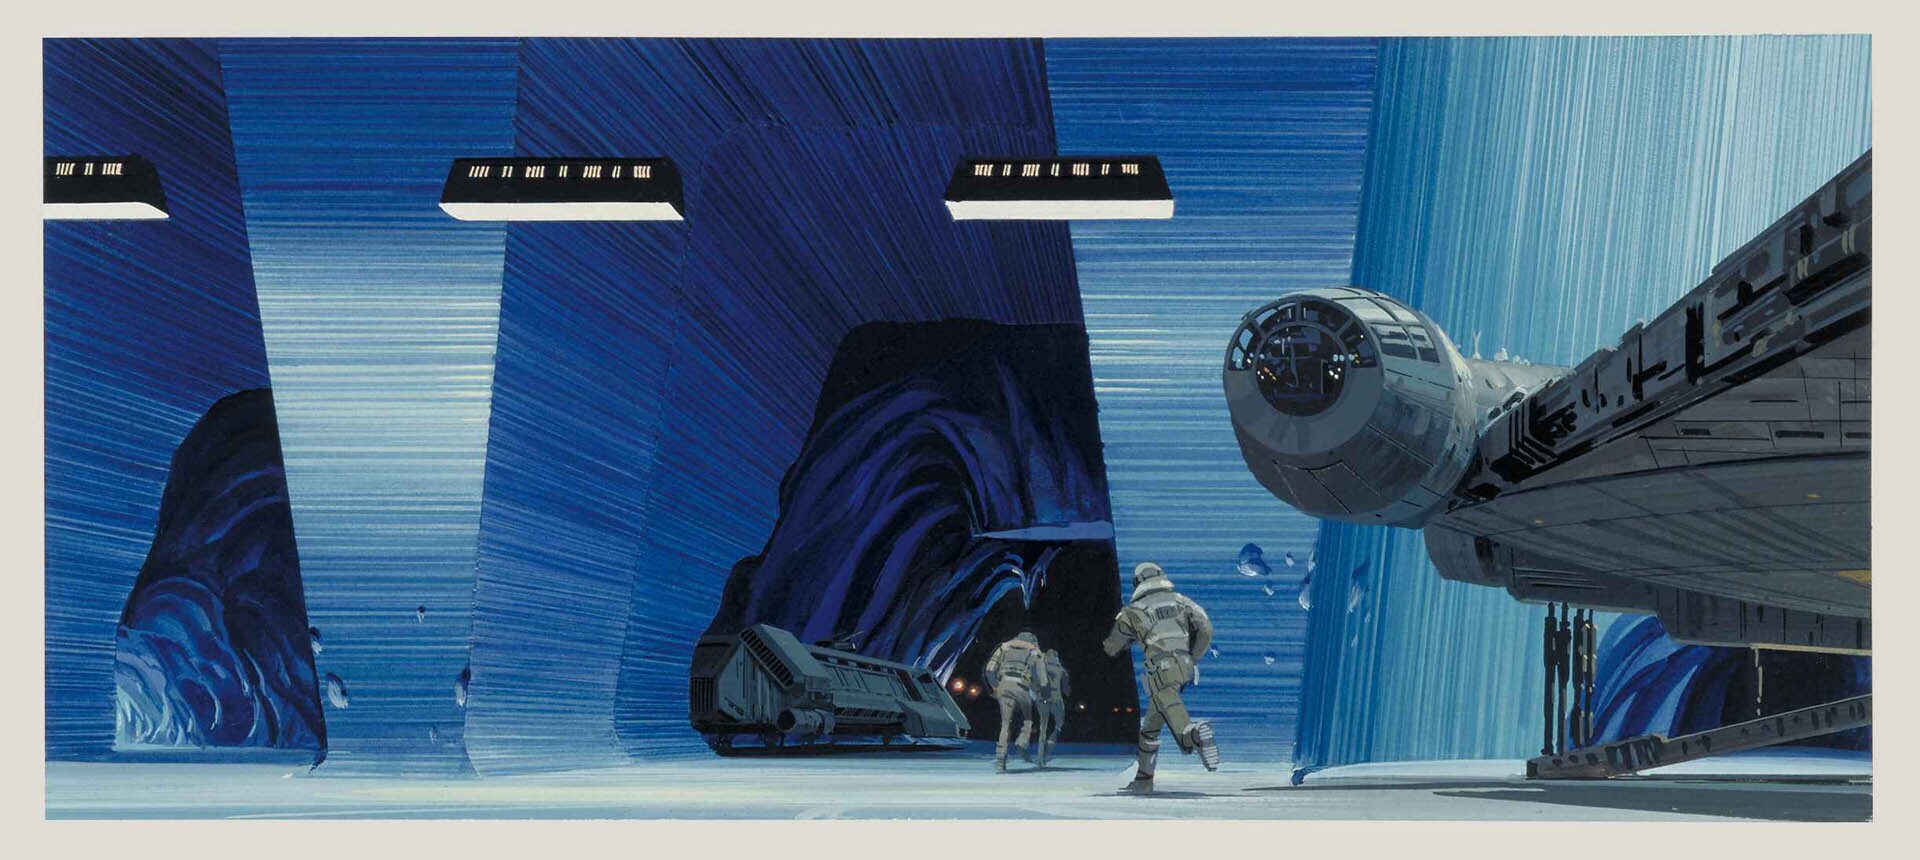
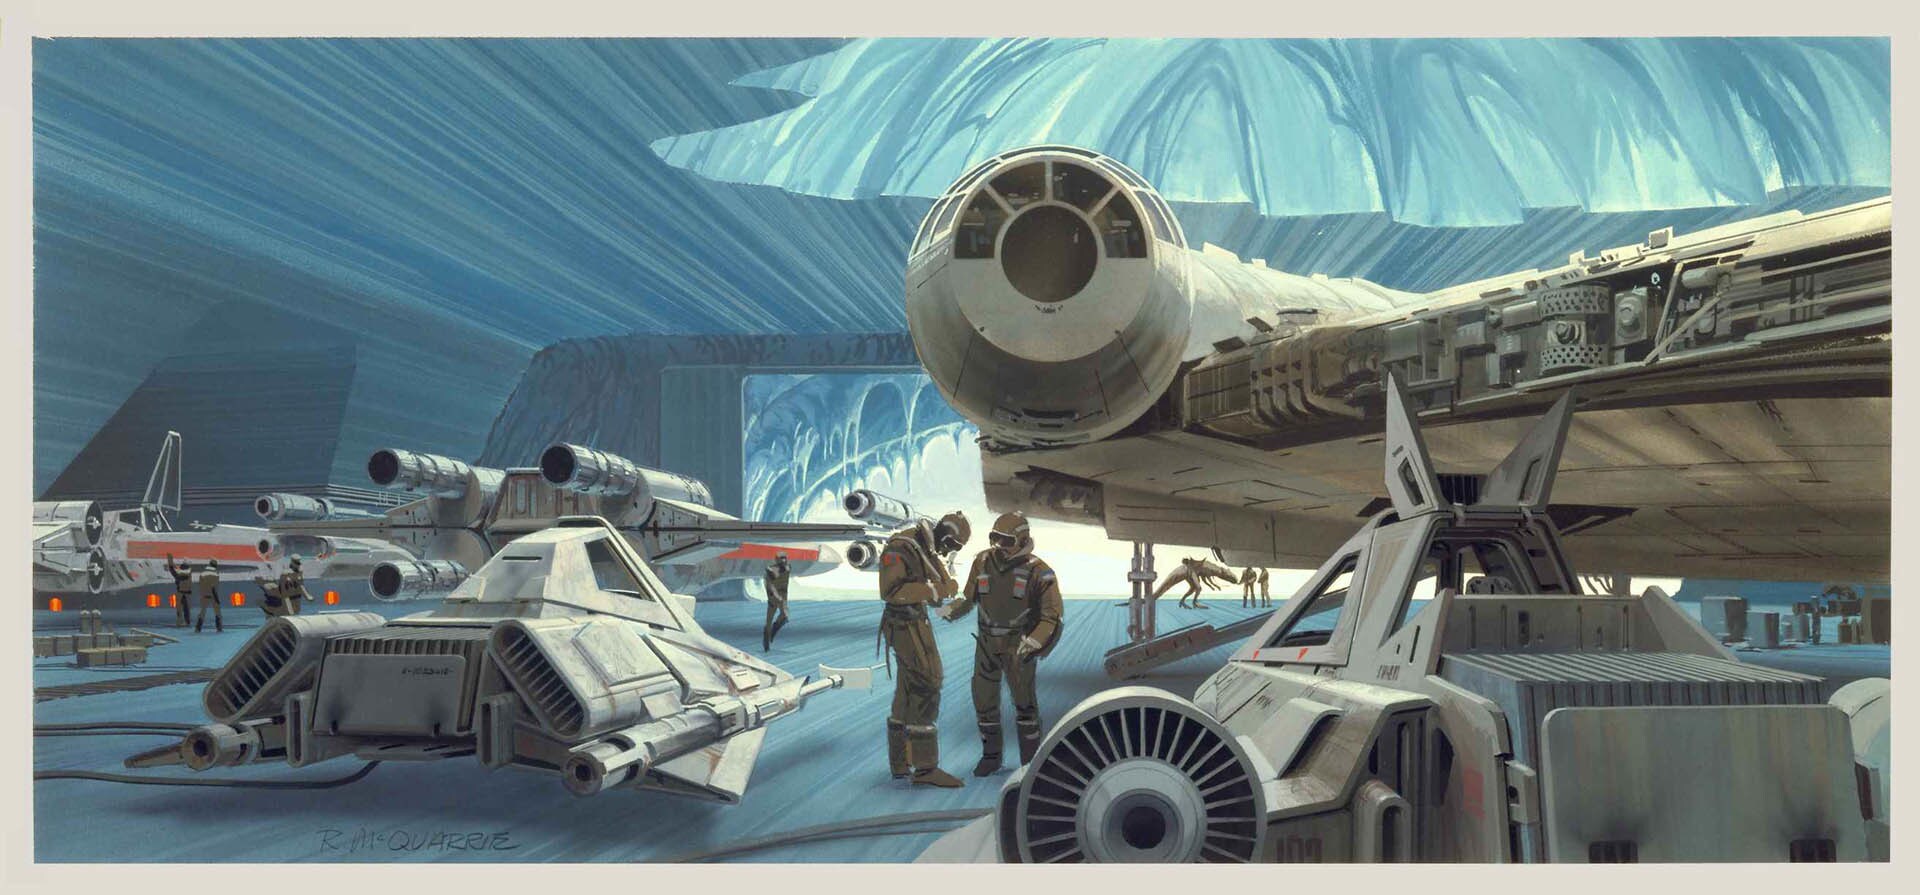
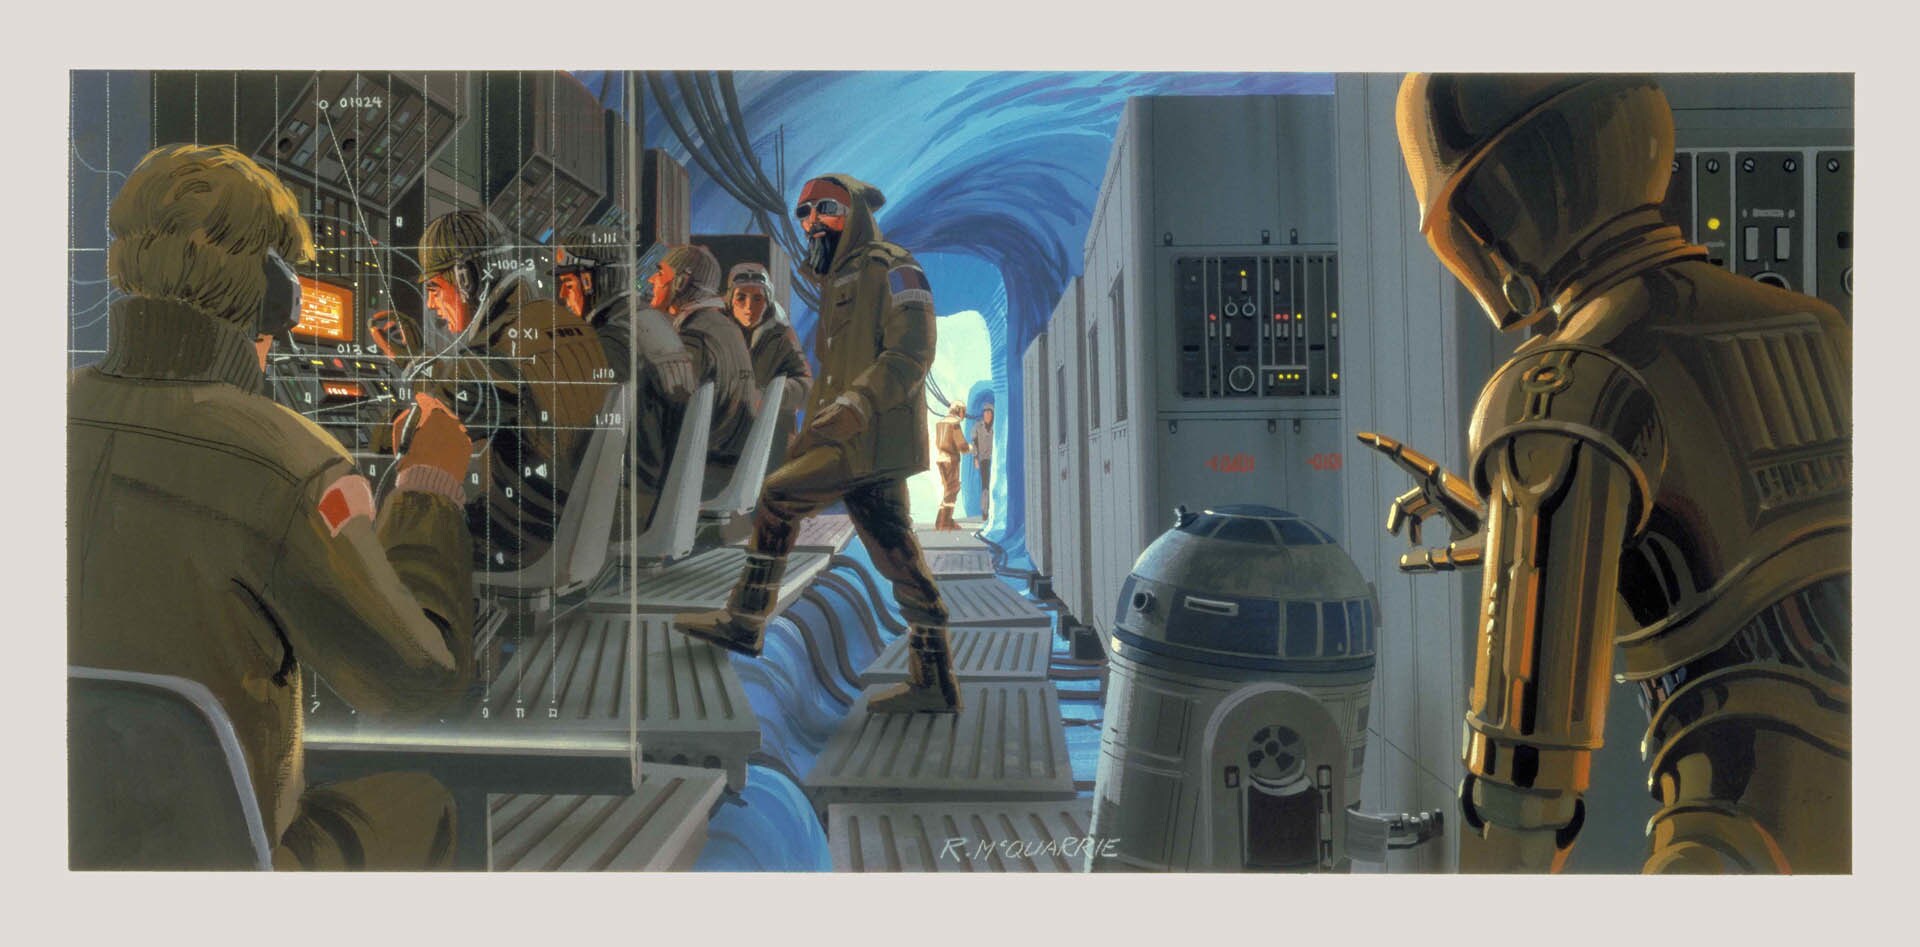
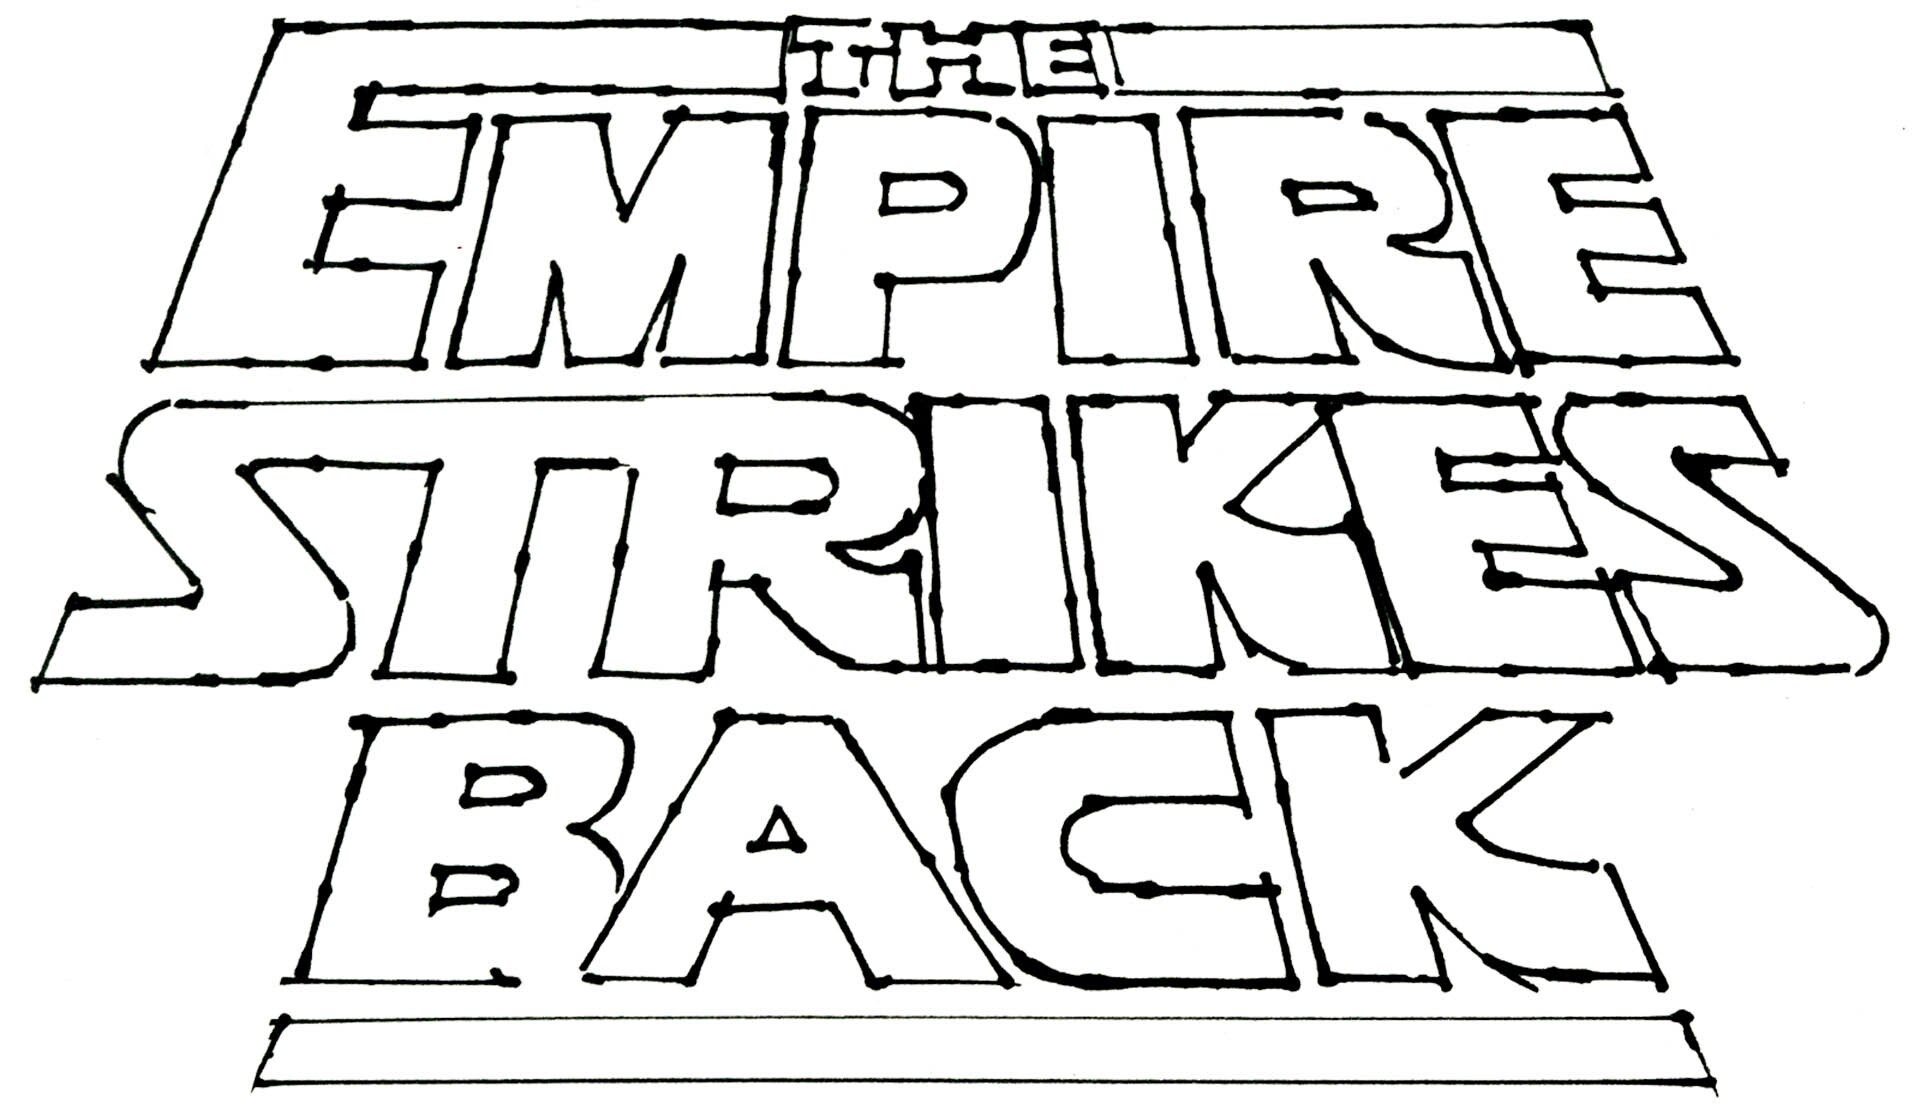
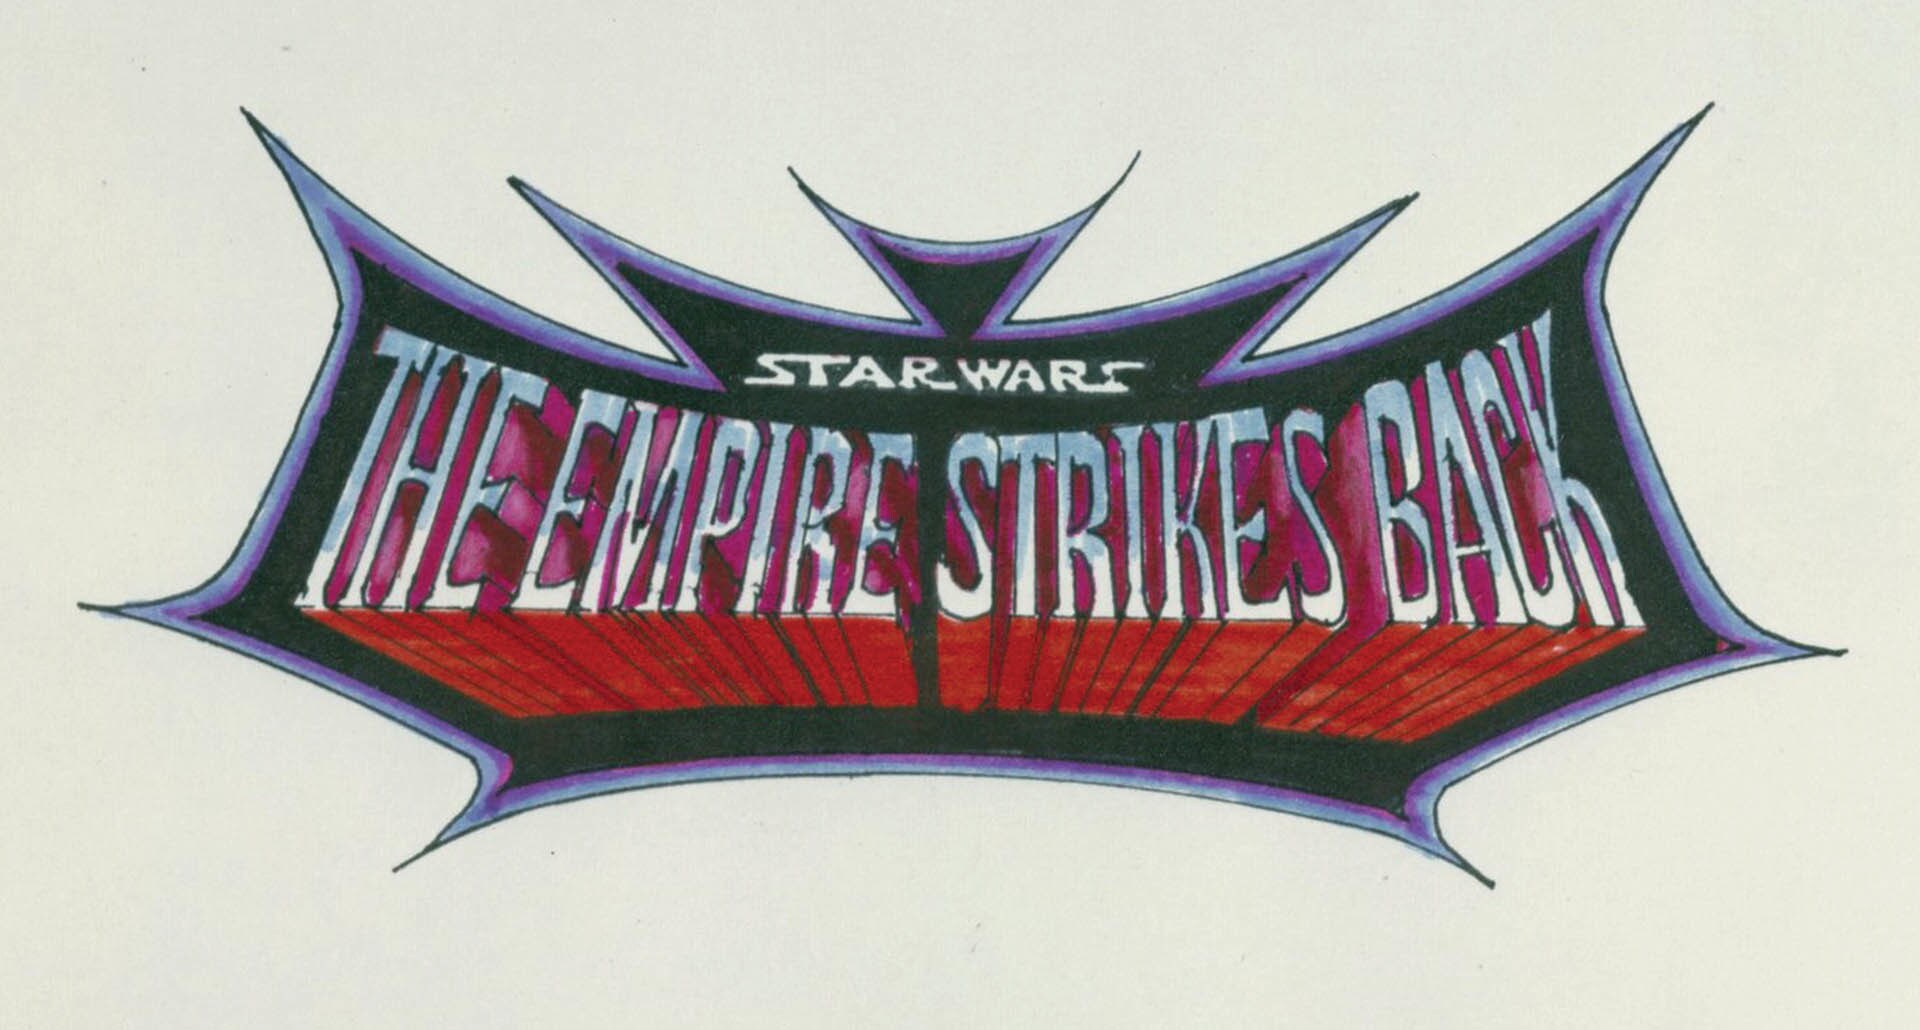
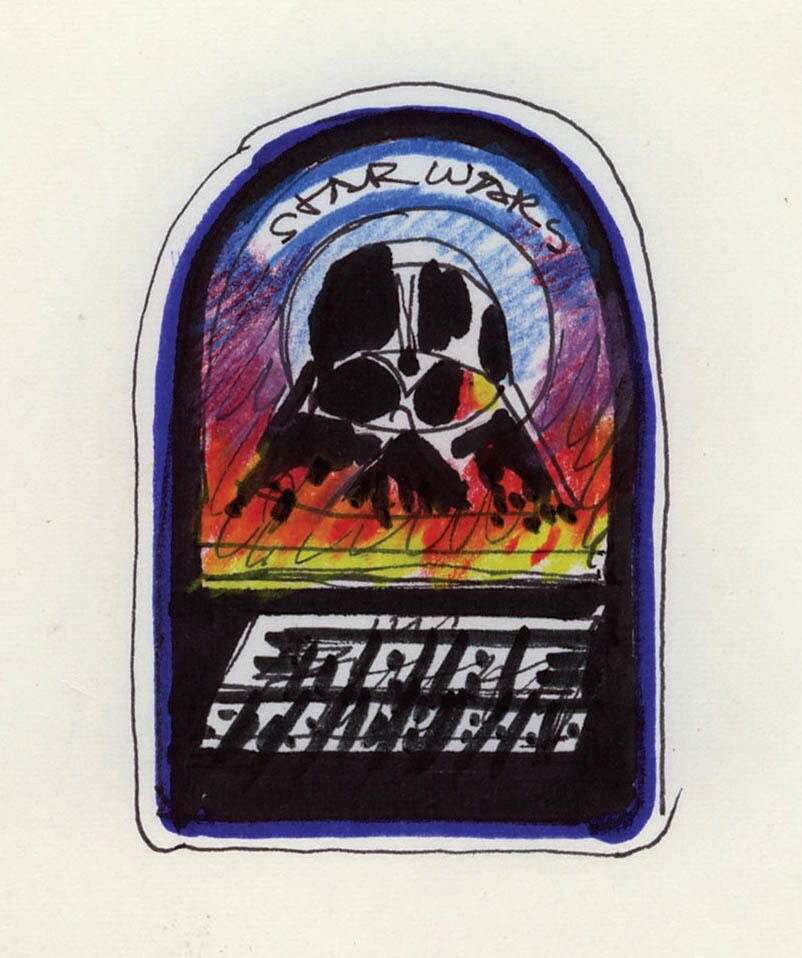
The Empire Strikes Back - Ralph McQuarrie Gallery
StarWars.com presents a selection of production artwork produced by the legendary Ralph McQuarrie for The Empire Strikes Back.
- 58 Images


The Empire Strikes Back - Ralph McQuarrie Gallery
Galleries
© 2015 Disney
The Empire Strikes Back - Story Gallery
The story of Star Wars: The Empire Strikes Back.
- 42 Images


-
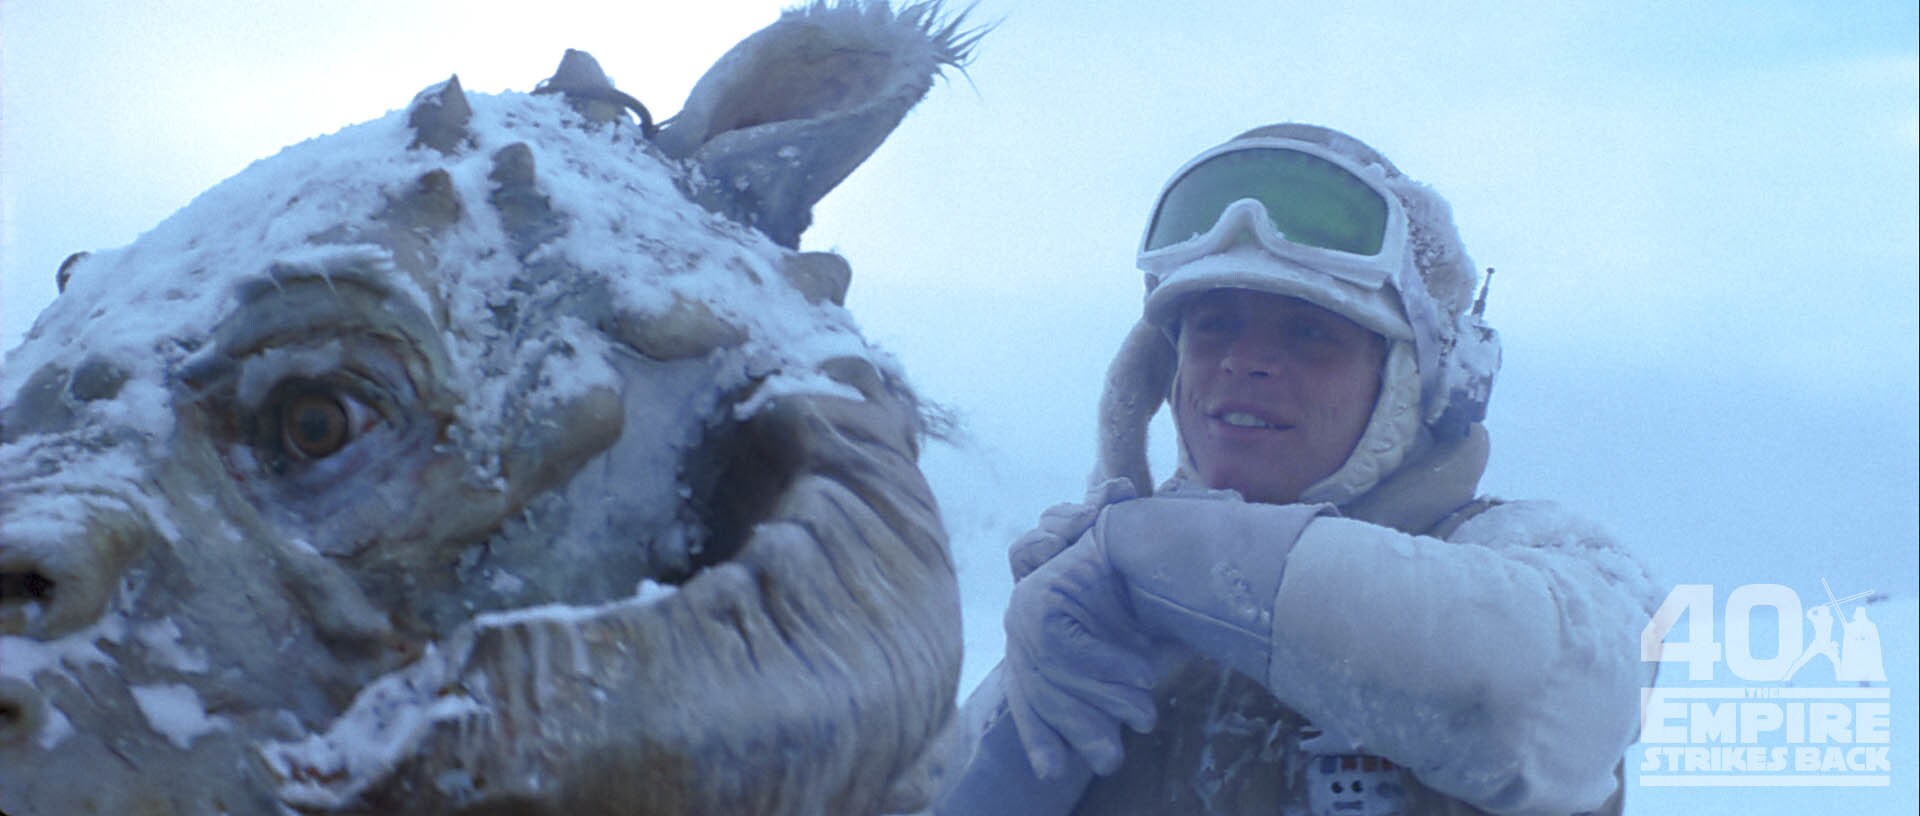
On the ice planet of Hoth, Luke Skywalker patrols the landscape on his tauntaun searching for any signs of life on the barren planet.
-
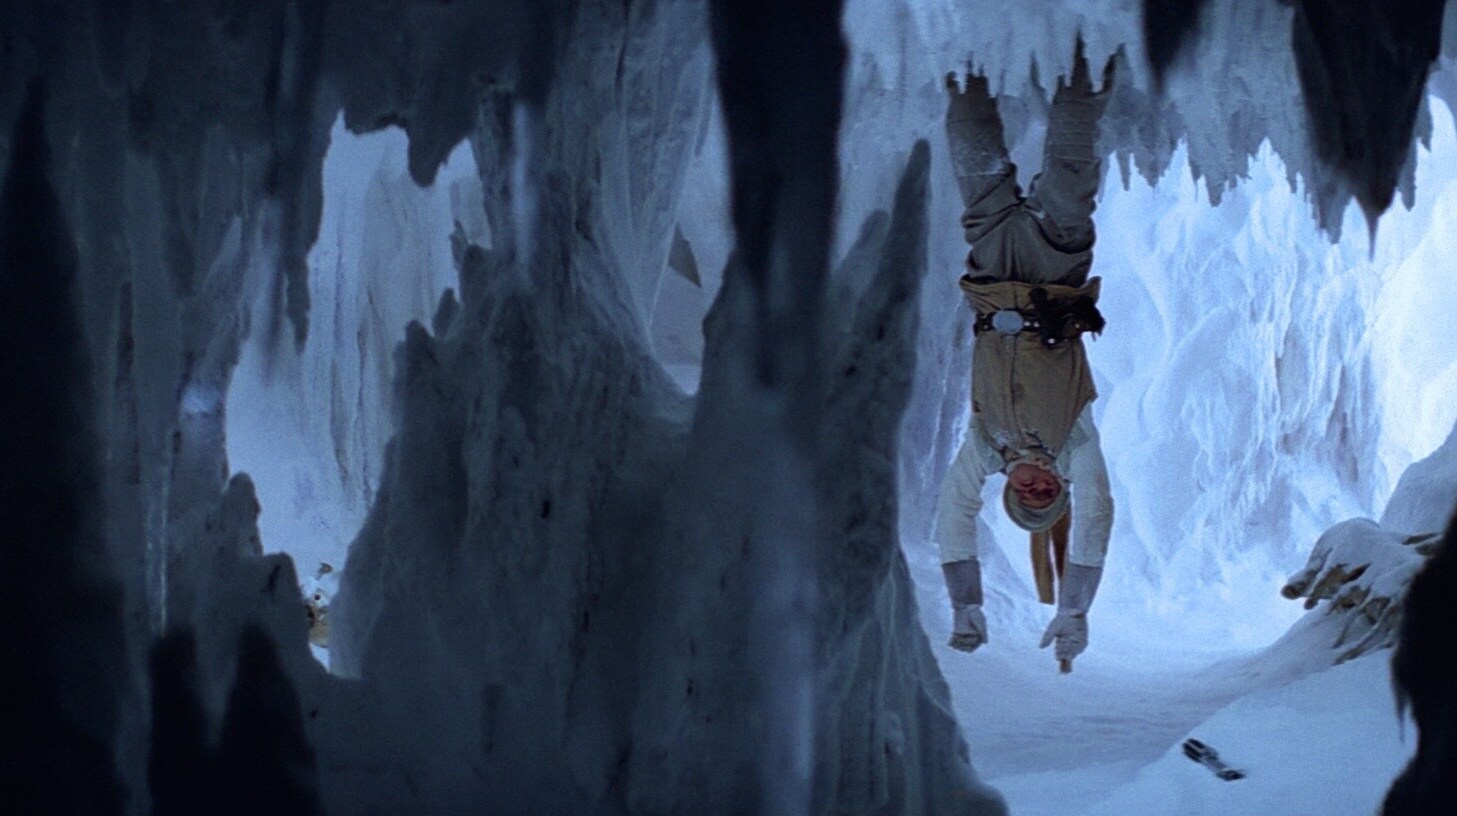
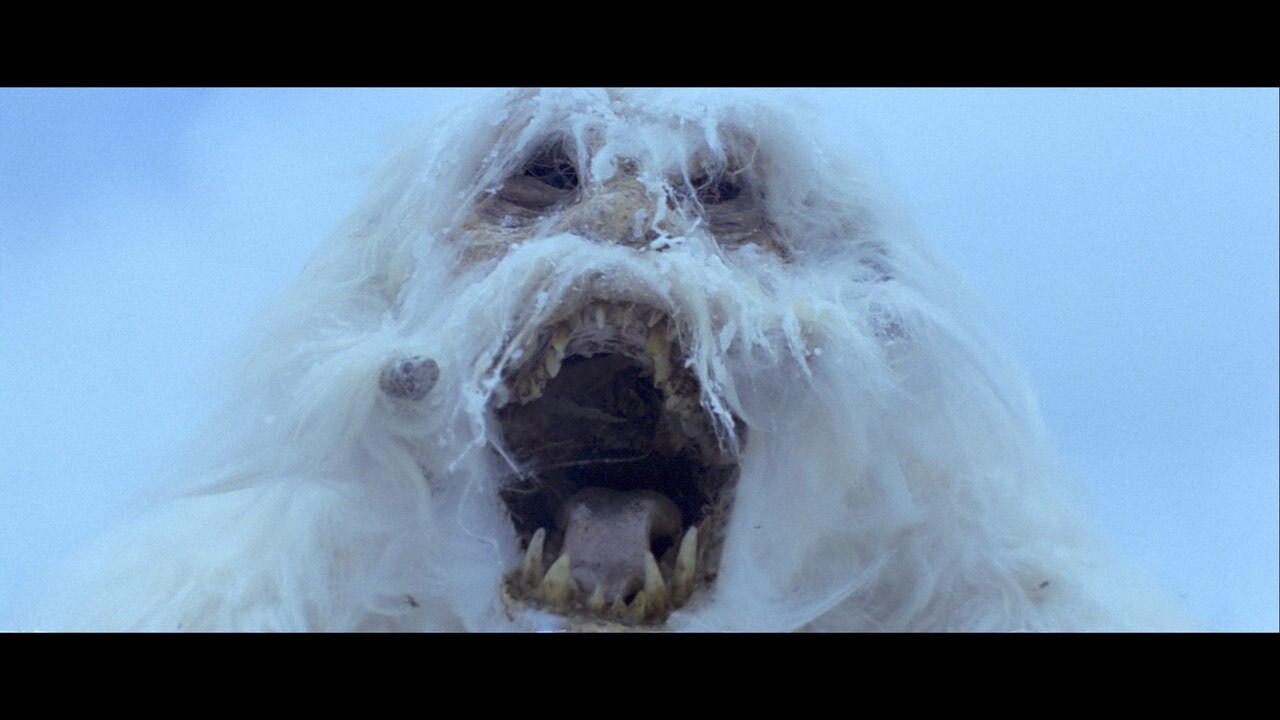
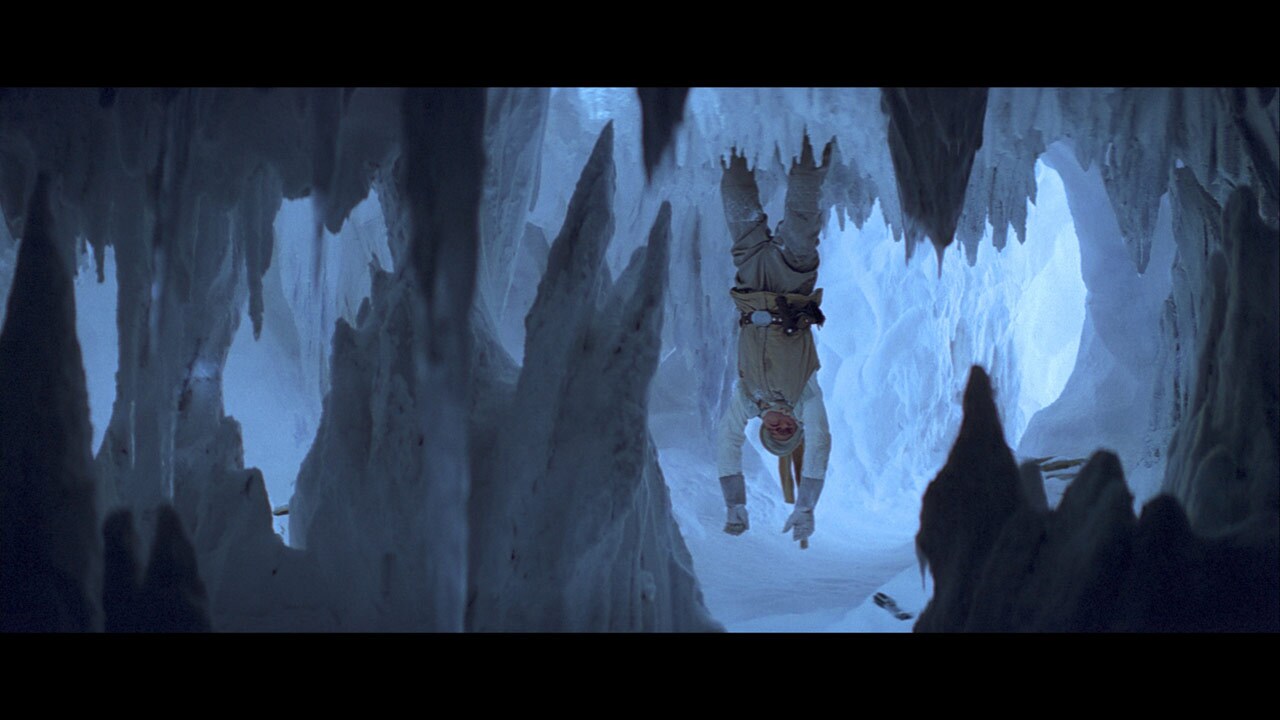
While on patrol, Luke is attacked by a wampa -- a large fur-covered beast -- which knocks Luke unconscious and kills his tauntaun. The wampa drags Luke back to its cave.
-
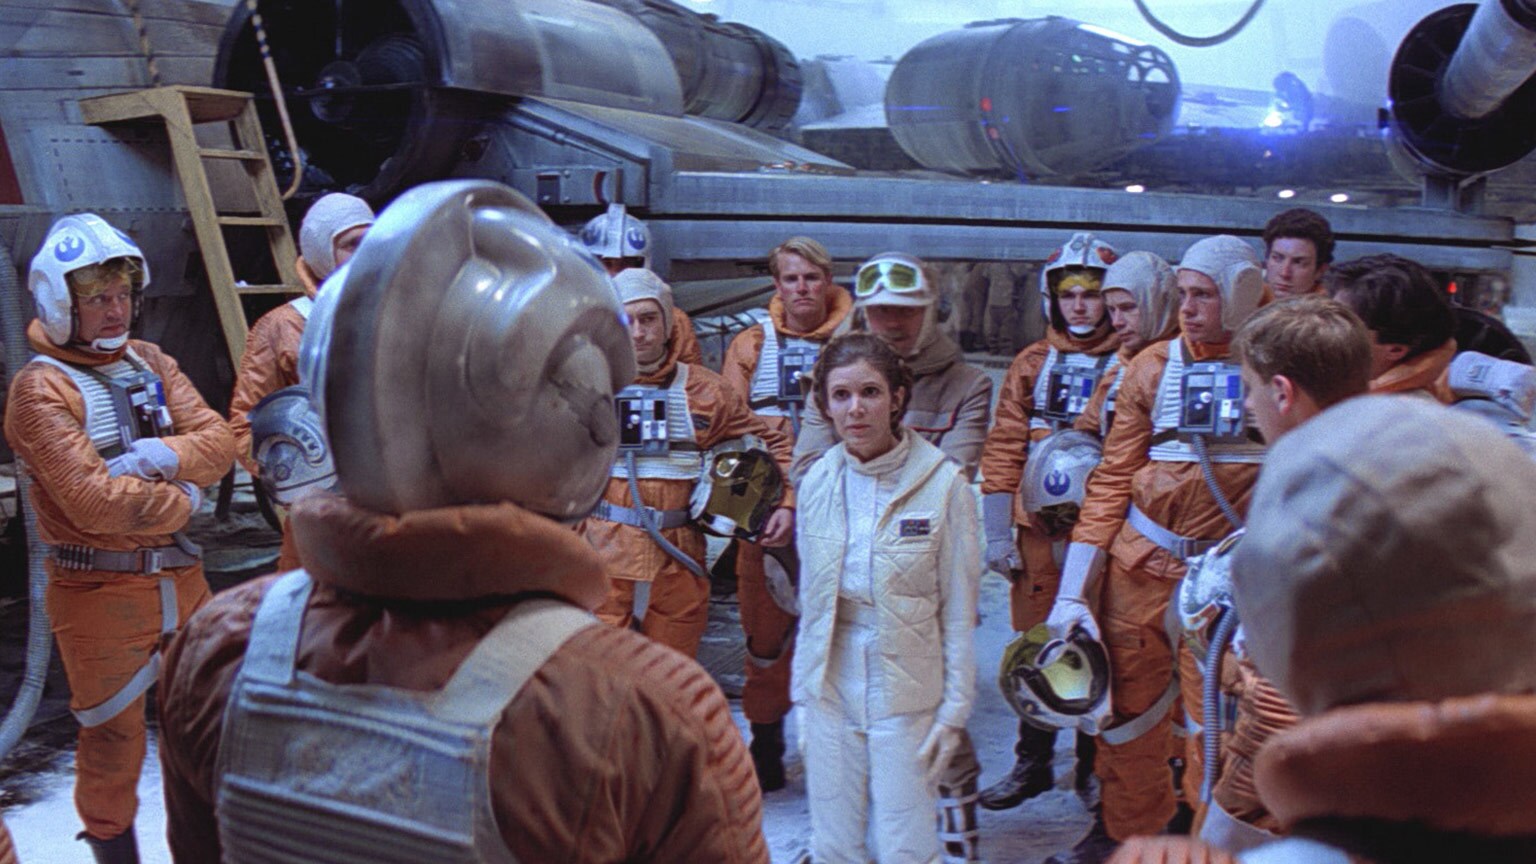
At the Rebels' secret Echo Base, Princess Leia is informed that Luke has not reported in from his patrol. Han Solo decides to risk the elements outside and look for Luke.
-
In the wampa cave, Luke comes to and attacks the beast with his lightsaber, shearing off its arm. Luke runs outside the cave into a howling blizzard.
-
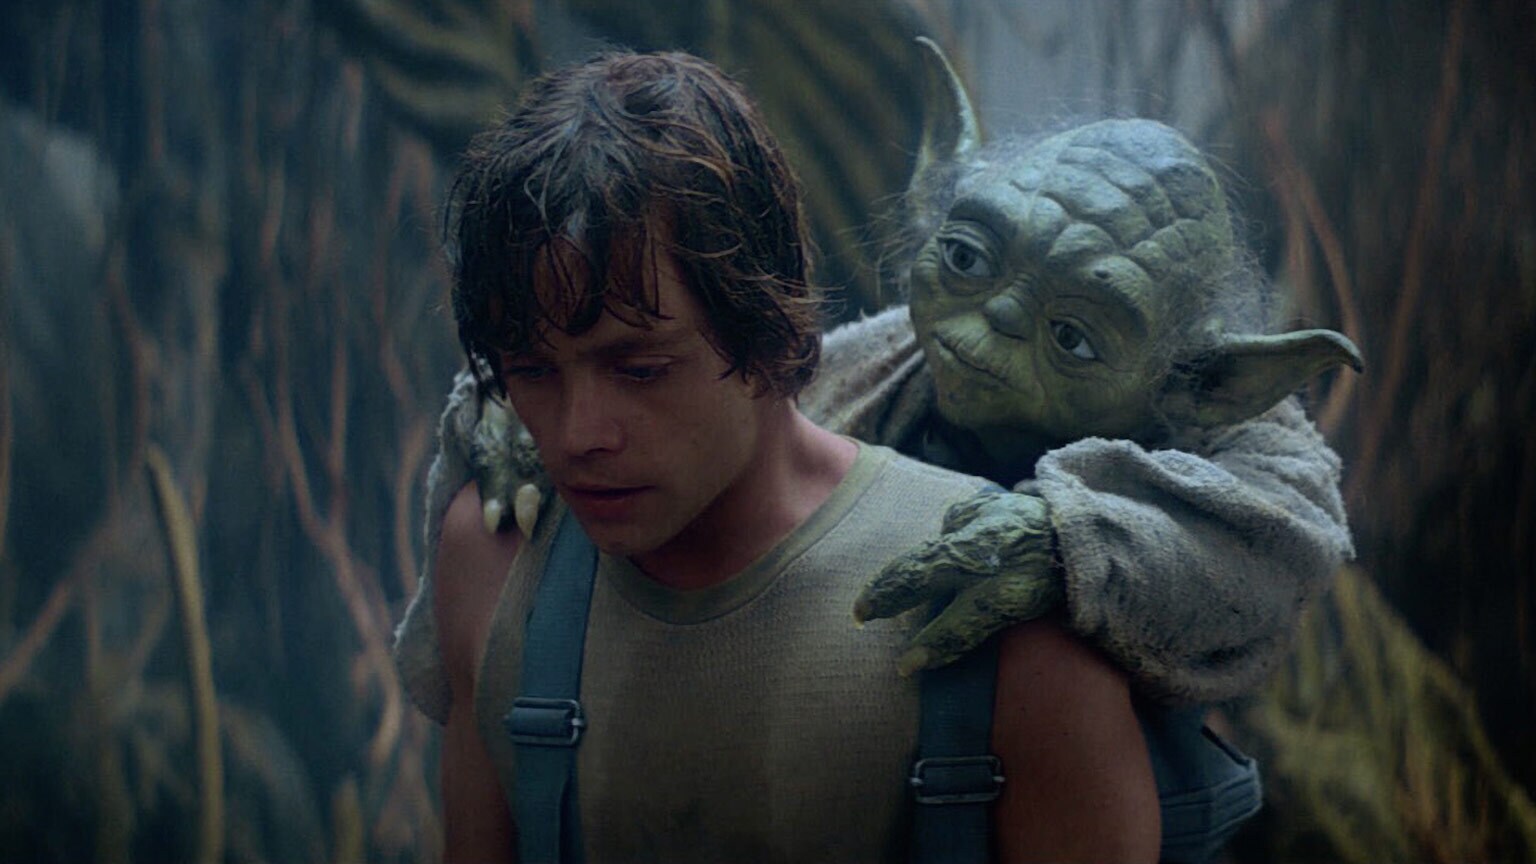
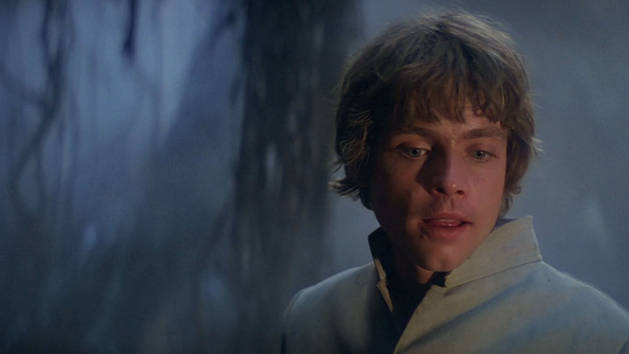
The wind and cold bearing down on him, Luke has a vision of Obi-Wan Kenobi. The Jedi spirit tells Luke to go to the Dagobah system to seek out Yoda, the Jedi Master who instructed him.
-
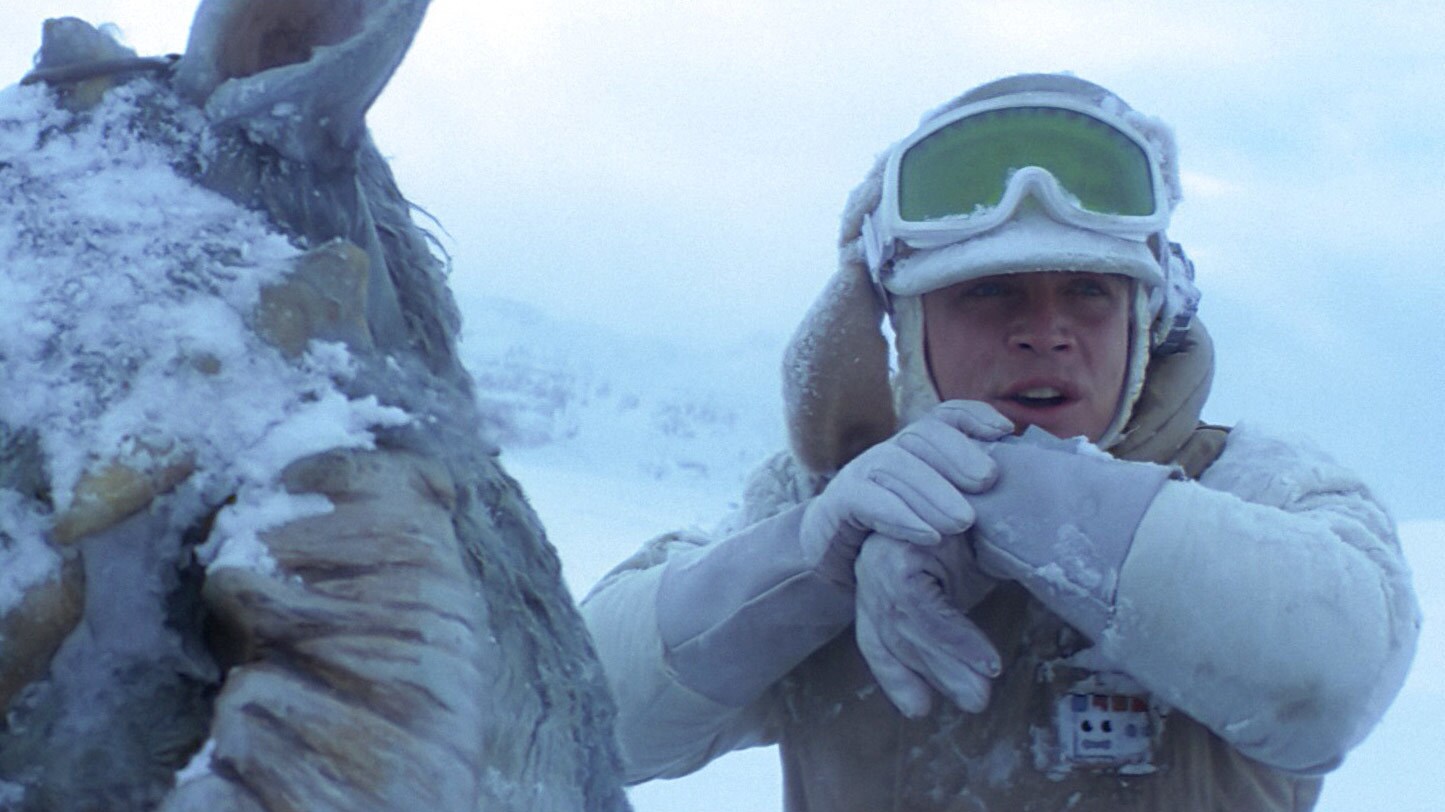
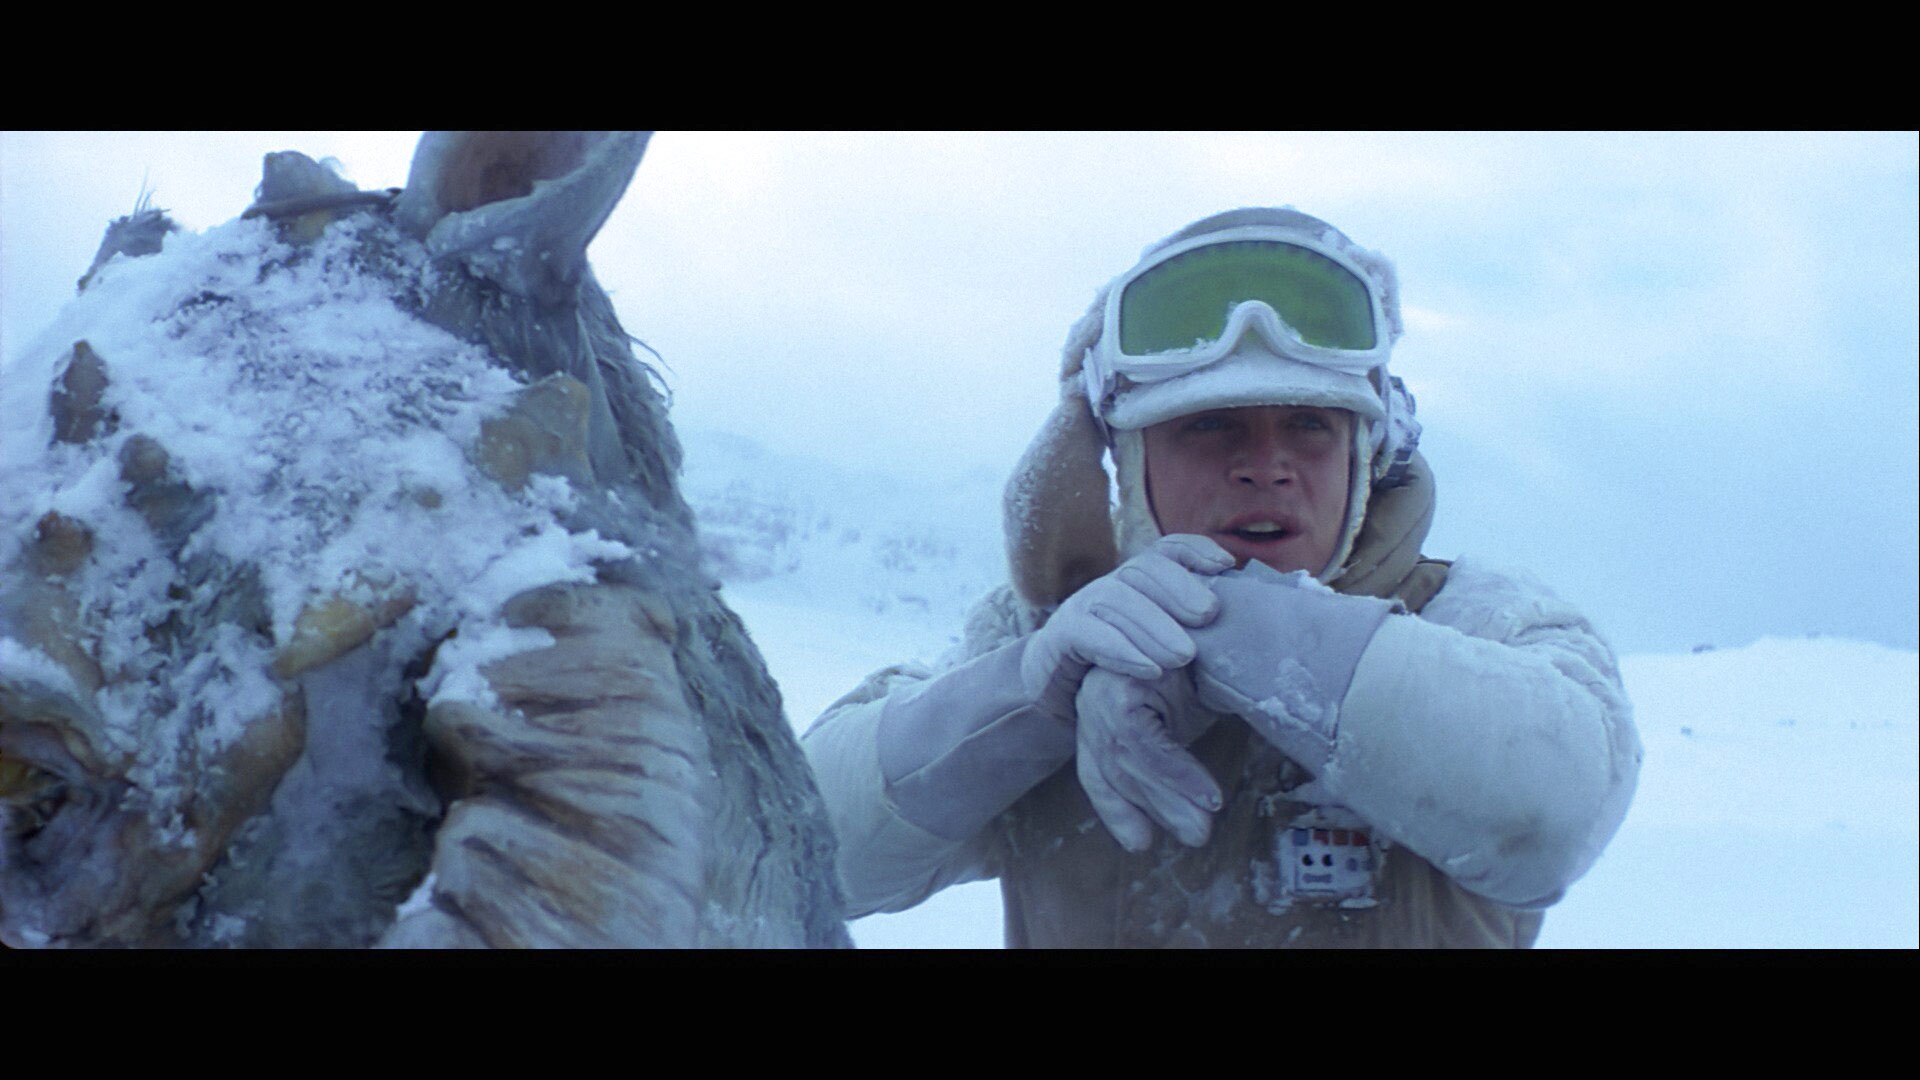
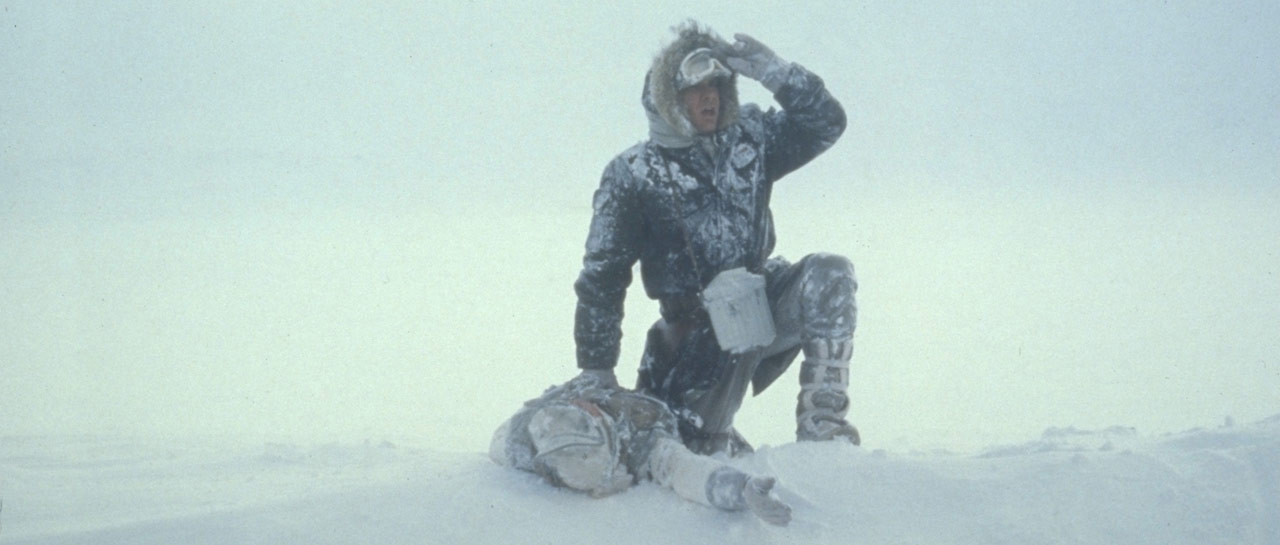
Han finally locates Luke, who is suffering from the wampa attack and the extreme cold. After his own tauntaun succumbs to the freezing wind, Han uses Luke's lightsaber to cut open the animal's carcass to keep Luke warm until he can get a shelter built.
-
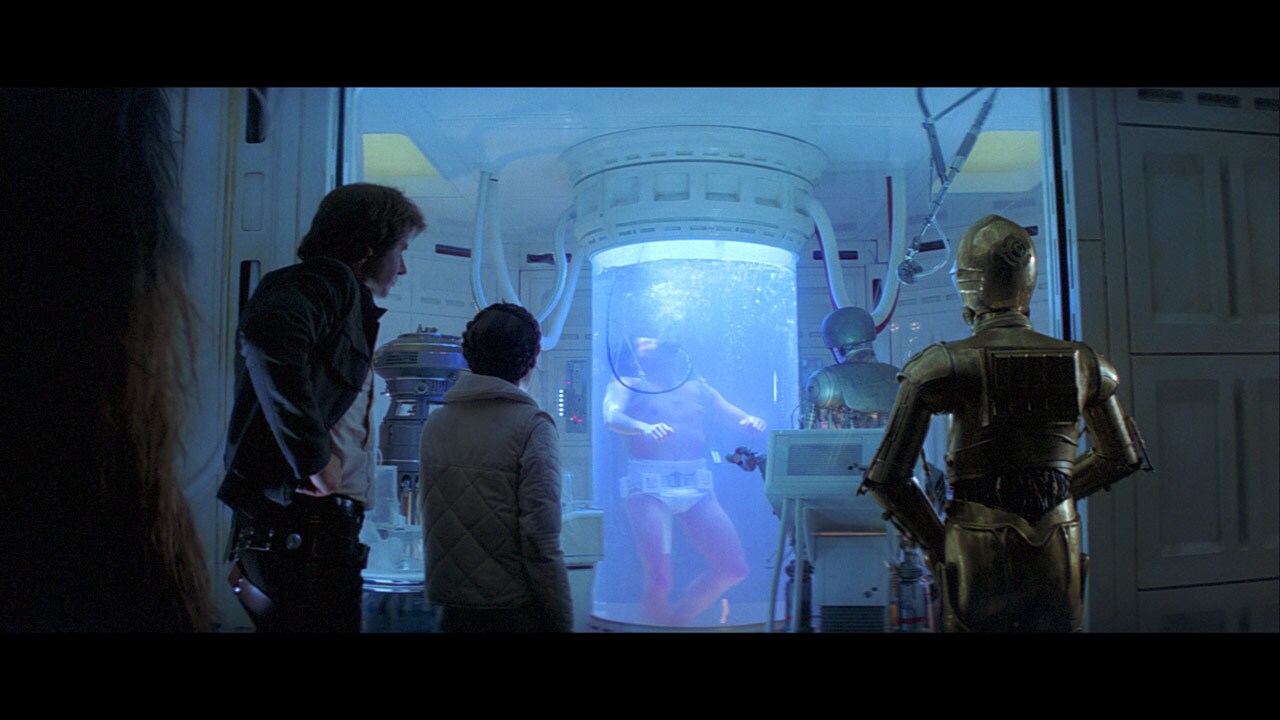
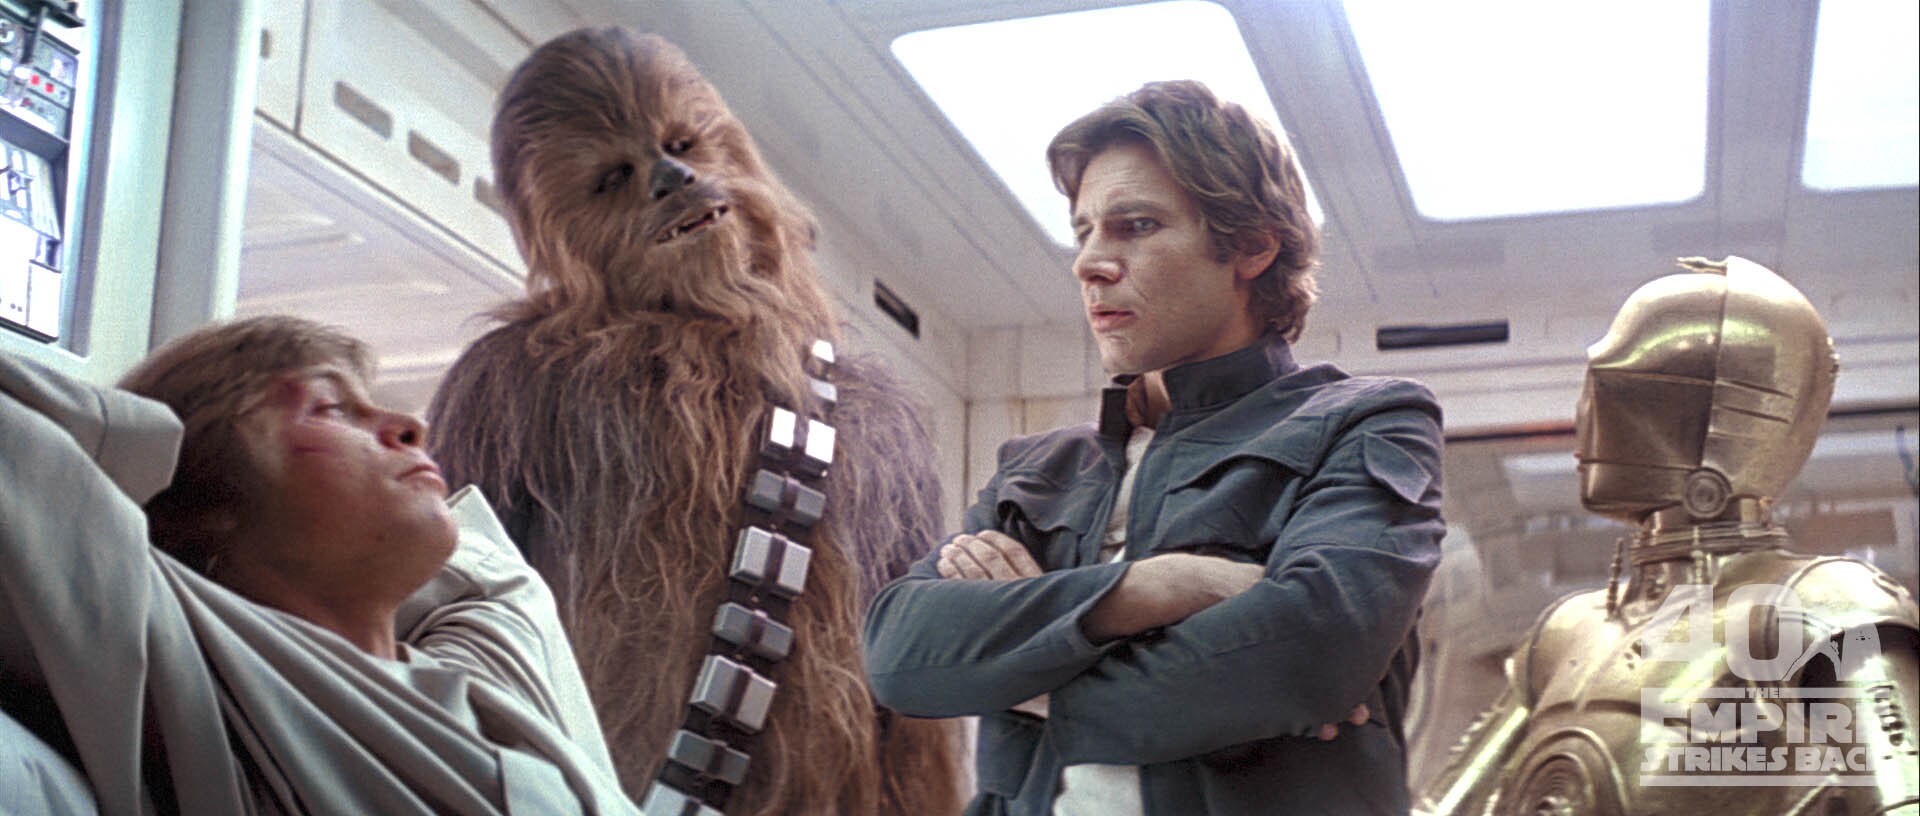
Rescued by a Rebel patrol the next morning, Luke recovers from his wounds in a bacta tank at Echo Base.
-
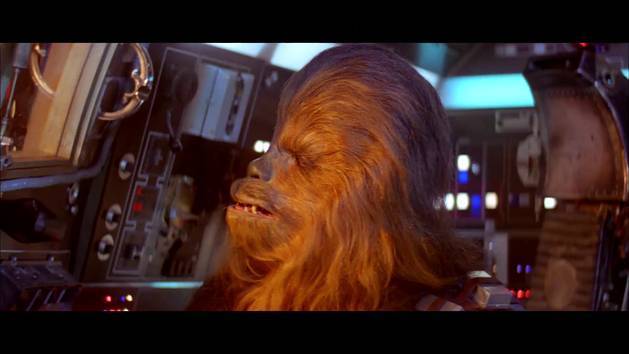
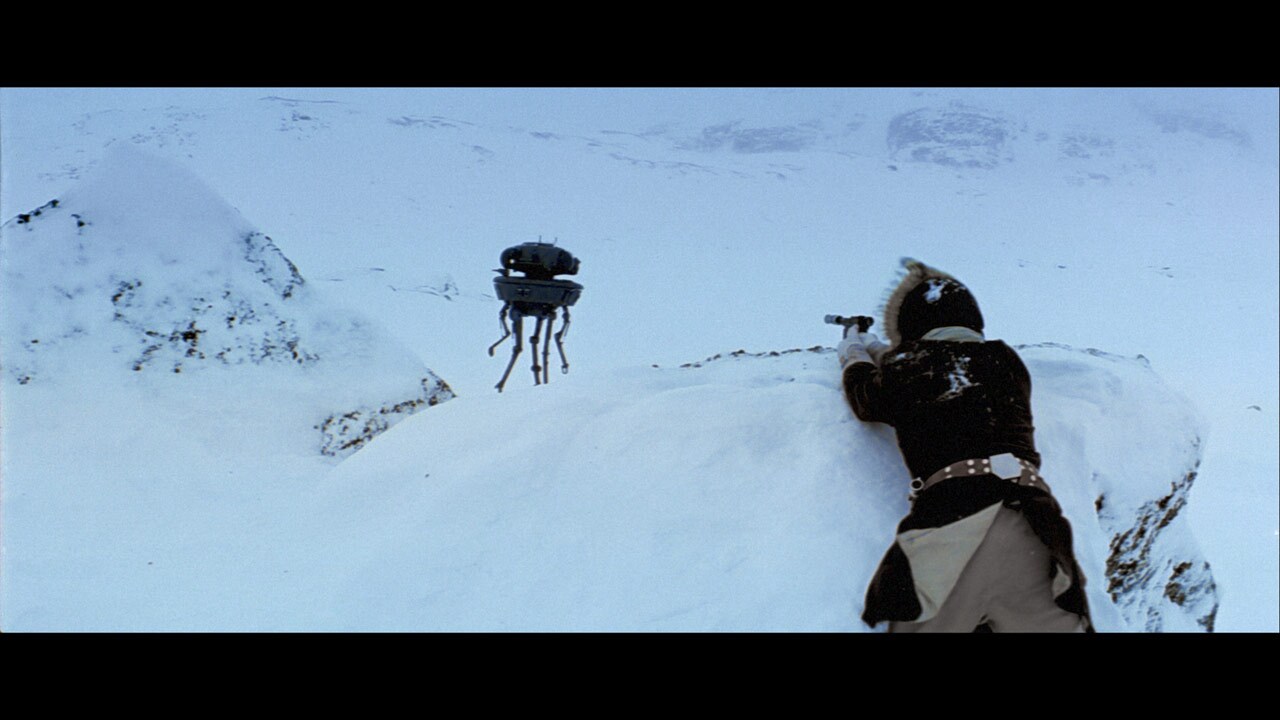
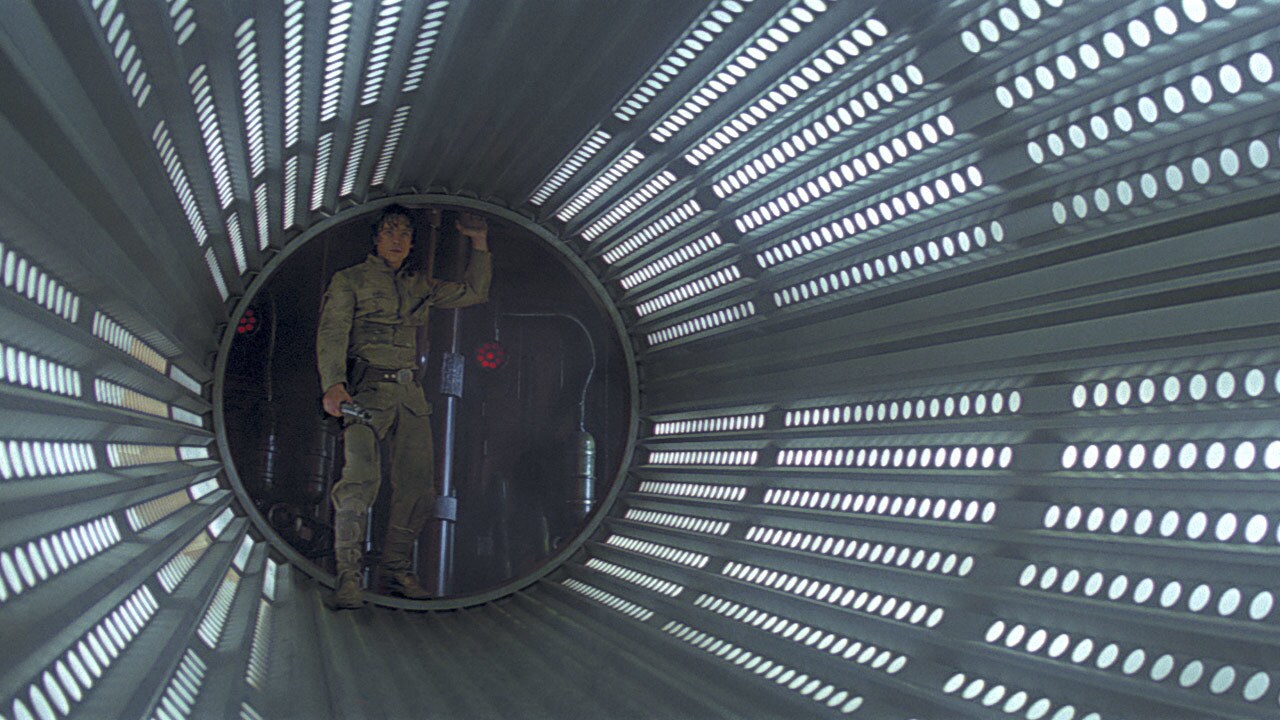
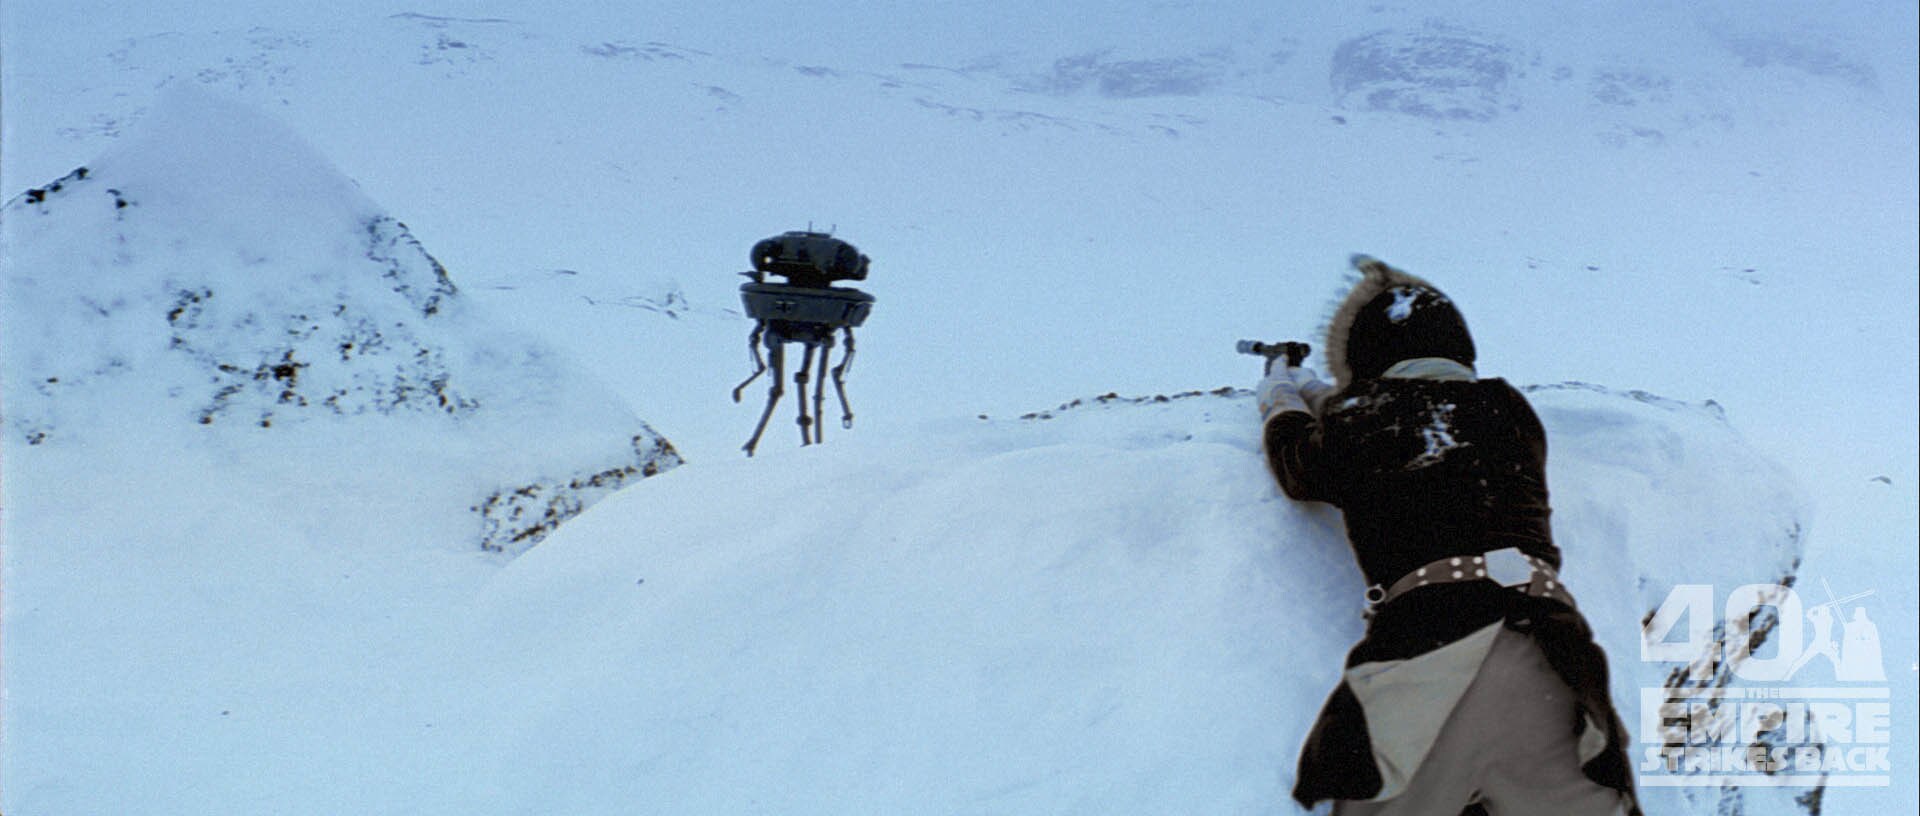
As Luke recovers, an Imperial probe droid is discovered in the vicinity of the Rebel base. Han and Chewbacca go out to investigate.
-
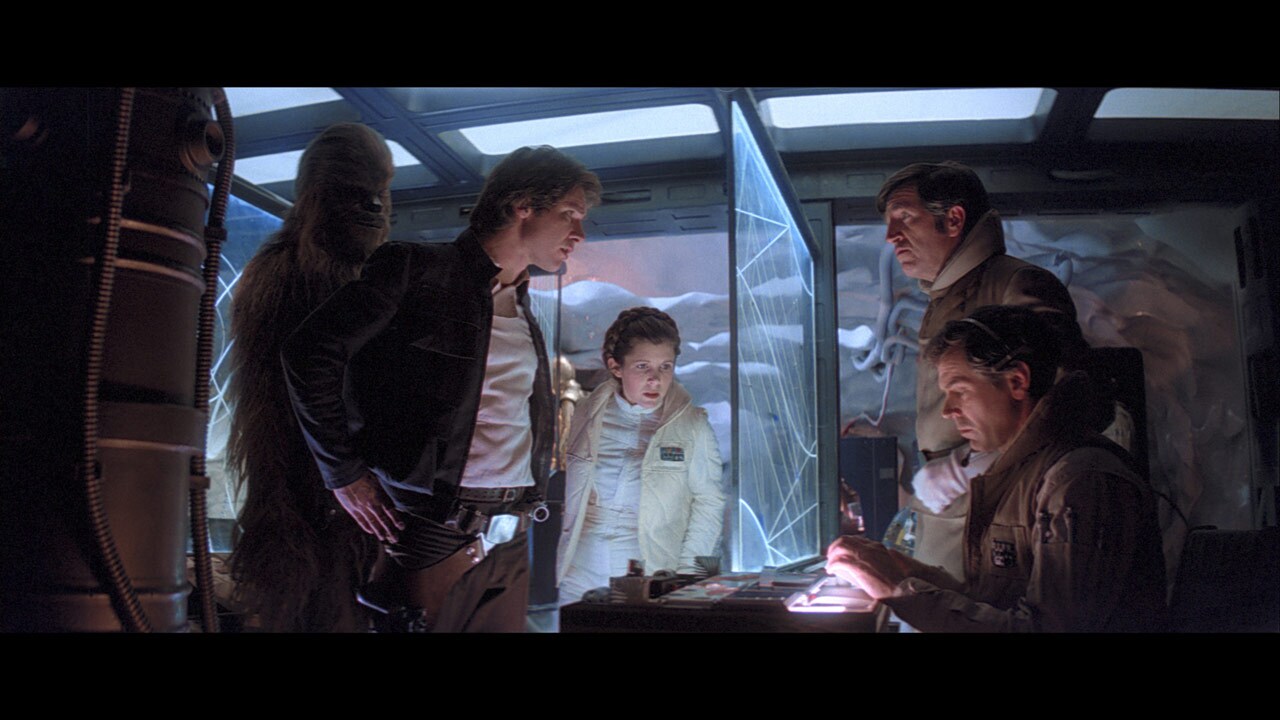
Han fires on the probe droid, which self destructs upon detection. He concludes the Empire will now know the Rebels are on Hoth. Princess Leia orders the base to prepare for an immediate evacuation.
-
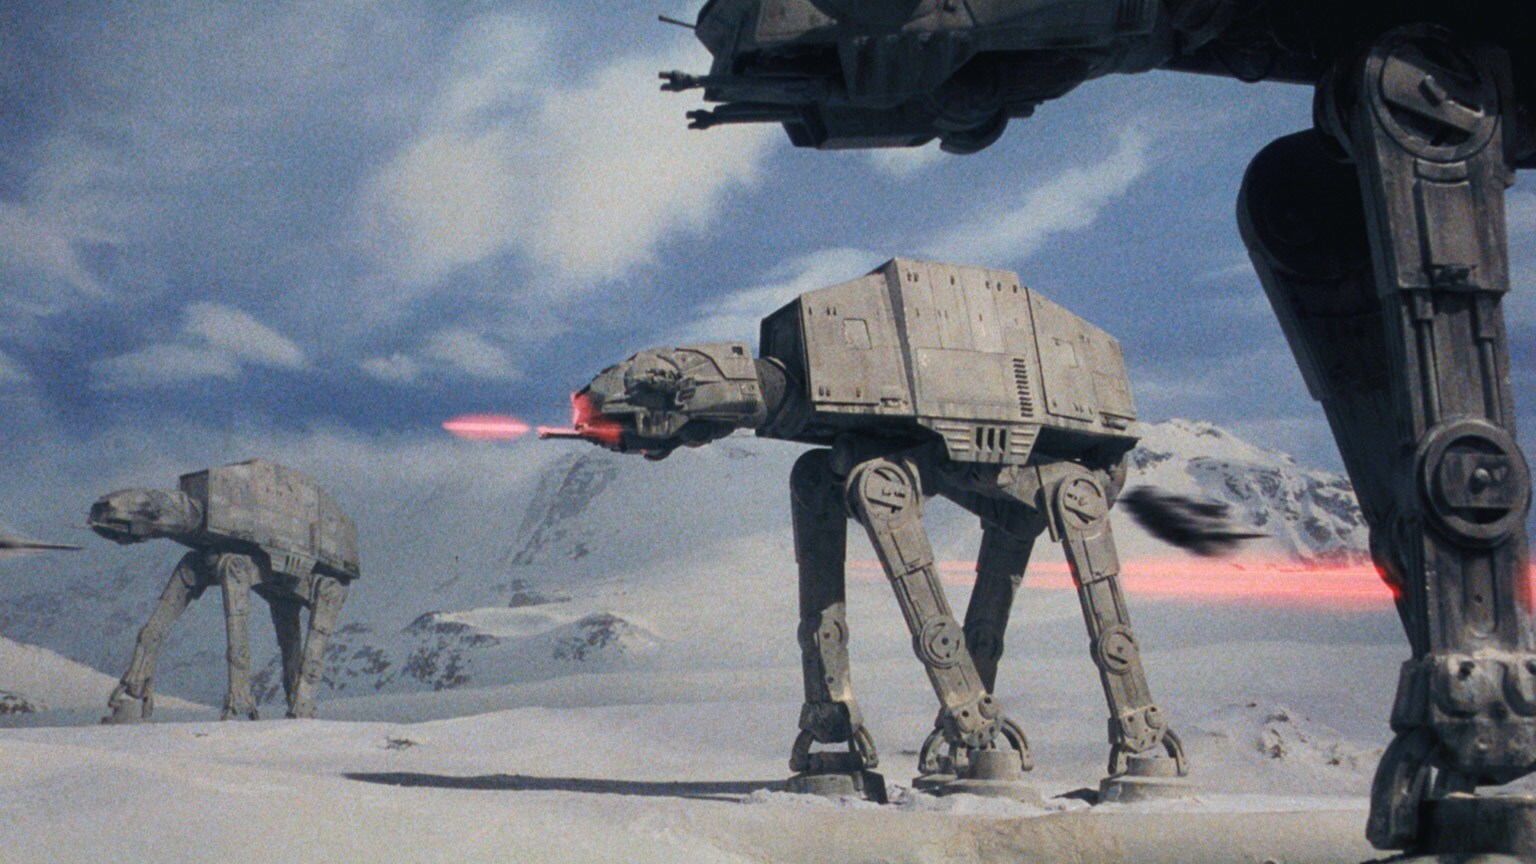
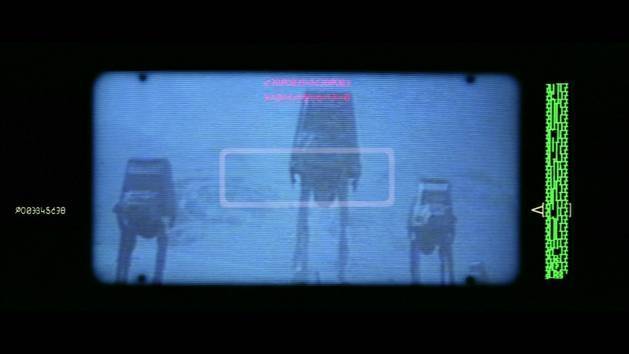
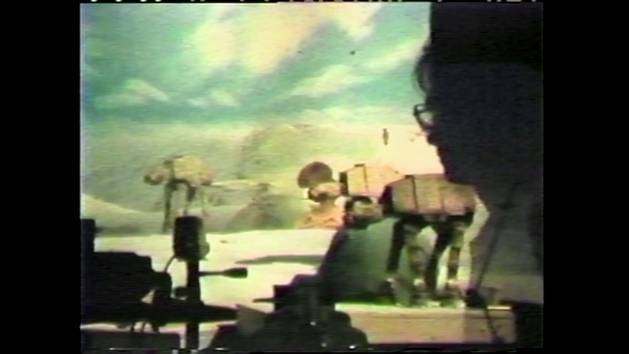
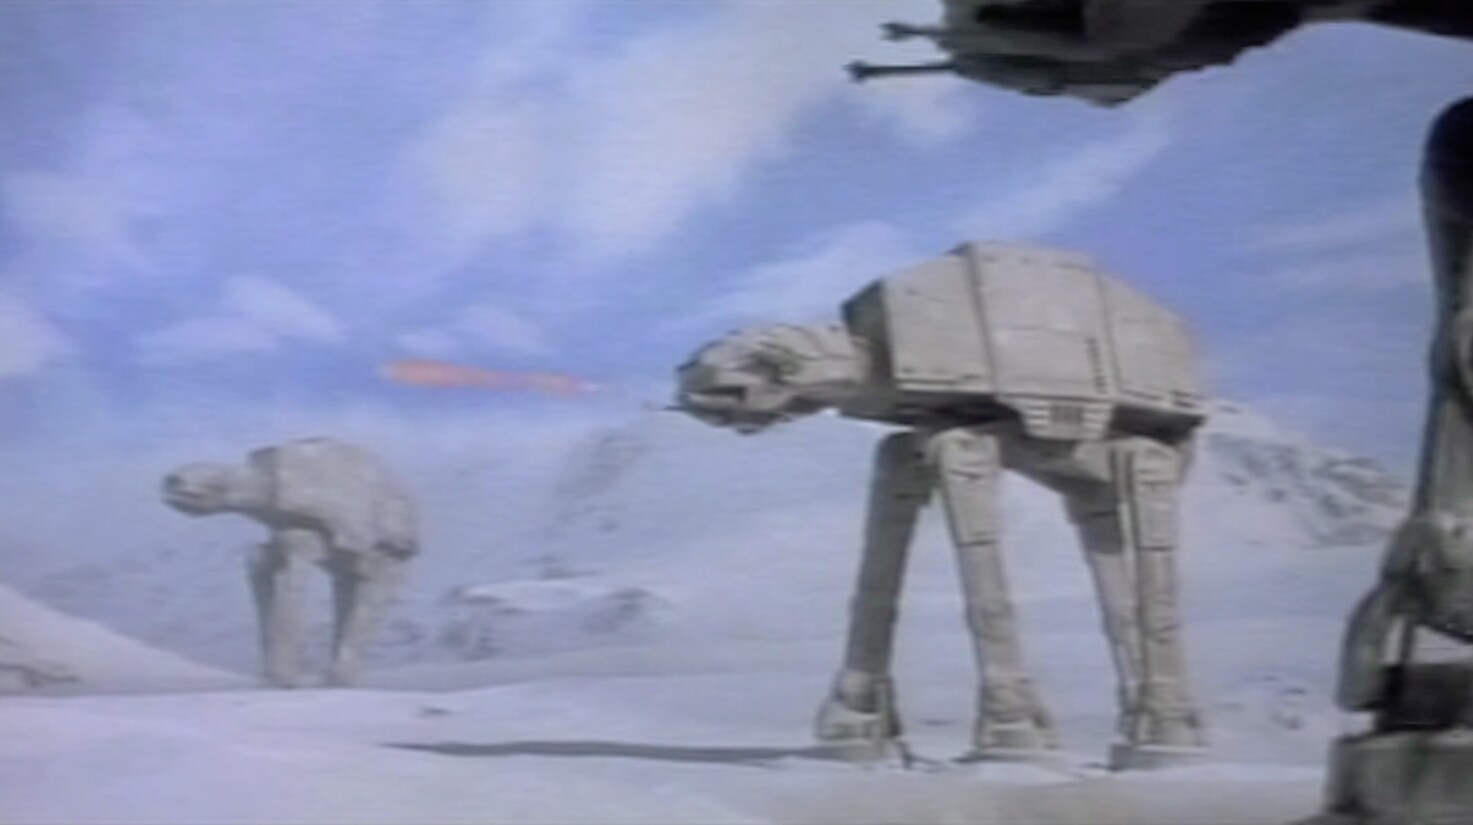
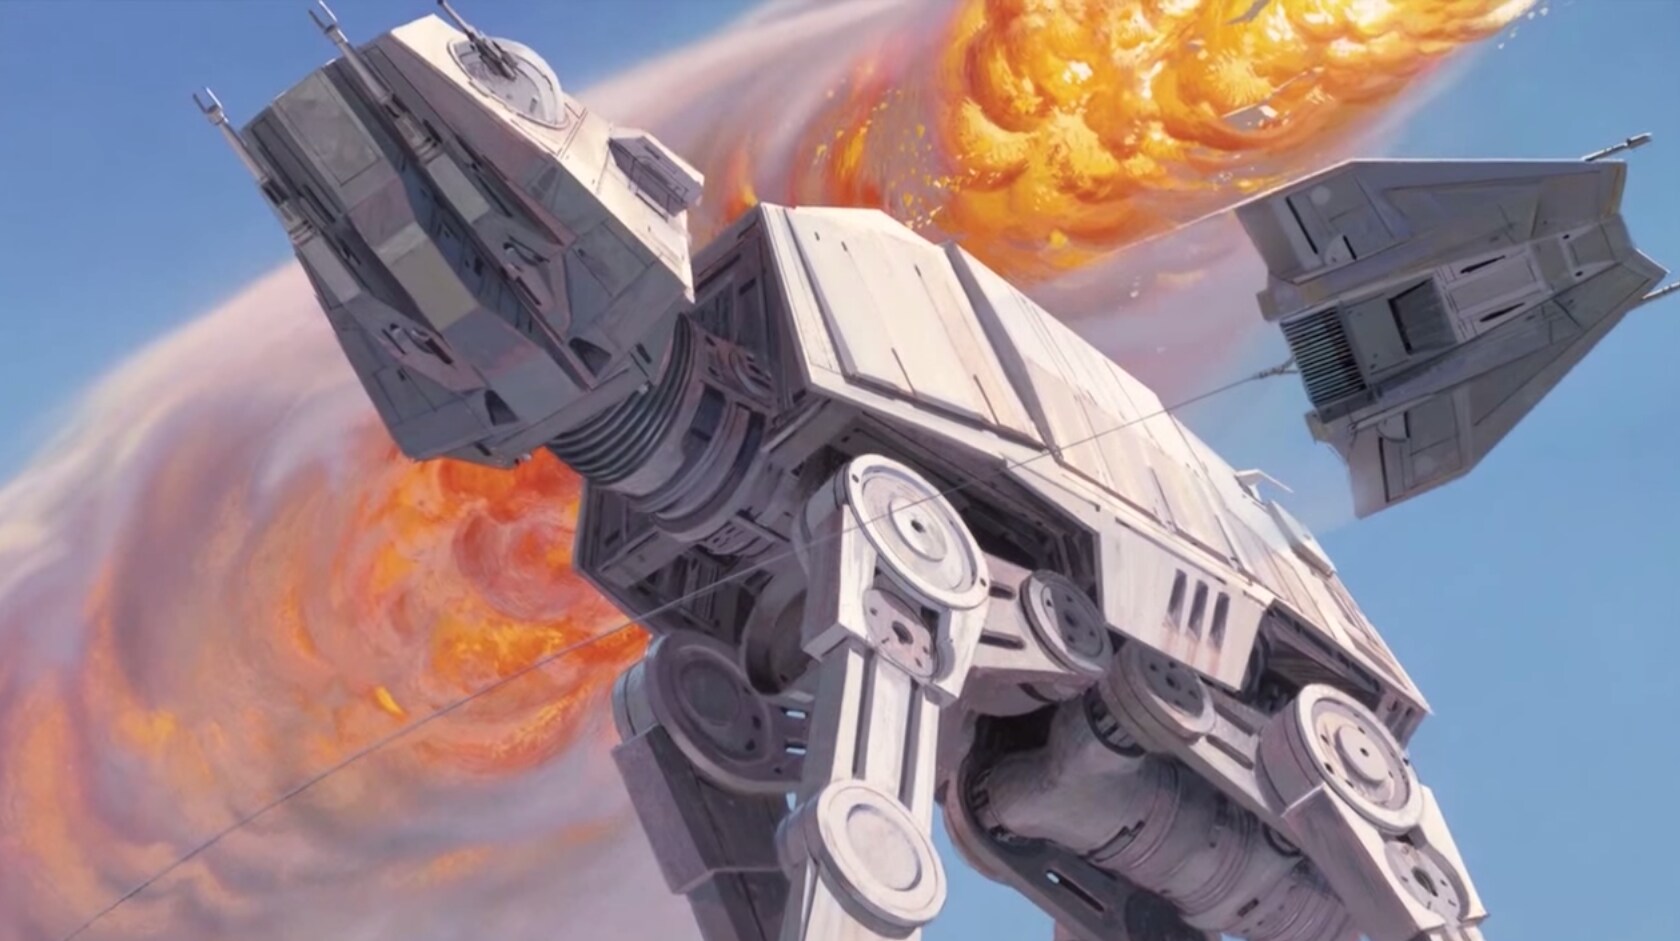
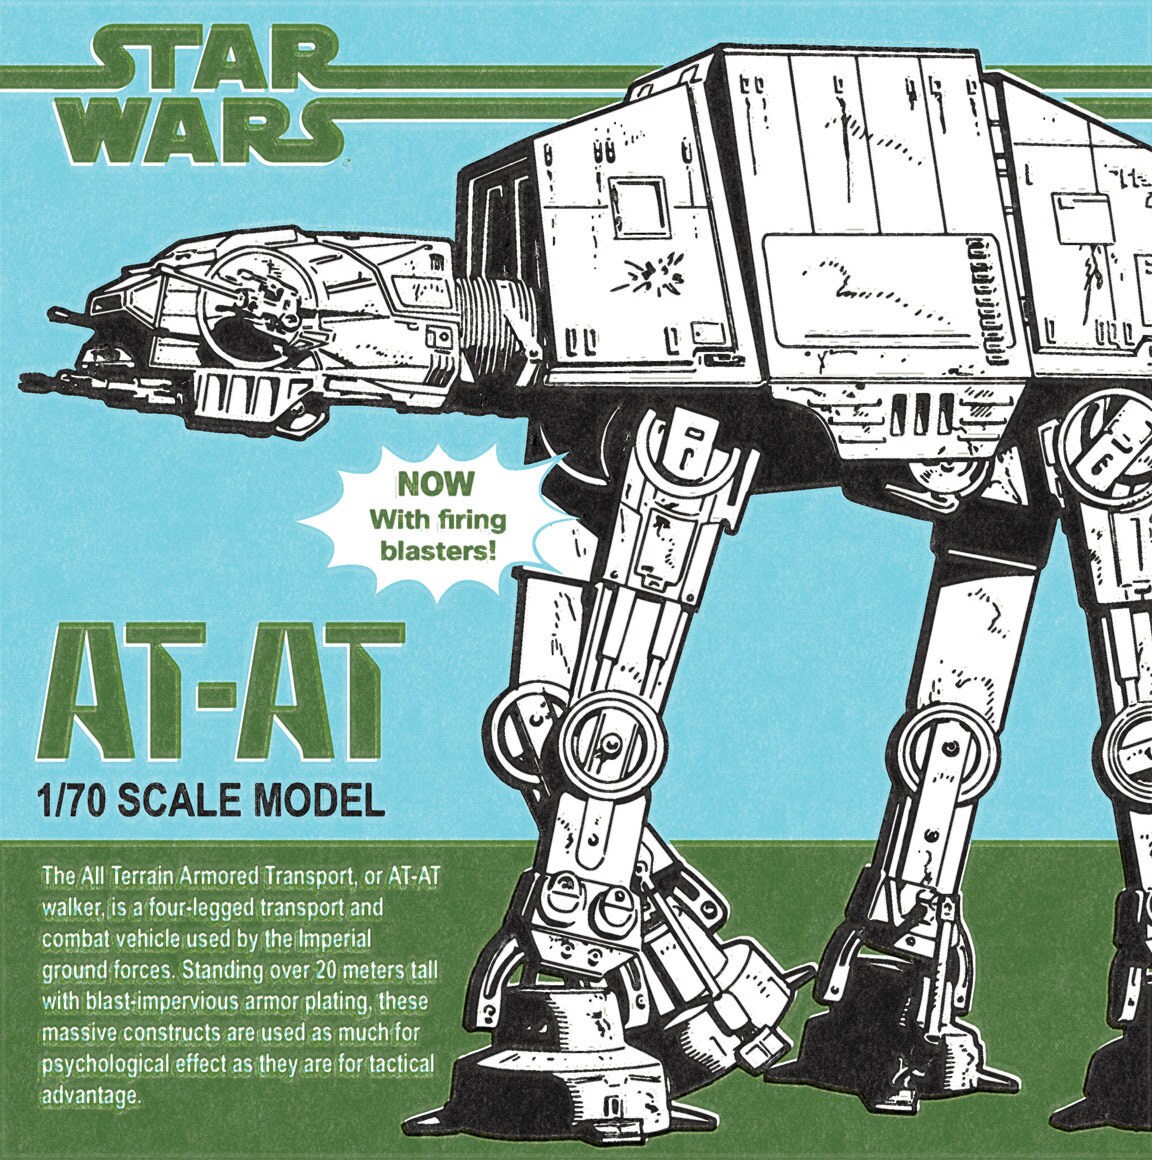
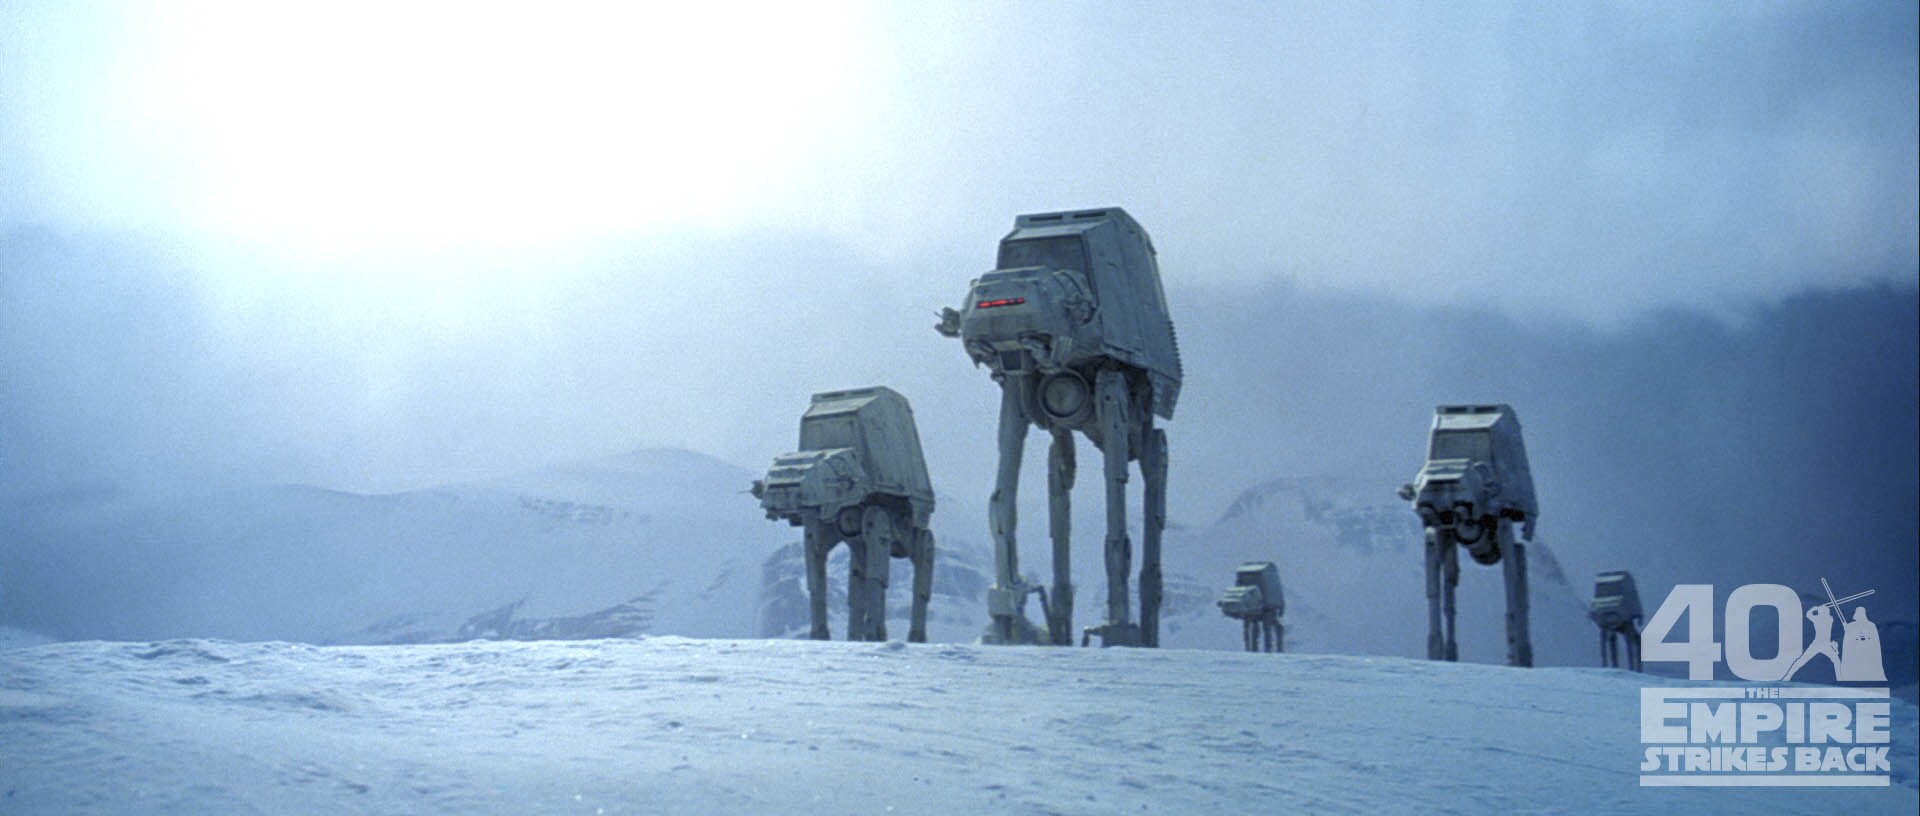
As the Rebels prepare to abandon their headquarters, the Empire deploys several walkers -- enormous armored walking transports -- to destroy the base's main generator that powers a shield preventing a full scale Imperial invasion.
-
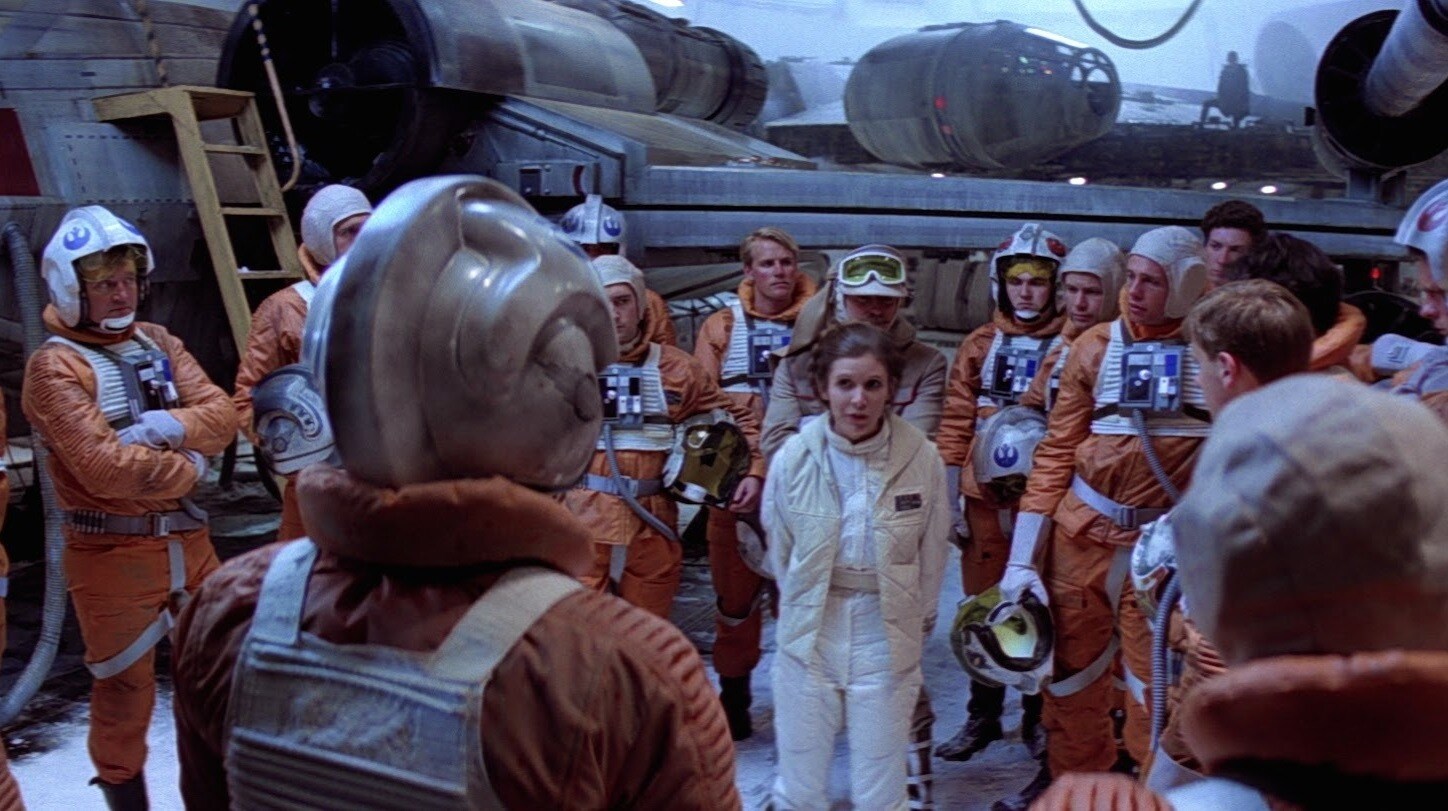
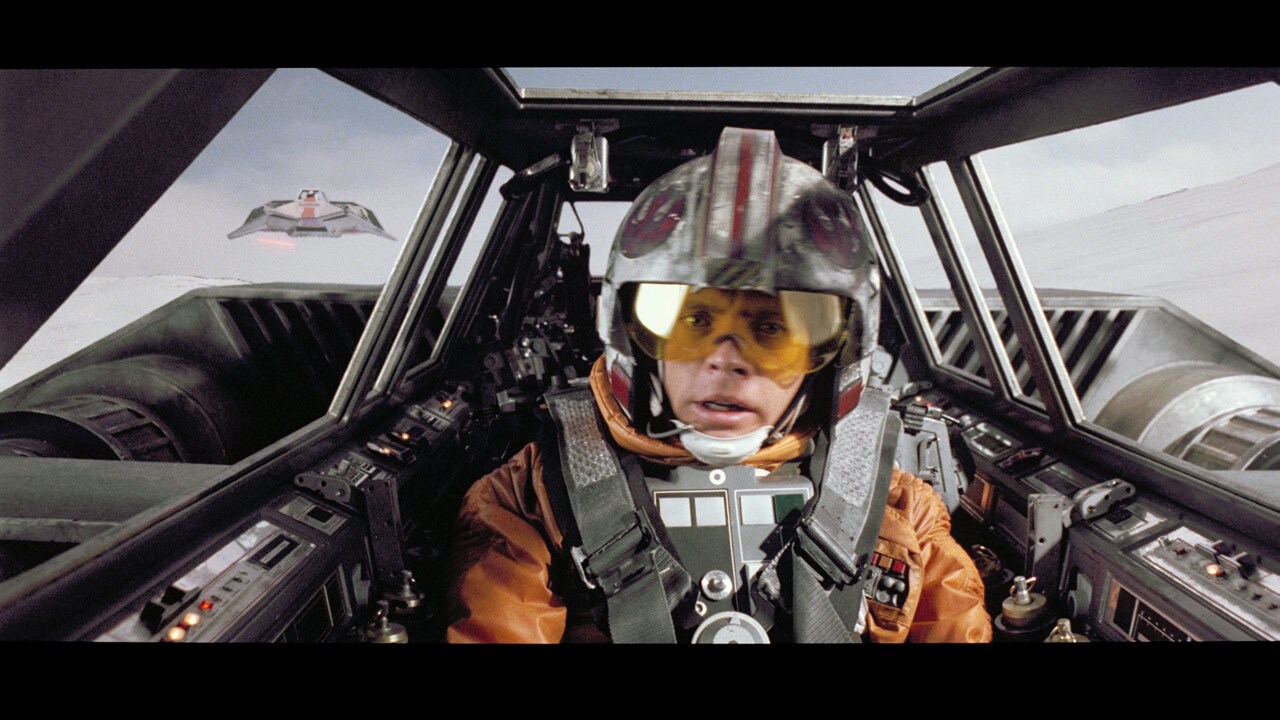
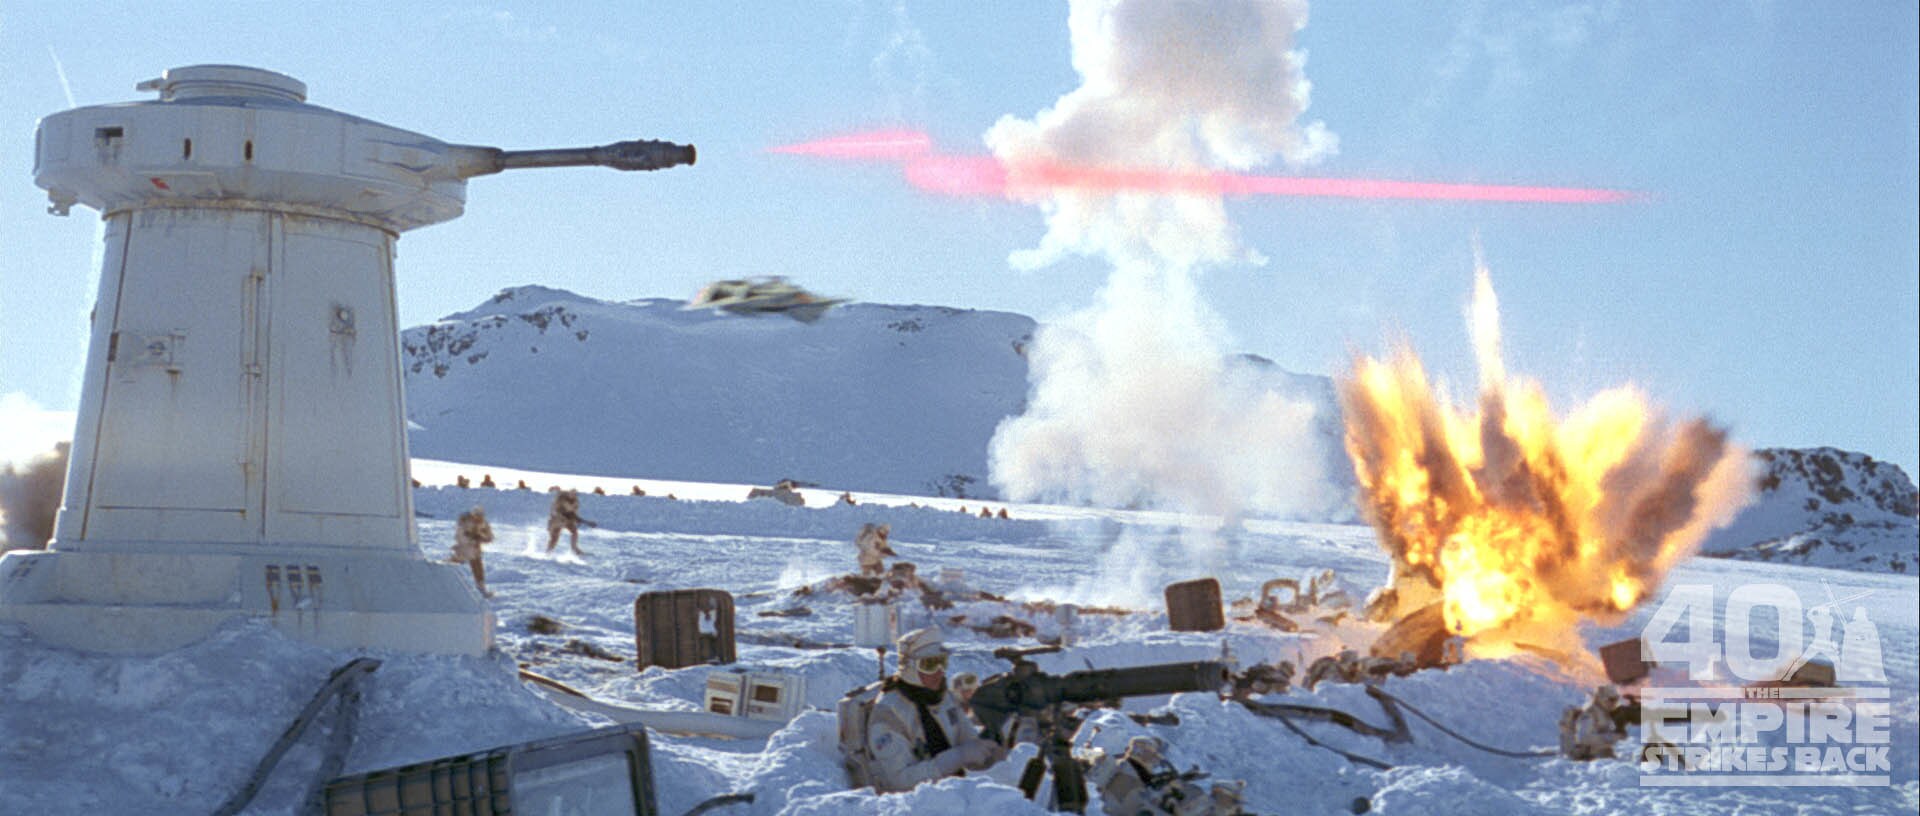
Luke leads his Rogue Group of snowspeeders against the walkers. He and his team are able to down a walker through clever use of harpoon and tow cable before Luke himself is shot down. He survives a crash-landing, though his gunner, Dak, is killed in the blast.
-
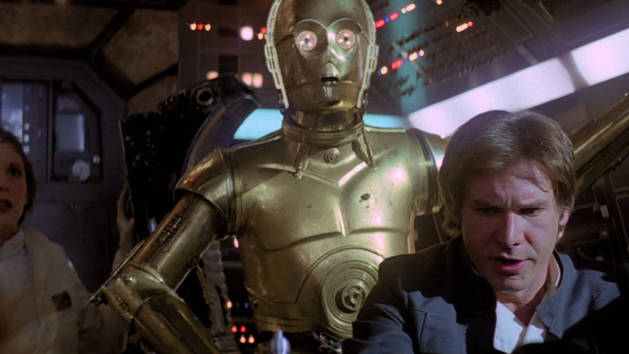
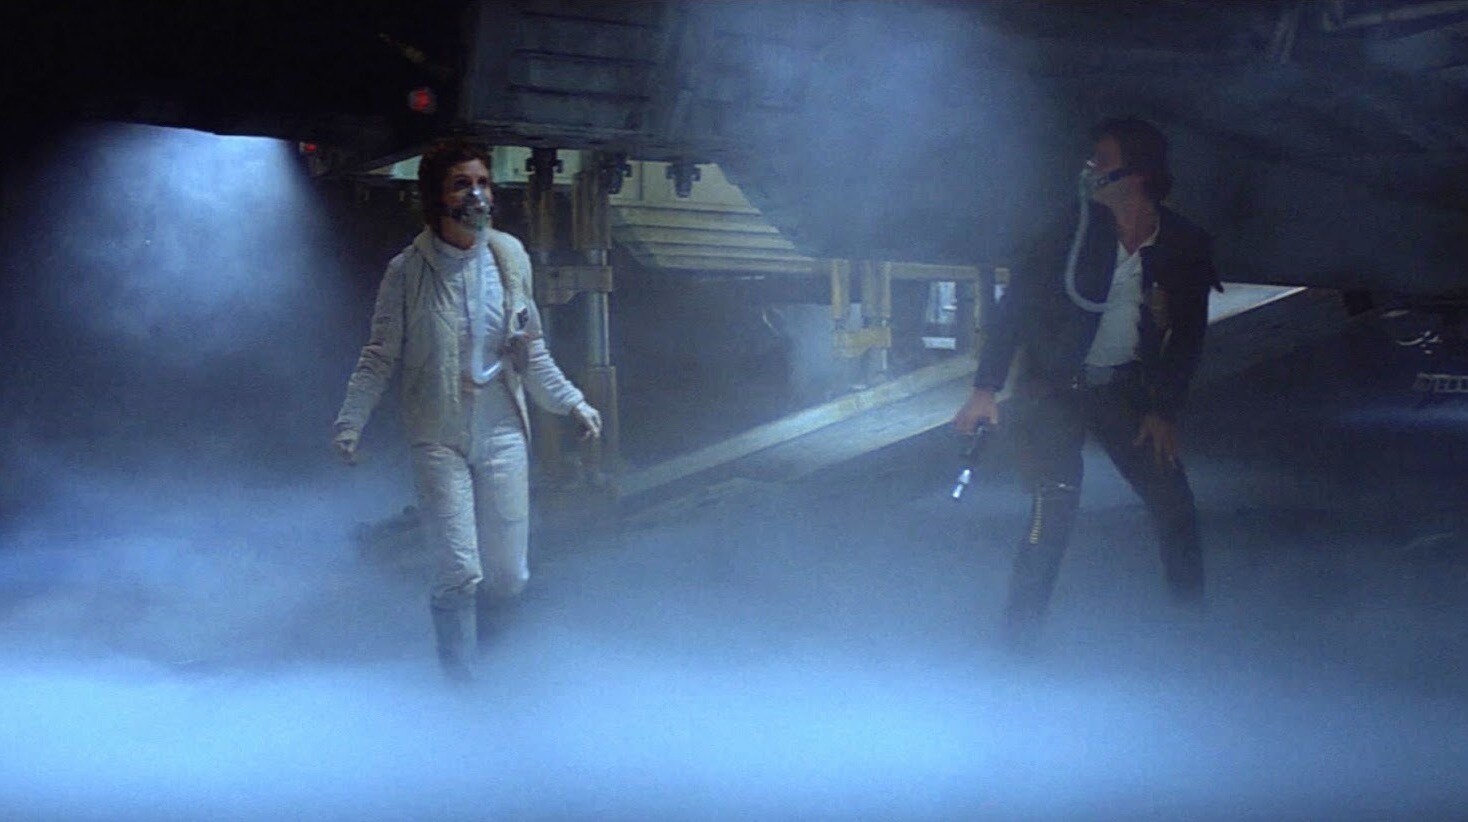
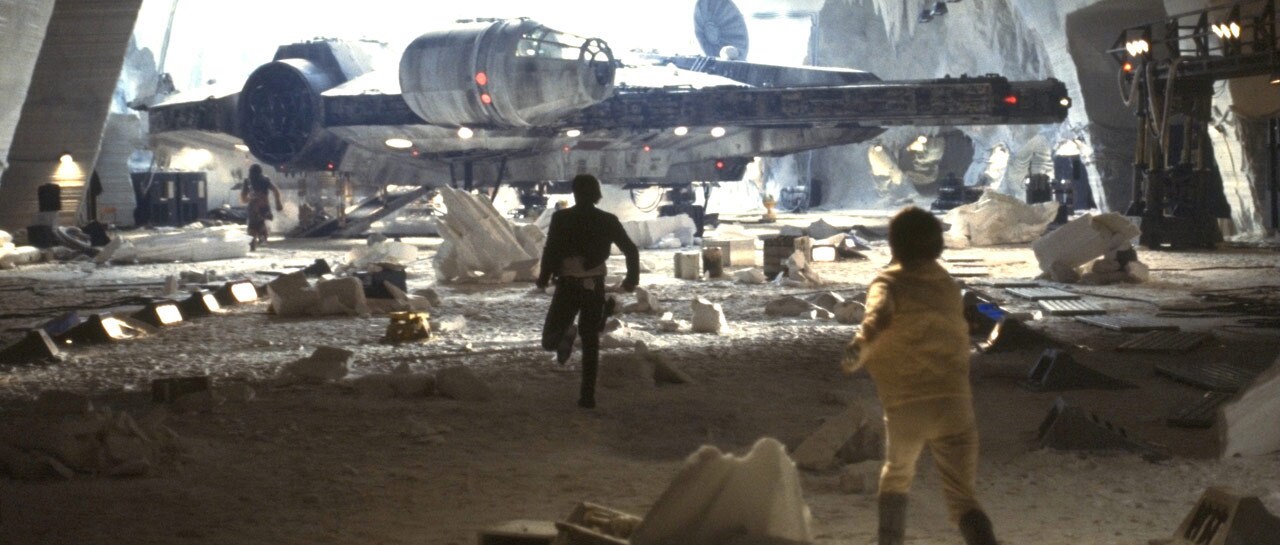
Unable to reach Leia's transport, Han takes the princess and C-3PO out on the Millennium Falcon.
-
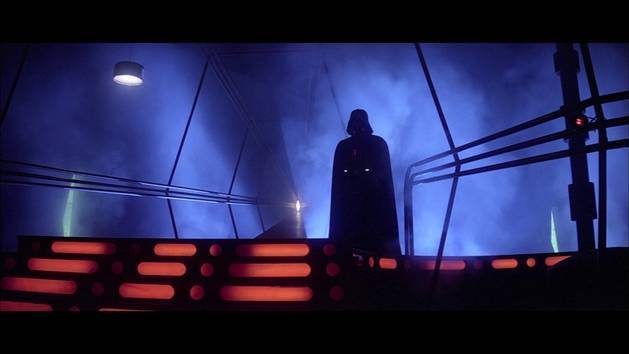
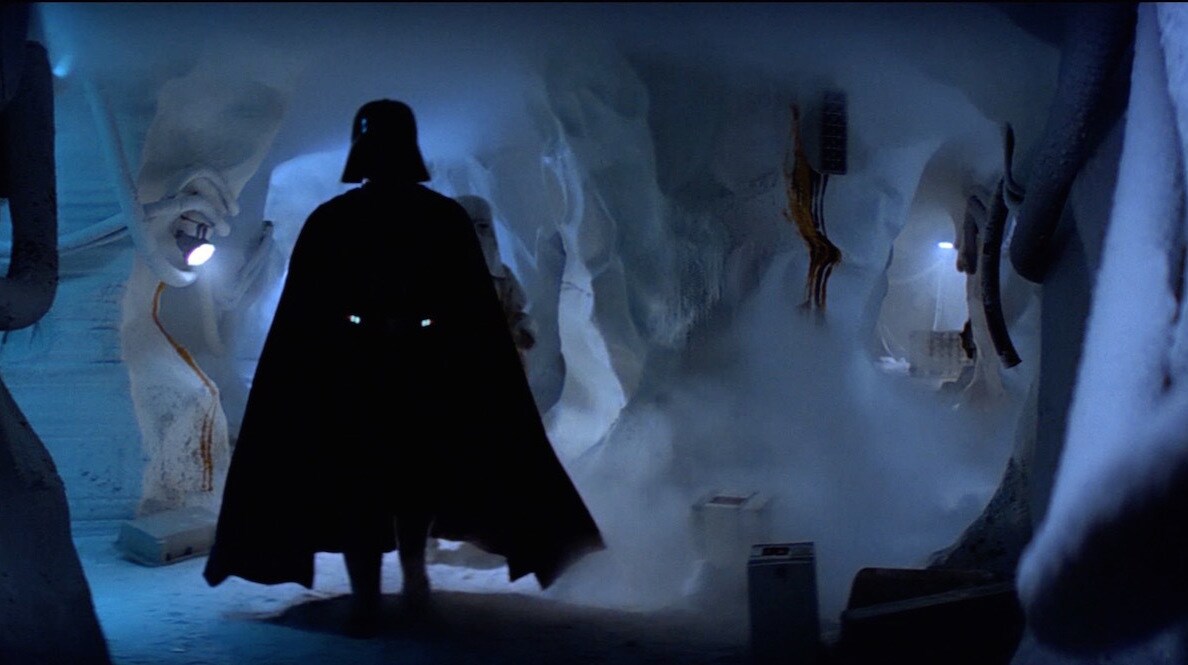
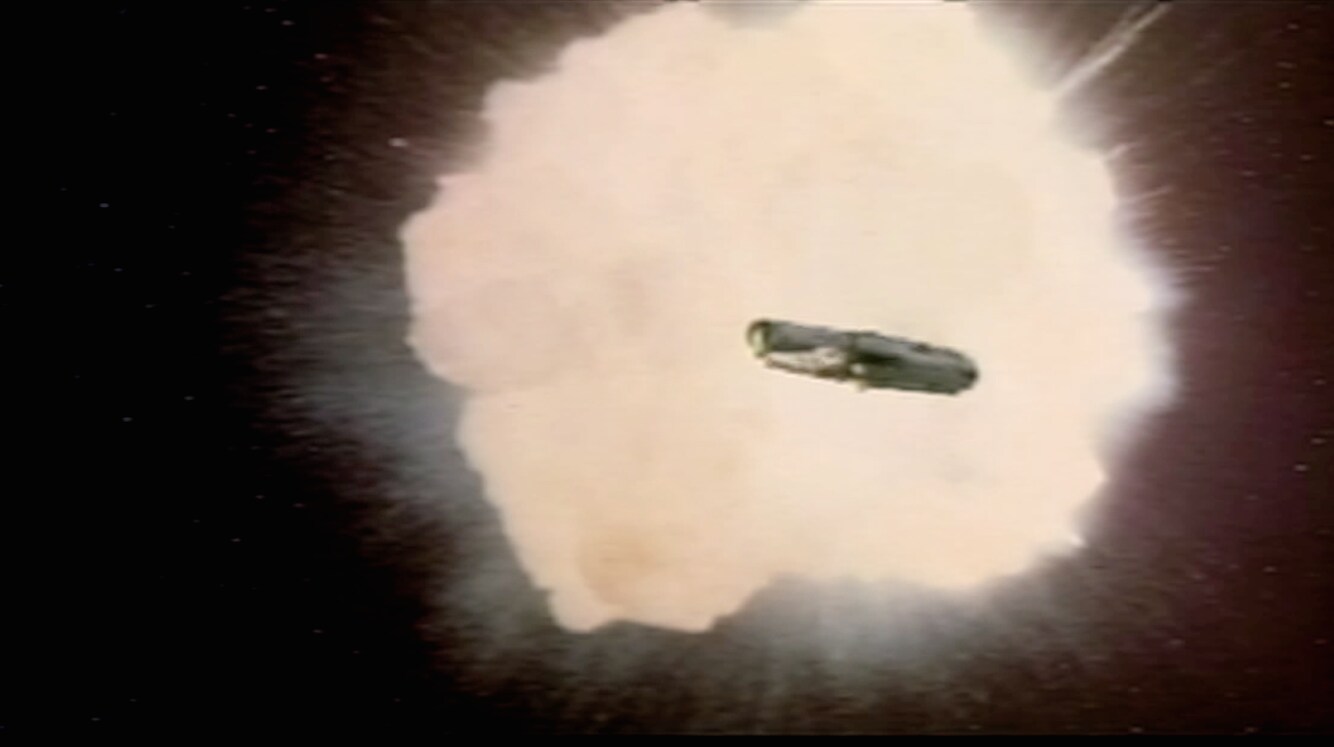
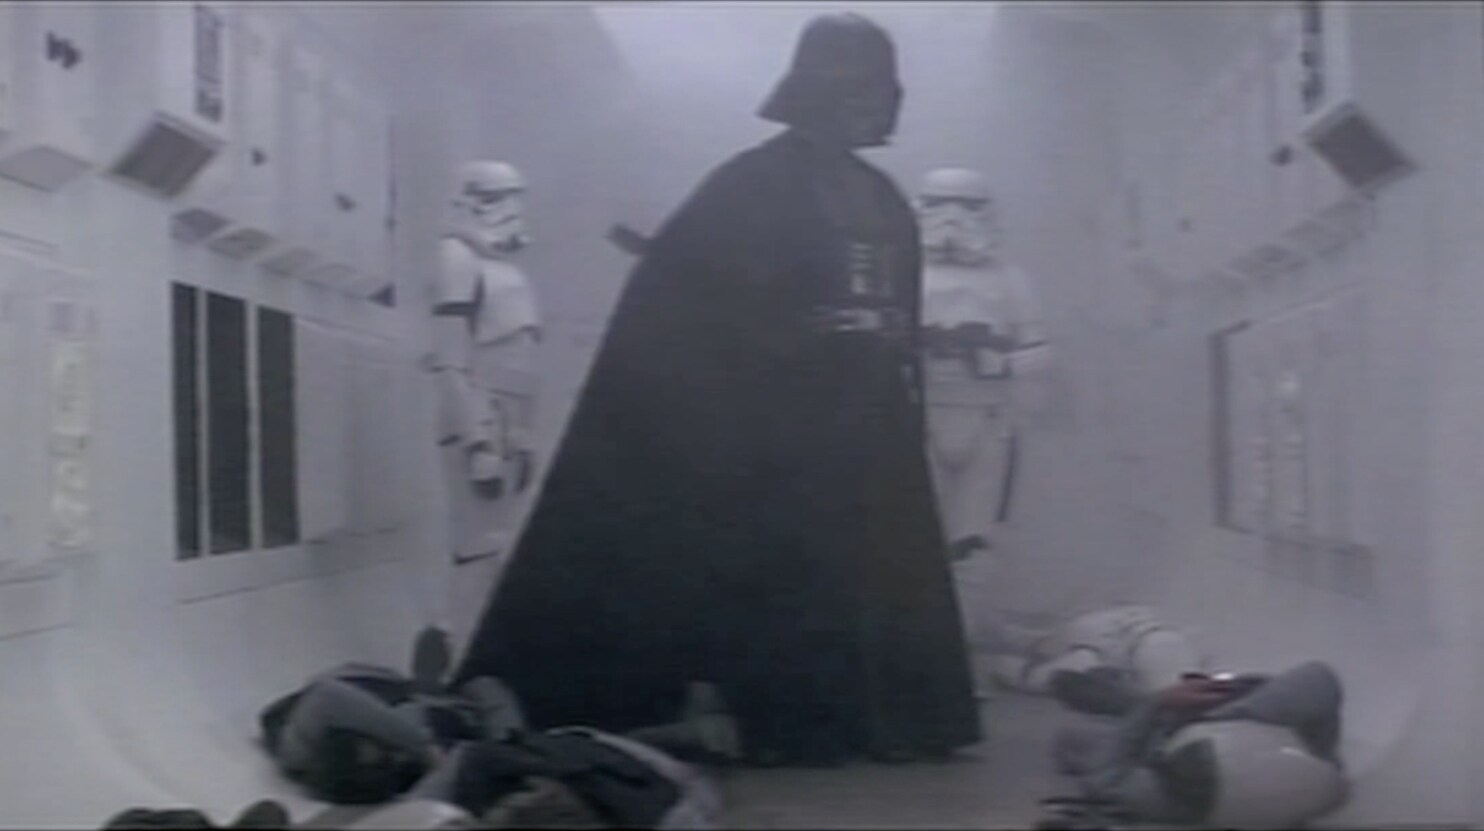
The walkers succeed in destroying the power generators, allowing the Imperials to invade Echo Base. The Falcon gets away just as Darth Vader arrives.
-
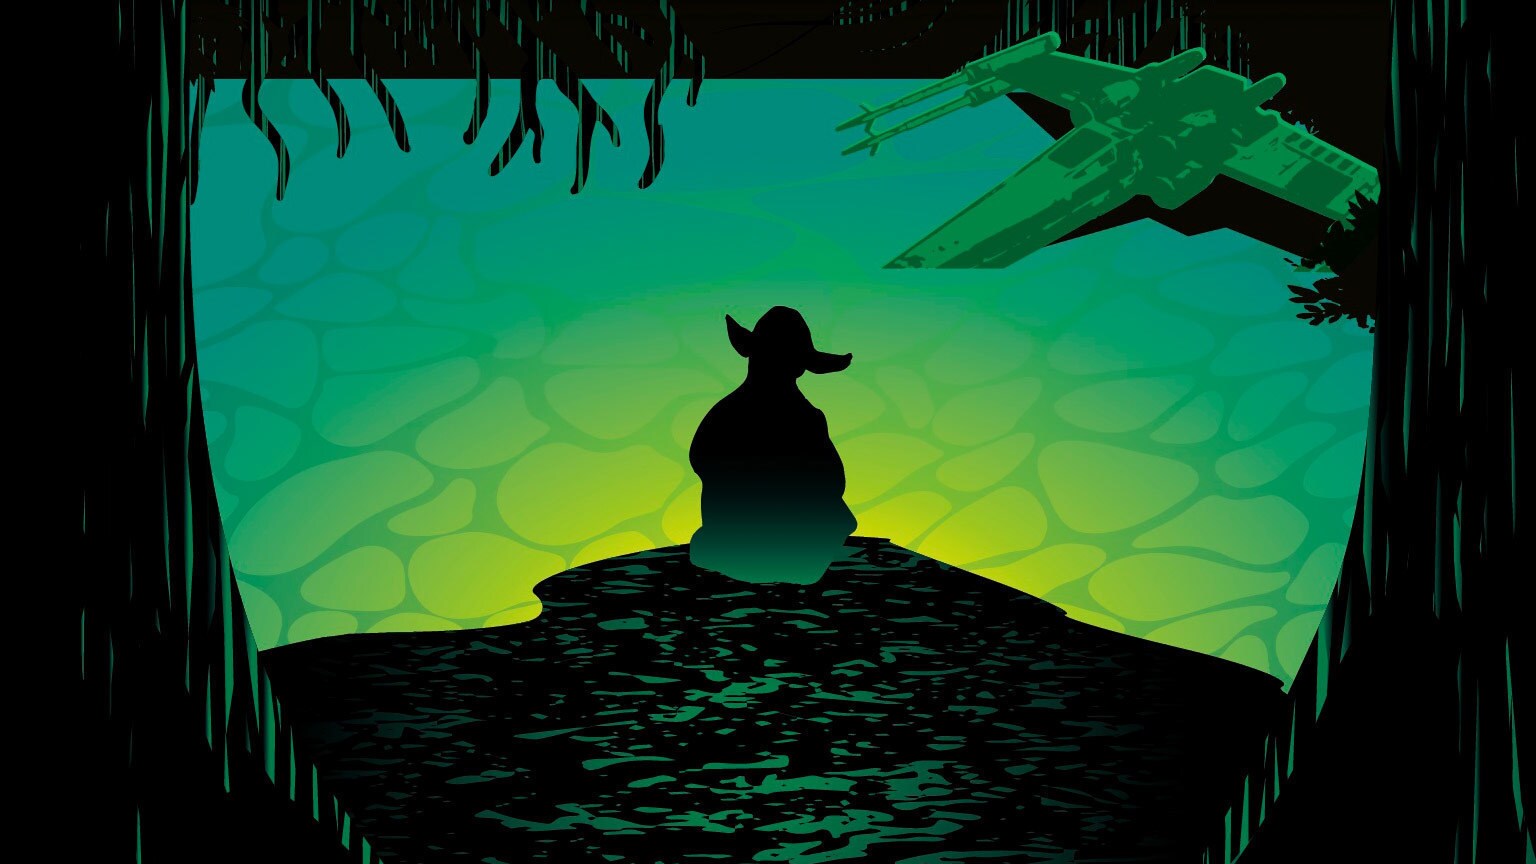
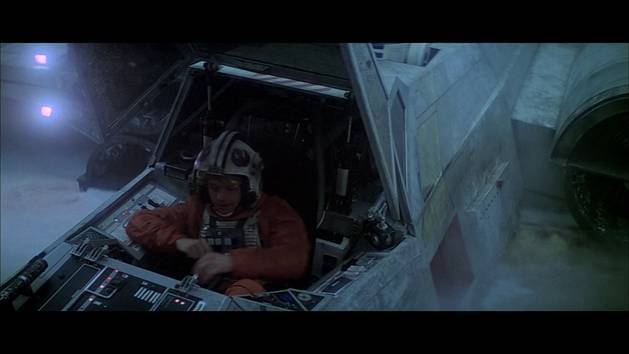
Following the battle with the walkers, Luke escapes with R2-D2 in his X-wing and heads toward Dagobah to seek out Yoda, the Jedi Master.
-
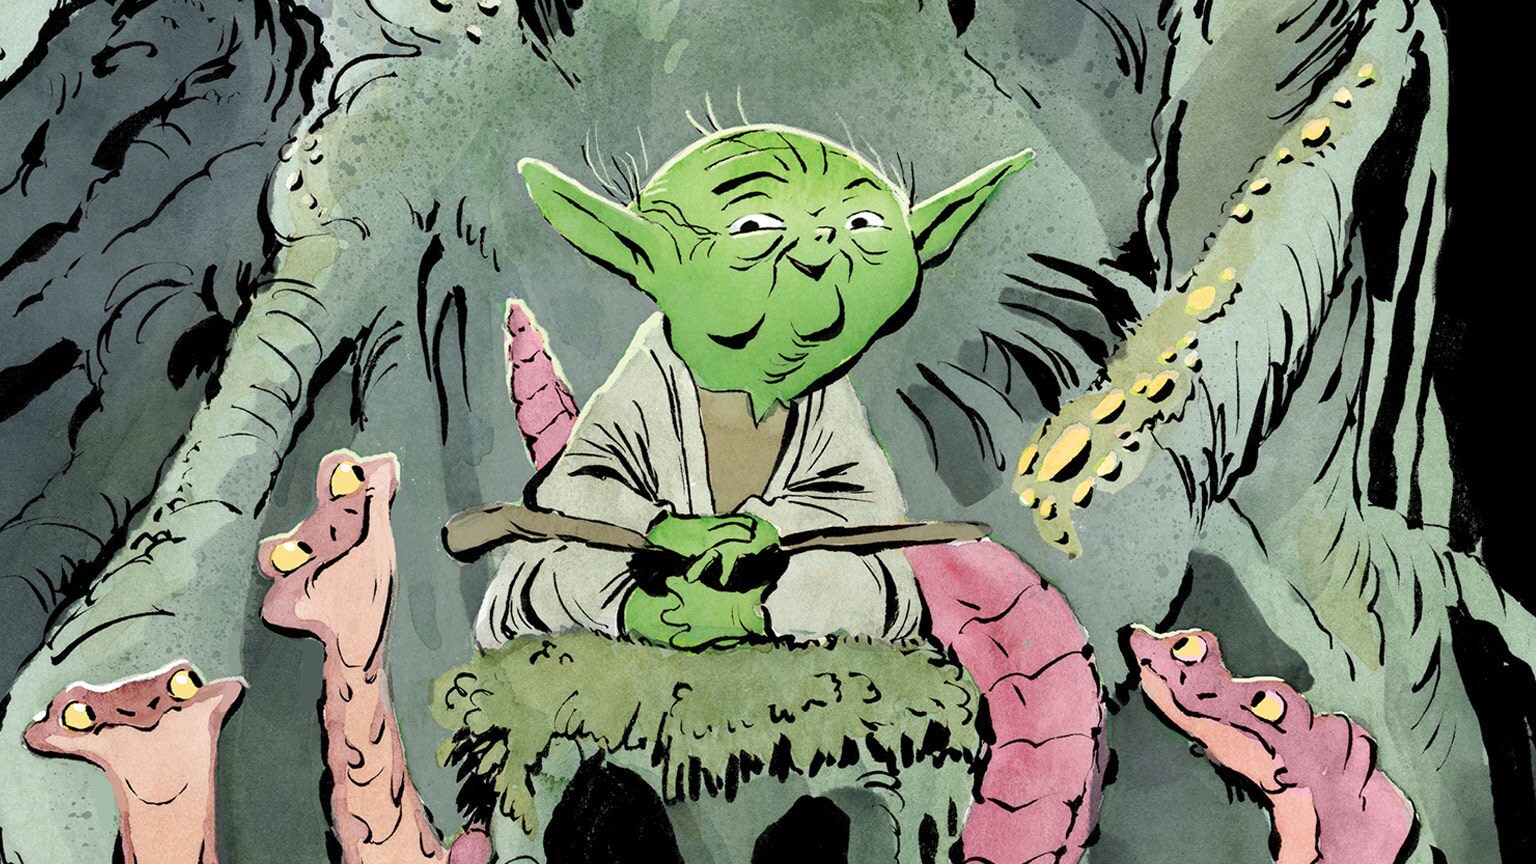
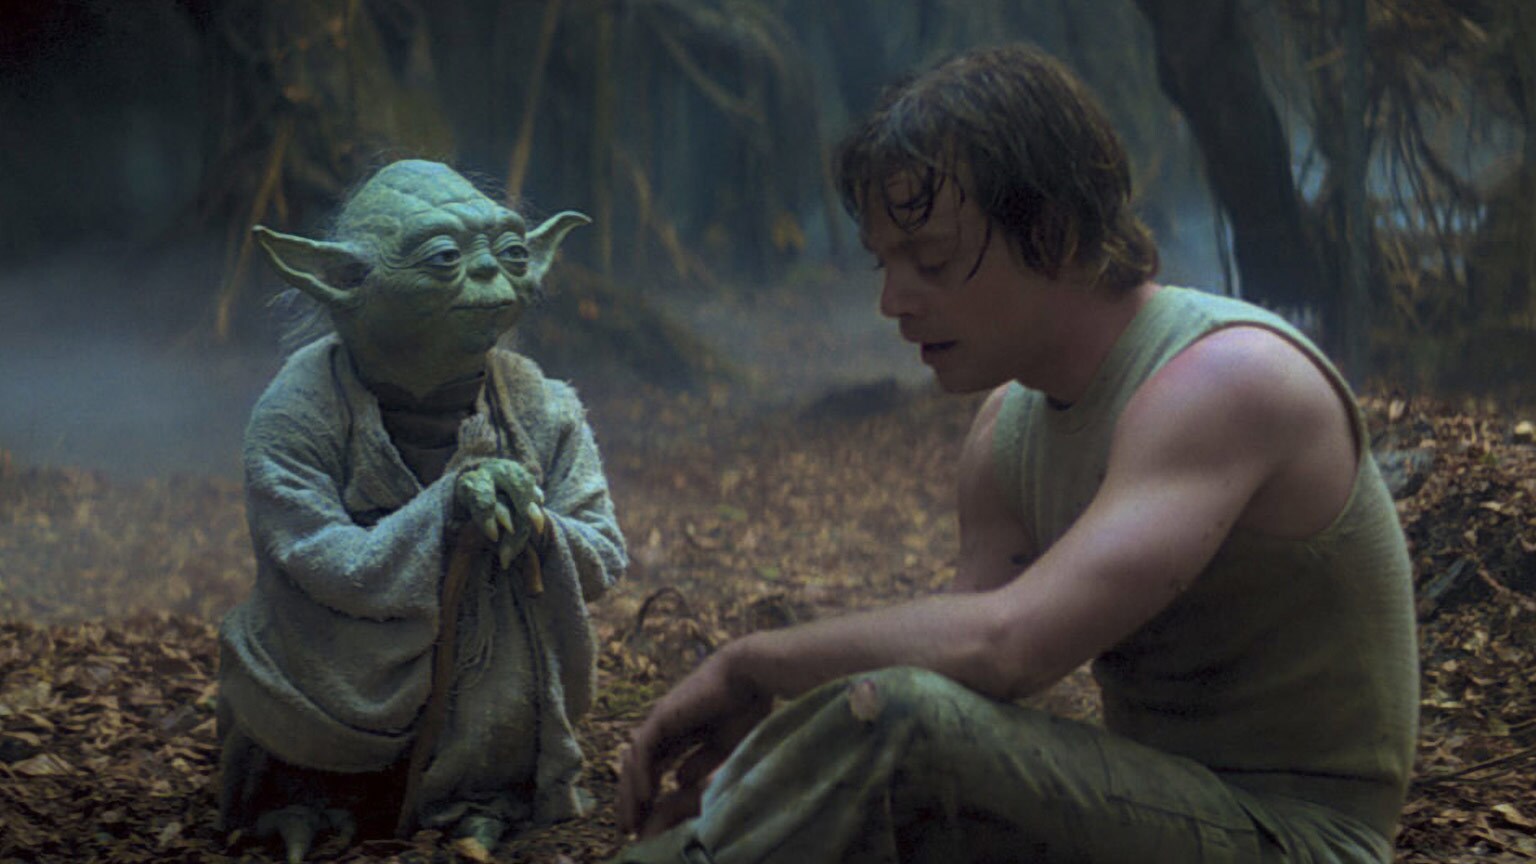
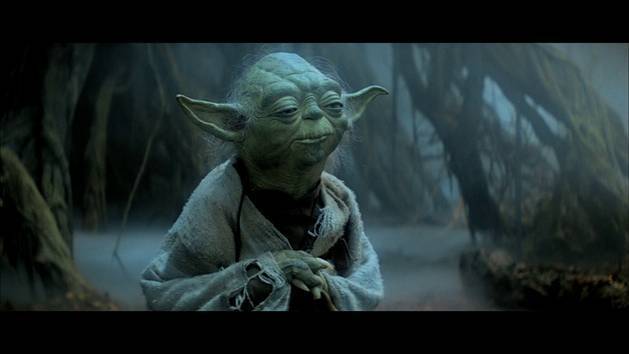
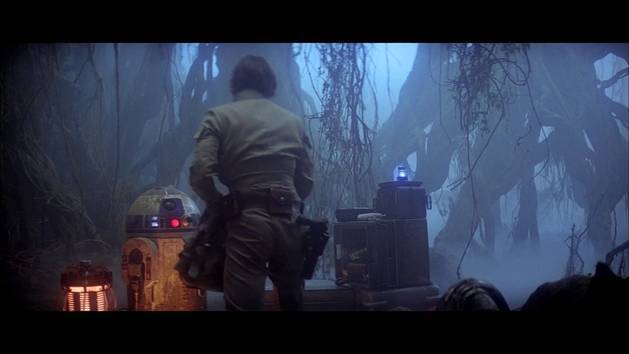
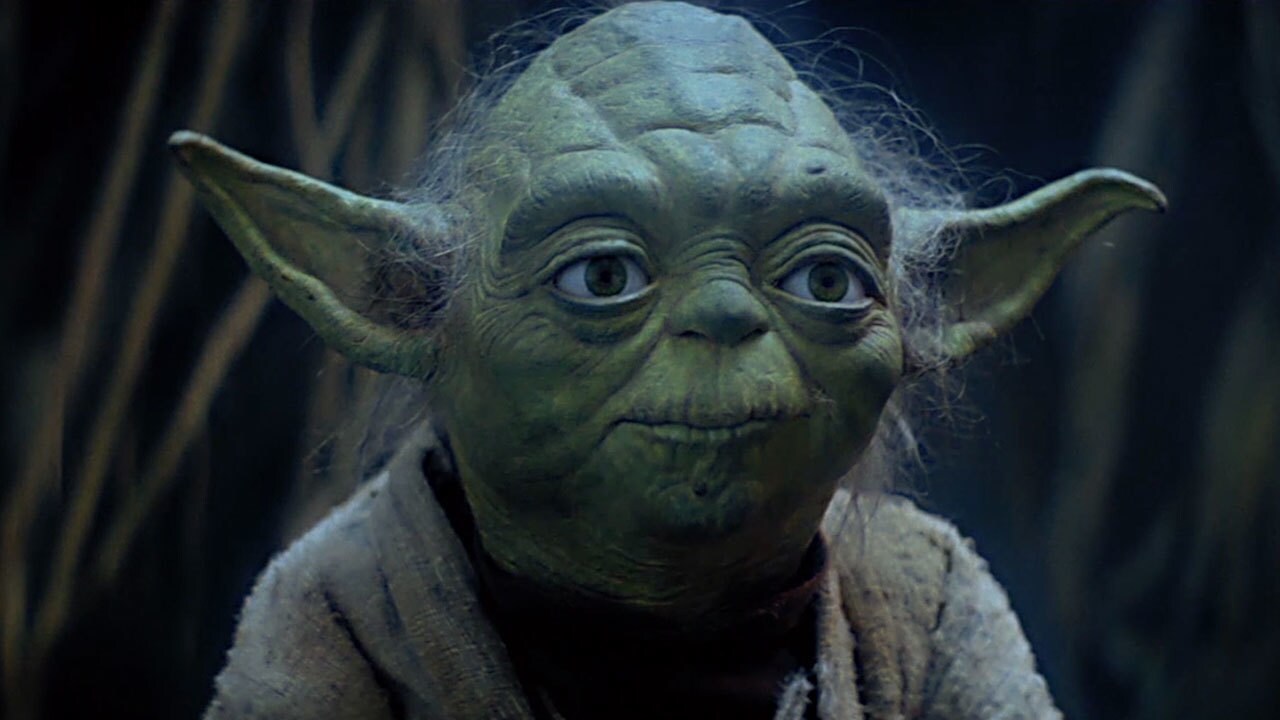
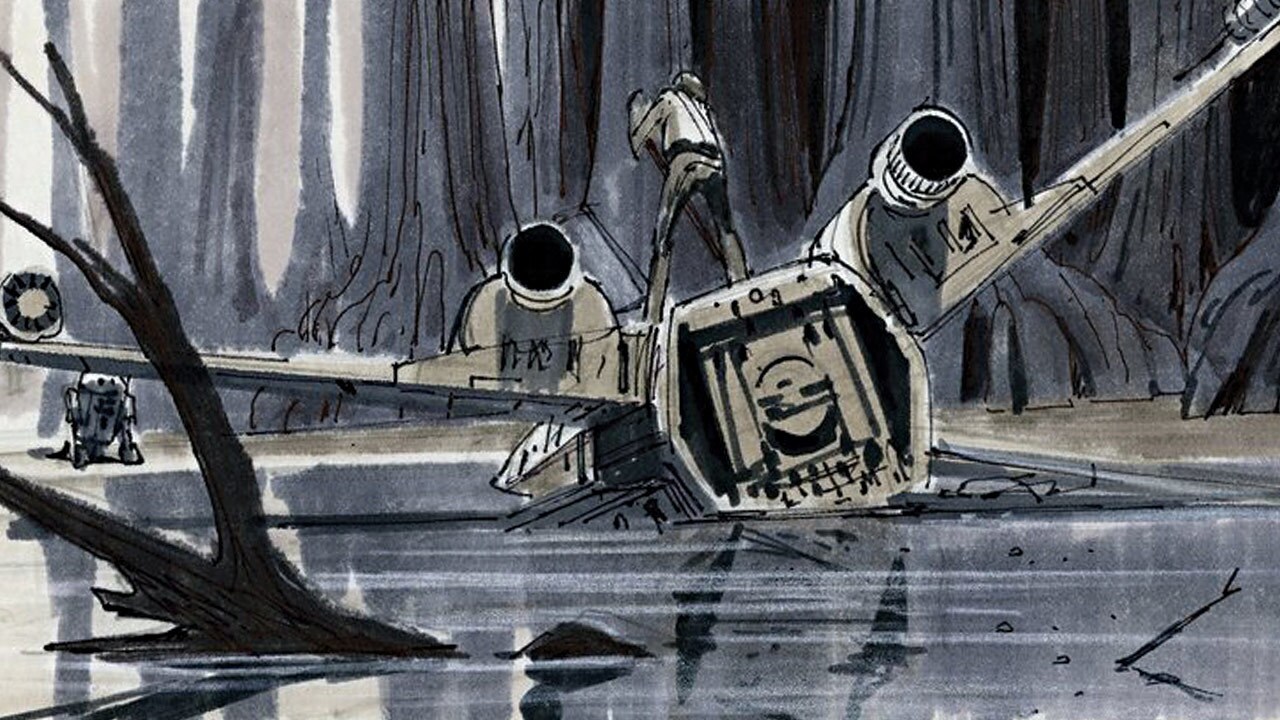
On Dagobah, Luke and Artoo set up camp, marooned after crash-landing in a swamp. They are surprised by Yoda, who doesn't immediately reveal his identity to Luke.
-
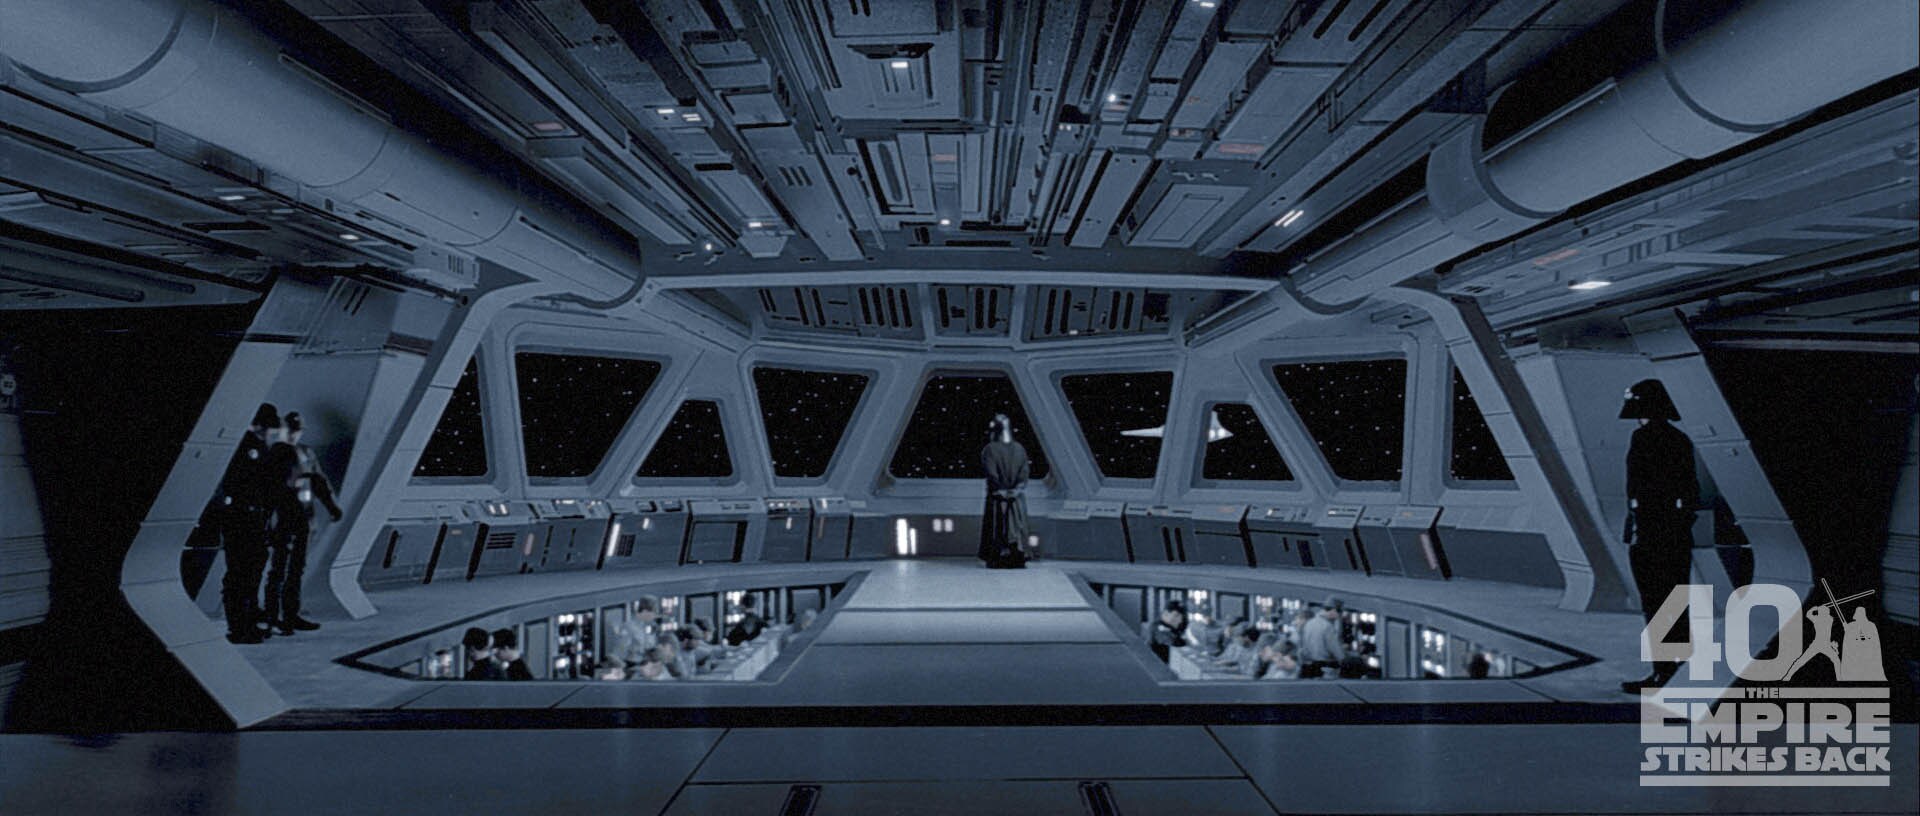
Vader is contacted by the Emperor, who reveals that the Sith Lords have a new enemy: Luke Skywalker. The Emperor wants Vader to track down and kill Skywalker. Vader suggests that if Skywalker could be turned to the dark side, he might become a powerful ally. The Emperor agrees.
-
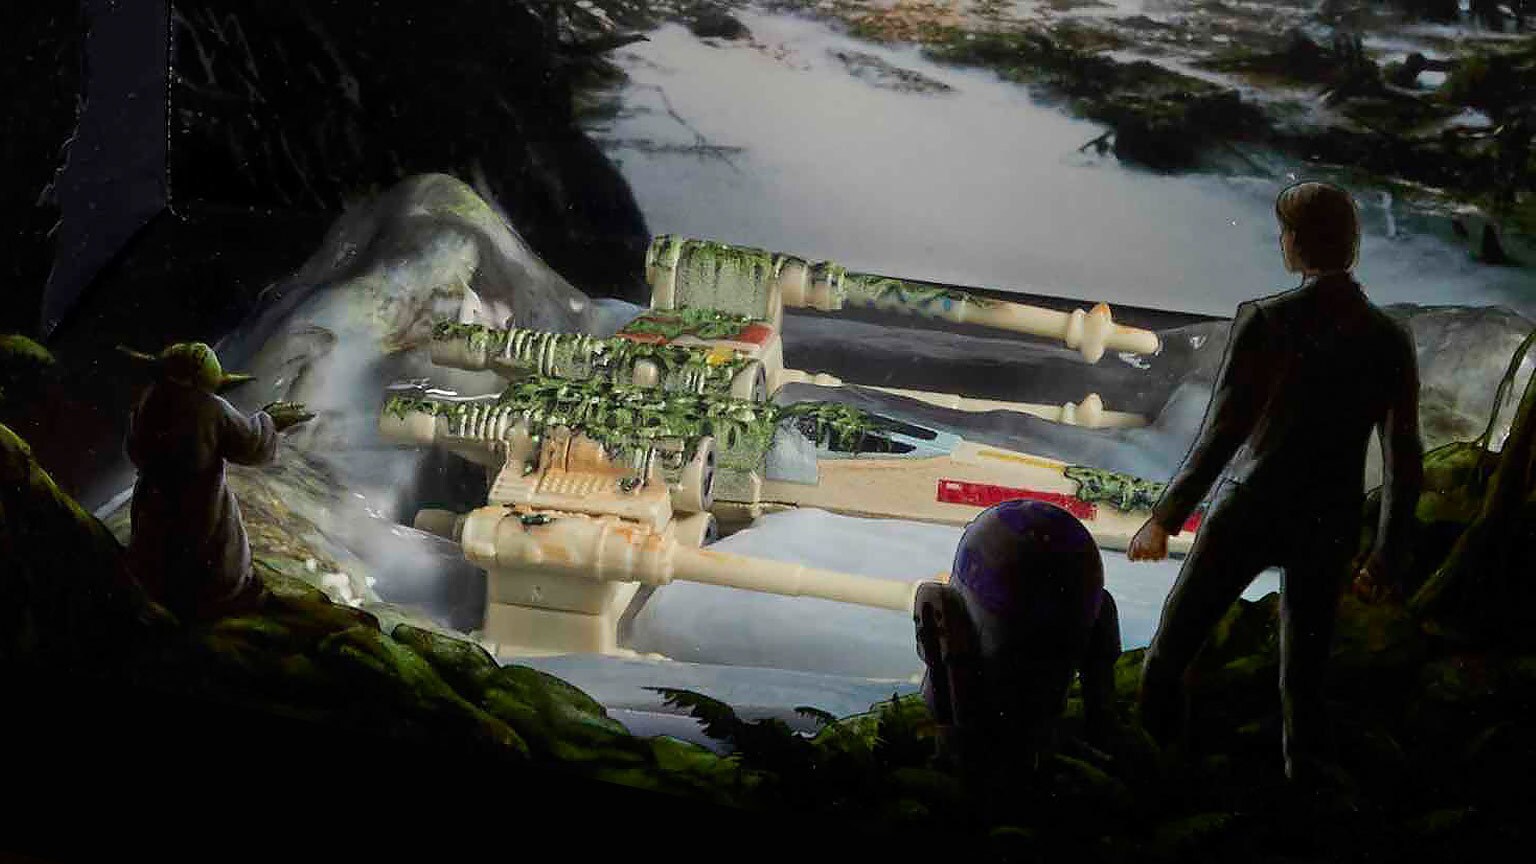
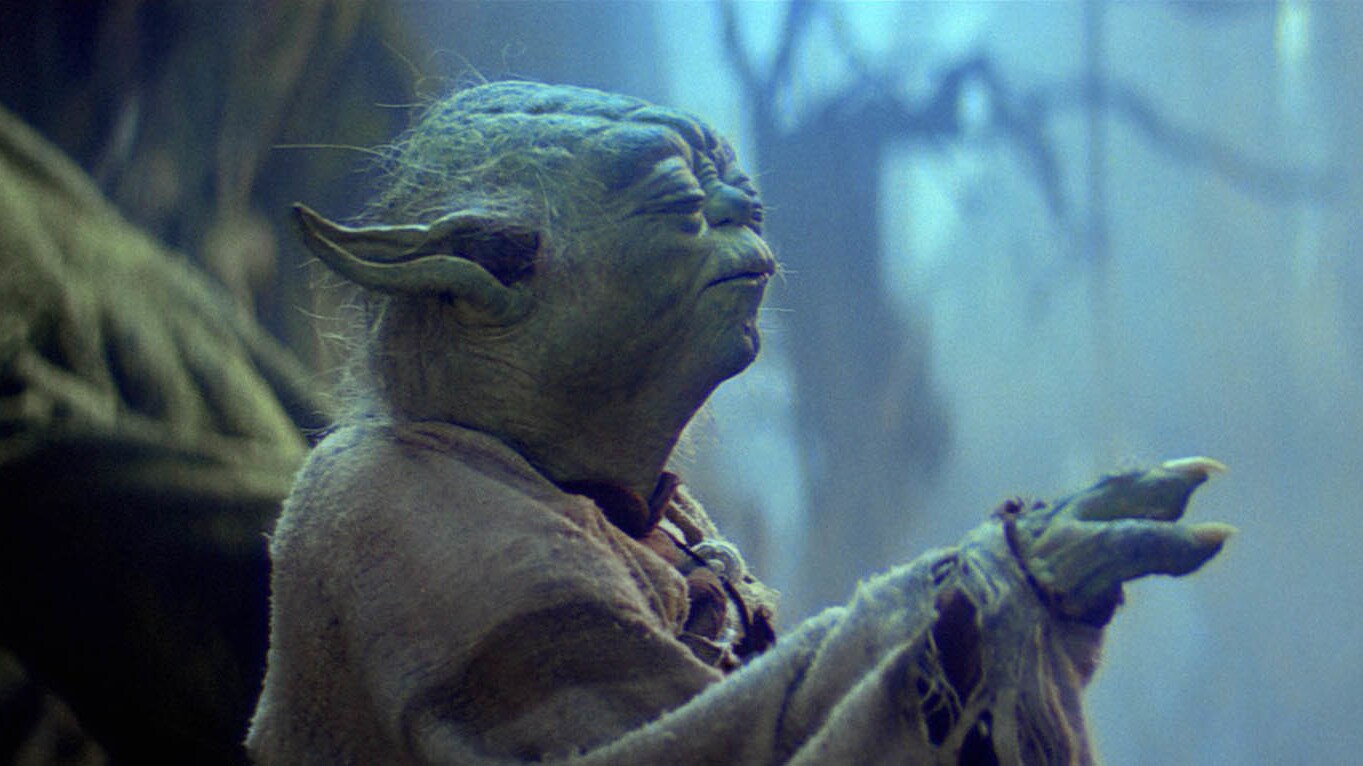
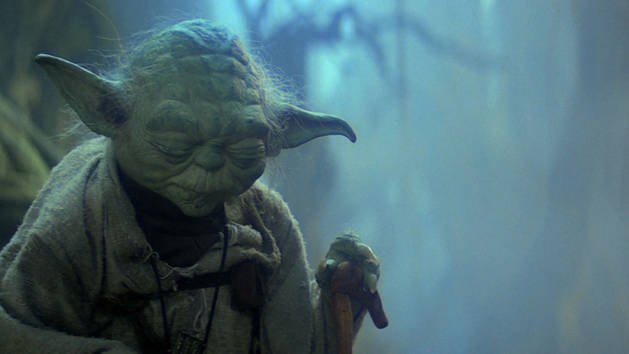
Yoda, now known by Luke to be the Jedi Master he seeks, begins training Luke in the Jedi ways. To demonstrate that size is of no consequence in mastering the Force, Yoda elevates Luke's X-wing from the swamp. Luke is confounded and impressed by the power of the little Jedi Master.
-
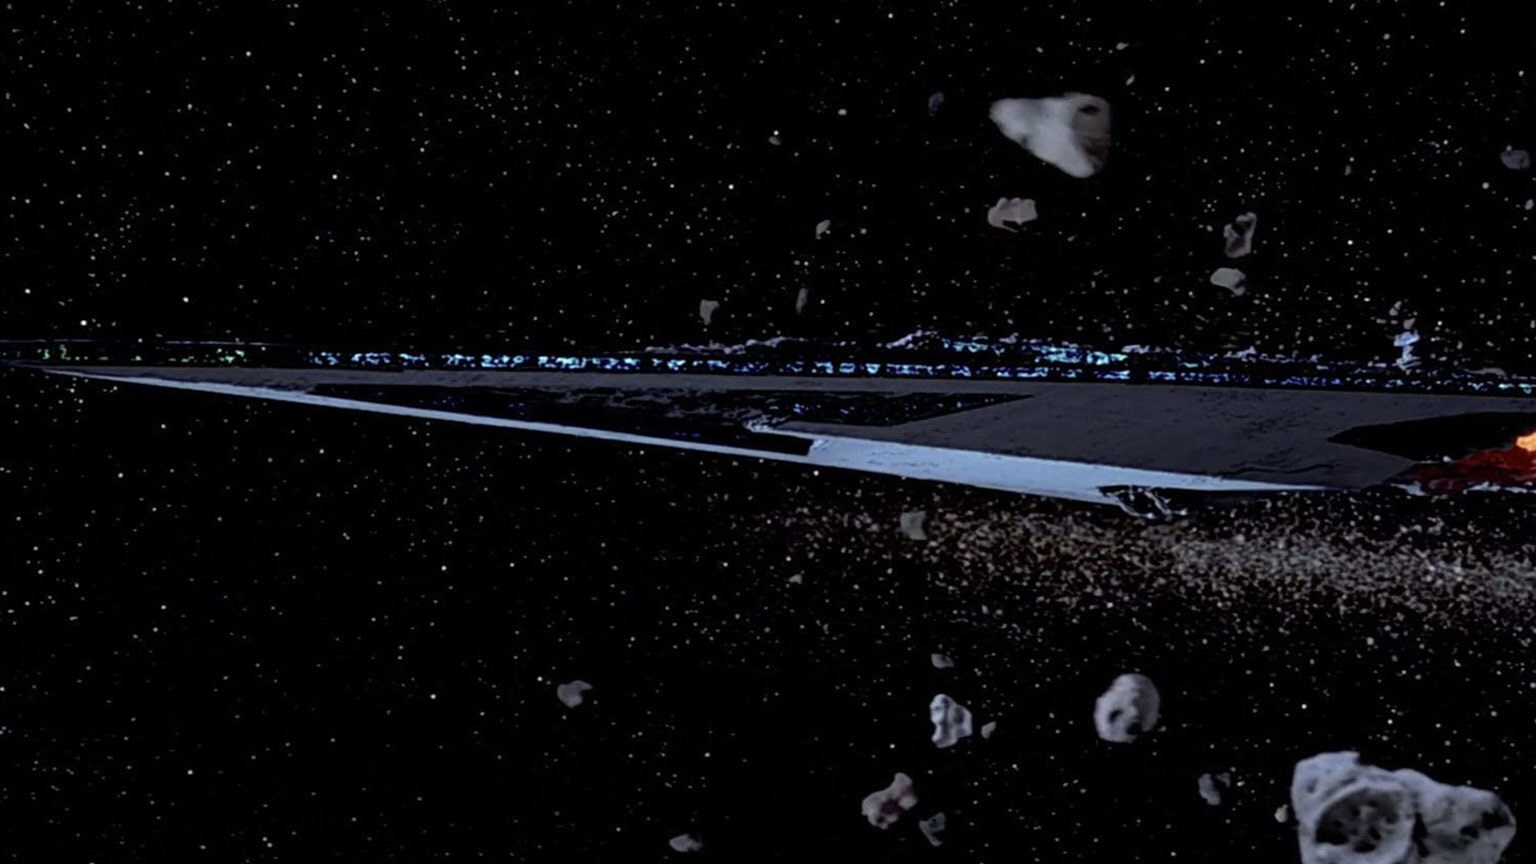
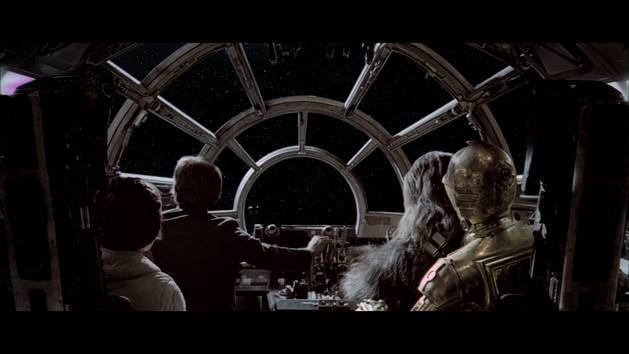
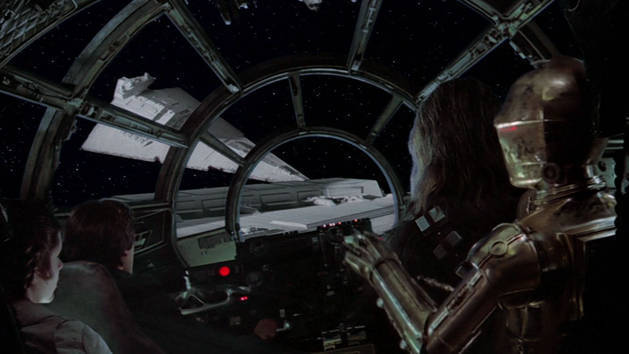
Meanwhile, Han, Leia, Chewbacca and C-3PO find themselves pursued by Imperial TIE fighters following their escape from Hoth. Approaching an asteroid field, Han bets the odds that he can lose the enemy fighters within.
-
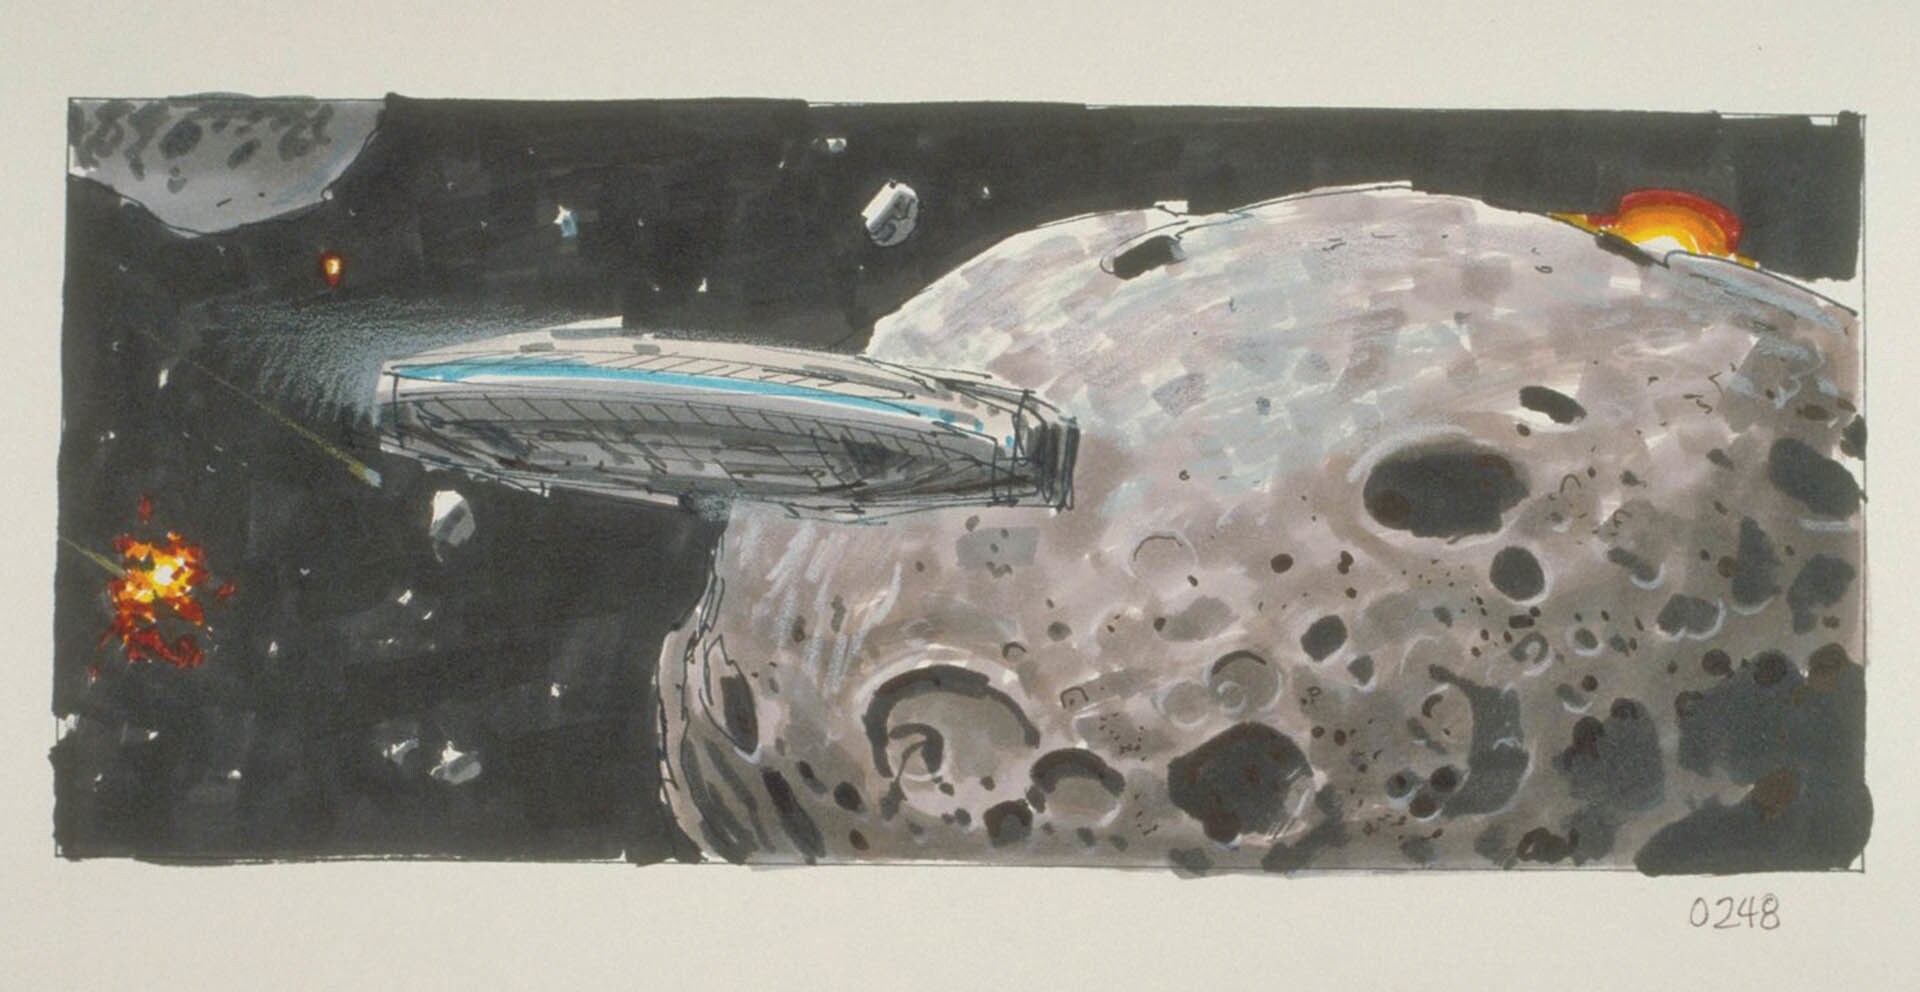
Han finds safe harbor for the Falcon inside one of the asteroids, evading the enemy fighters who continue to search for the Rebel ship.
-
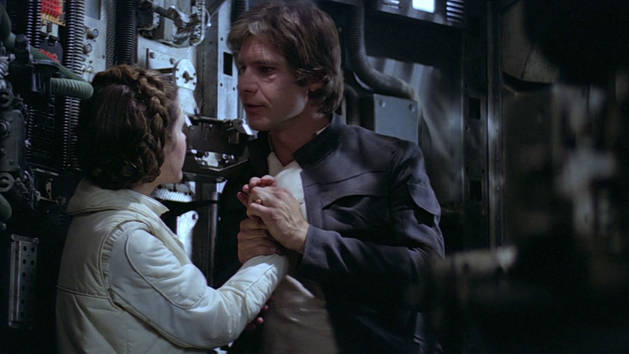
As Leia makes repairs in the Falcon's hold, Han corners the princess in a rare unguarded moment. The two share a brief kiss.
-
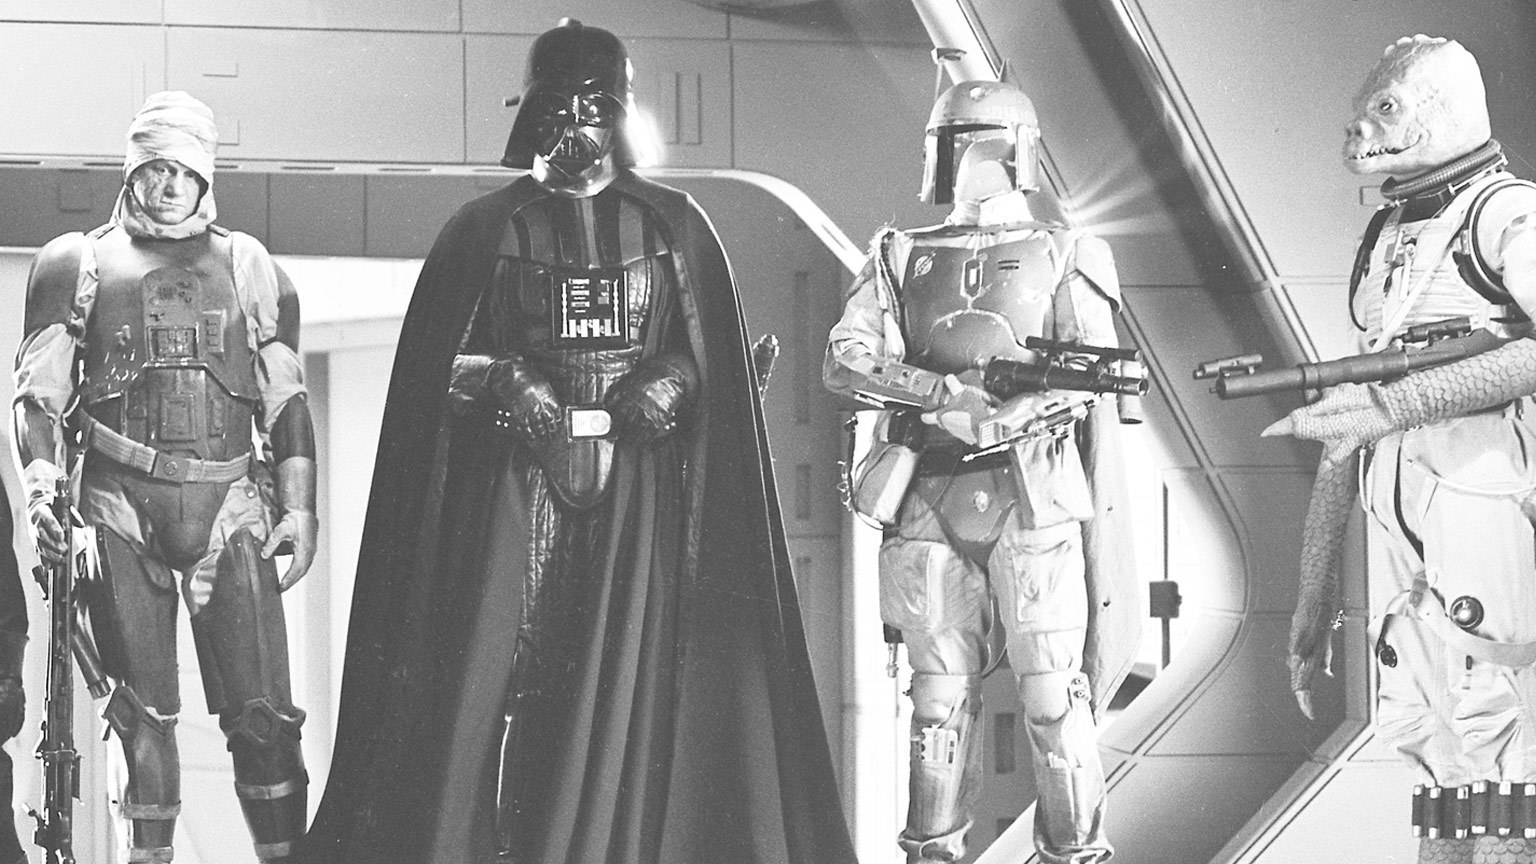
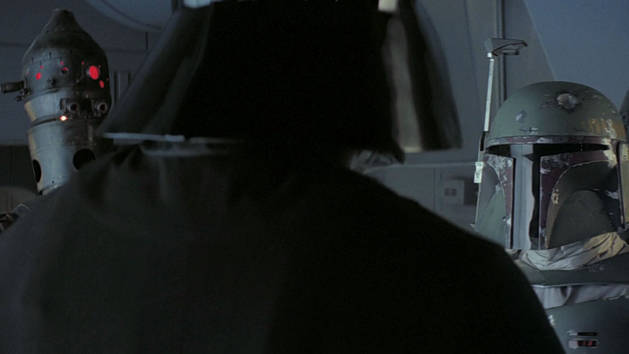
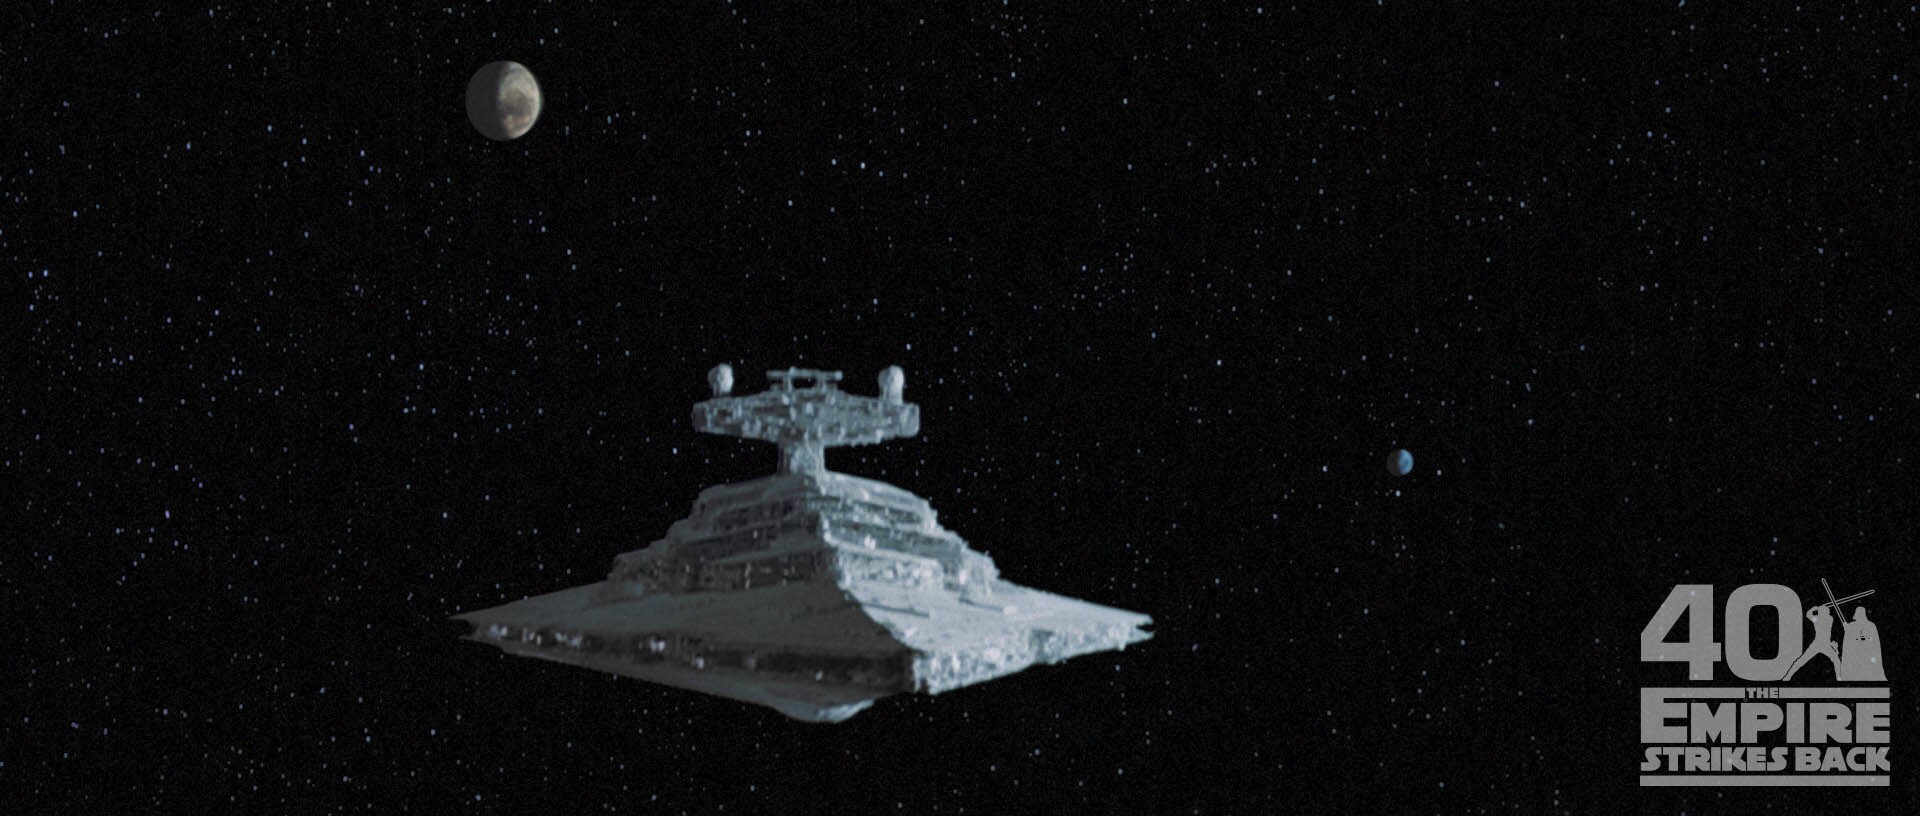
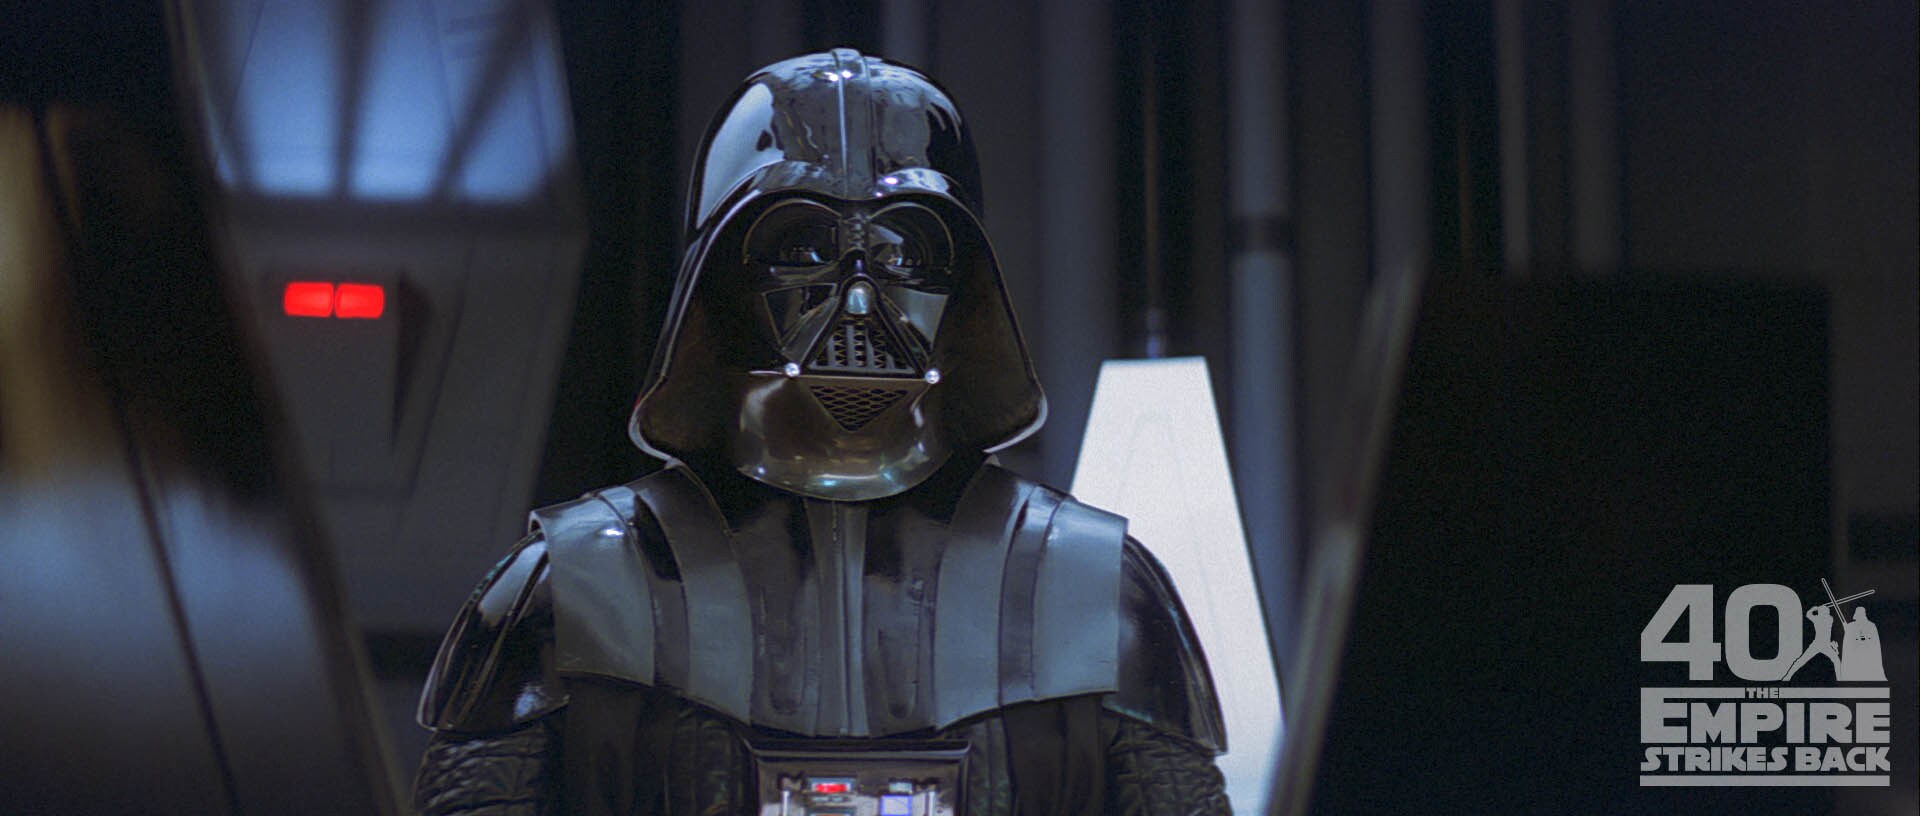
Back on Vader's Star Destroyer, a motley crew of bounty hunters has been assembled to track down the Millennium Falcon. Vader insists that there are to be no disintegrations of the Rebels, an order he directs most acutely at Boba Fett.
-
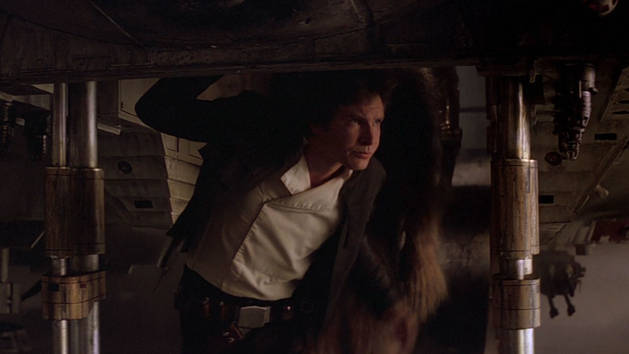
Discovering the "cave" they'd been hiding in was actually the gullet of a space slug, Han pilots the Falcon back out into the asteroid field and into the sights of the enemy. With the Falcon's hyperdrive malfunctioning, Han cleverly evades the pursuing ships by parking his ship on the back of a Star Destroyer, where scanners cannot detect it.
-
On Dagobah, Luke enters a large hollow under a tree. There, in a dream-like vision, he confronts Darth Vader in a duel, striking the Sith Lord down with a lightsaber blow to the head. The face shield of Vader's helmet explodes to reveal Luke's own face behind the mask.
-
Back in the Millennium Falcon, Han Solo prepares to make their escape. He detaches the Falcon from the Star Destroyer just as the Imperial vessel releases its garbage, allowing the Rebel ship to invisibly blend in with the floating mass of refuse. Boba Fett, however, anticipated Solo's cunning, and follows the Falcon's escape at a discreet distance.
-
Troubled by a vision of his friends in pain, Luke readies to leave Dagobah to help them. Yoda insists that Luke is not ready to confront Vader, but Luke cannot bring himself to let his friends die.
-
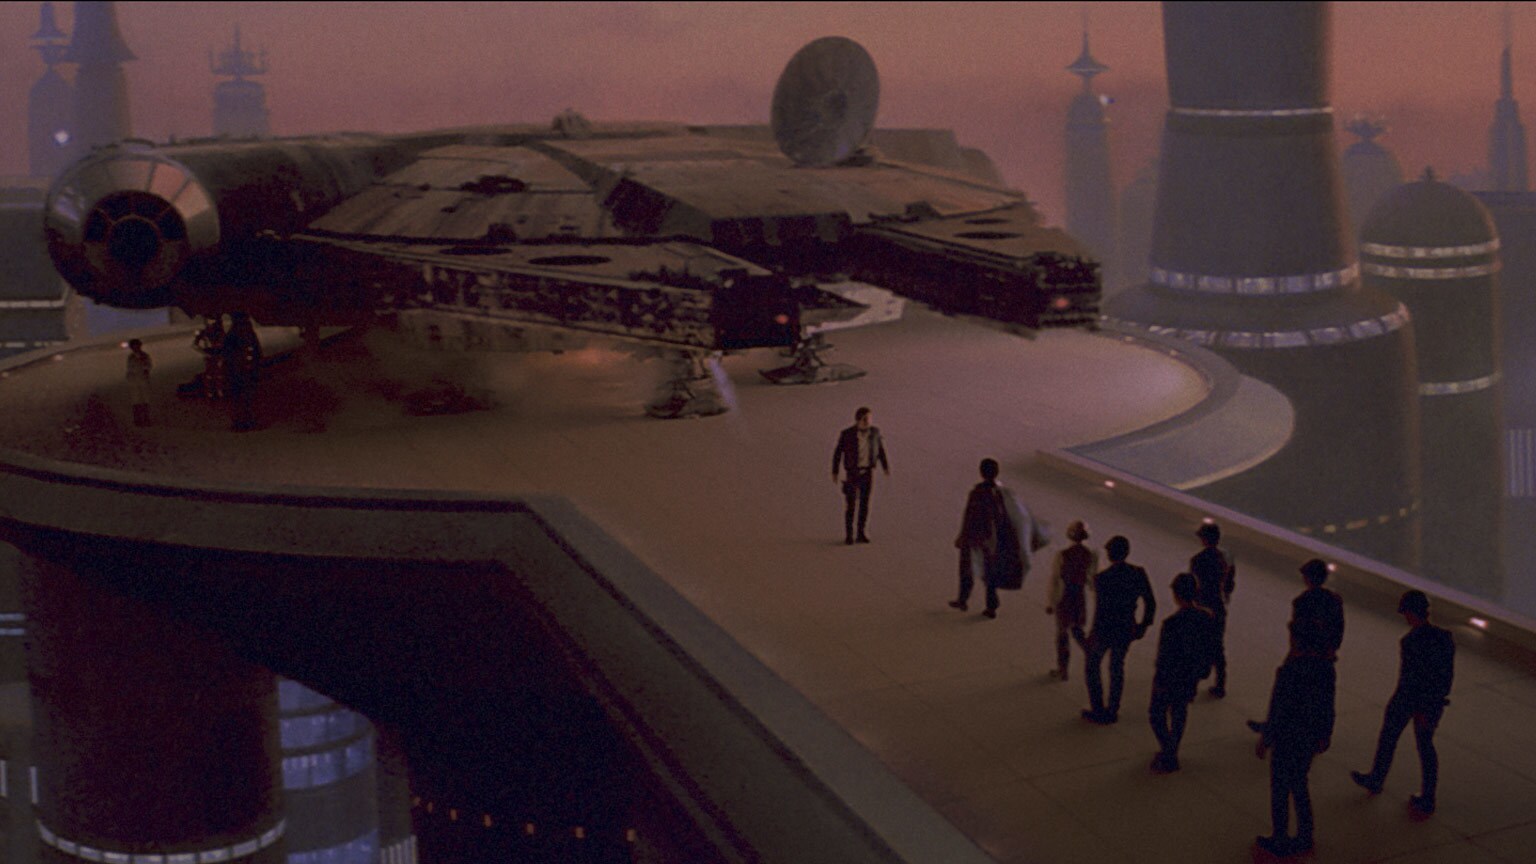
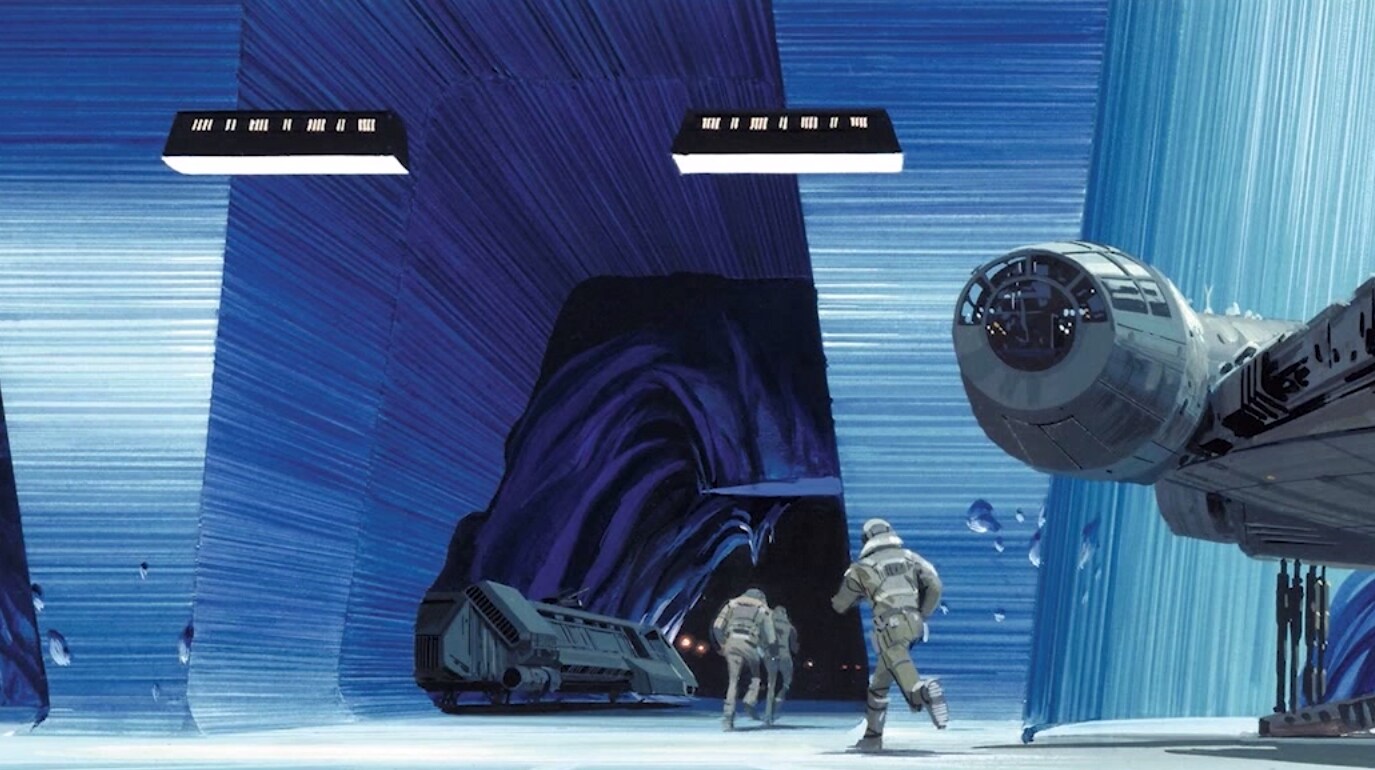
Hoping to find safe harbor in Cloud City, a Tibanna gas mine run by Han's old friend Lando Calrissian, the Falcon approaches one of the floating city's landing platforms.
-
Han, Leia, Chewbacca and C-3PO are welcomed by Lando, who promises to have his technicians fix the Falcon's faulty hyperdrive.
-
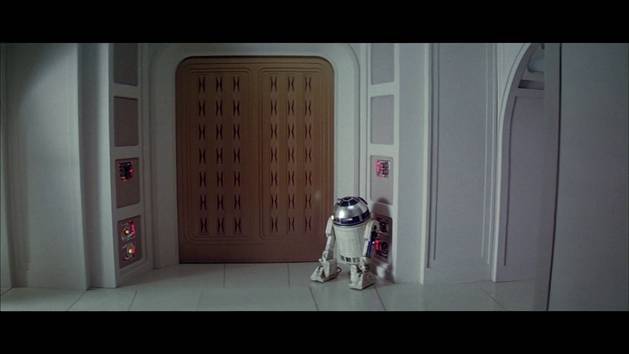
Soon after landing, Leia feels something is amiss. Her suspicions are realized when C-3PO's body is found in pieces in one of the city's junk rooms.
-
Lando invites Leia, Han and Chewbacca to dinner.
-
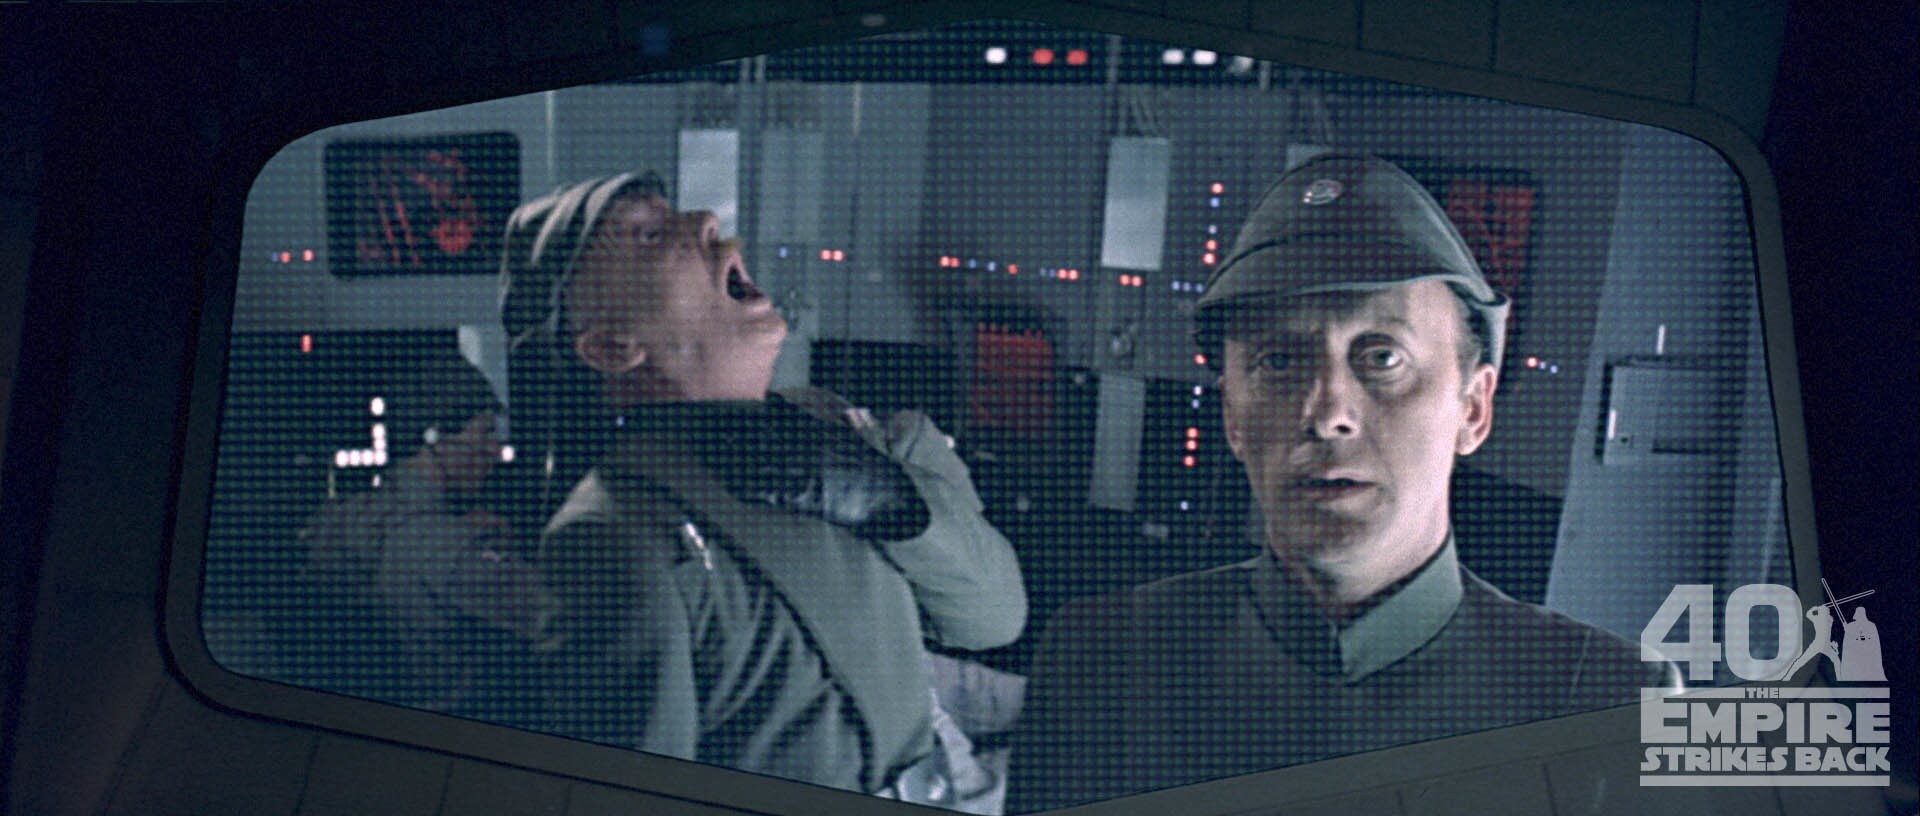
Upon reaching the dining room, Han, Leia and Chewie quickly realize they have been trapped by Darth Vader, who arrived ahead of the Rebels with information provided by Boba Fett. Lando agreed to the Empire's scheme in exchange for the security of Cloud City and its residents.
-
Han Solo is tortured by Darth Vader, although he is never asked any questions. Solo's pain is designed to lure Luke Skywalker to Cloud City.
-
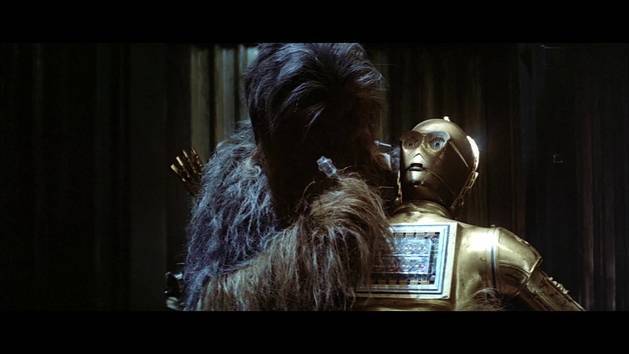
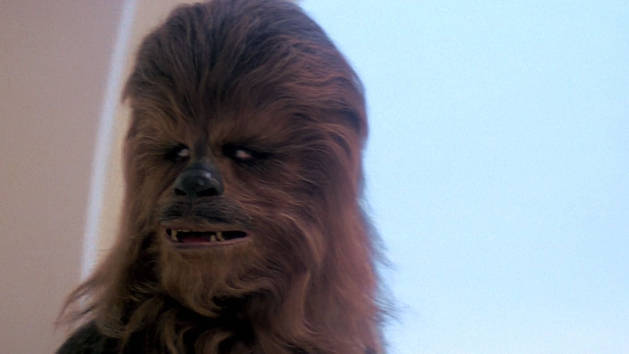
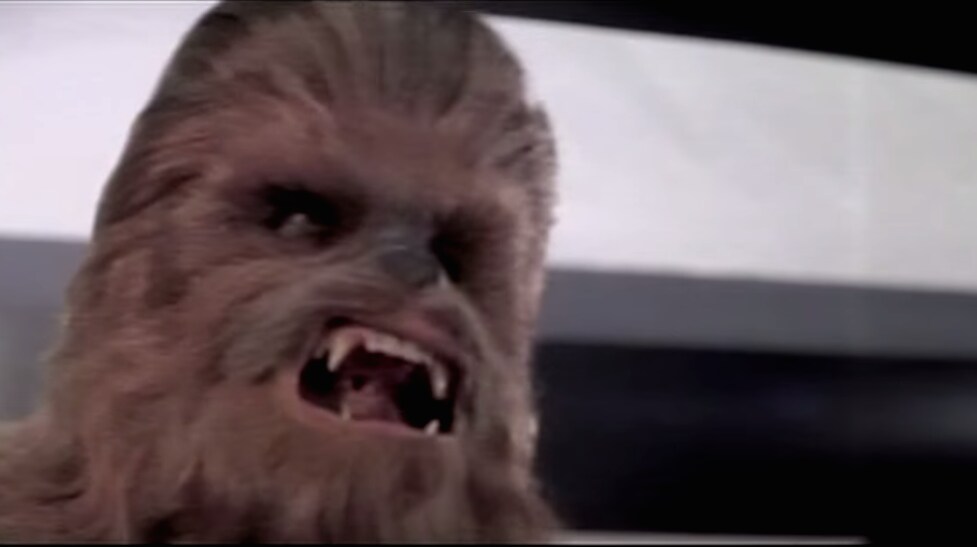
Held in a cell with C-3PO's parts, Chewbacca begins to put the droid back together.
-
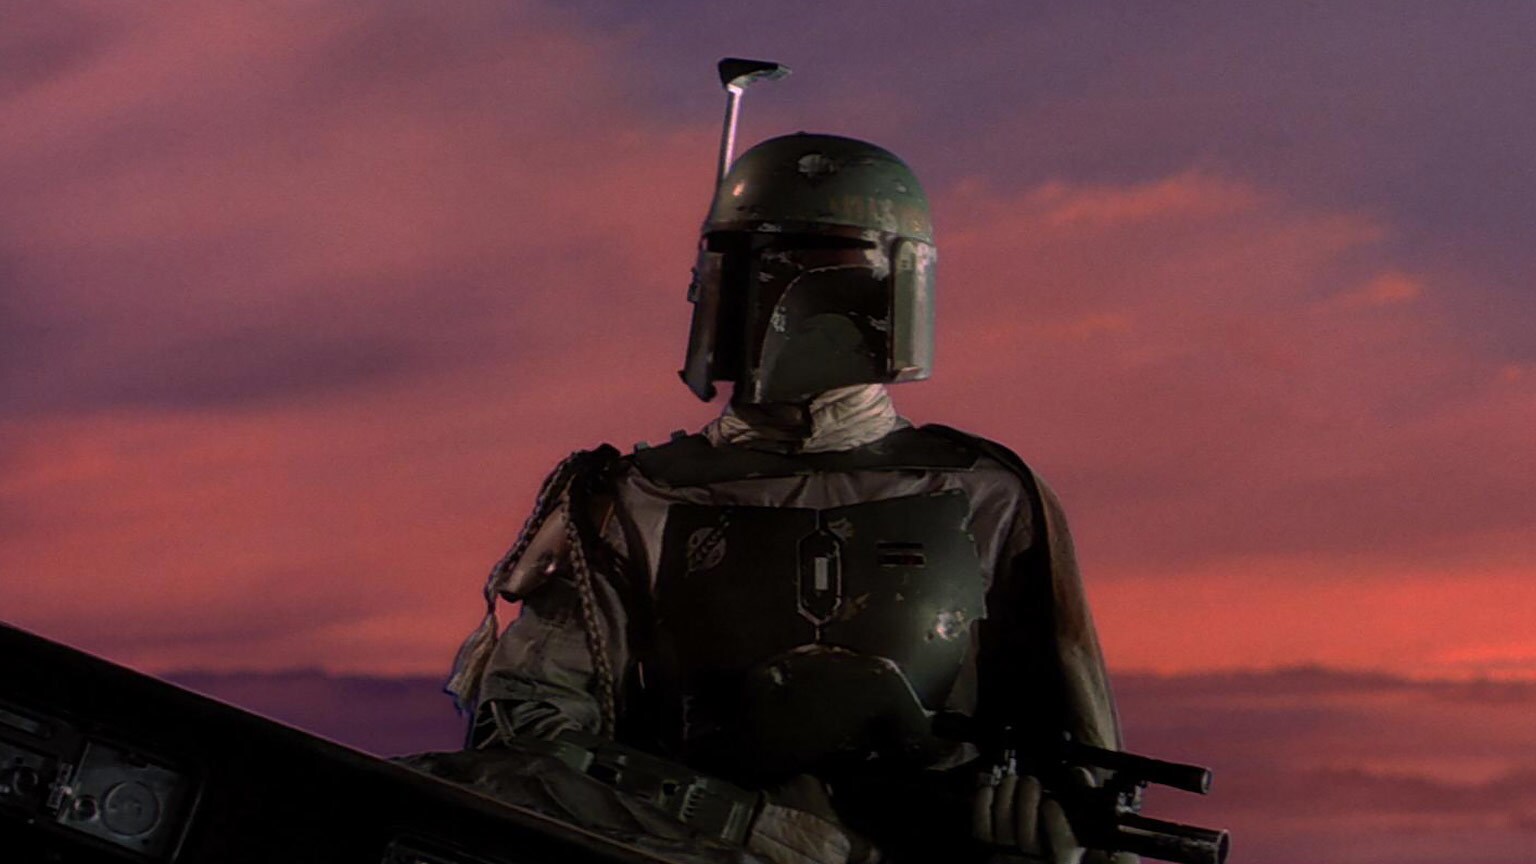
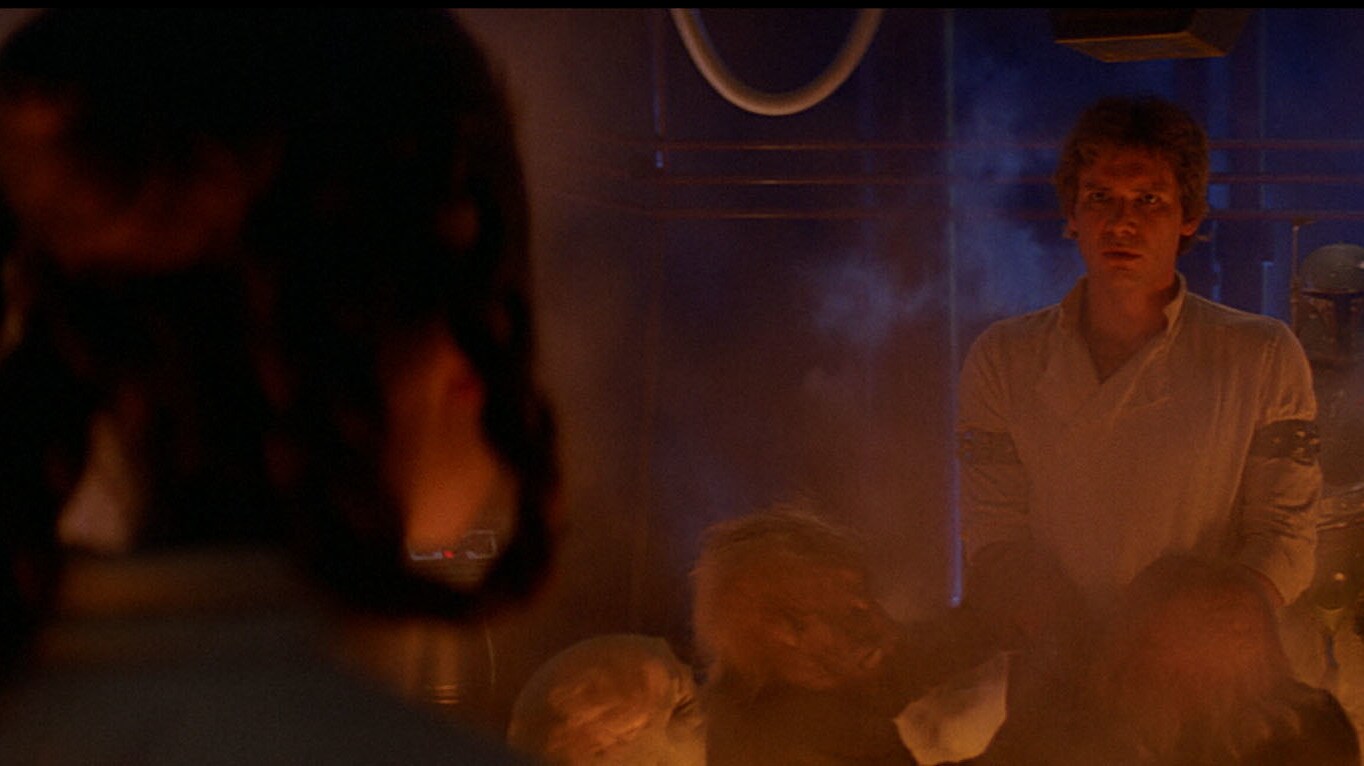
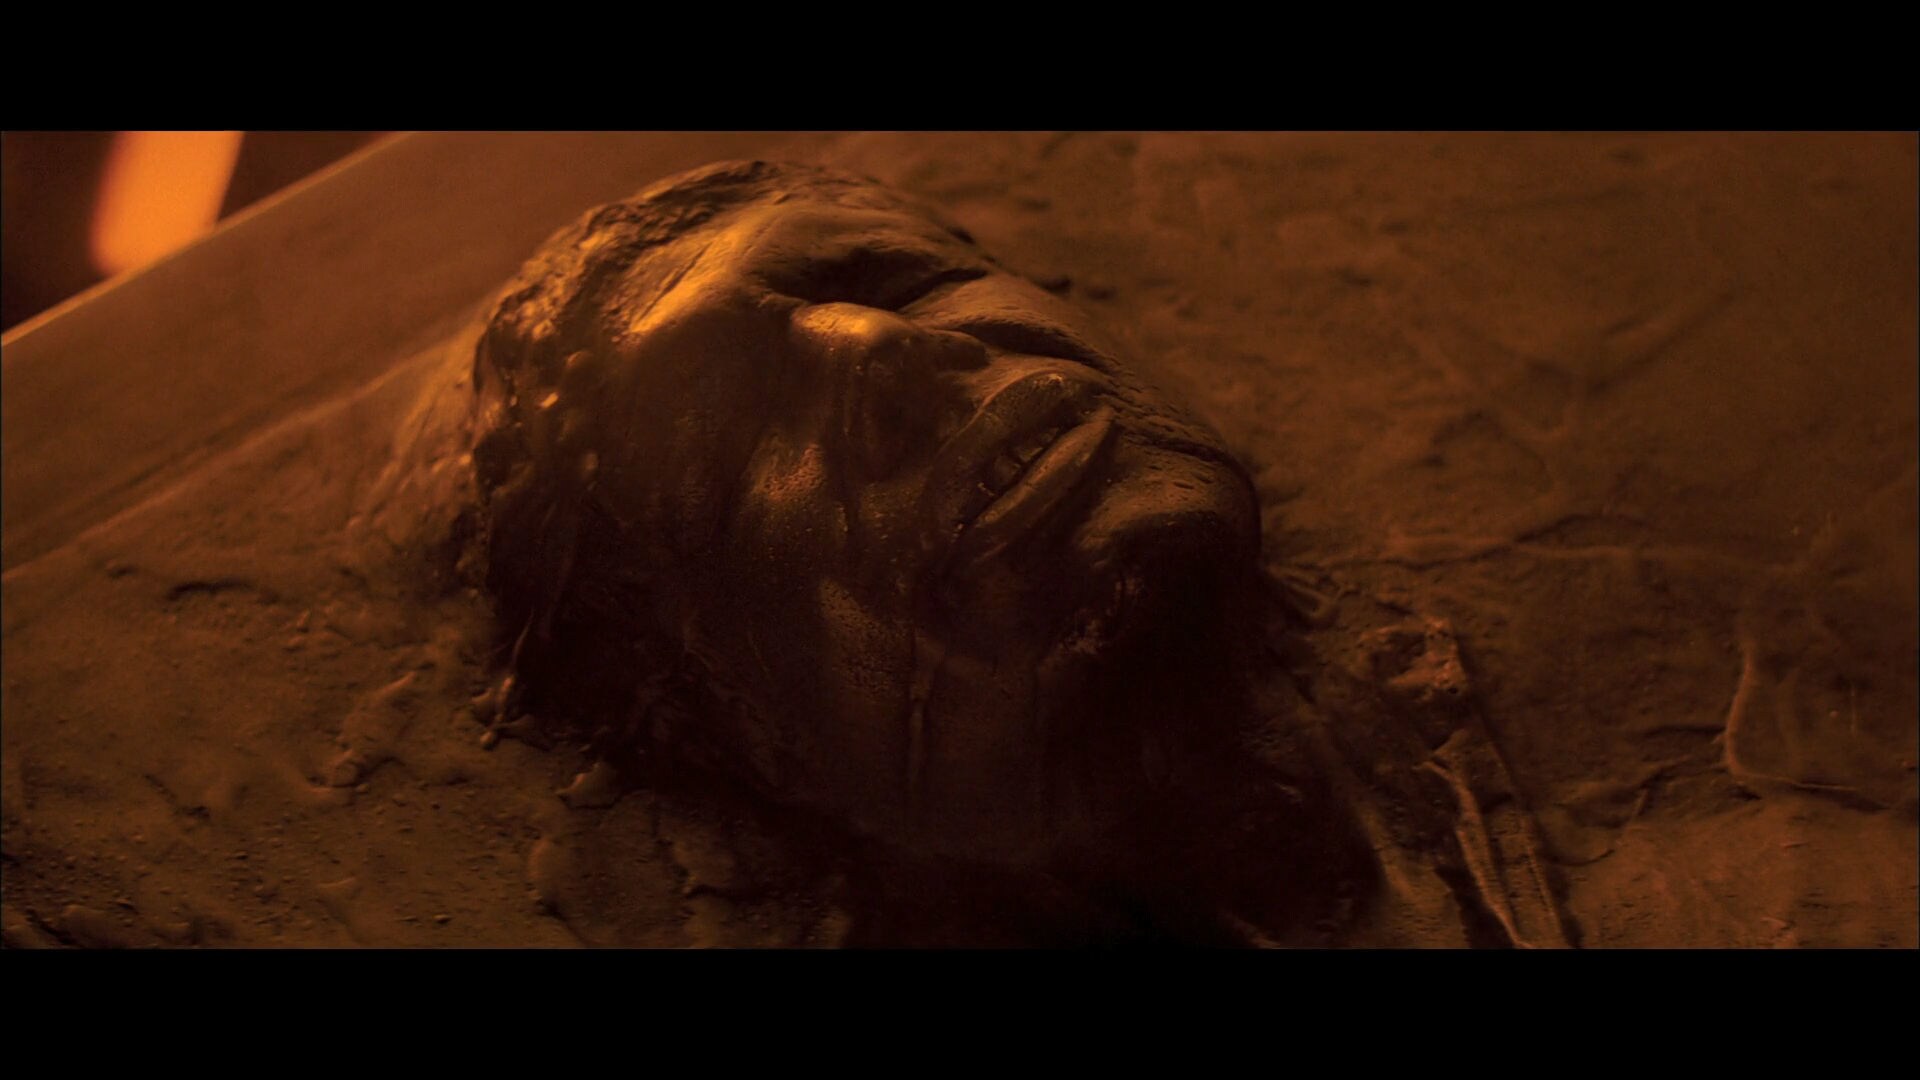
Finished with Solo, Vader hands him over to Boba Fett to deliver to Jabba the Hutt -- but not before testing the carbon-freezing encasement procedure on the unfortunate captain. Vader intends to subject Luke to the same process for delivery to the Emperor.
-
Just before Han is lowered into the carbon-freeze chamber, Leia confesses her love for him. He knows.
-
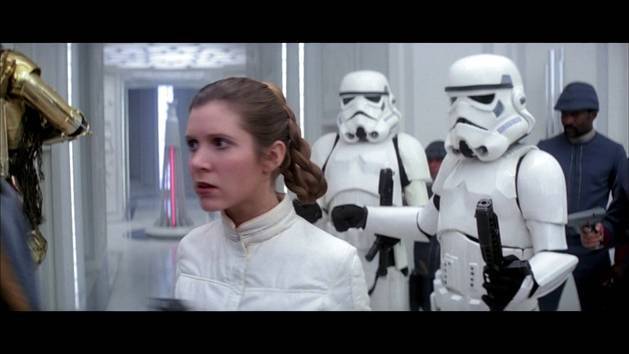
Han survives the carbon-freezing process, and Leia, Chewbacca and C-3PO are handed over to the Empire as prisoners. Lando protests to Vader that these were never conditions of their agreement -- an agreement that Vader threatens to alter further if Lando interferes.
-
Luke arrives on Cloud City. Han's frozen form is being moved to Boba Fett's ship, Slave I.
-
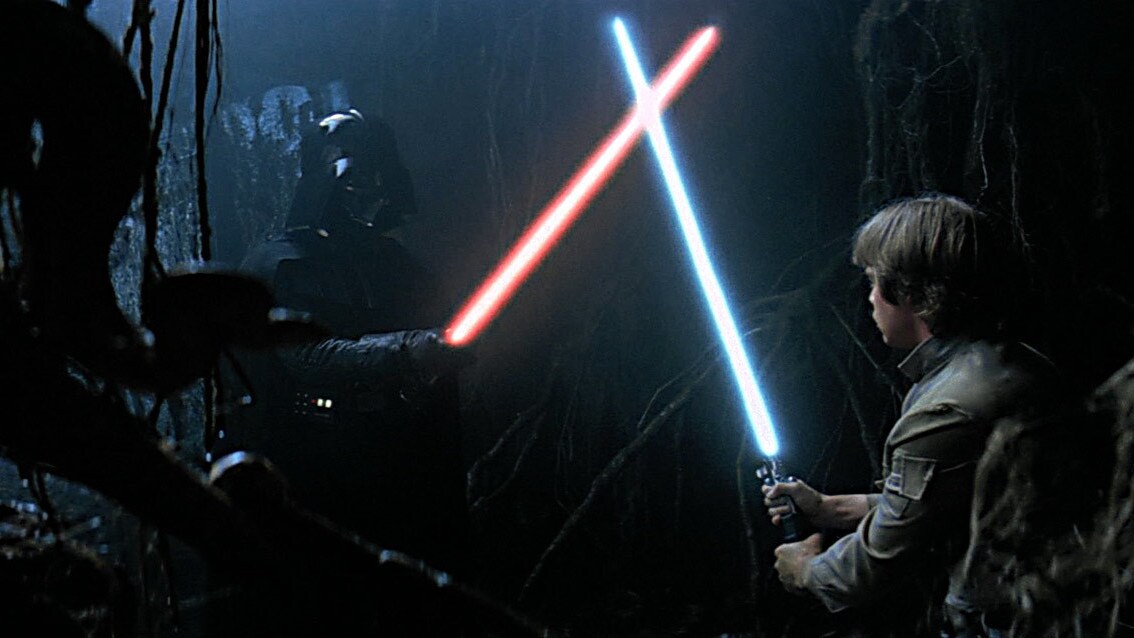
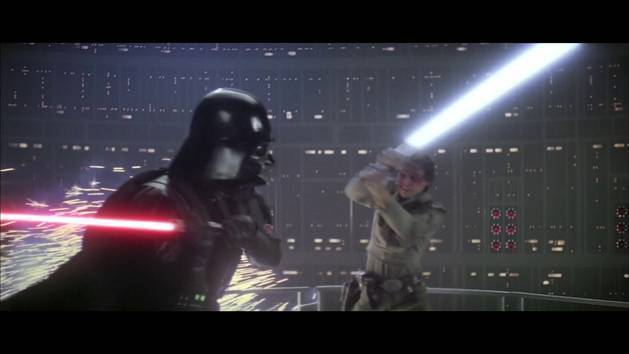
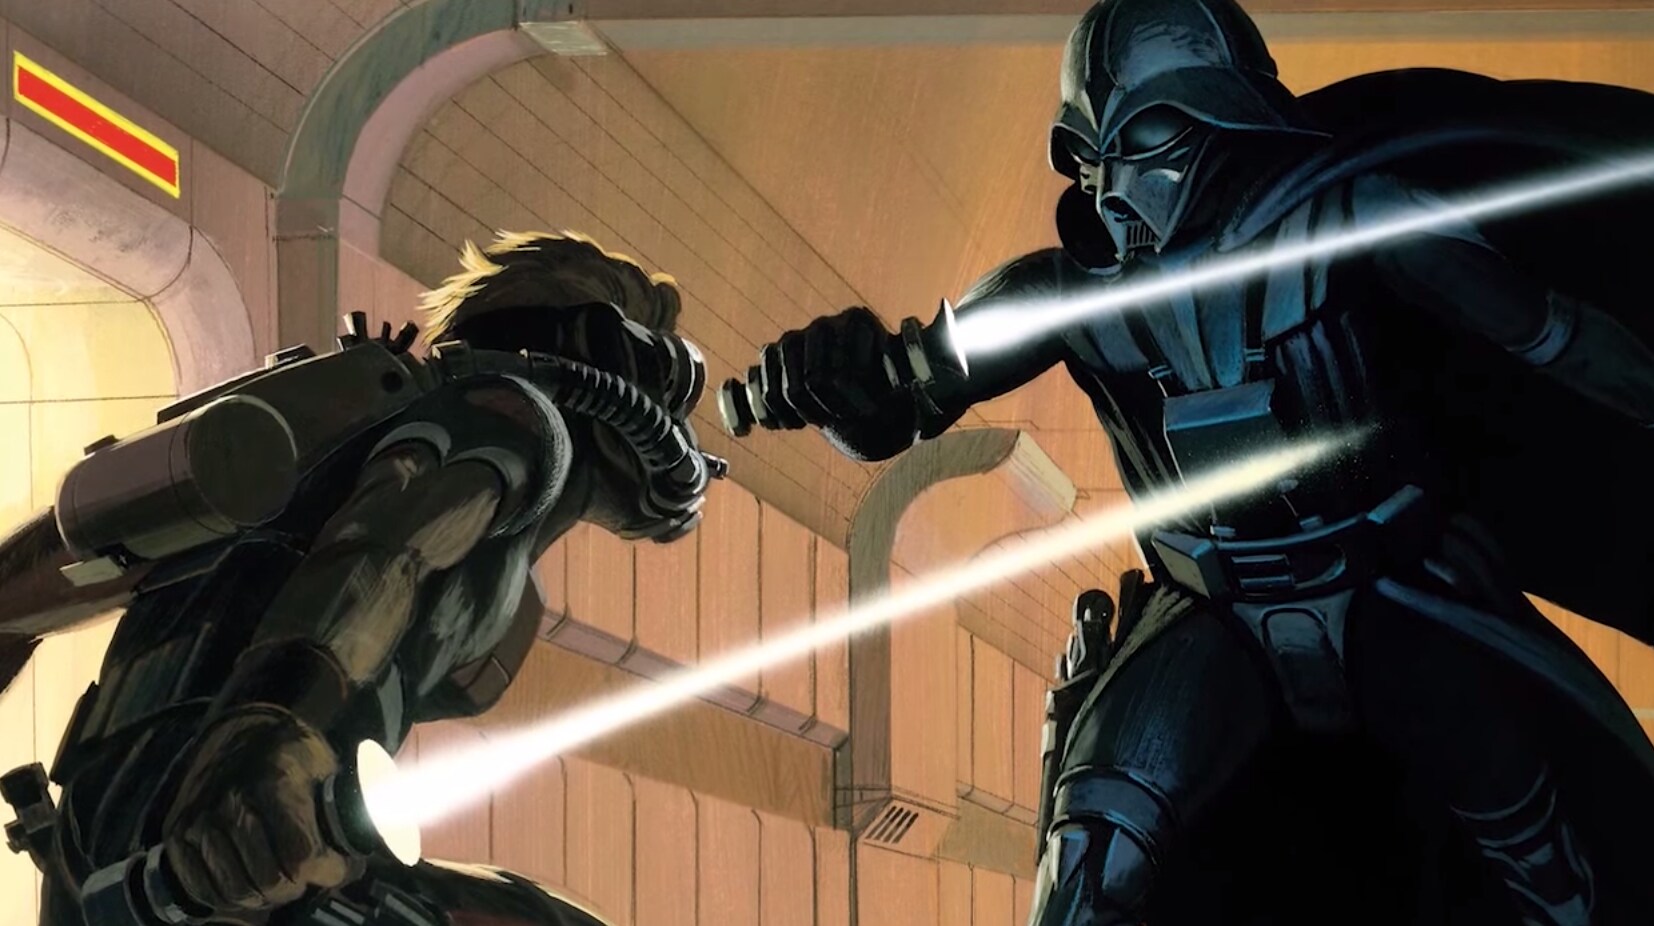
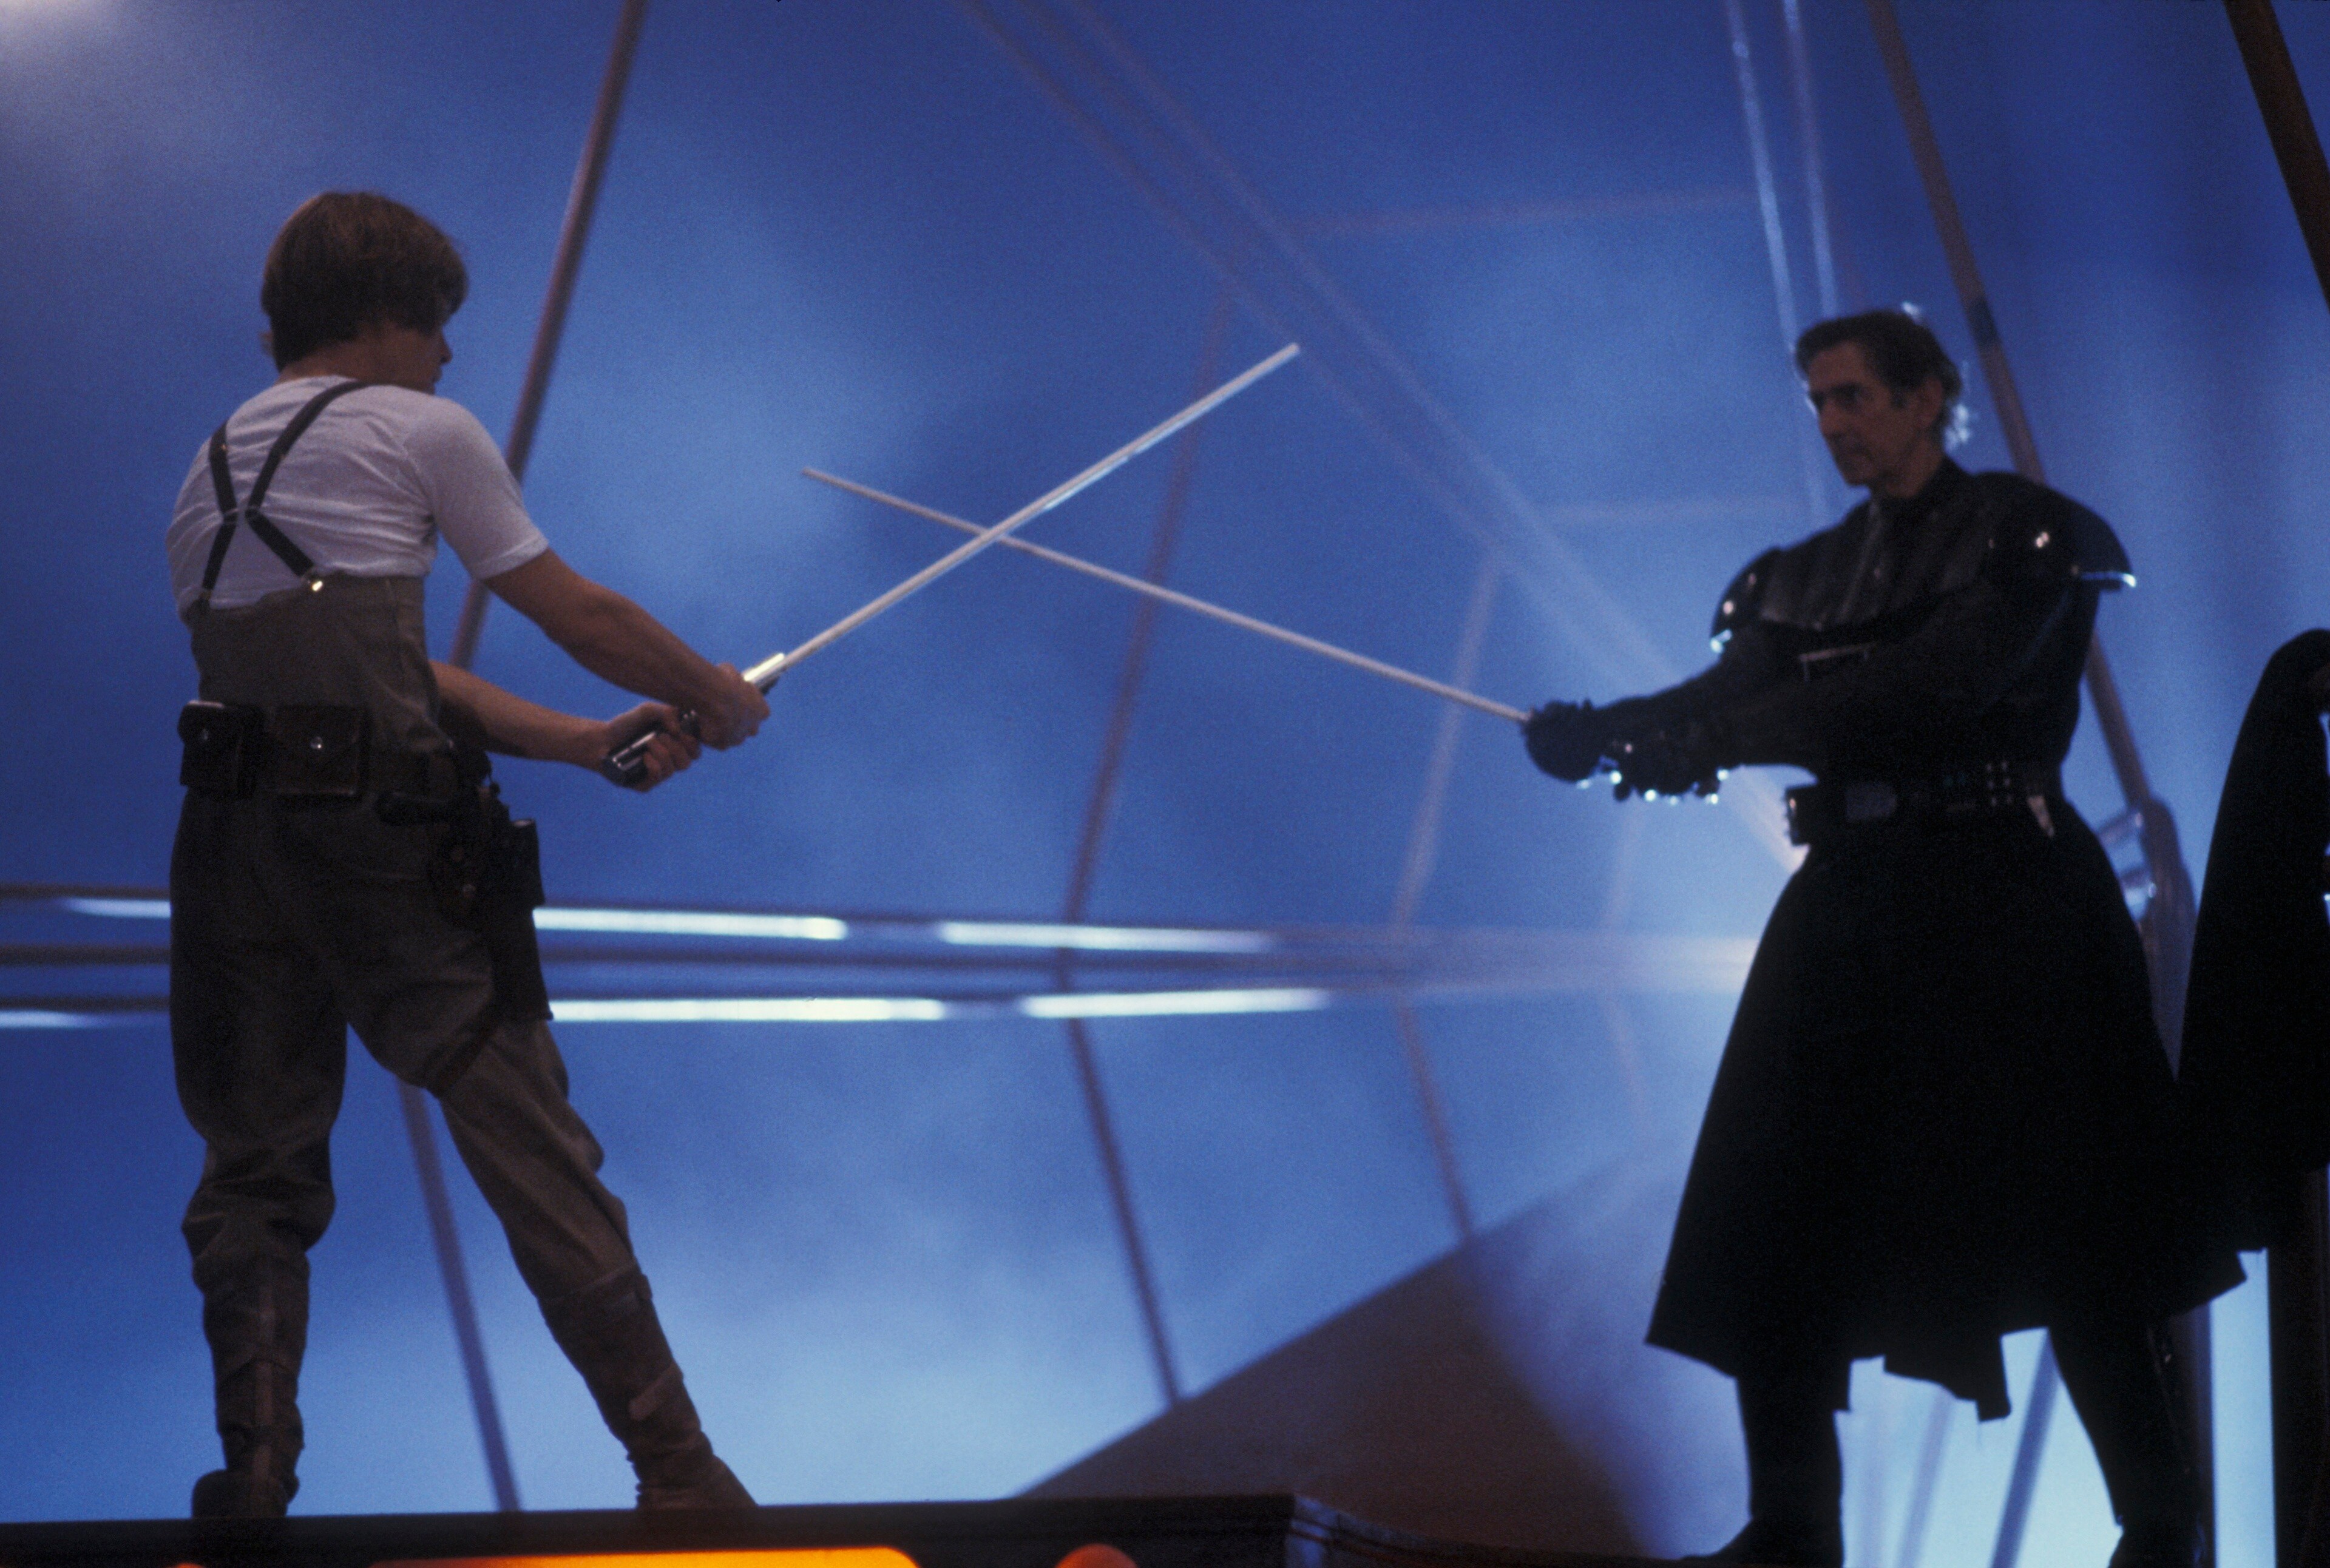
Luke is led into the carbon-freezing chamber, where Darth Vader awaits him. They begin to duel.
-
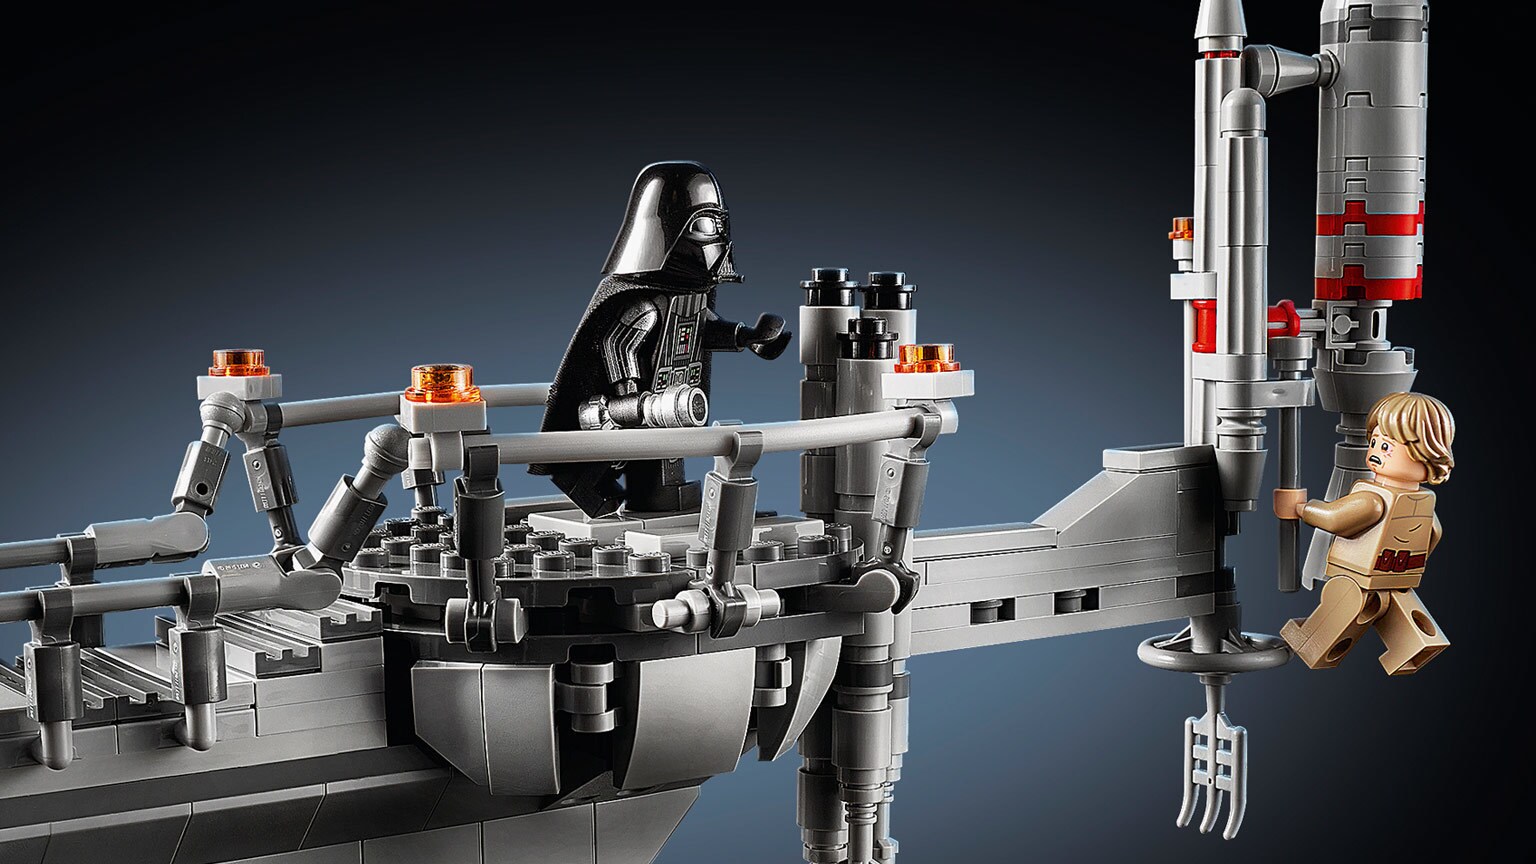
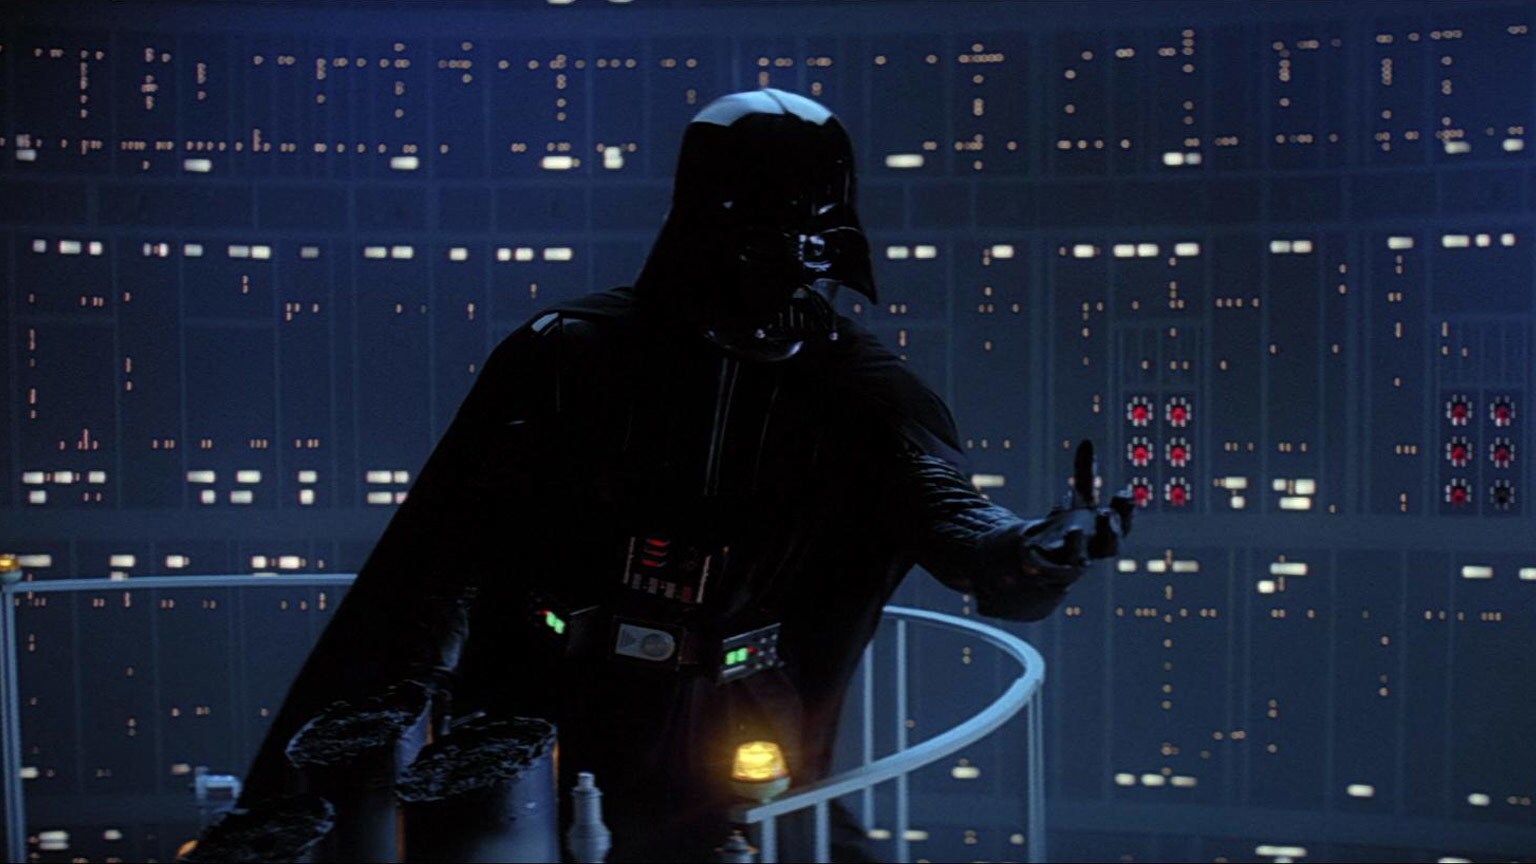
Vader presses his attack on Luke into Cloud City's enormous reactor shaft. There, he reveals to Luke that Obi-Wan had lied about his father -- that Darth Vader, was in fact, Luke's father. Anguished and confused, Luke allows himself to plummet down the shaft, entering a series of tunnels that break his fall. He is left clinging to an electronic weather vane on the underside of Cloud City.
-
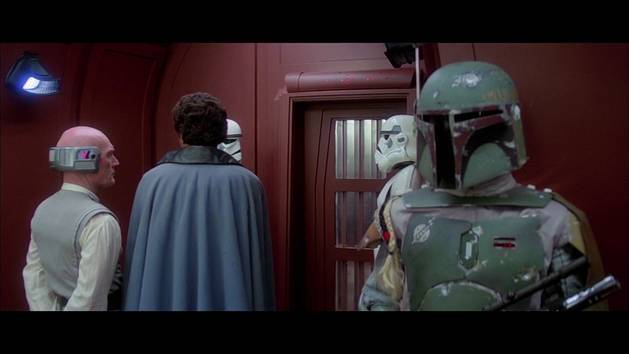
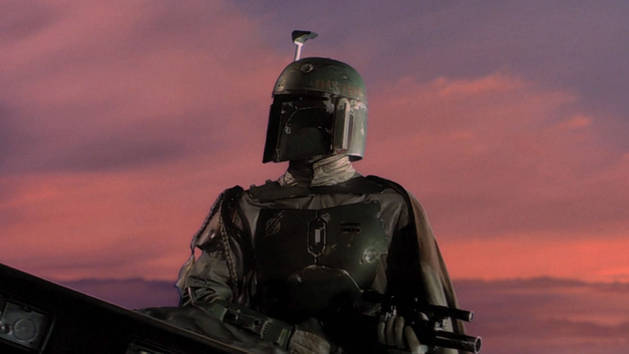
Lando secretly arranges to have Leia and the others freed before they can be taken to Vader's ship. Now armed, Leia heads for the platform where Han is being loaded onto Boba Fett's Slave I. But she is too late -- the bounty hunter lifts off and races toward Tatooine, the home planet of Jabba the Hutt.
-
Making their escape from Cloud City on the Falcon, Leia senses Luke is in trouble and directs Chewbacca to fly to the underside of the floating city, where they rescue Luke from the weather vane. Artoo repairs the Falcon's hyperdrive in the nick of time, allowing the Rebels to escape.
-
Rejoining the Rebel fleet, Lando and Chewbacca prepare to pilot the Falcon to Tatooine.
-
Luke and Leia watch as the Falcon departs, determined to rendezvous on Tatooine and rescue Han from Jabba the Hutt.
The Empire Strikes Back - Story Gallery
© 2015 Disney
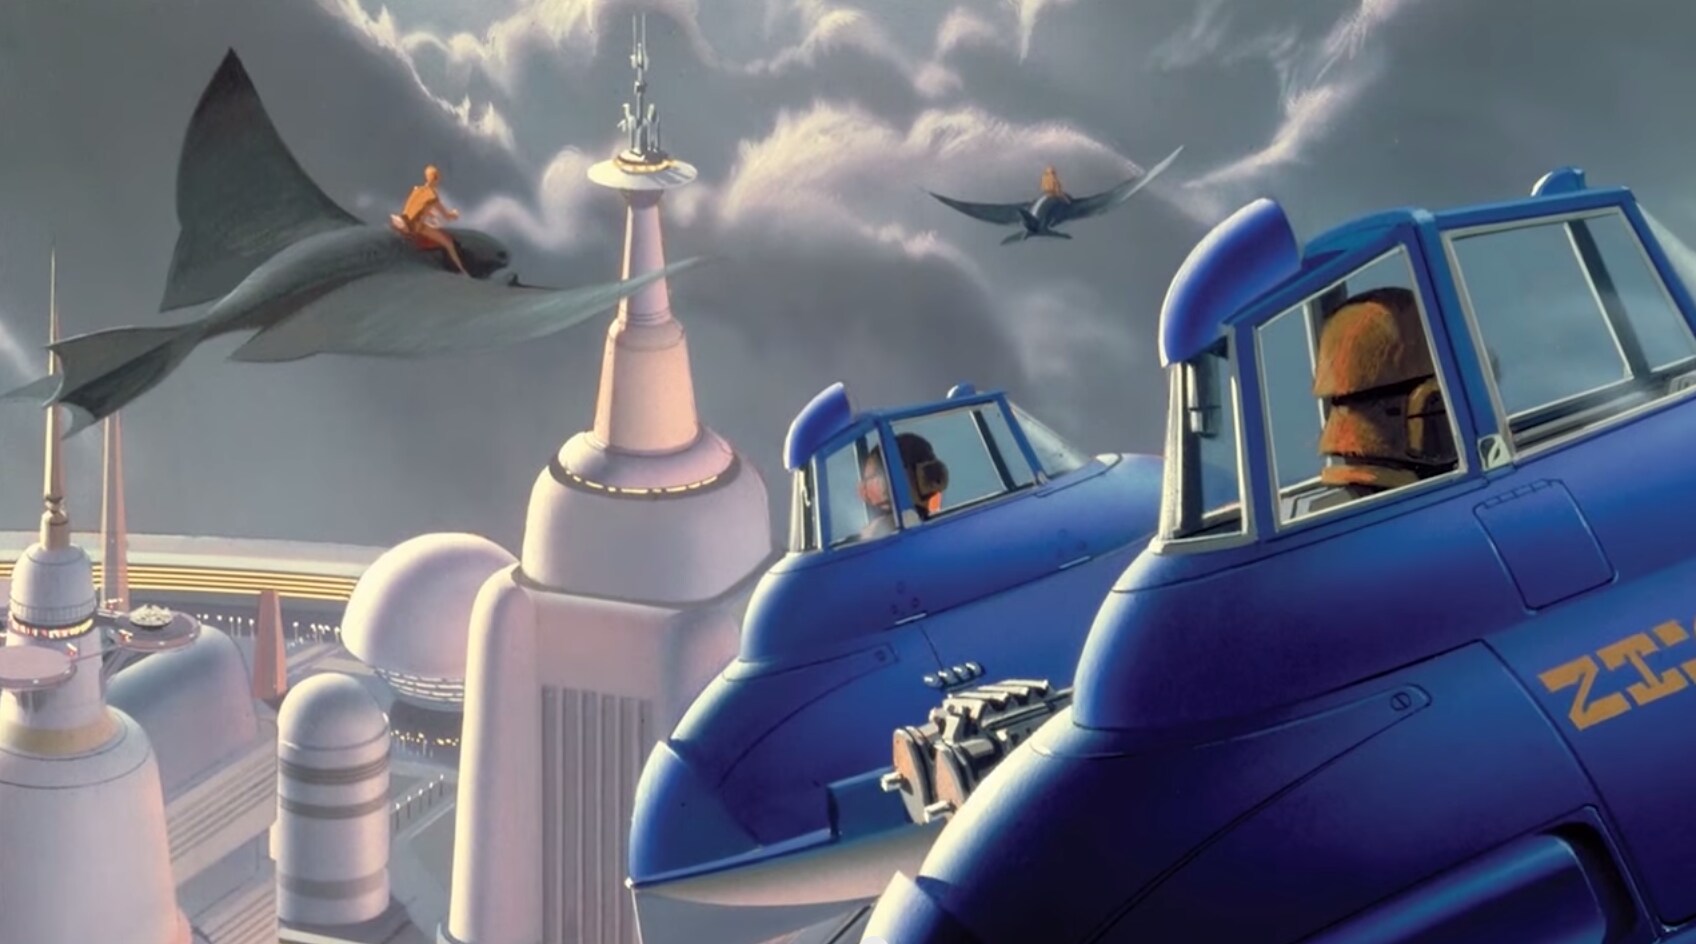
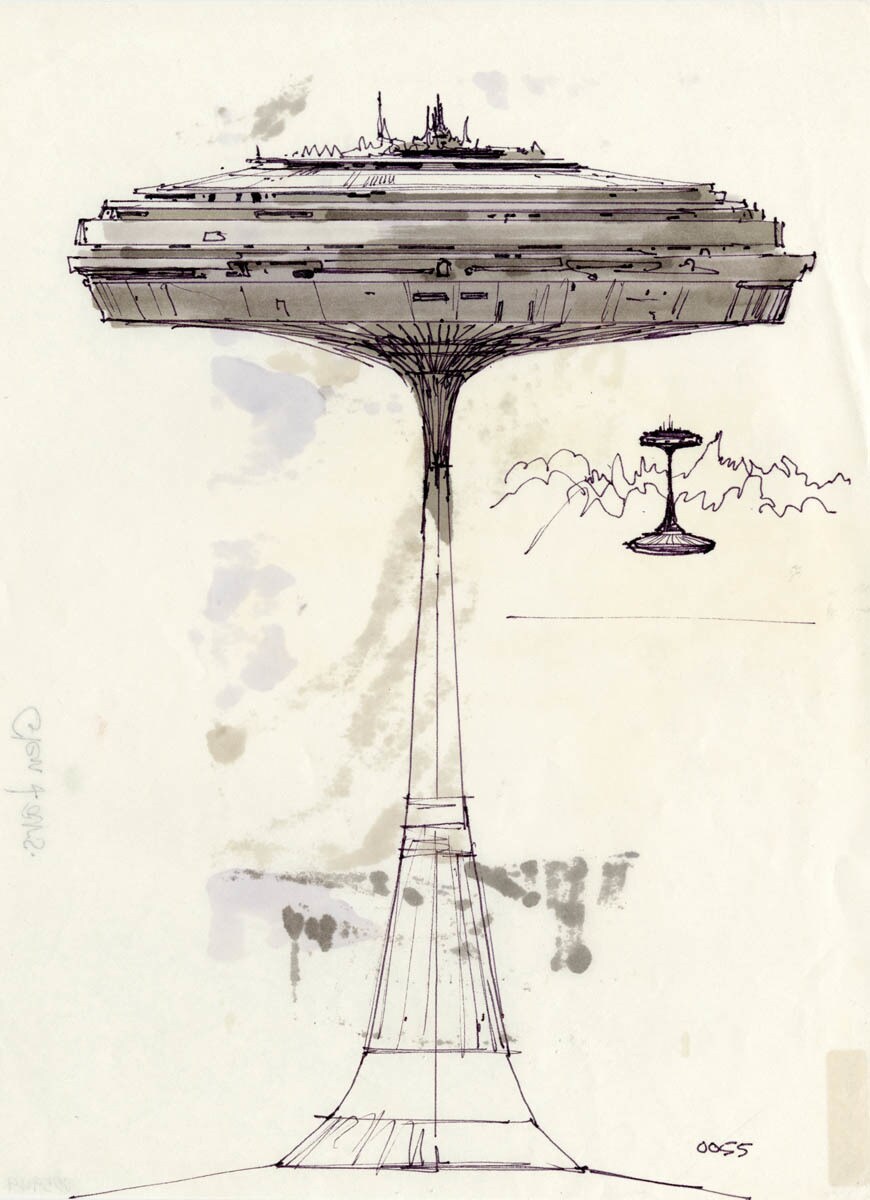
The Empire Strikes Back - Concept Art Gallery
A selection of concept art from the production of Star Wars: The Empire Strikes Back.
- 38 Images


The Empire Strikes Back - Concept Art Gallery
© 2015 Disney

The Empire Strikes Back - BTS Gallery
Behind the scenes stills from the production of Star Wars: The Empire Strikes Back.
- 16 Images

-
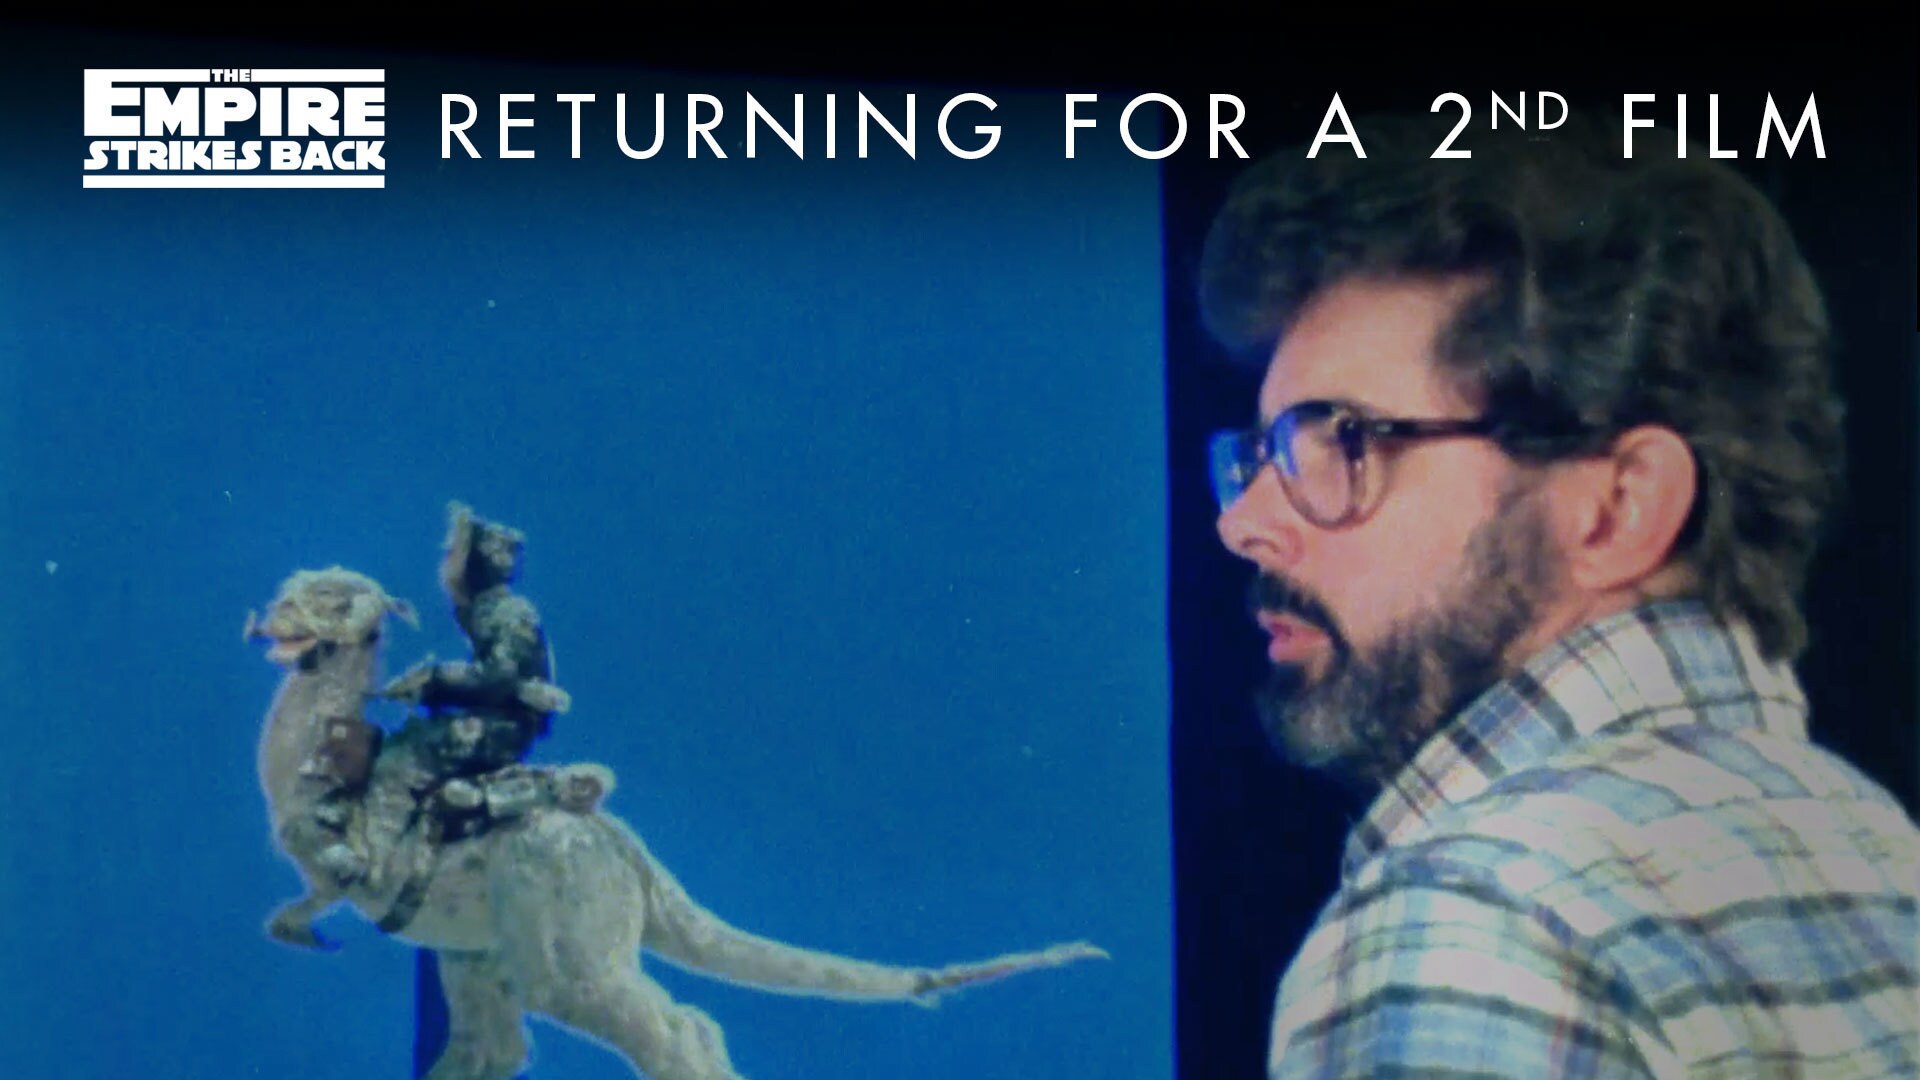
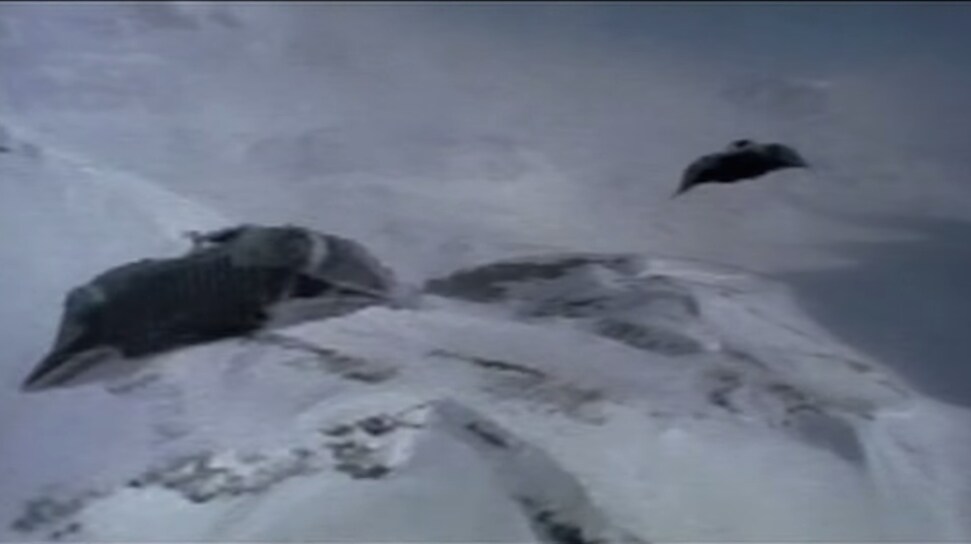
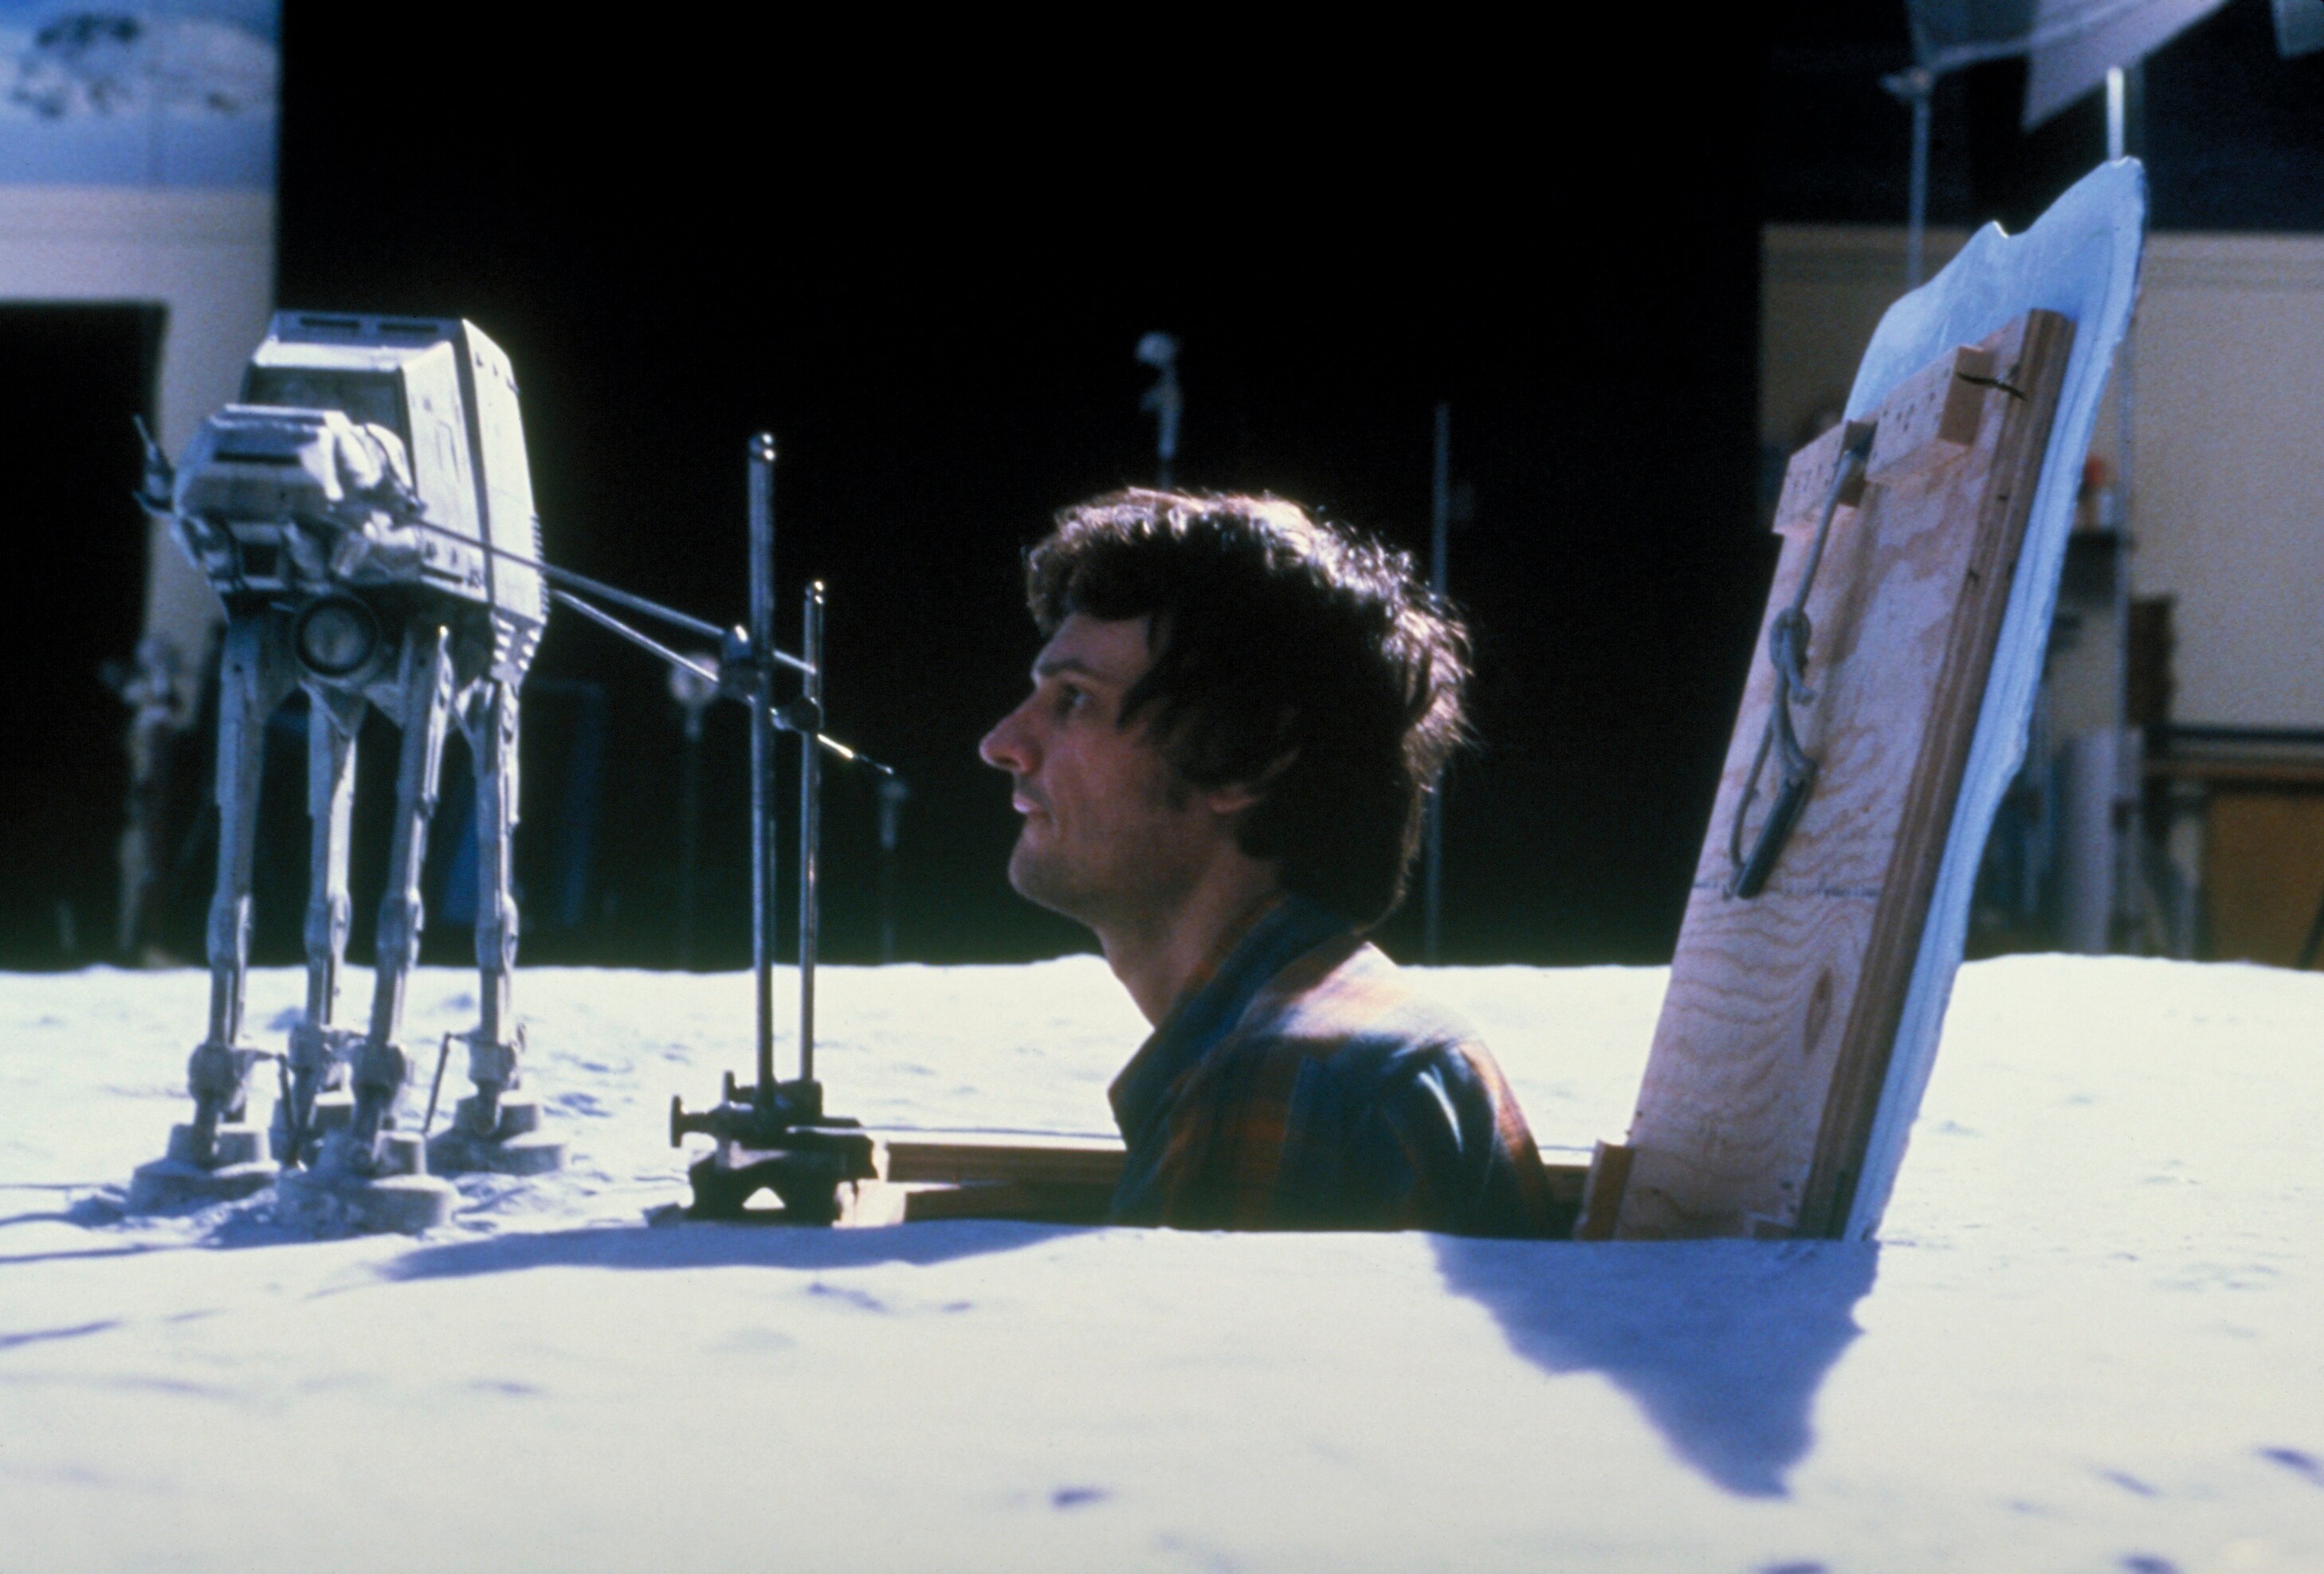
ILM animator Jon Berg moves an AT-AT model frame by frame for a stop-motion effect.
-
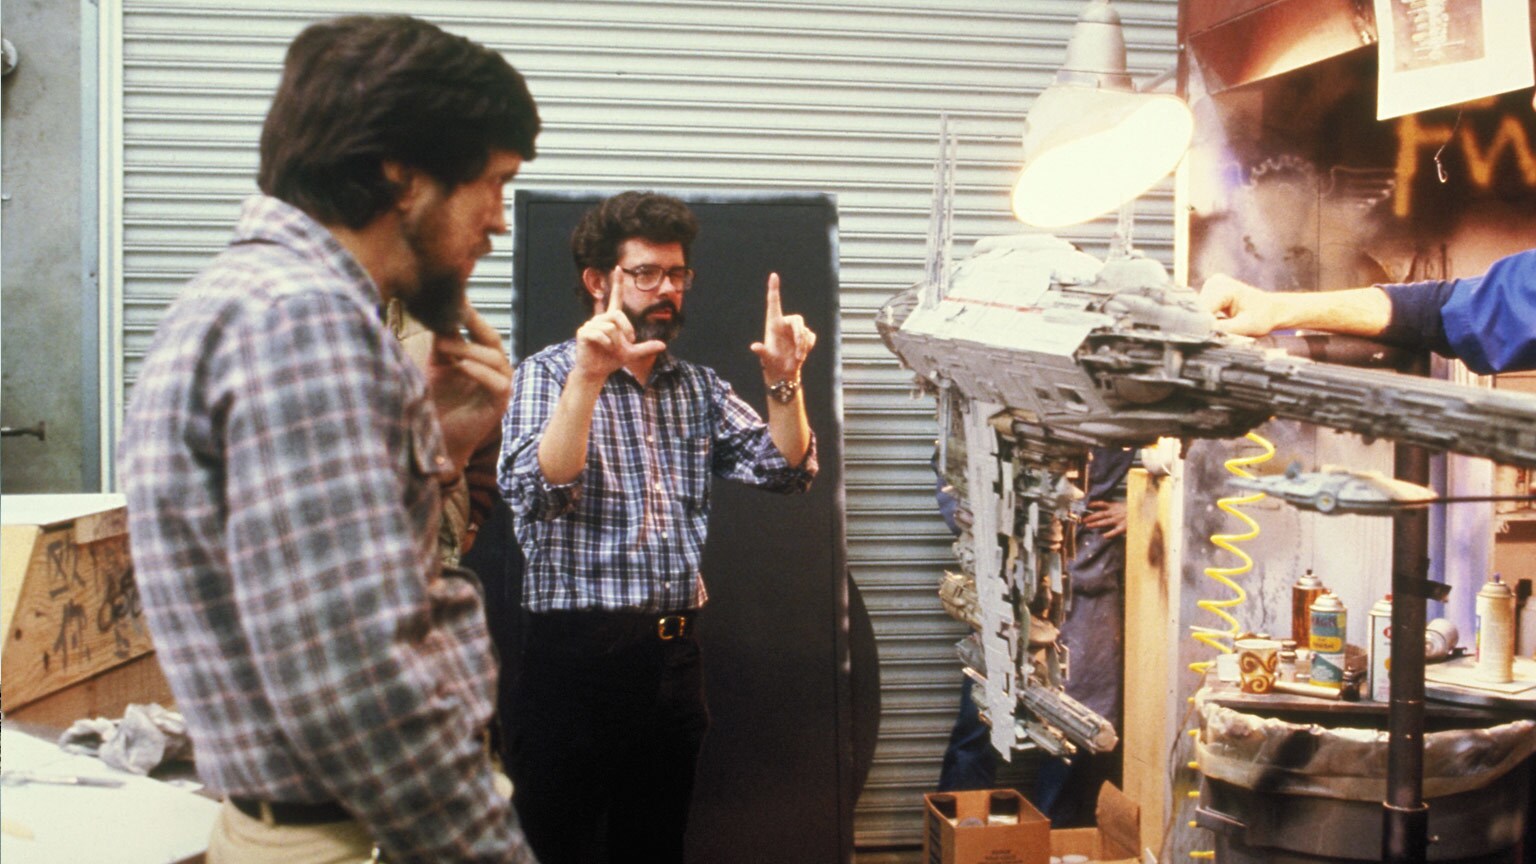
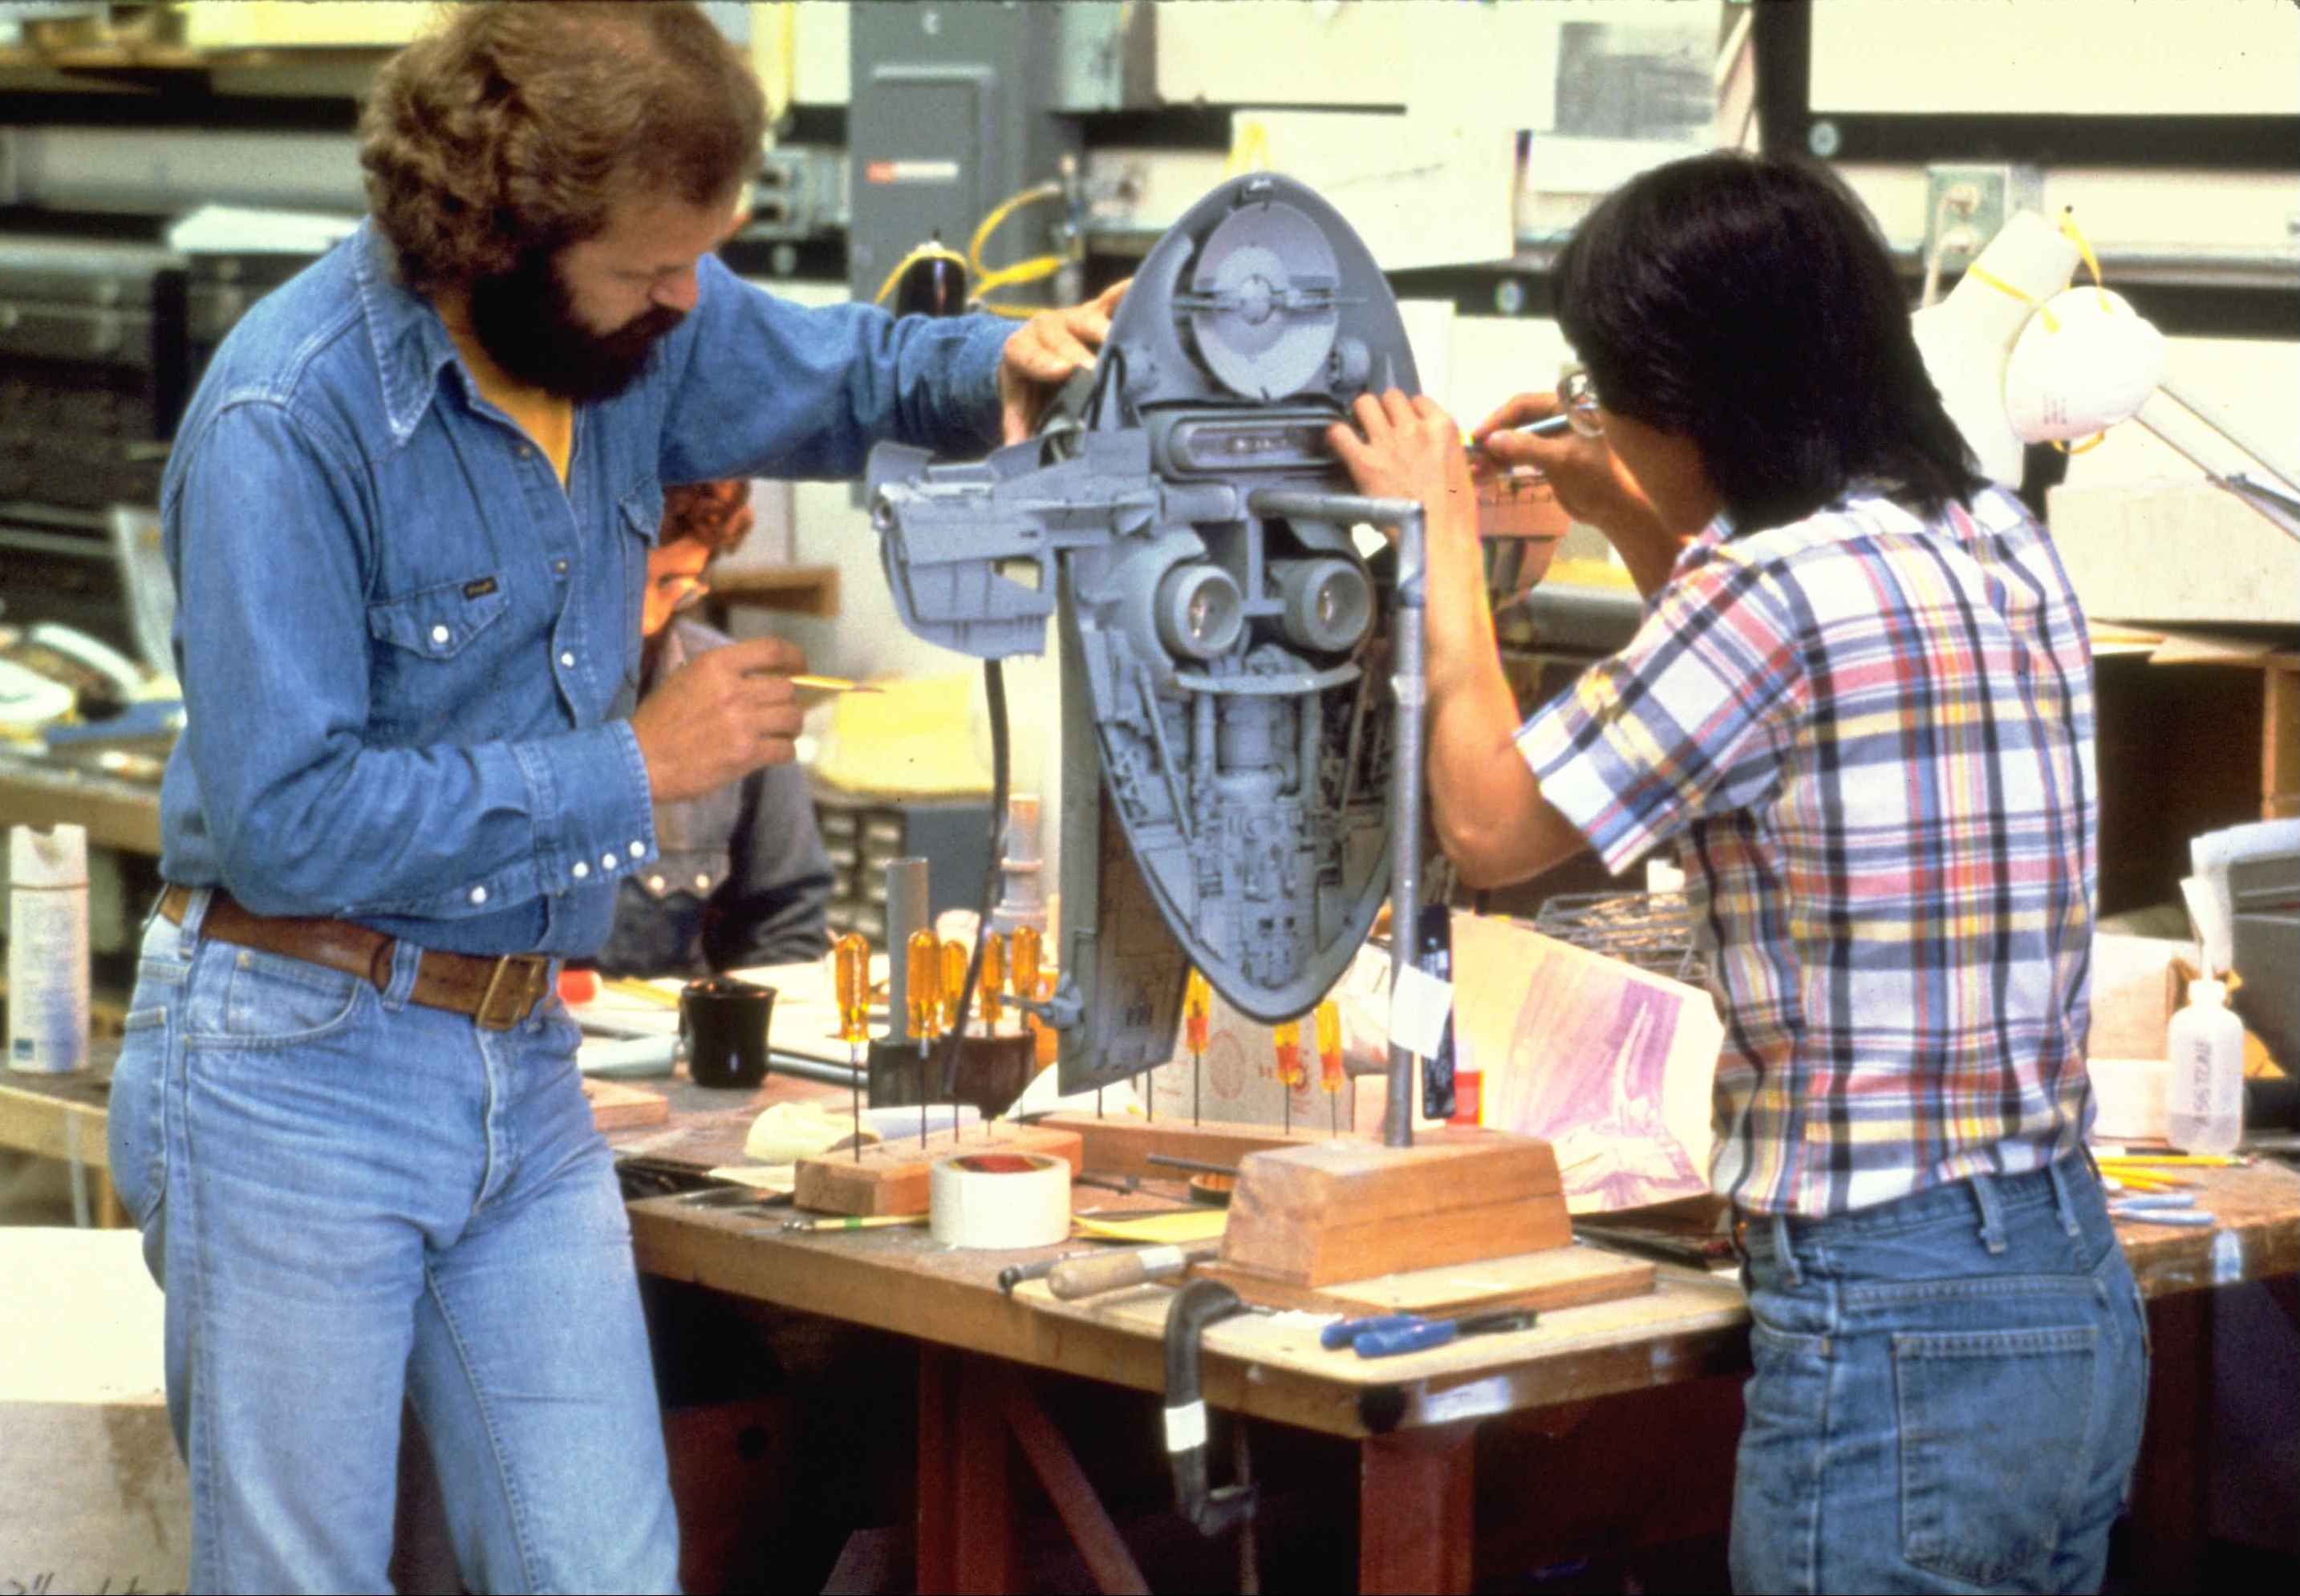
Modelmakers Lorne Peterson and Ease Owyeung building Boba Fett's Slave I starship.
-
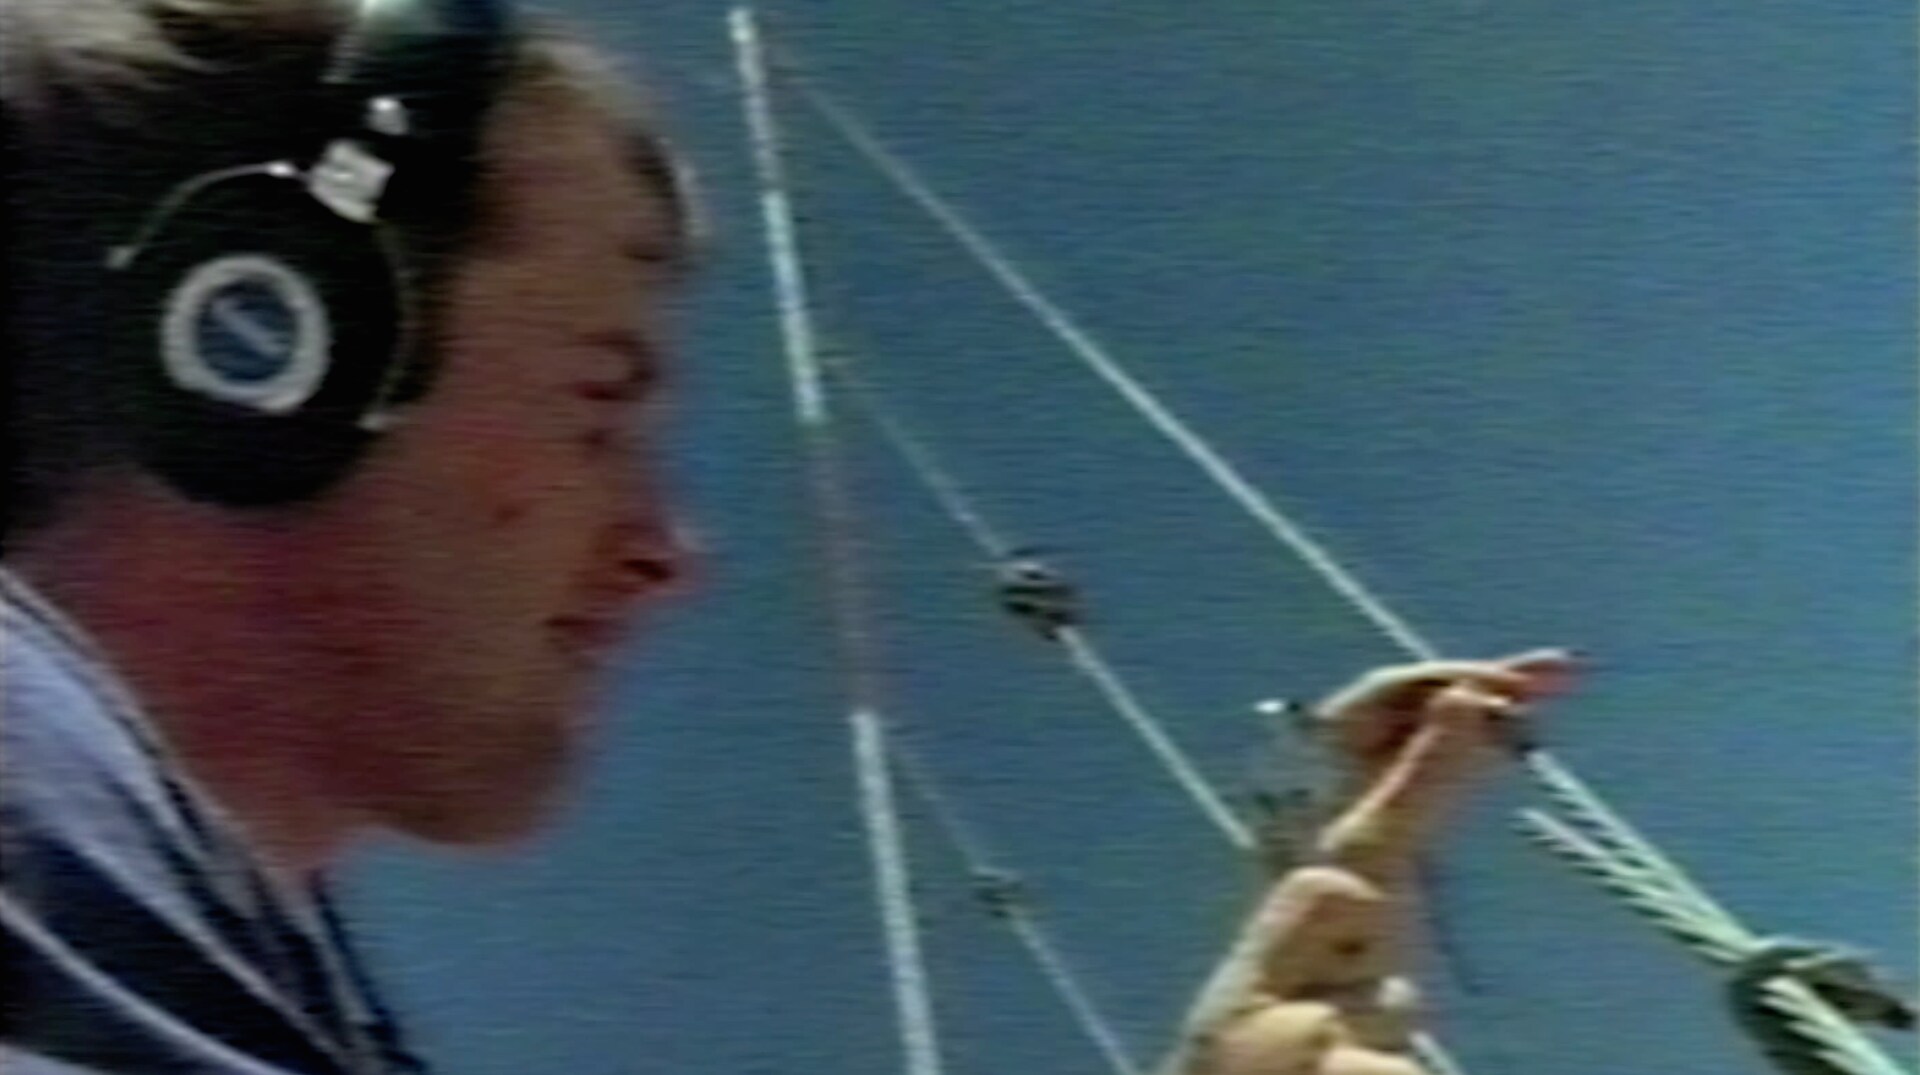
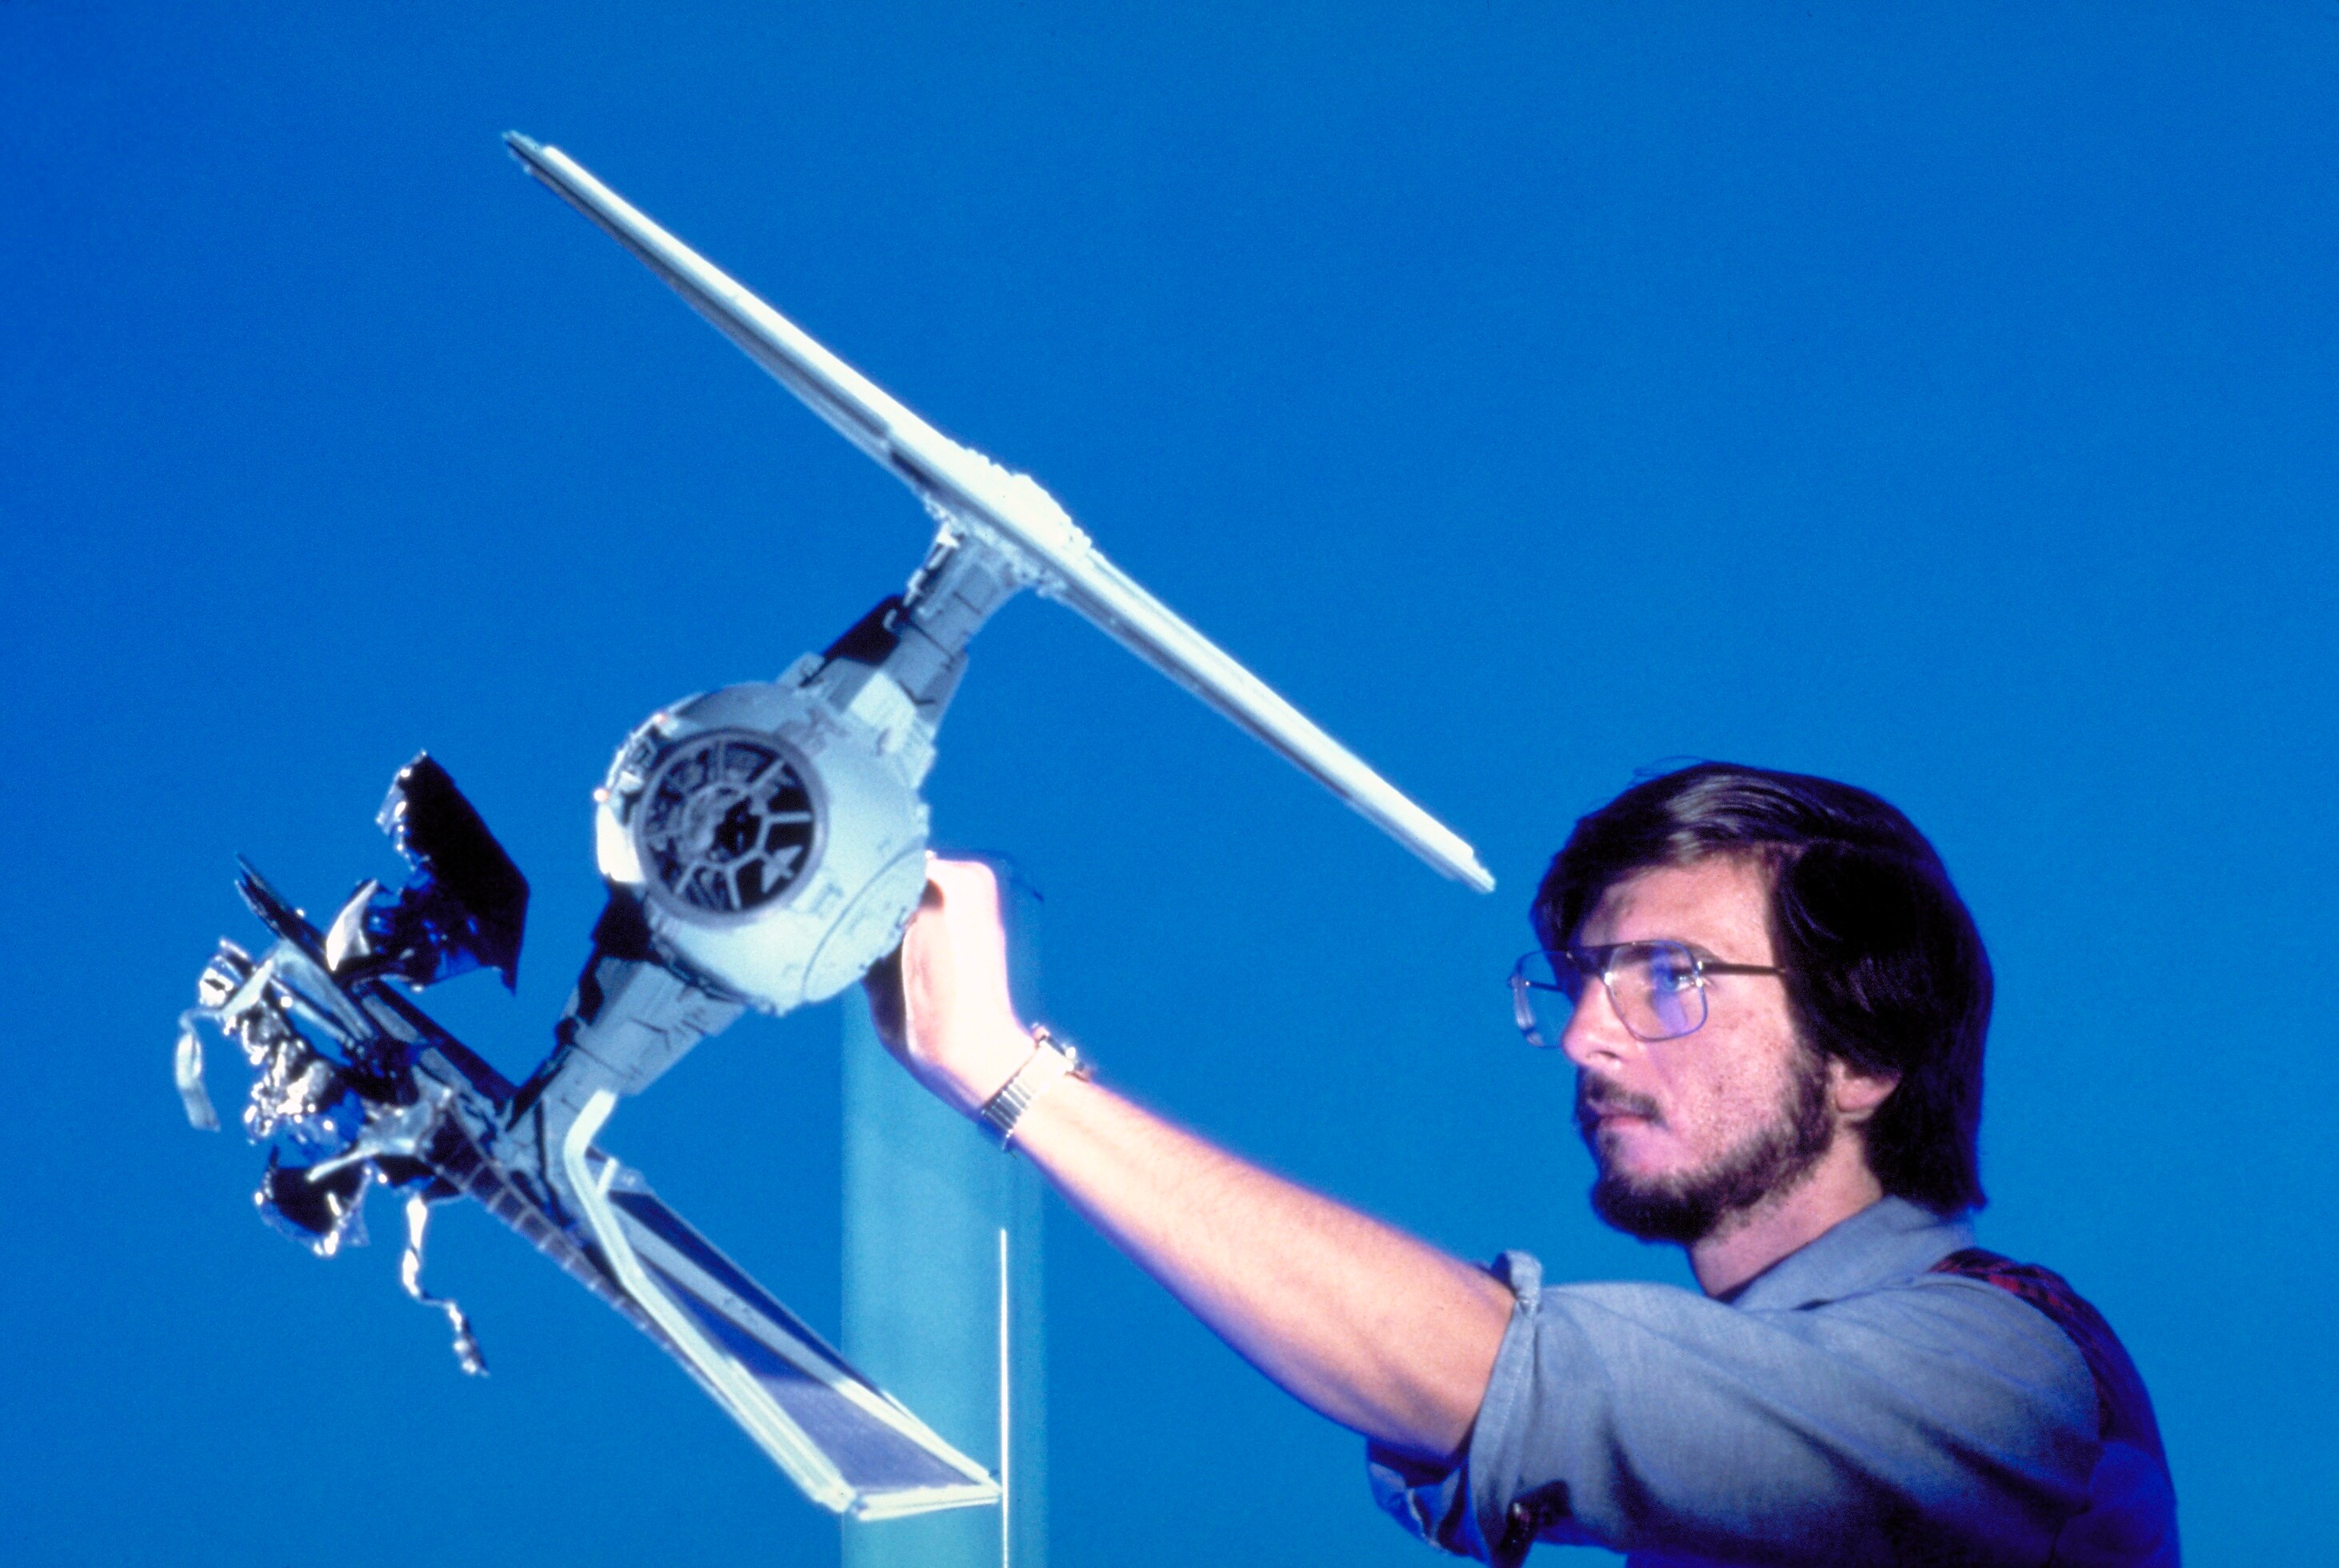
Effects cameraman Ken Ralston manipulates a damaged TIE fighter model shot on blue screen by motion-controlled cameras.
-
The interior of the Millennium Falcon cockpit.
-
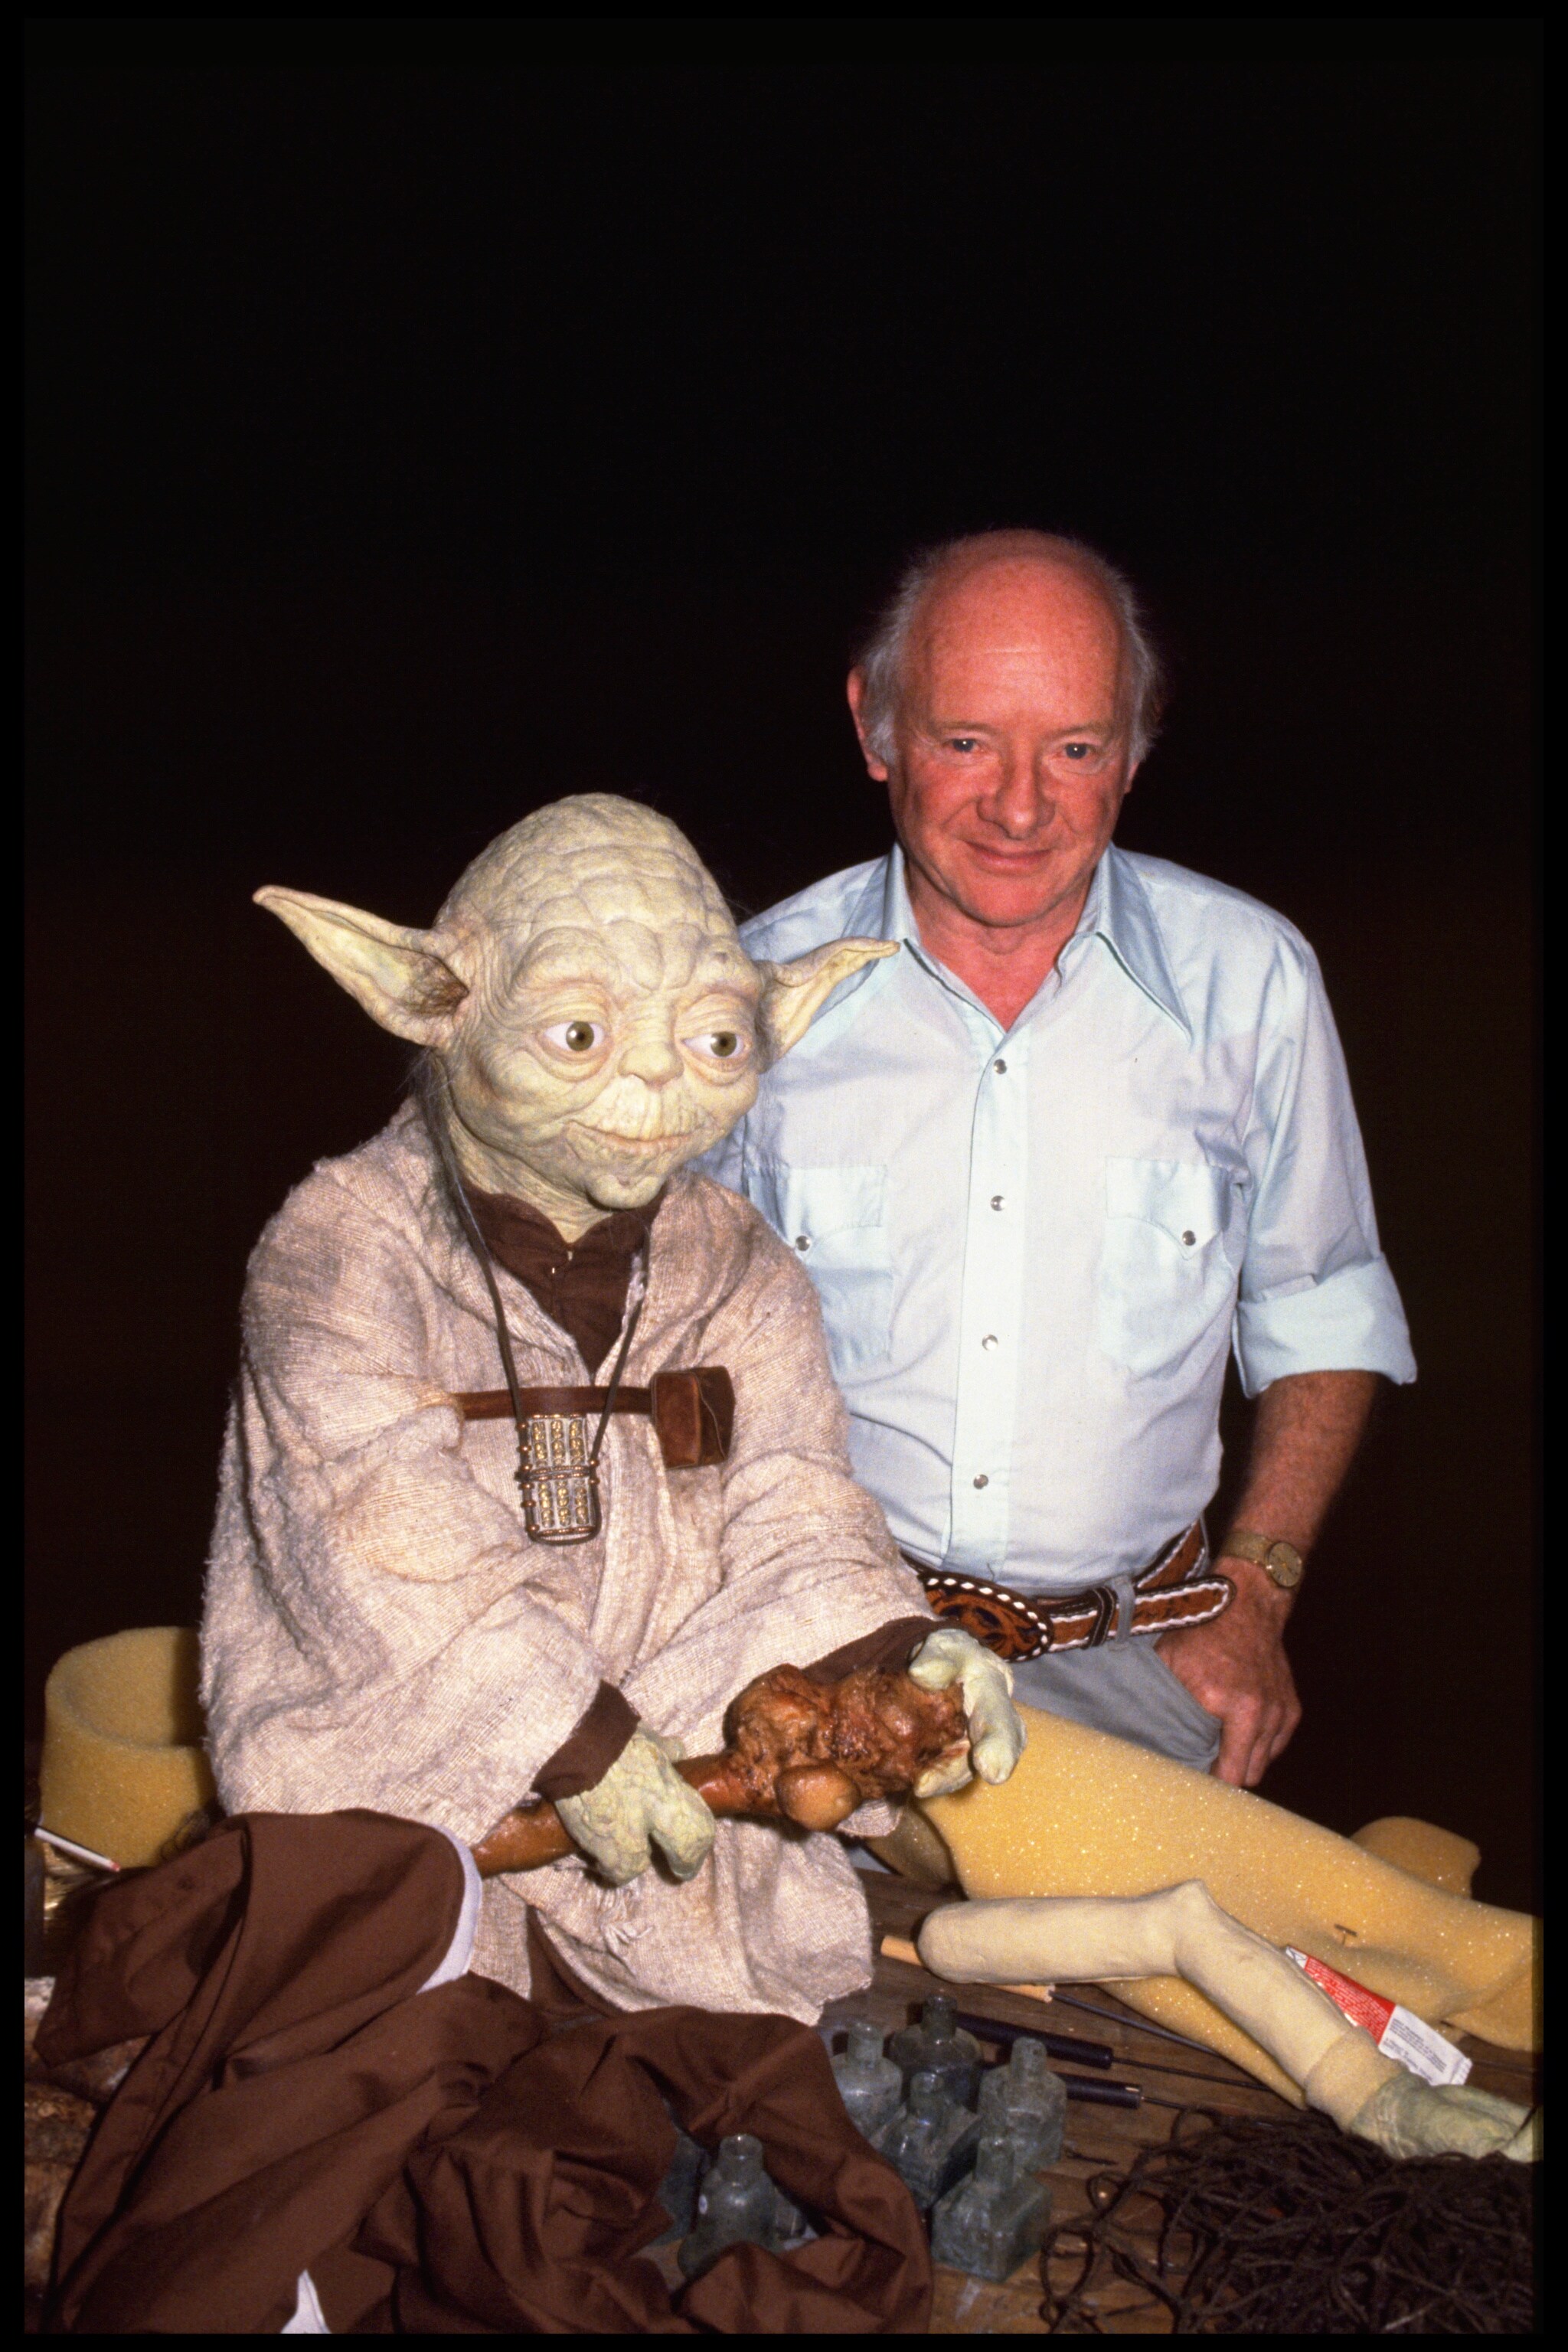
Makeup artist and designer Stuart Freeborn with the Yoda puppet. Freeborn based Yoda's face on one very familiar to him: his own.
-
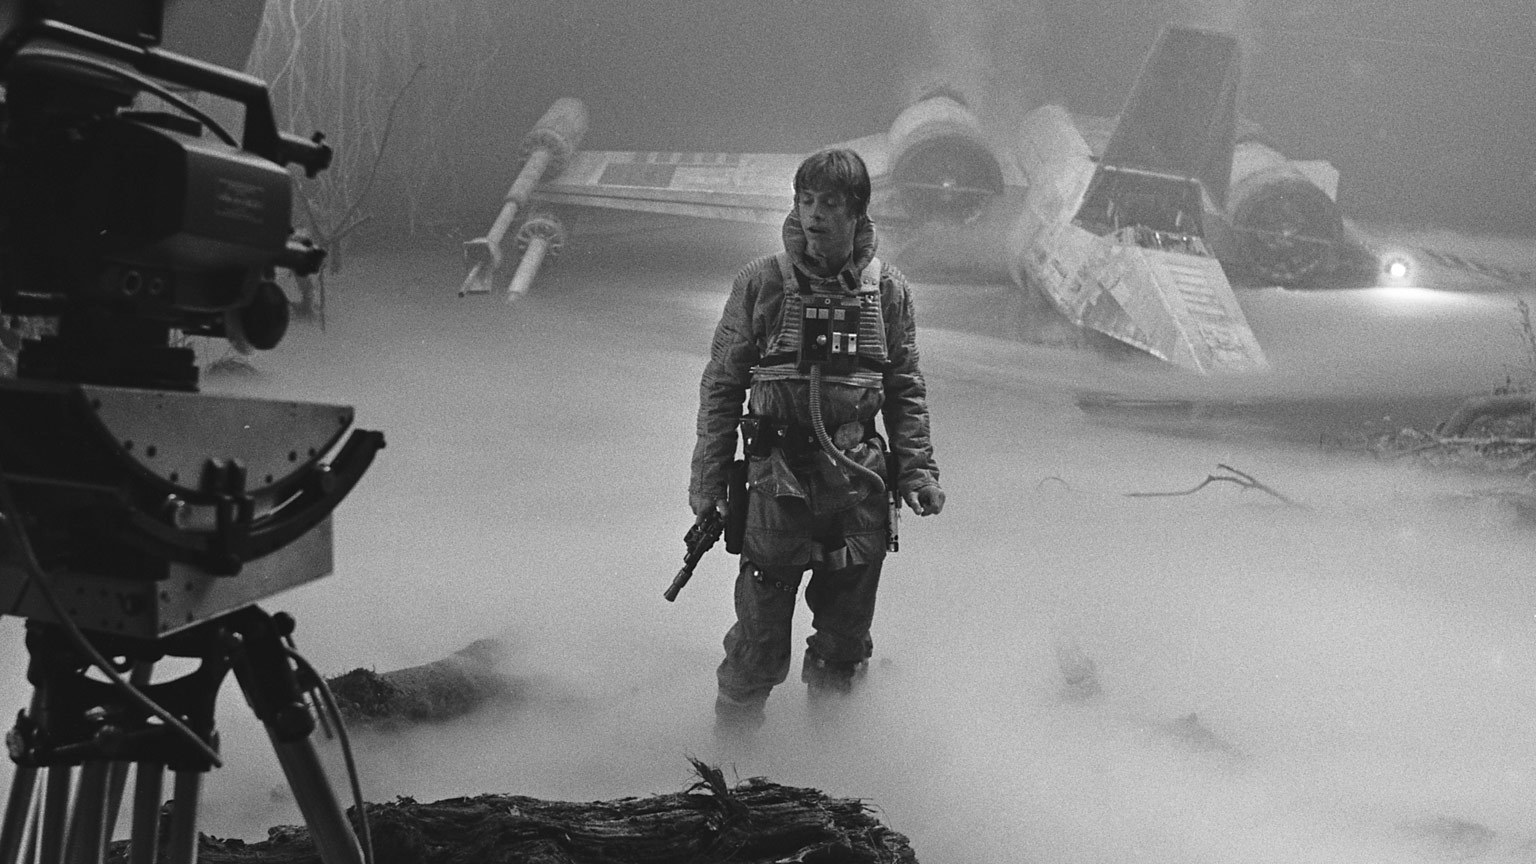
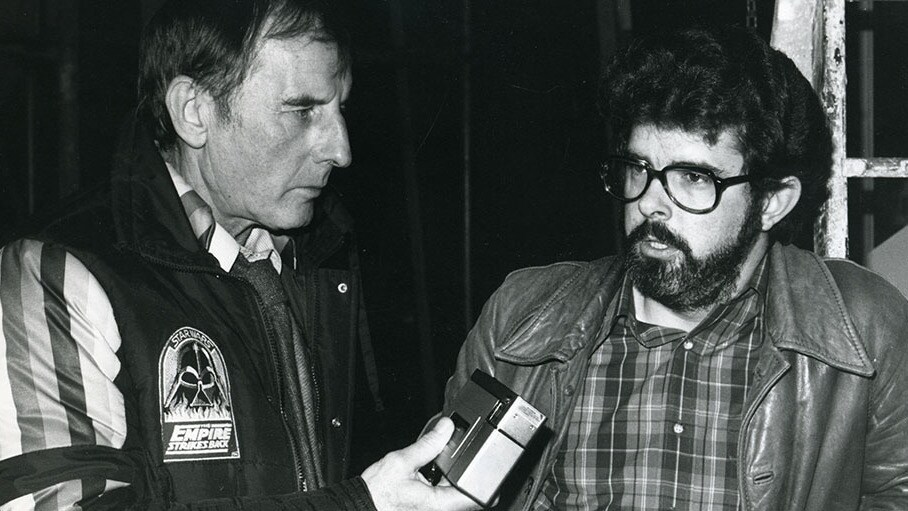
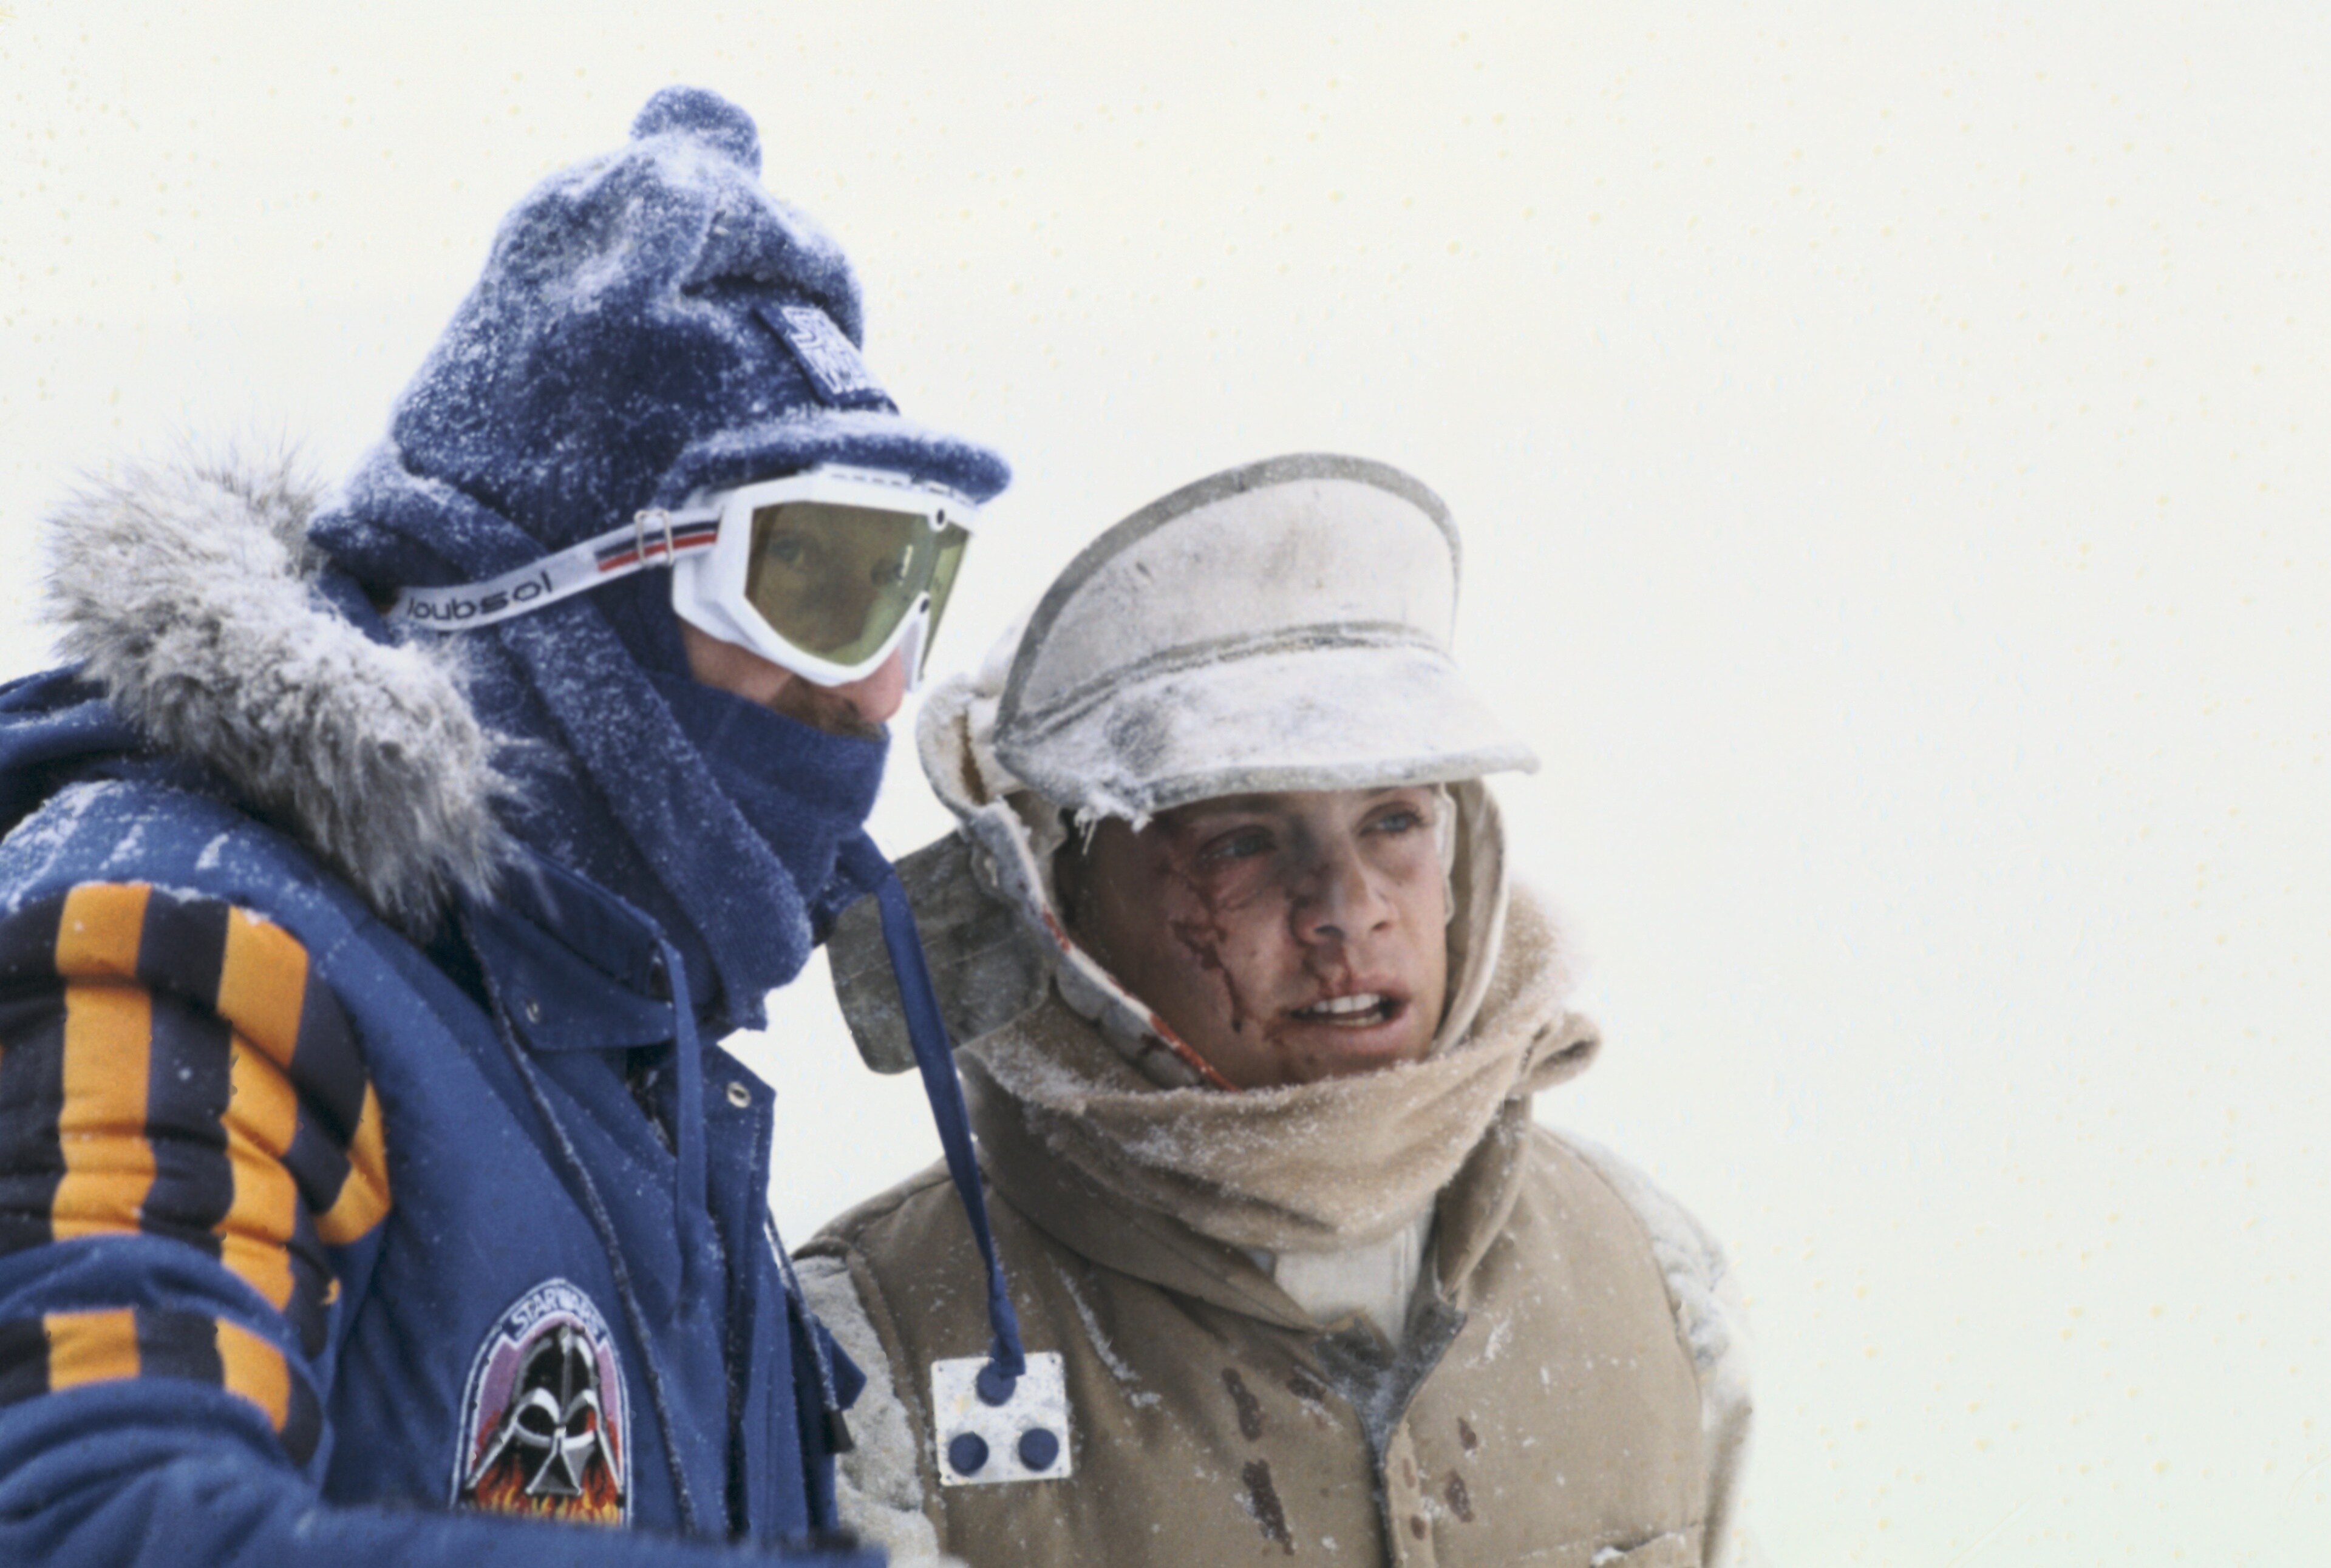
Director Irvin Kershner talks with Mark Hamill on-set in Finse, Norway, the shooting location for Hoth exterior scenes.
-
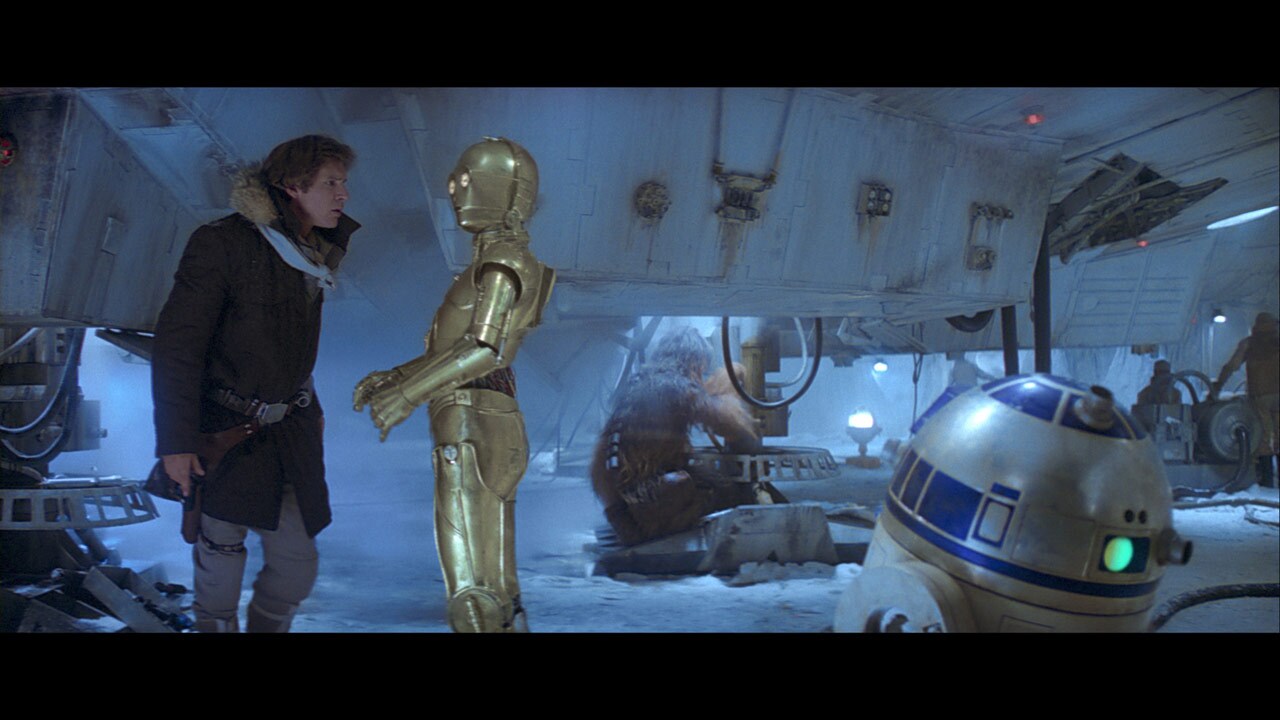
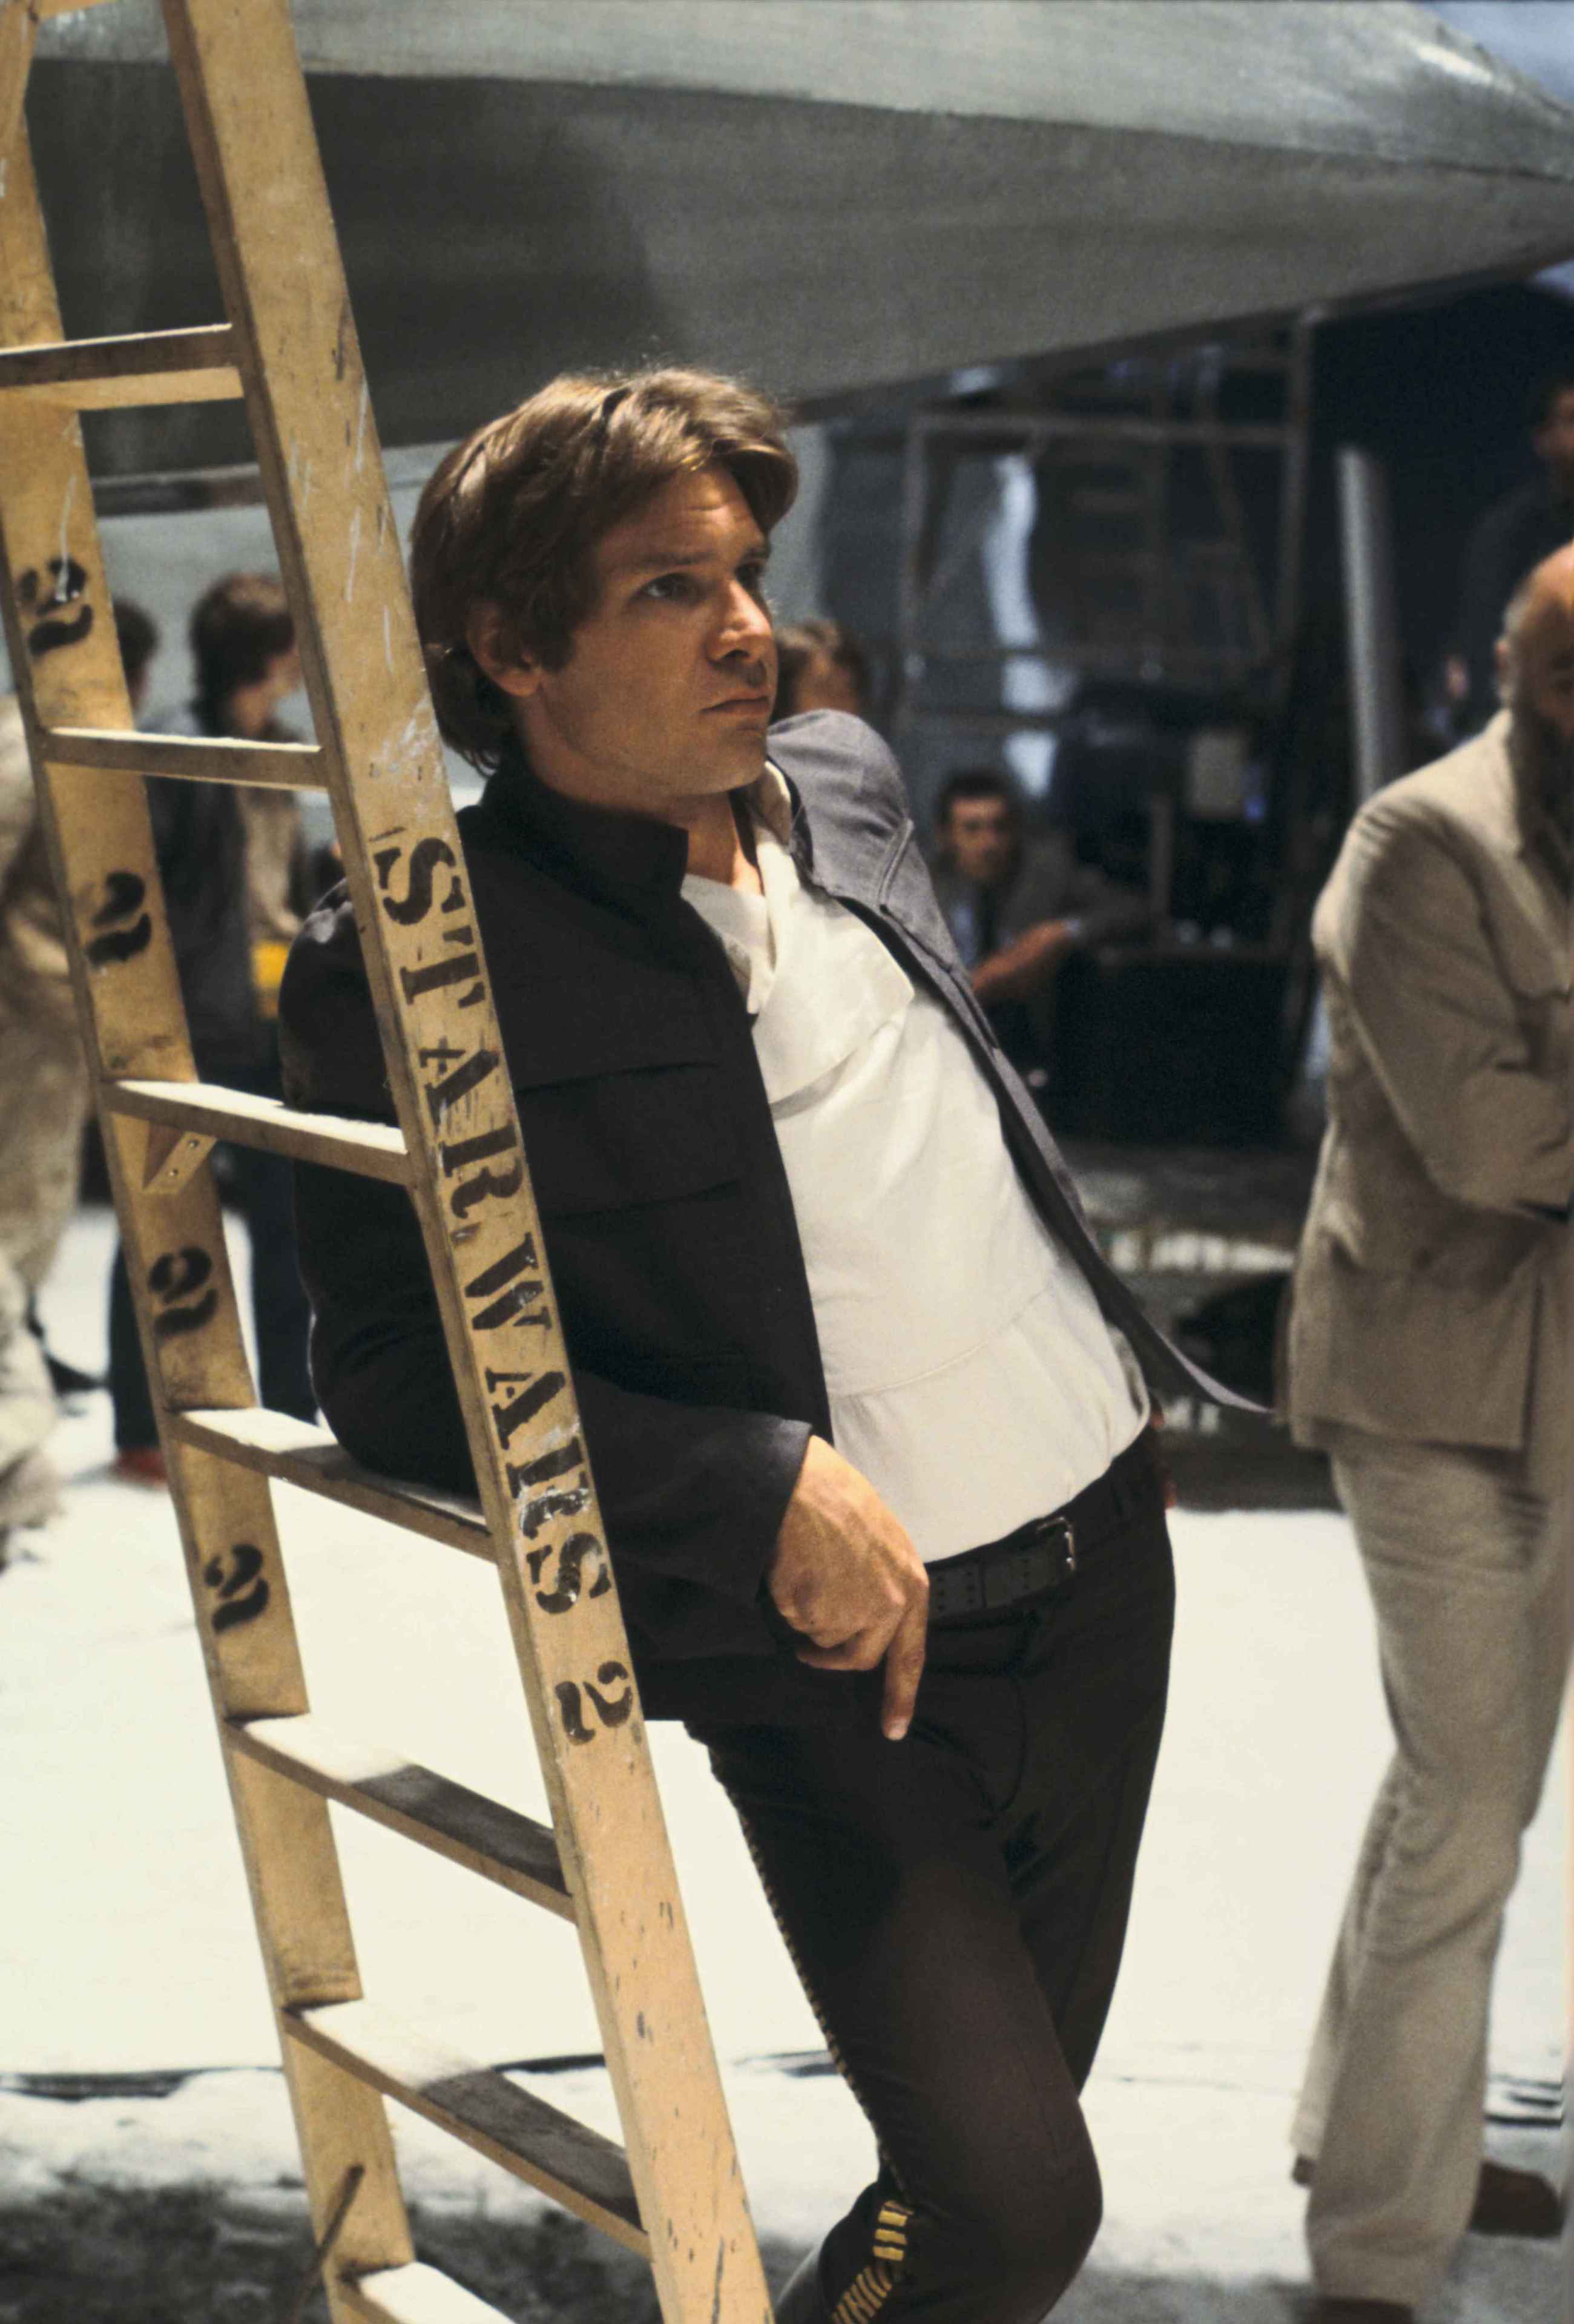
Harrison Ford on the Echo Base hangar set.
-
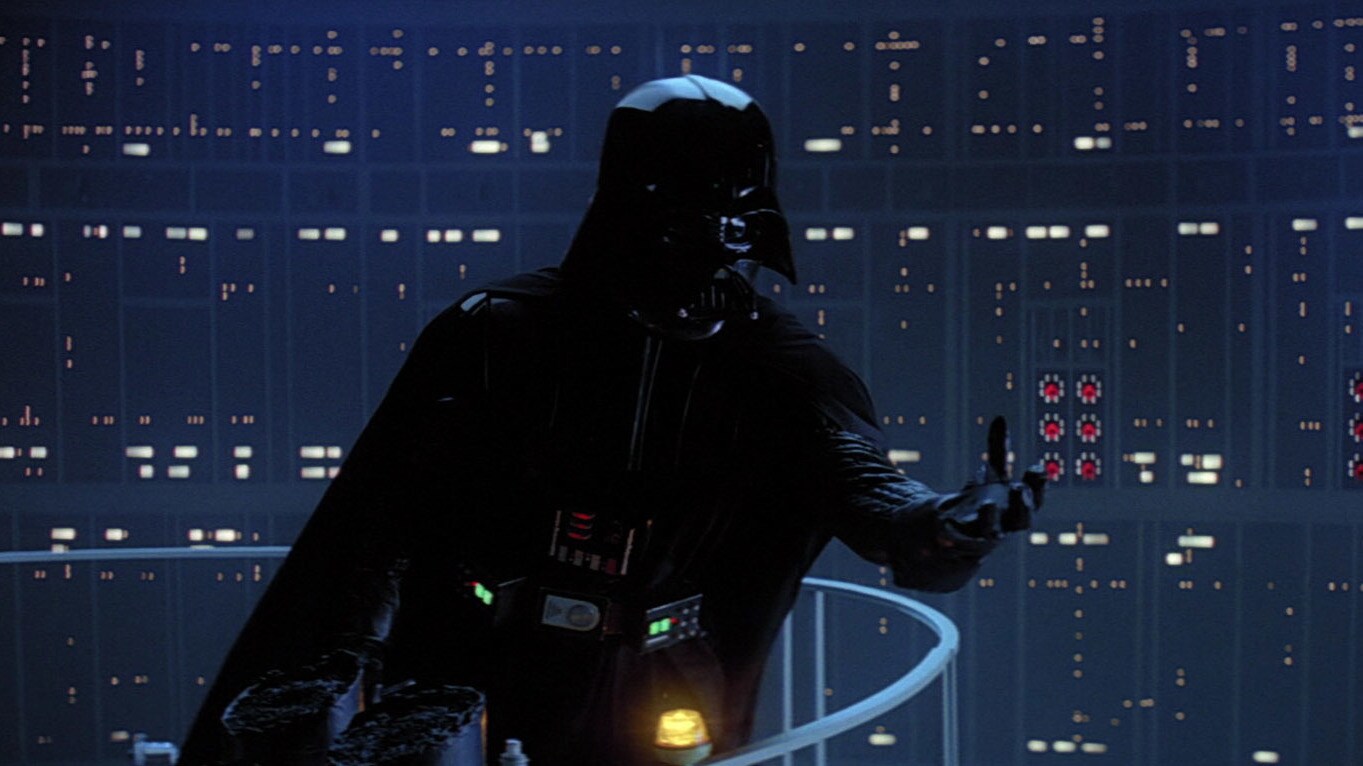
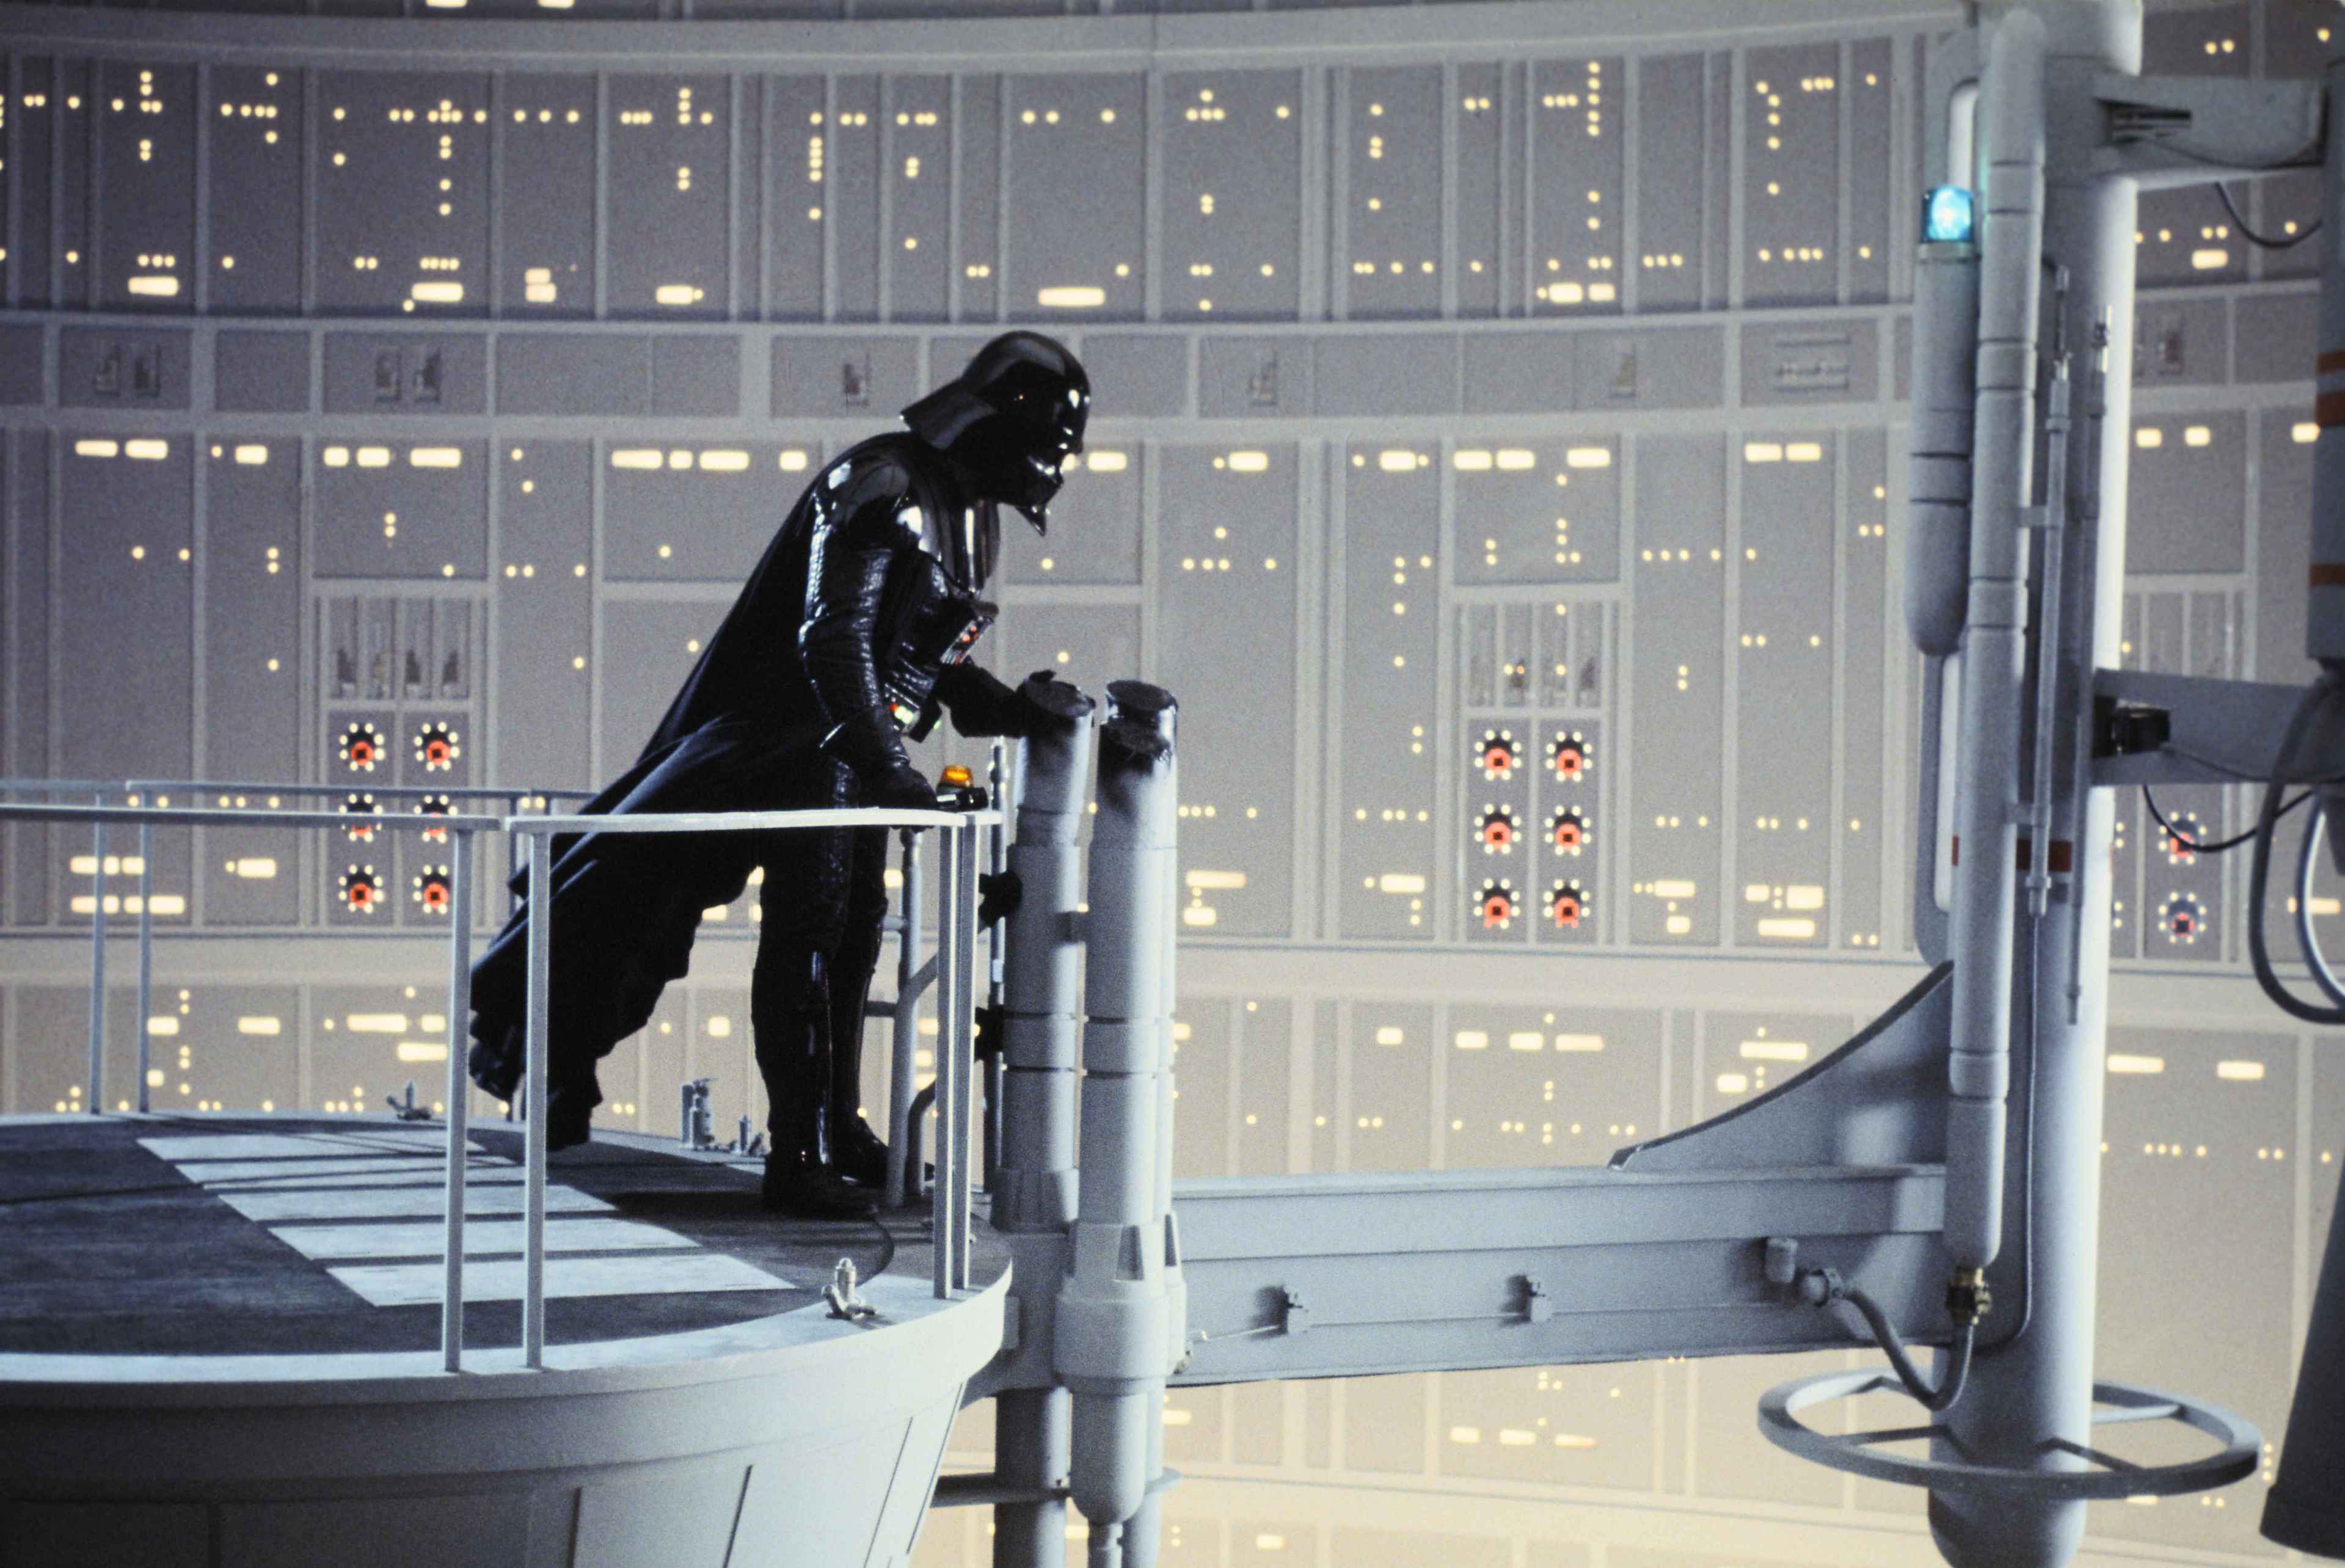
David Prowse as Darth Vader on the Cloud City reactor set.
-
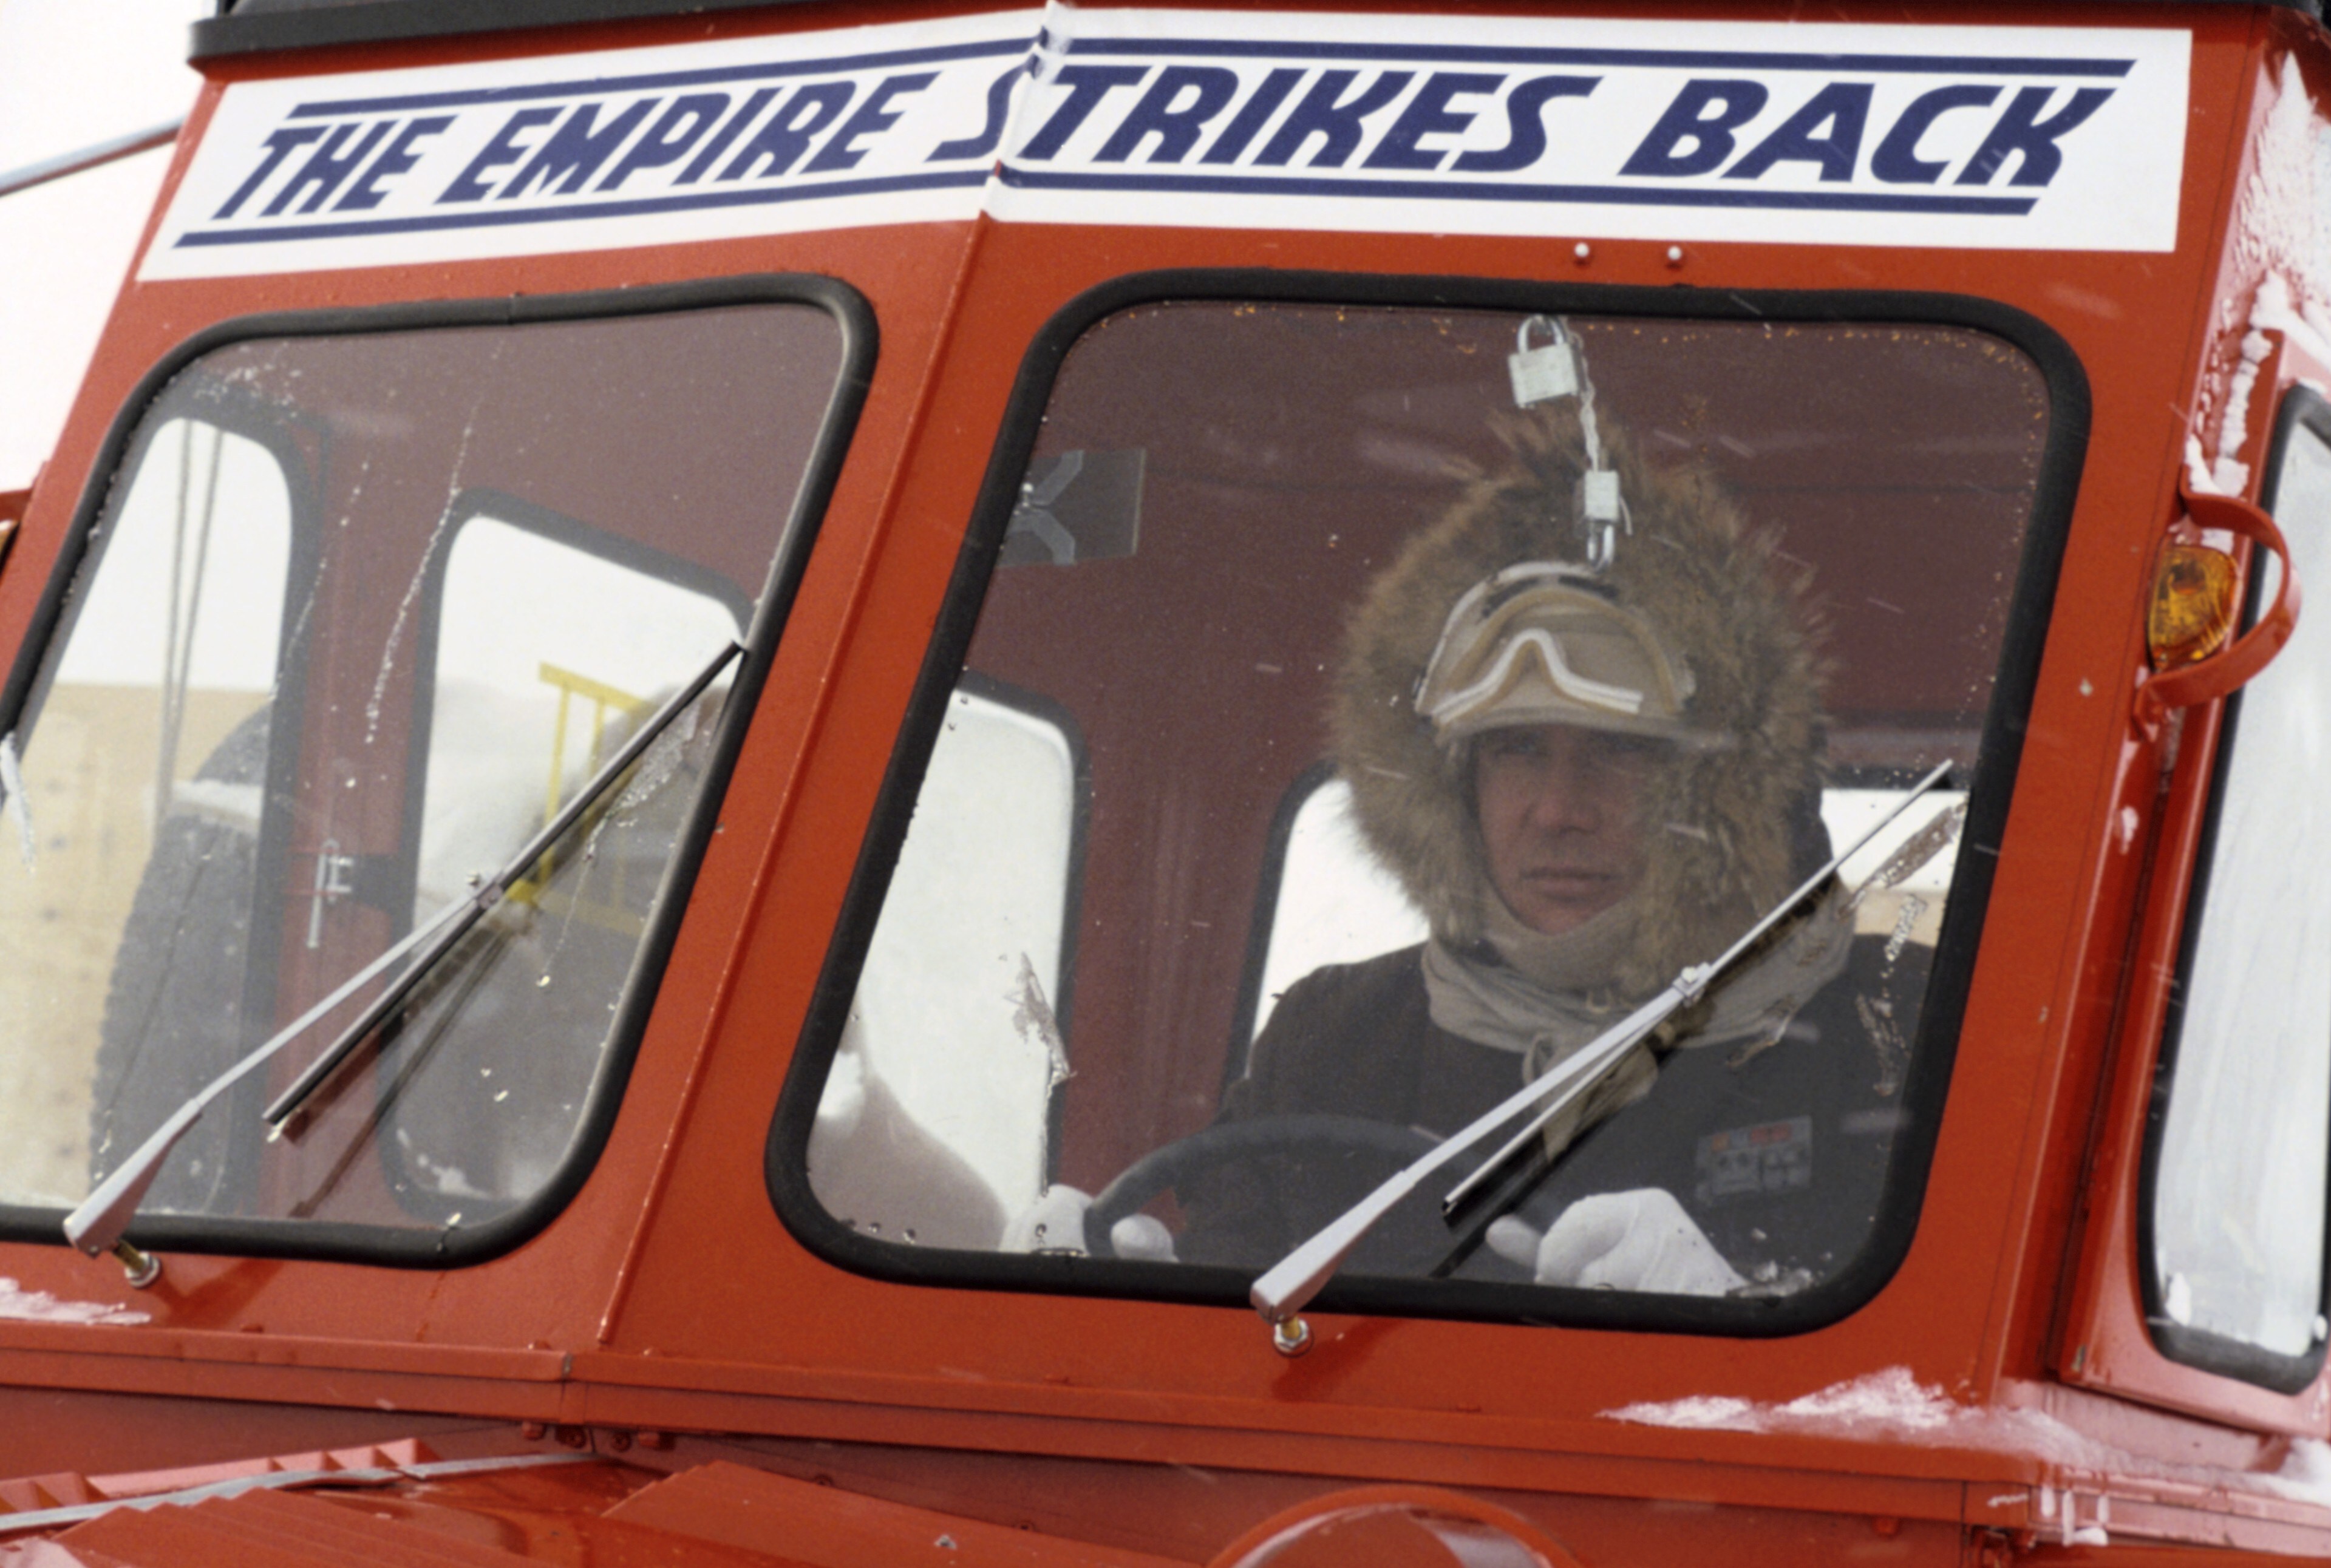
Harrison Ford behind the wheel...
-
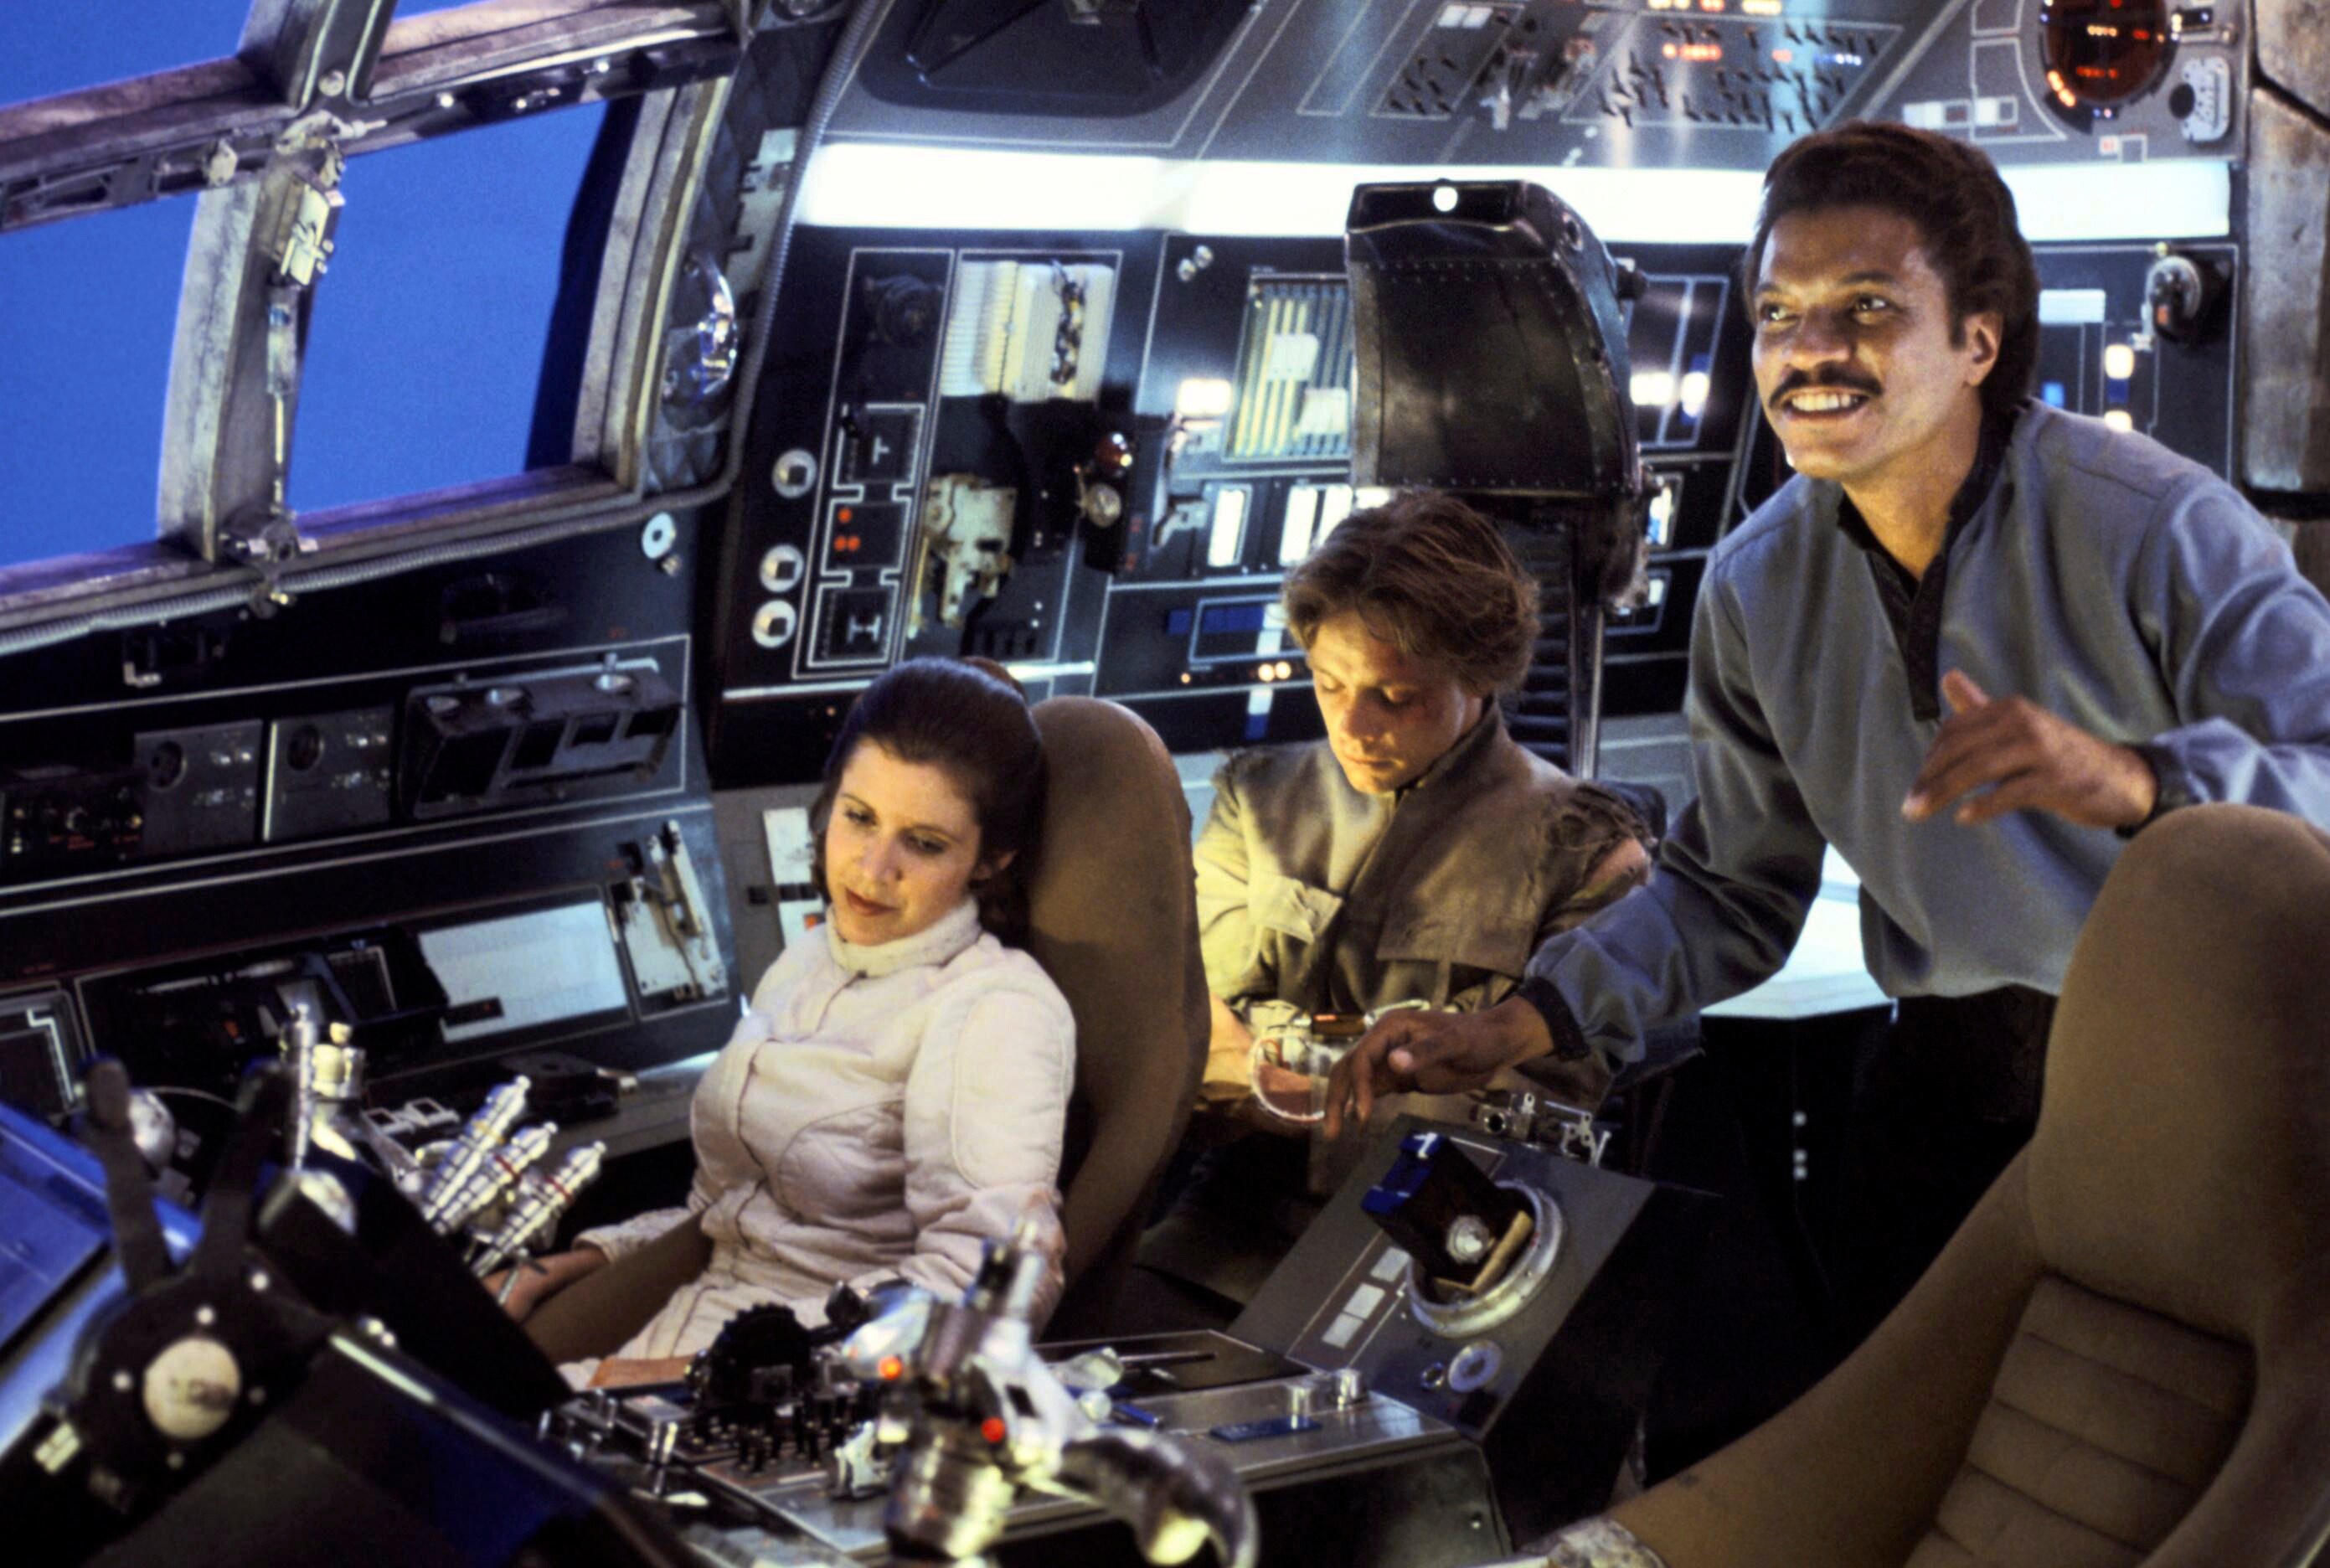
Carrie Fisher, Mark Hamill, and Billy Dee Williams in the cockpit of the Millennium Falcon, between takes.
-
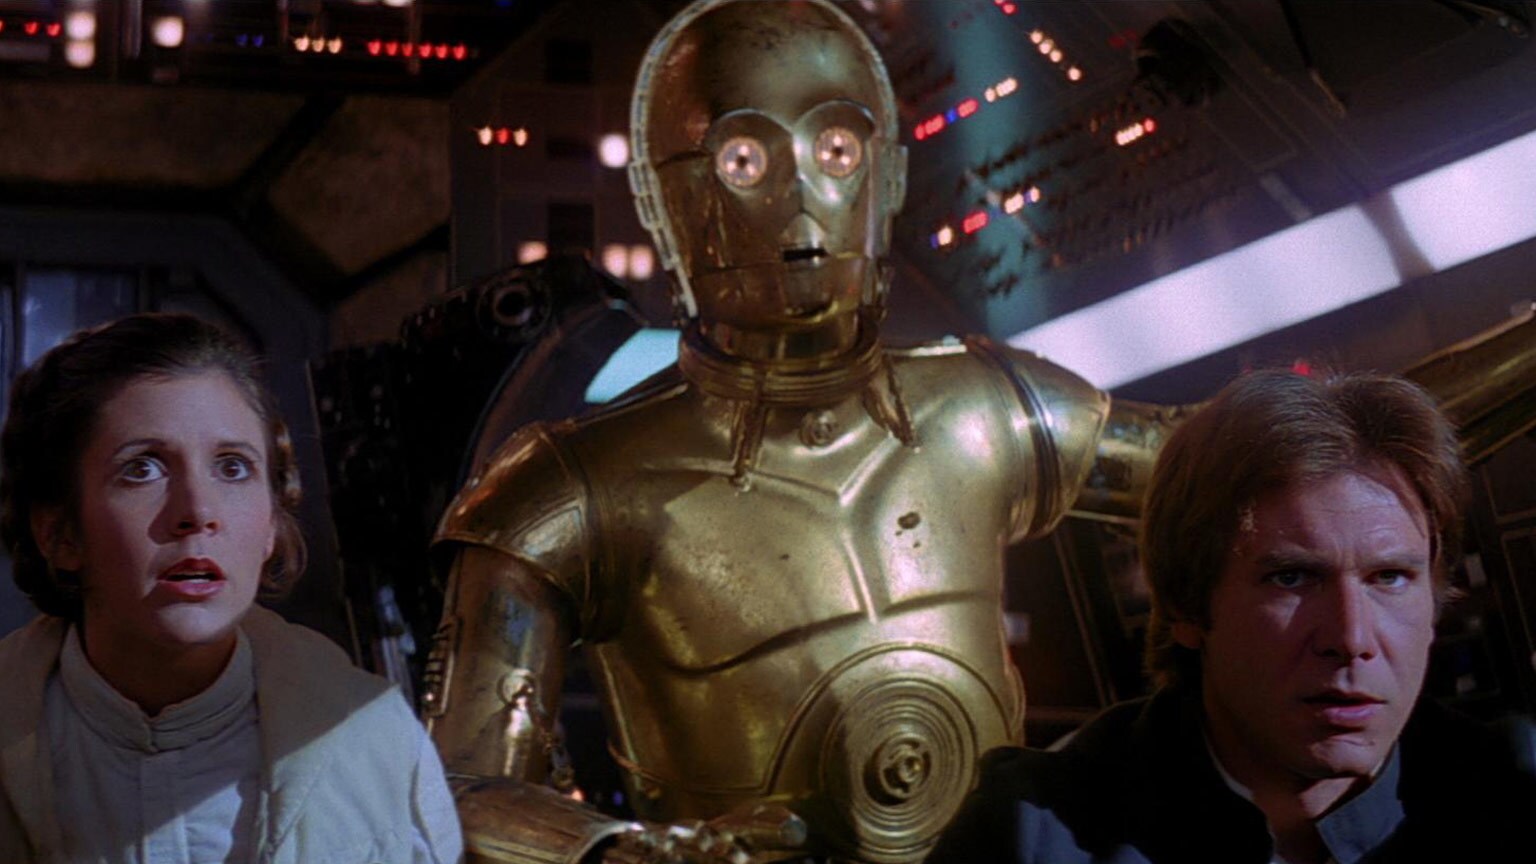
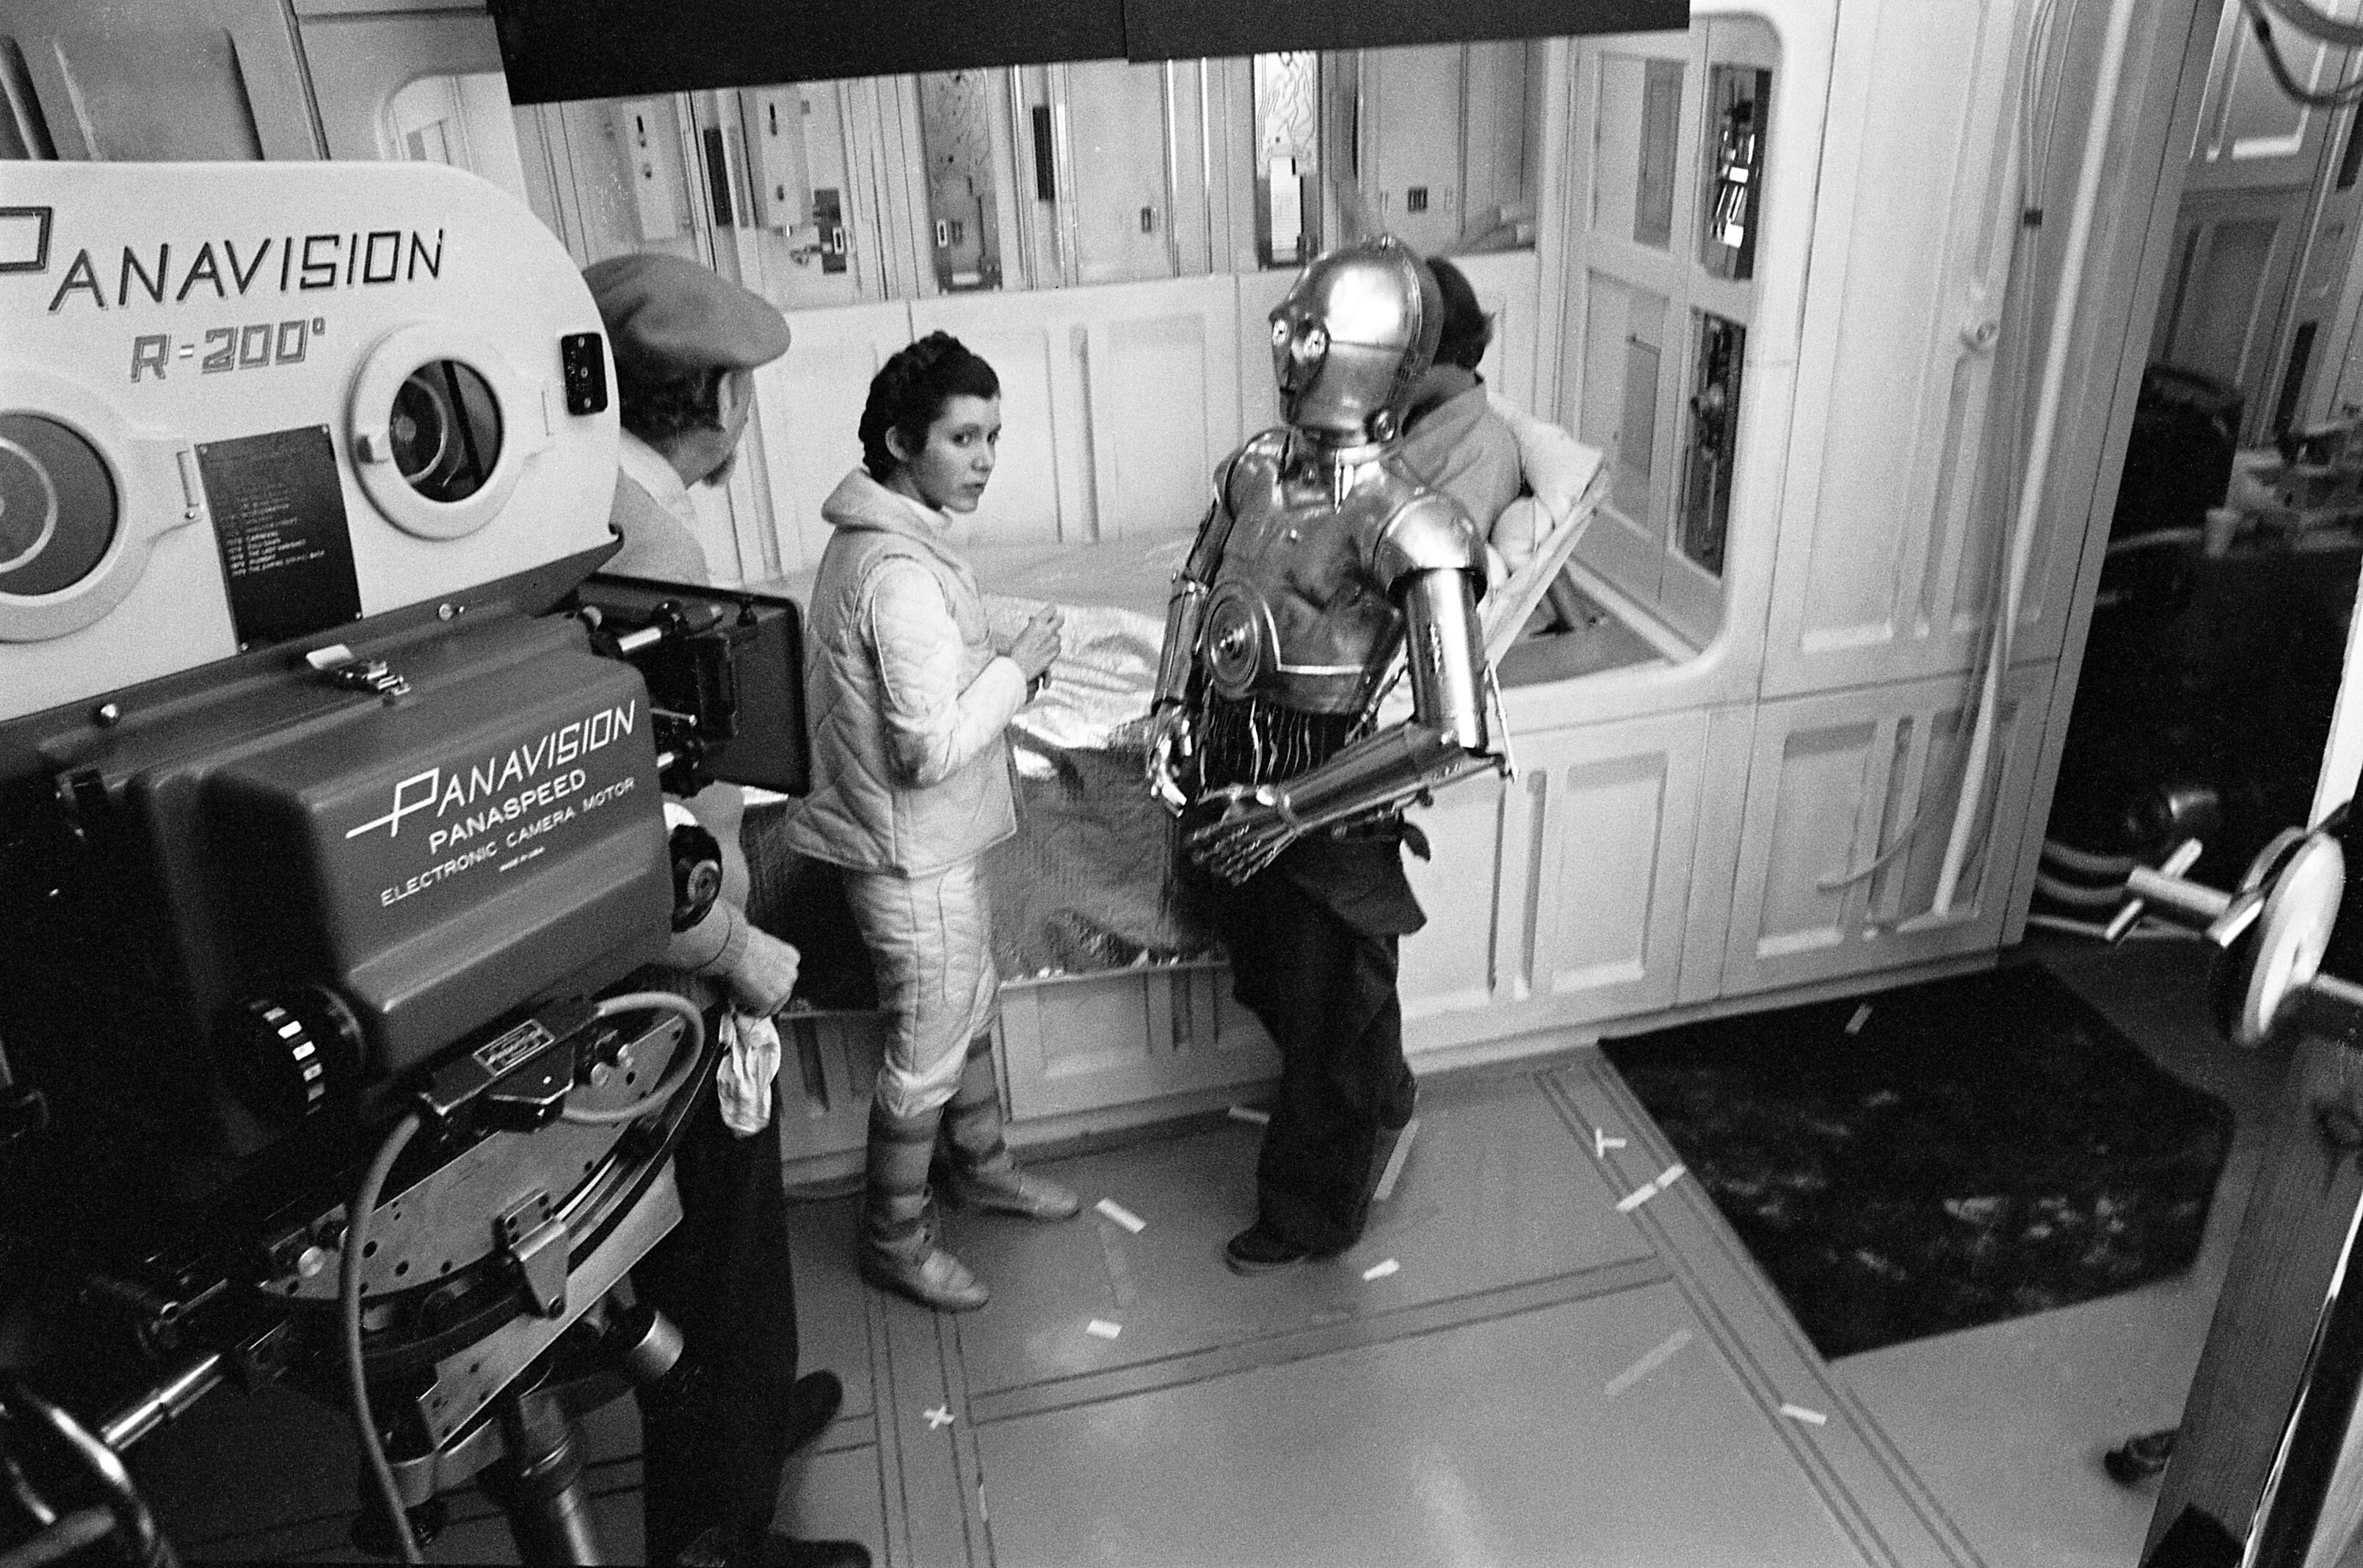
Irvin Kershner talks with Carrie Fisher, Anthony Daniels, and Mark Hamill.
-
Mark Hamill and David Prowse rehearse for the duel between Luke Skywalker and Darth Vader.
-
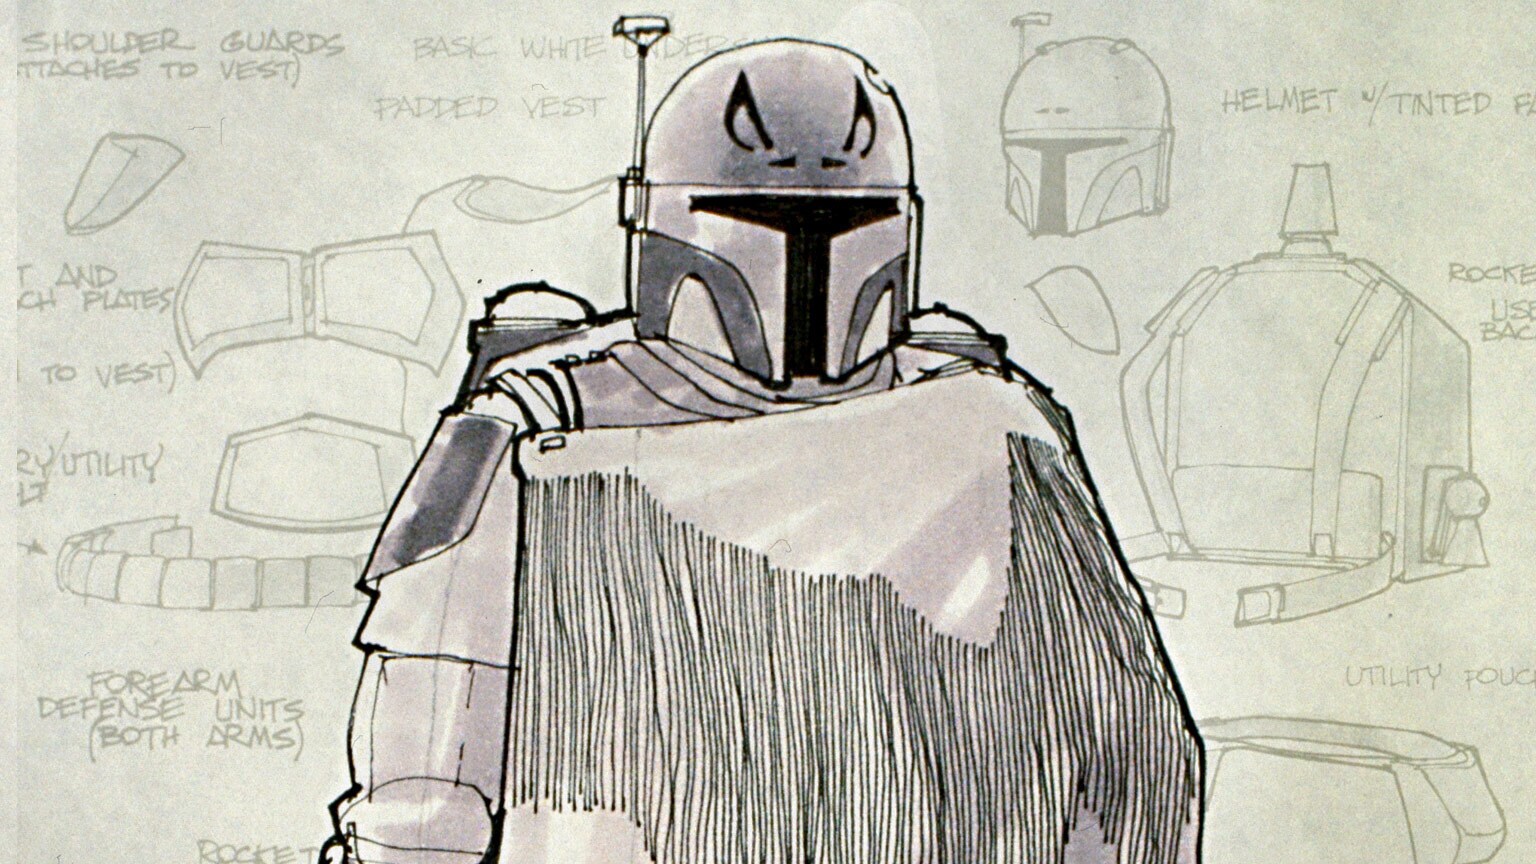
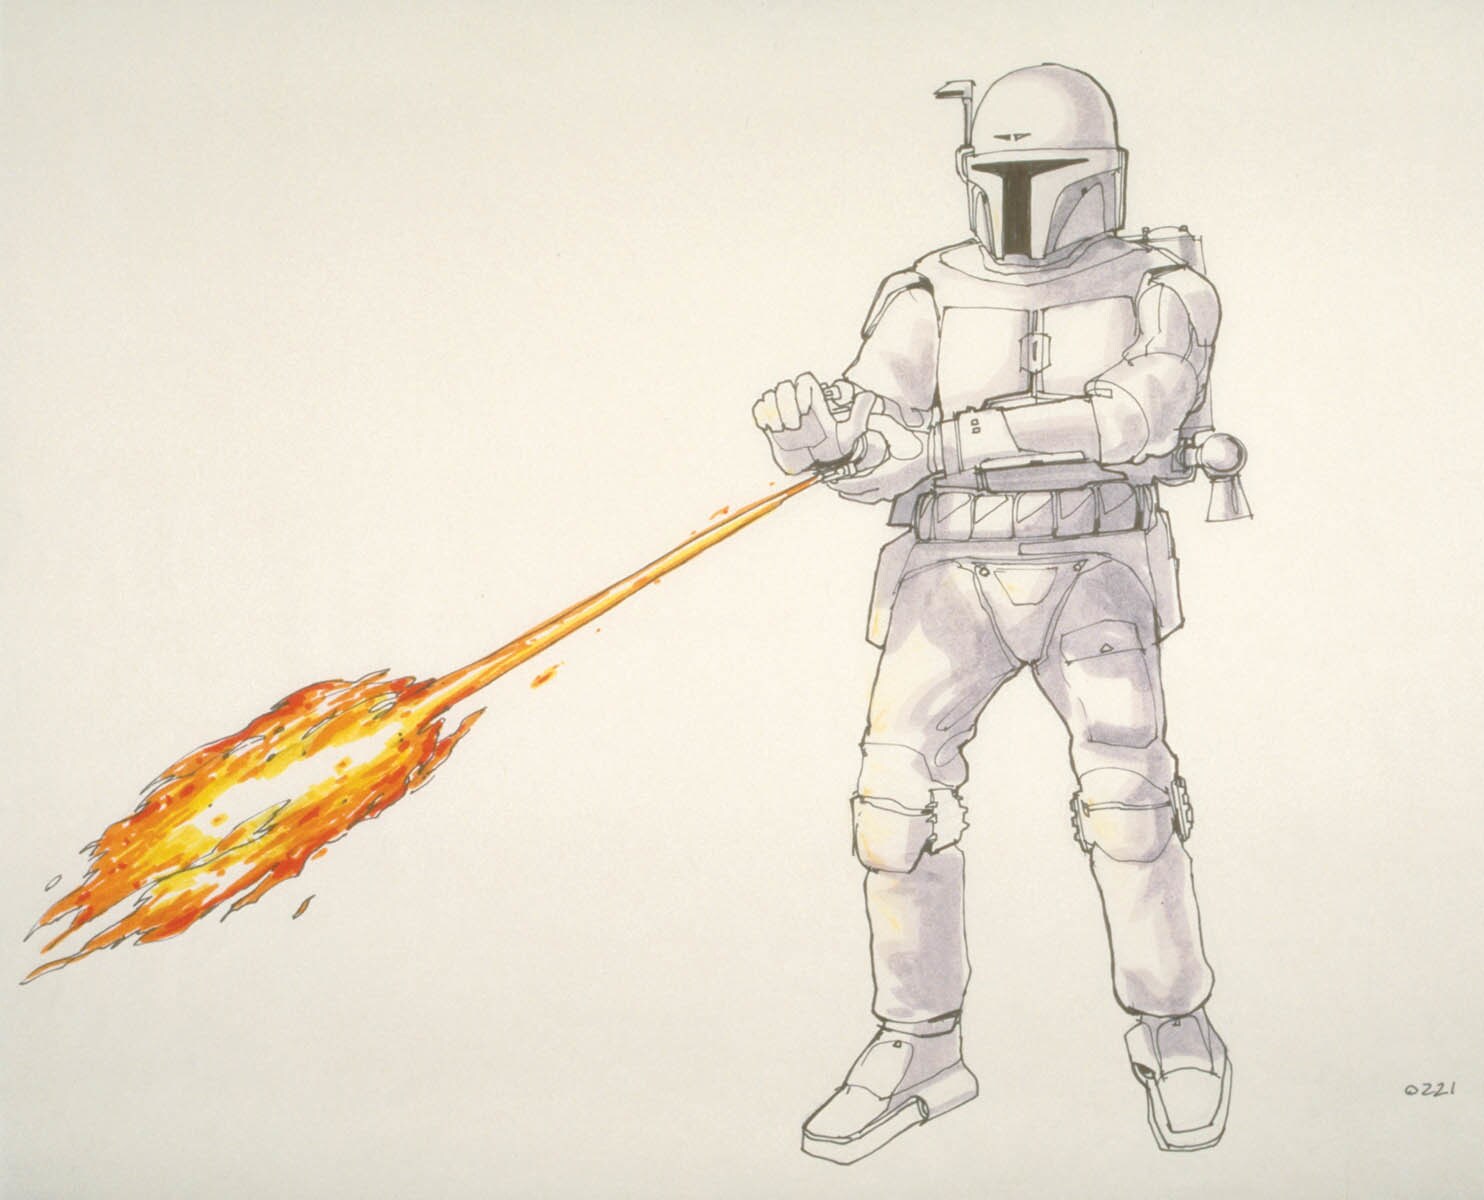
The all-white prototype Boba Fett armor, modeled by assistant editor Duwayne Dunham.
-
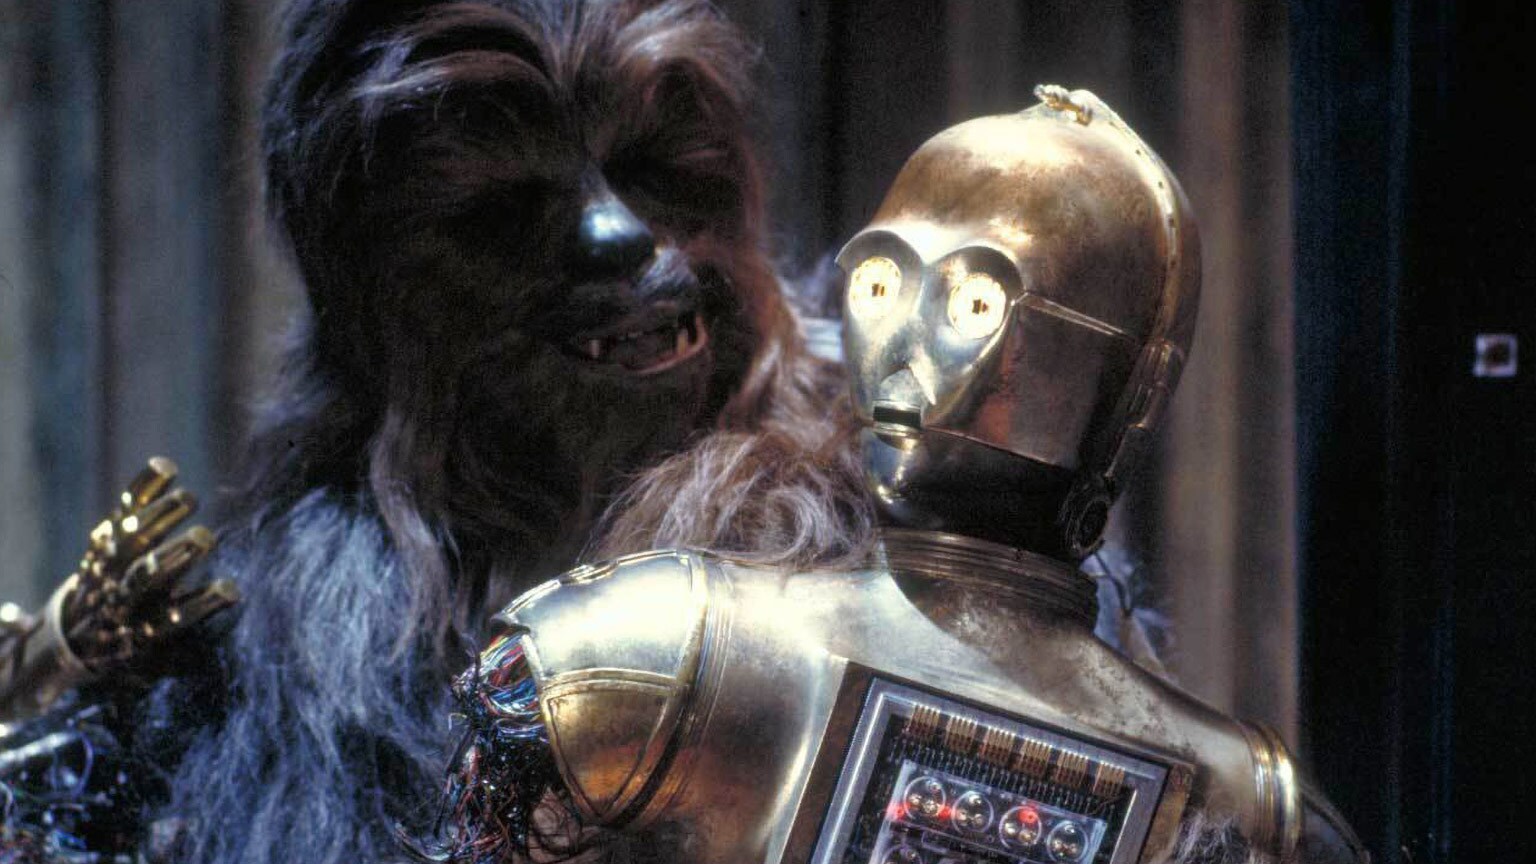
Irvin Kershner and Peter Mayhew (Chewbacca) plan the Threepio-reactivation scene.
-
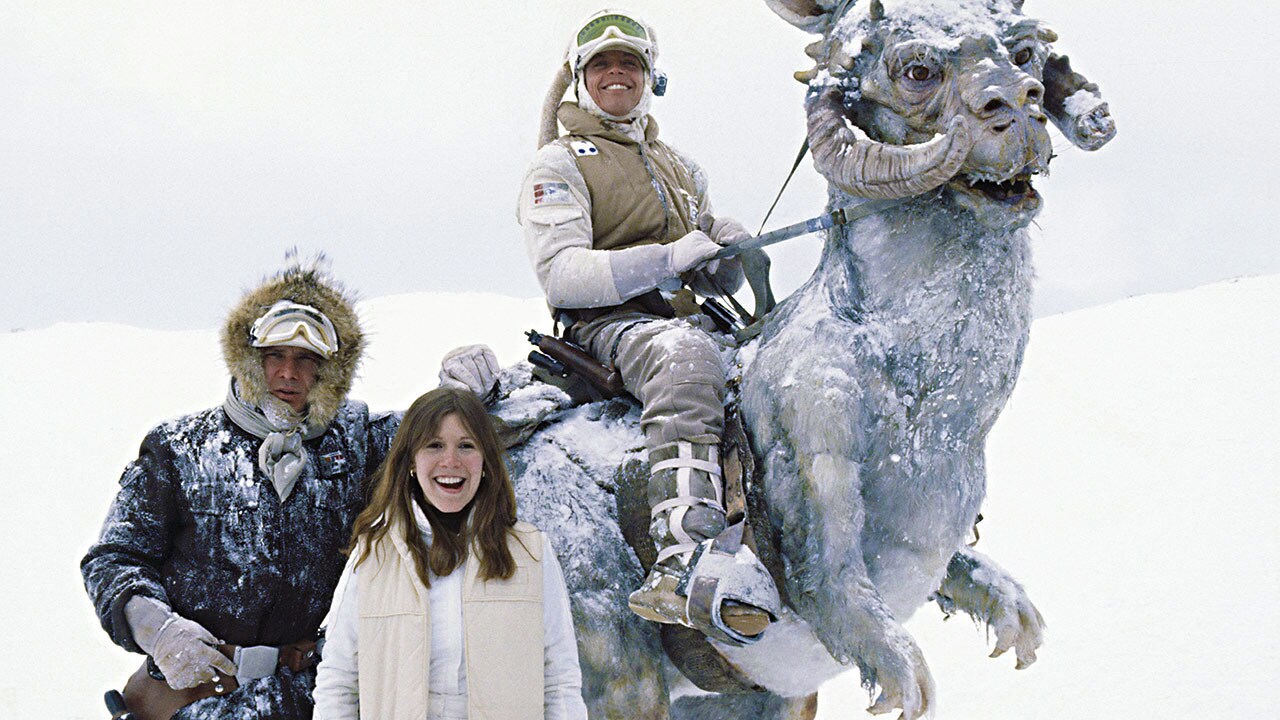
Irvin Kershner shows how to properly ride a tauntaun.
-
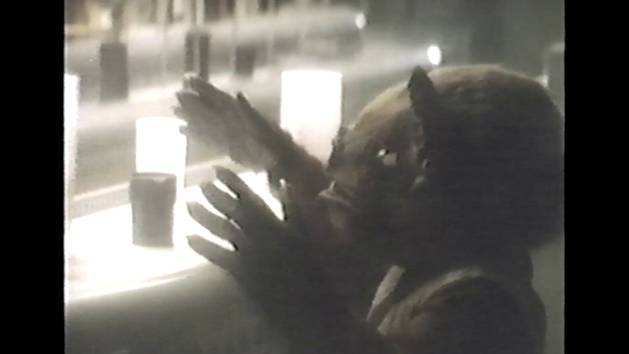
Readying to film Yoda's "fight" with R2-D2 over a stolen lamp.
The Empire Strikes Back - BTS Gallery
© 2015 Disney
Star Wars: Frames - The Empire Strikes Back
After George Lucas finished work on Star Wars: Revenge of the Sith, he wanted to look back on the Star Wars saga with an entirely new point of view: isolating stills, or frames, from each of the first six Star Wars films, focusing on them intensely as works of photography and design, and reproducing them in a book. For two years Lucas went through more than 150,000 frames per film, editing more than 1 million frames down to the 1,416 images that now comprise the Star Wars: Frames book, a testament to the hard work, craftsmanship, and dedication evident in every frame of the Original and Prequel Trilogy films. In celebration of the 40th anniversary of The Empire Strikes Back, we proudly present the Star Wars: Frames images from that film here. Star Wars: Frames, by George Lucas (c) Abrams Books, 2013.
- 59 Images


Star Wars: Frames - The Empire Strikes Back
TM & © Lucasfilm Ltd. All Rights Reserved