

Video


Galleries


Related


More Episode Guides
All
All
-
!["Family Reunion - and Farewell" Episode Guide | Star Wars Rebels]()
"Family Reunion - and Farewell" Episode Guide | Star Wars Rebels
Season 4, Episode 15 -
!["A Fool's Hope" Episode Guide | Star Wars Rebels]()
"A Fool's Hope" Episode Guide | Star Wars Rebels
Season 4, Episode 14 -
!["A World Between Worlds" Episode Guide | Star Wars Rebels]()
"A World Between Worlds" Episode Guide | Star Wars Rebels
Season 4, Episode 13 -
!["Wolves and a Door" Episode Guide | Star Wars Rebels]()
"Wolves and a Door" Episode Guide | Star Wars Rebels
Season 4, Episode 12 -
!["Dume" Episode Guide | Star Wars Rebels]()
"Dume" Episode Guide | Star Wars Rebels
Season 4, Episode 11 -
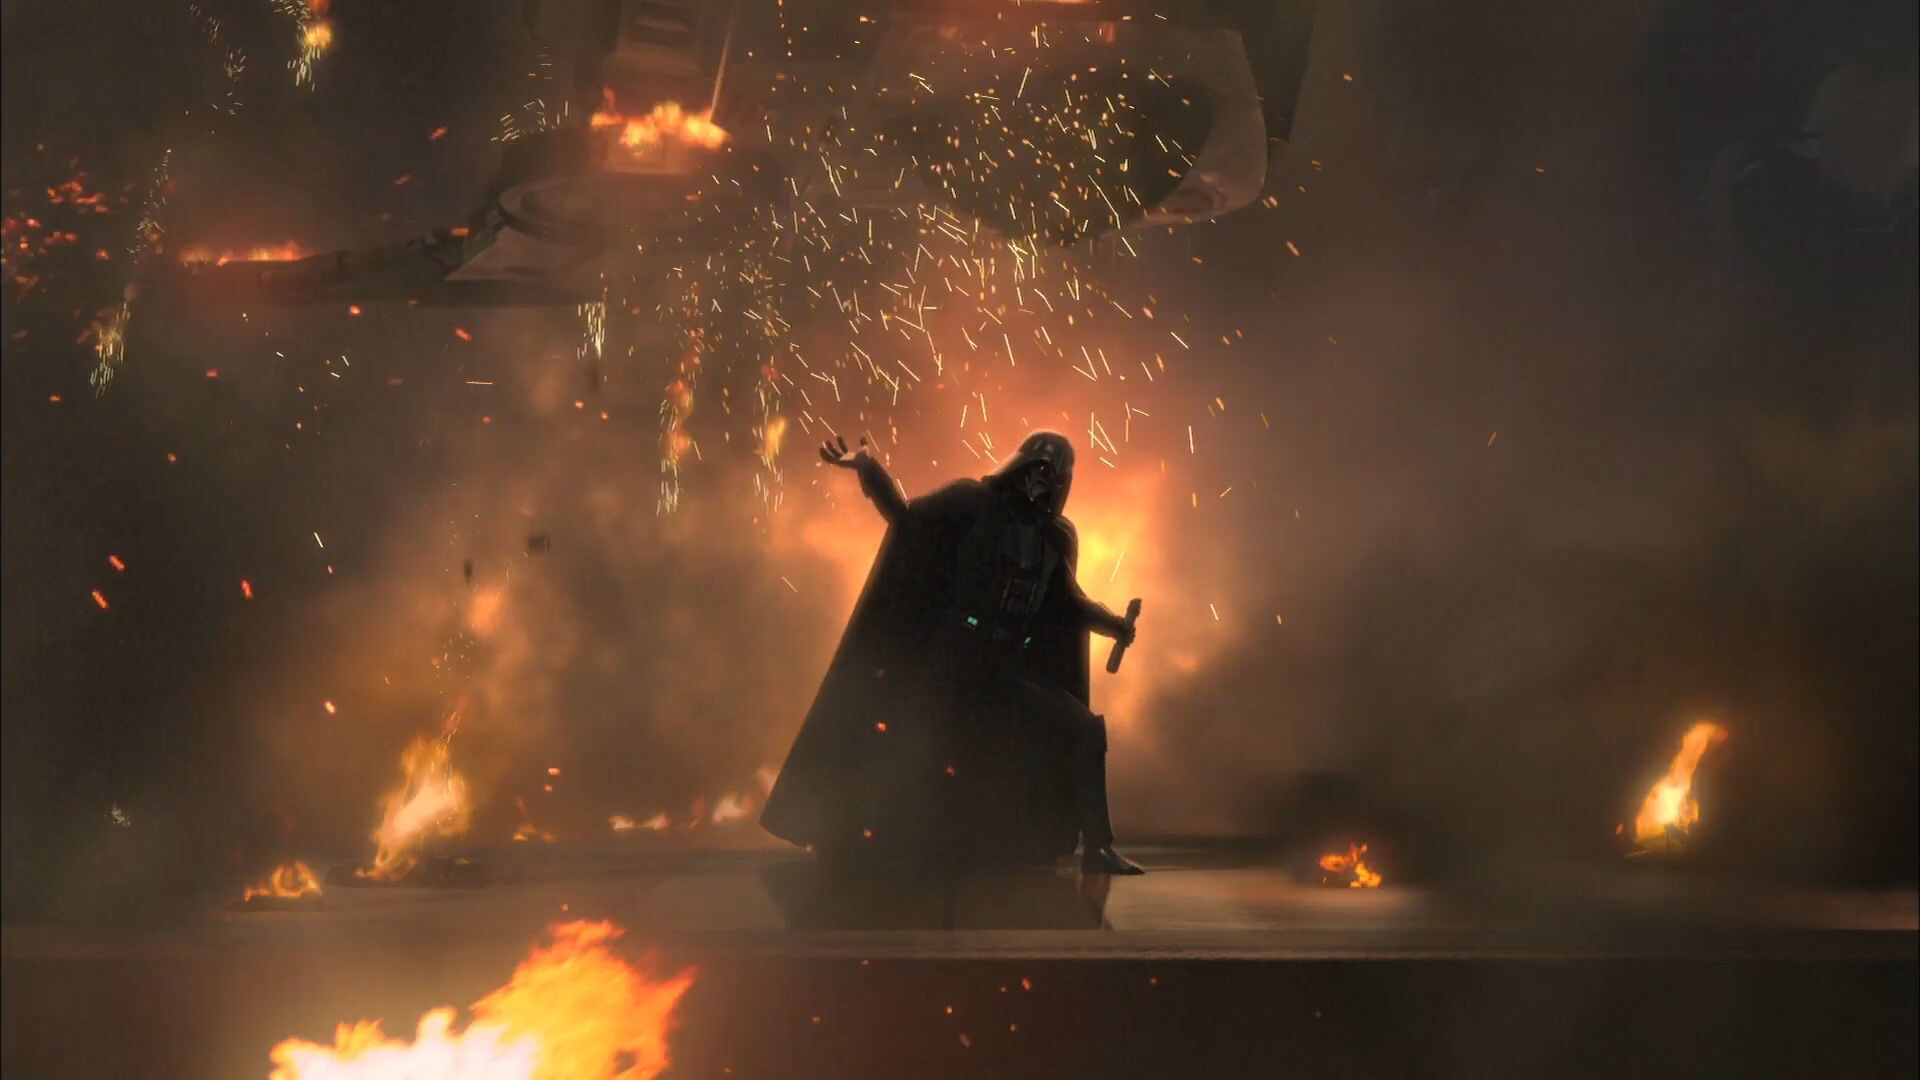
!["Jedi Night" Episode Guide | Star Wars Rebels]()
"Jedi Night" Episode Guide | Star Wars Rebels
Season 4, Episode 10 -
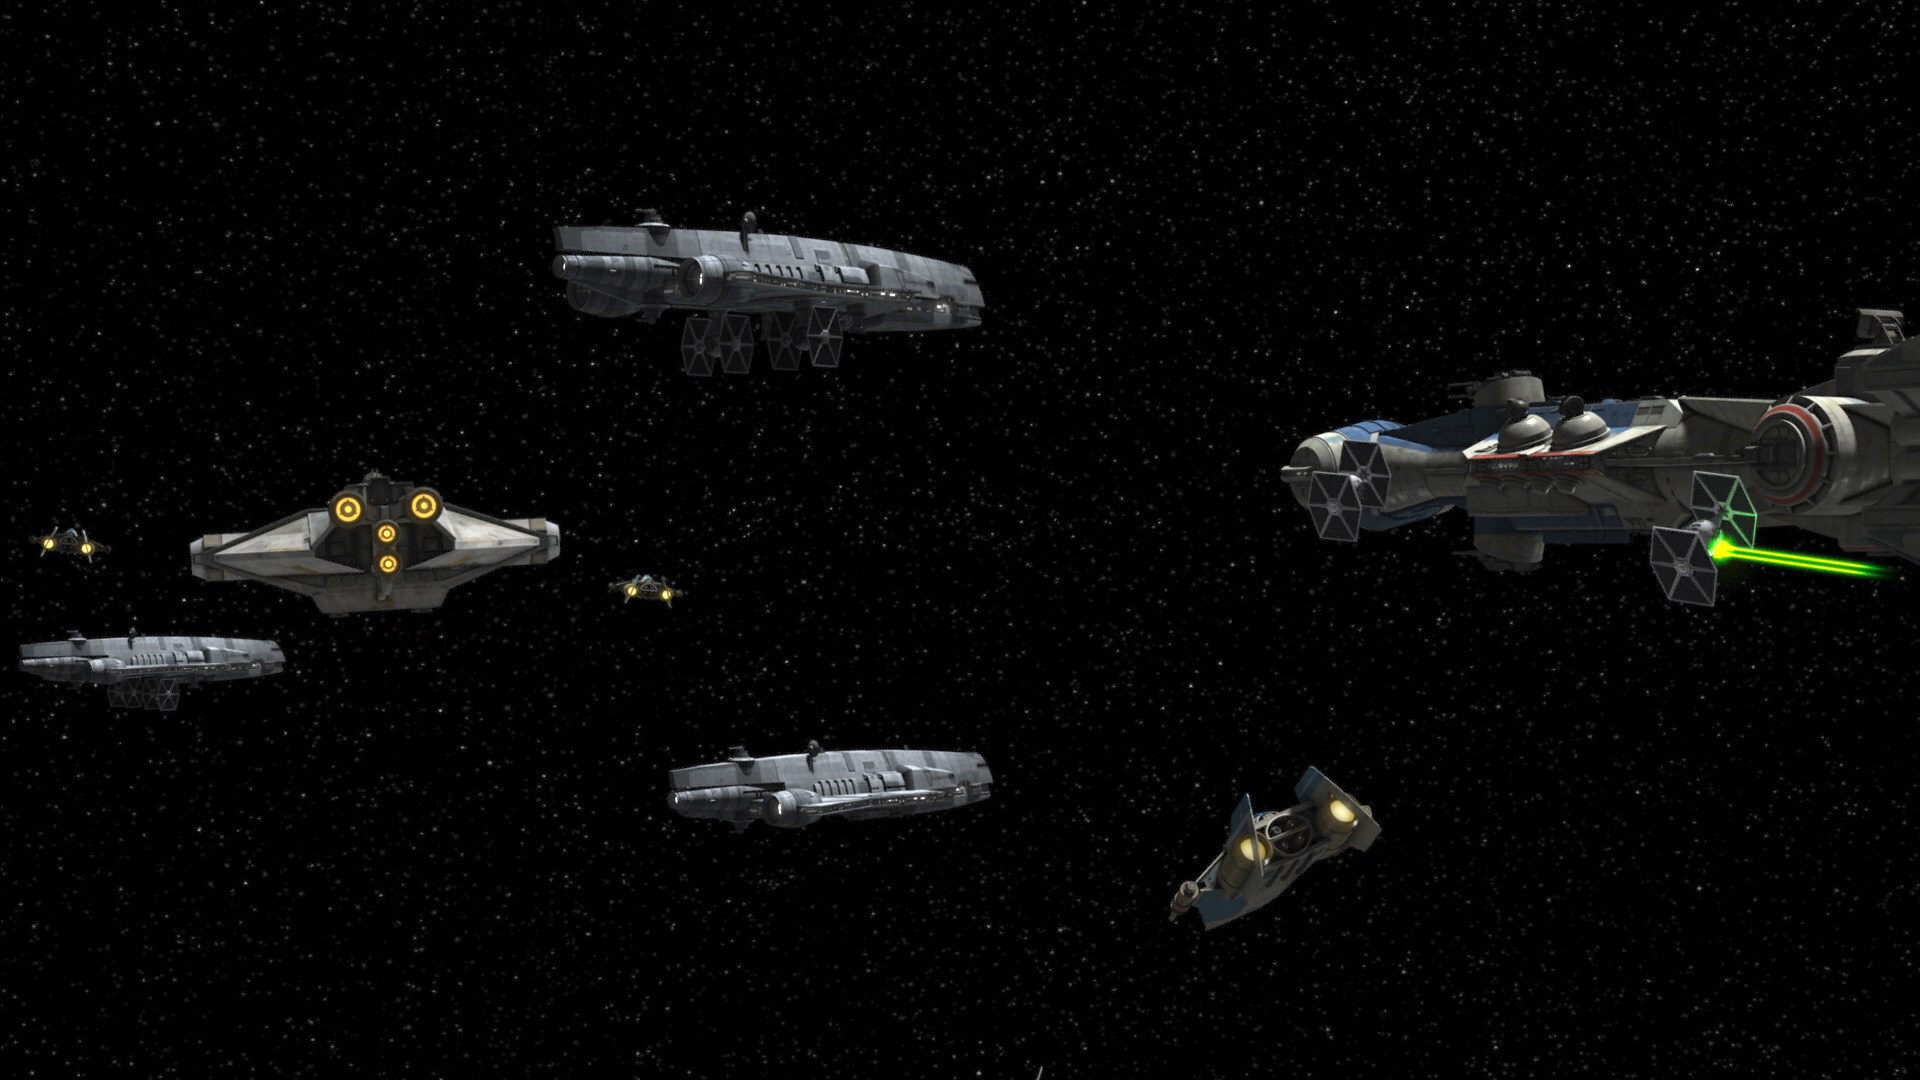
!["Rebel Assault" Episode Guide | Star Wars Rebels]()
"Rebel Assault" Episode Guide | Star Wars Rebels
Season 4, Episode 9 -
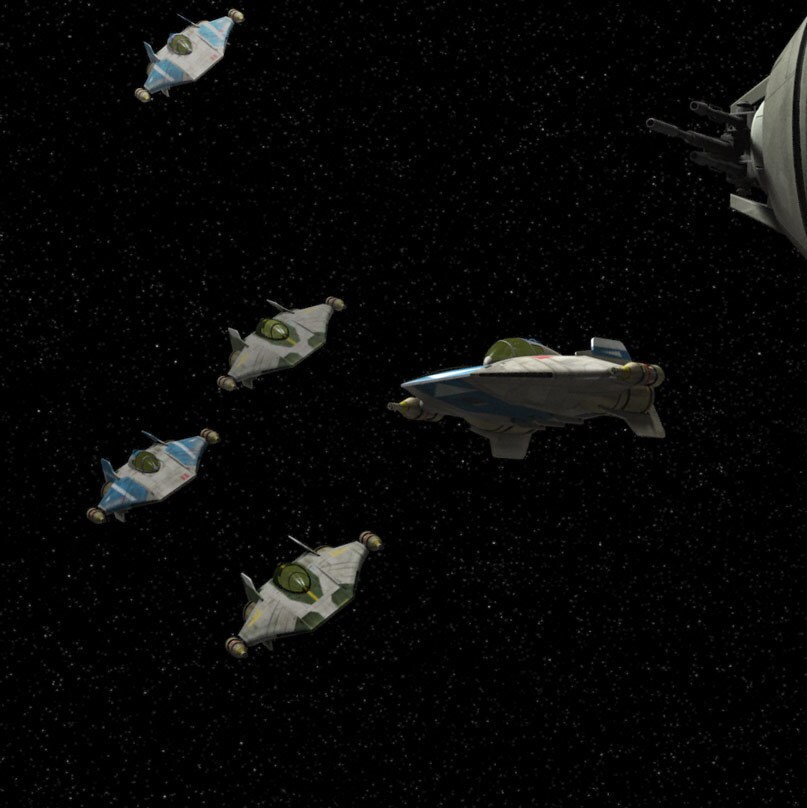
!["Crawler Commandeers" Episode Guide | Star Wars Rebels]()
"Crawler Commandeers" Episode Guide | Star Wars Rebels
Season 4, Episode 8