© 2015 Disney
TIE Fighter History Gallery
- 13 Images
-
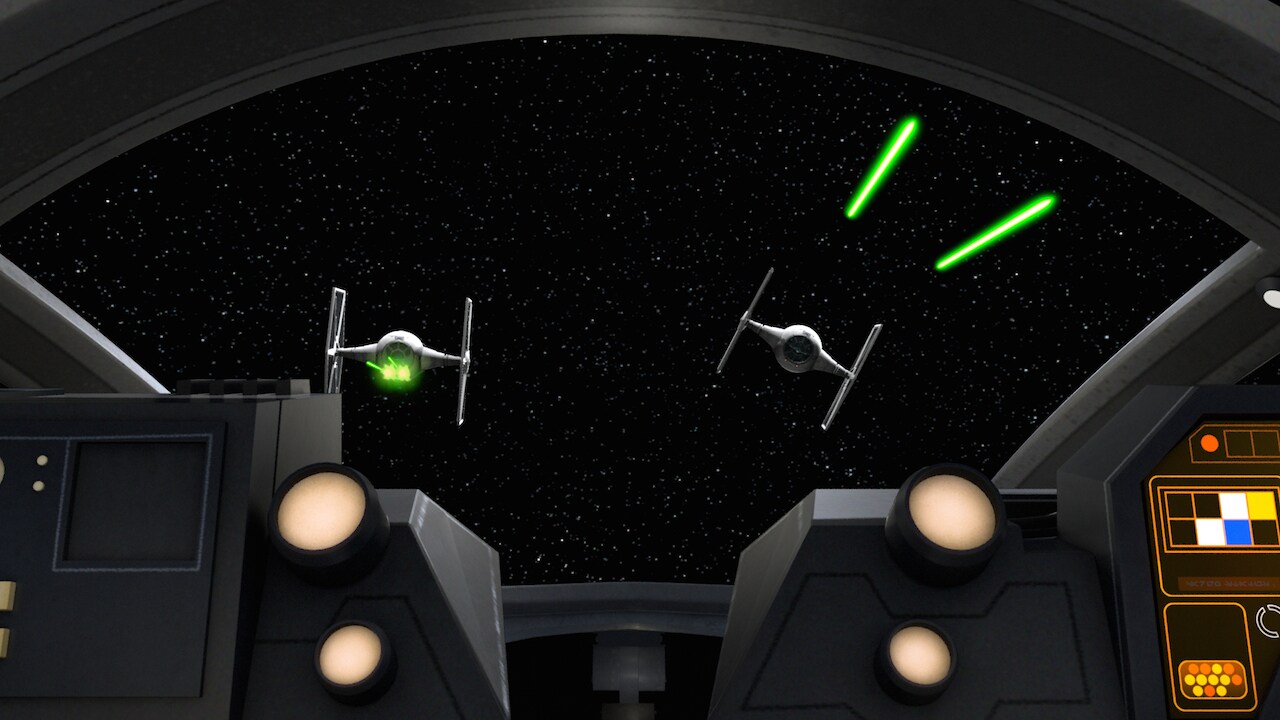
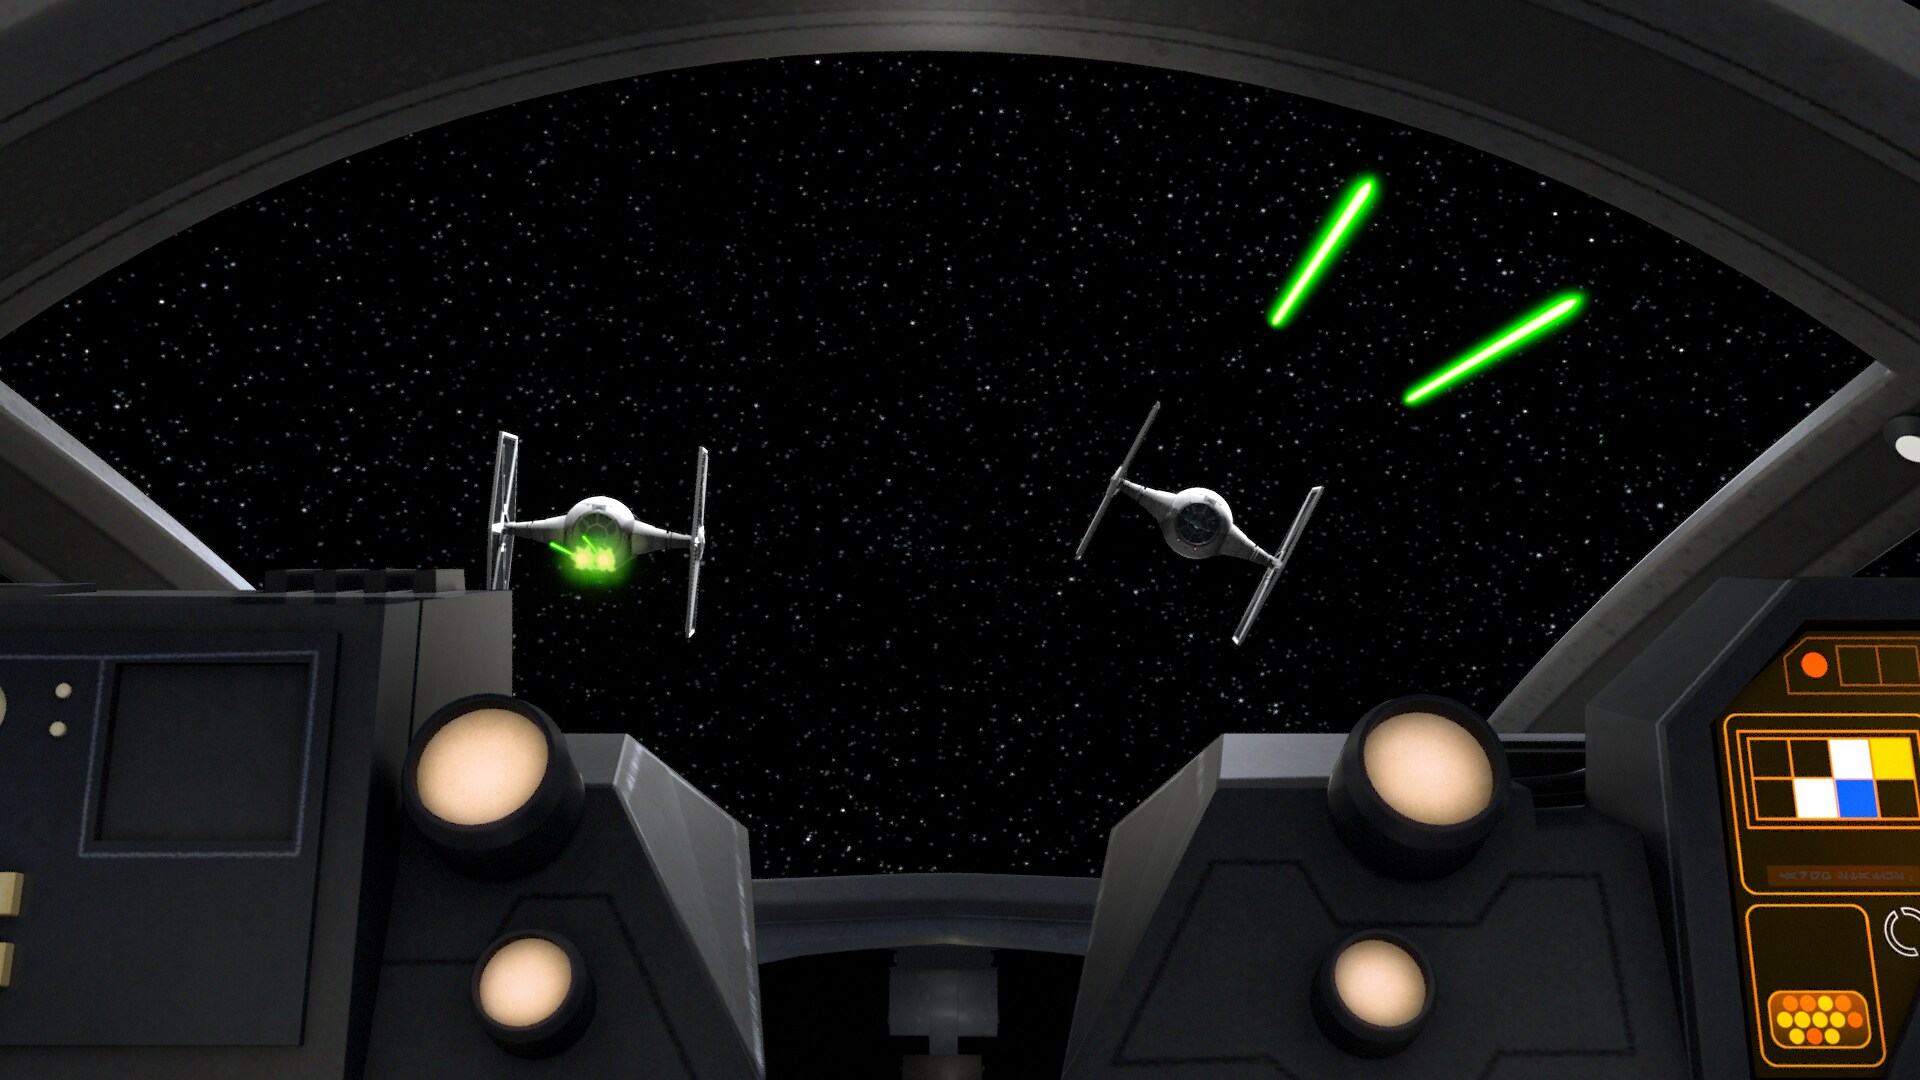
The rebel group led by Hera Syndulla on Lothal frequently clashed with TIE fighters in the planet’s skies and in space above. An expert pilot, Hera was the equal of any TIE pilot sent up to stop her, but even the best pilot could only do so much against swarms of Imperial fighters. During a pitched battle, every member of the Ghost’s crew had to defend the craft – even the grouchy astromech Chopper.
-
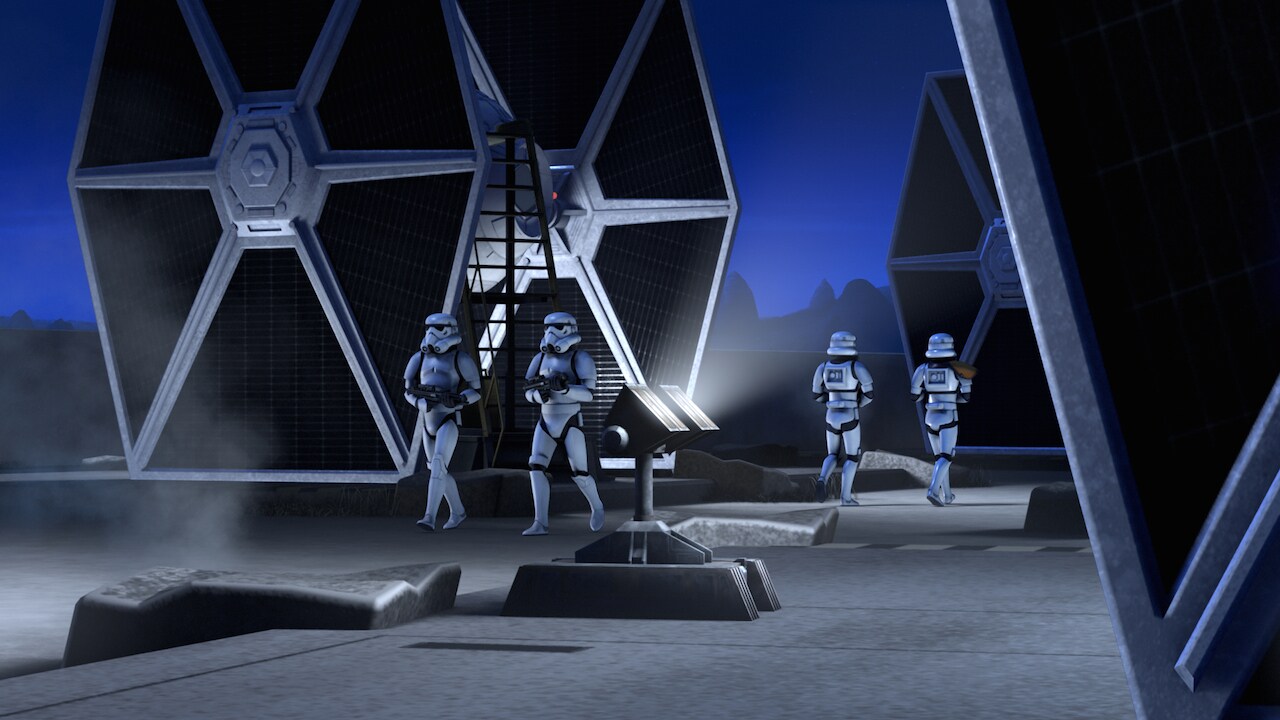
As symbols of the Empire’s might, TIEs were logical targets for Hera’s rebels. The Mandalorian demolitions expert Sabine Wren enjoyed showing up the Empire by tagging the fighters’ solar panels with graffiti, sending the message that the Empire was not, in fact, all-powerful.
-
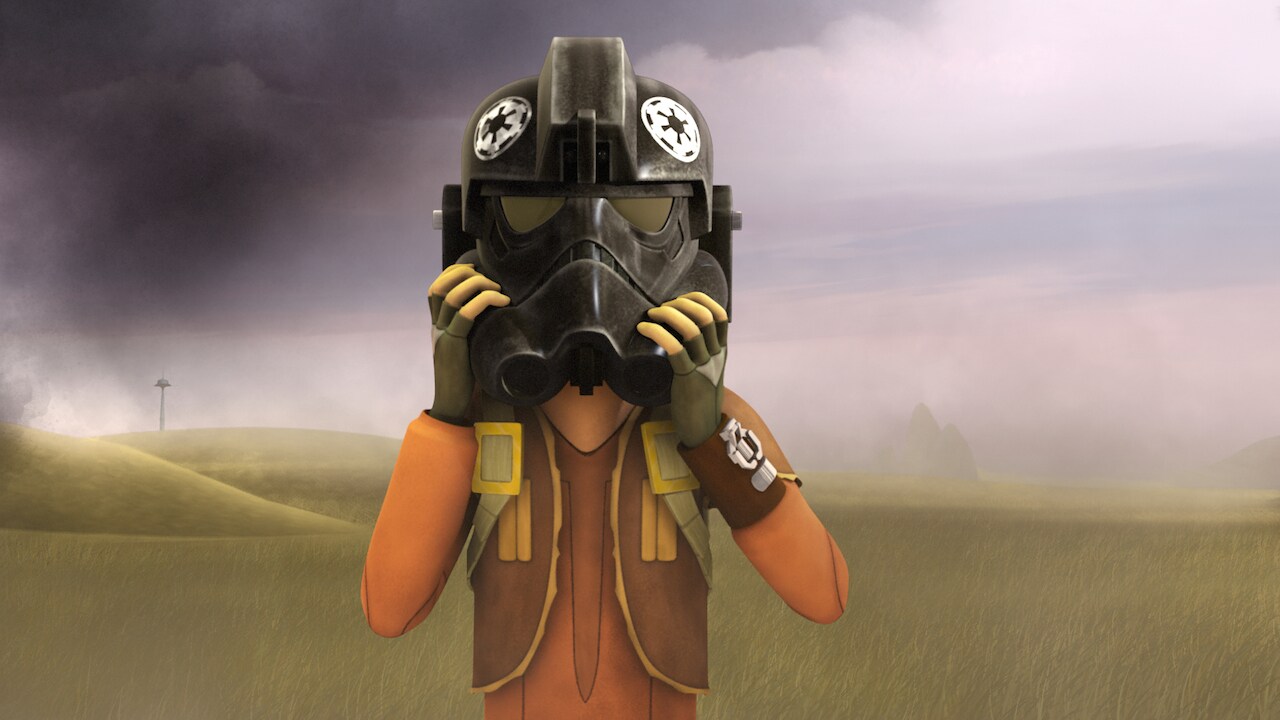
Before he joined Hera’s crew, Ezra Bridger sought to add a TIE pilot’s helmet to his collection of purloined Imperial gear. Ezra got his chance one day when the Ghost shot down Baron Valen Rudor’s TIE, leaving the pilot stranded in his cockpit. Under the guise of helping Rudor, Ezra stole pieces of the man’s gear, including his prized headgear.
-
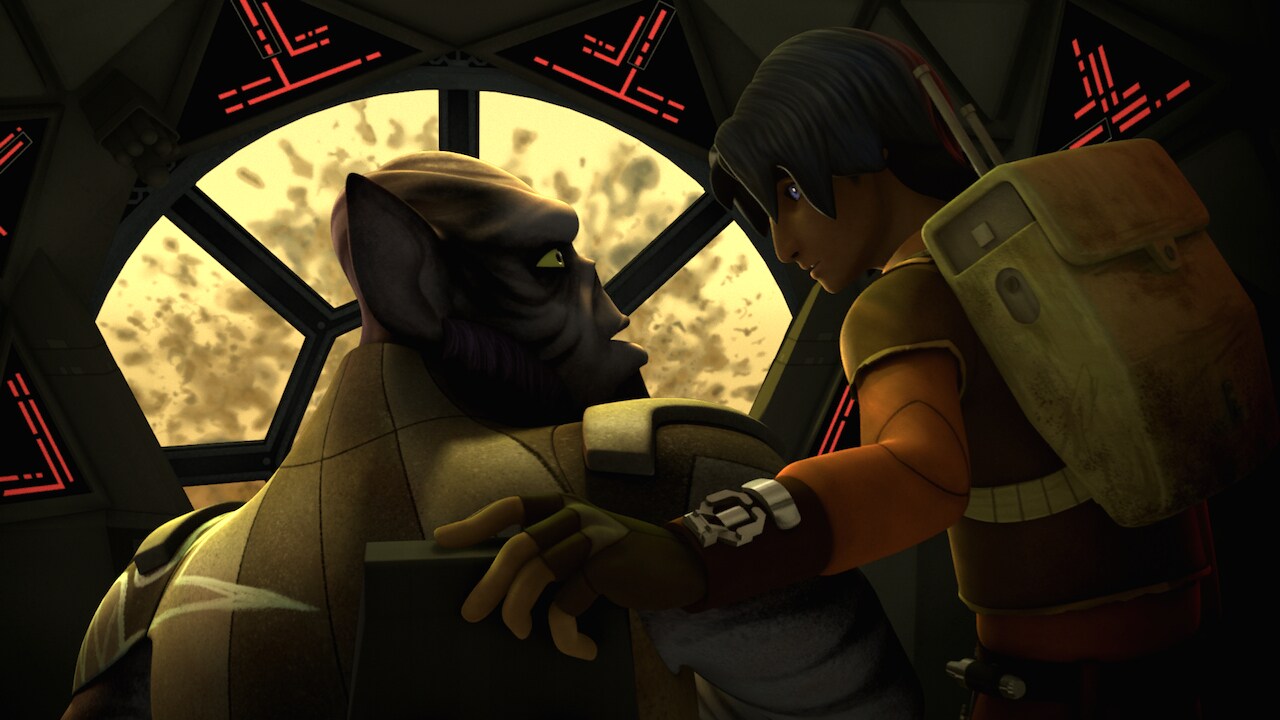
During one mission that went awry, Zeb Orrelios stole a TIE fighter, putting the craft through dangerous and unorthodox maneuvers as terrified merchants scattered. Zeb and Ezra used the fighter to attack an Imperial troop transport before crashing it on purpose and abandoning it.
-
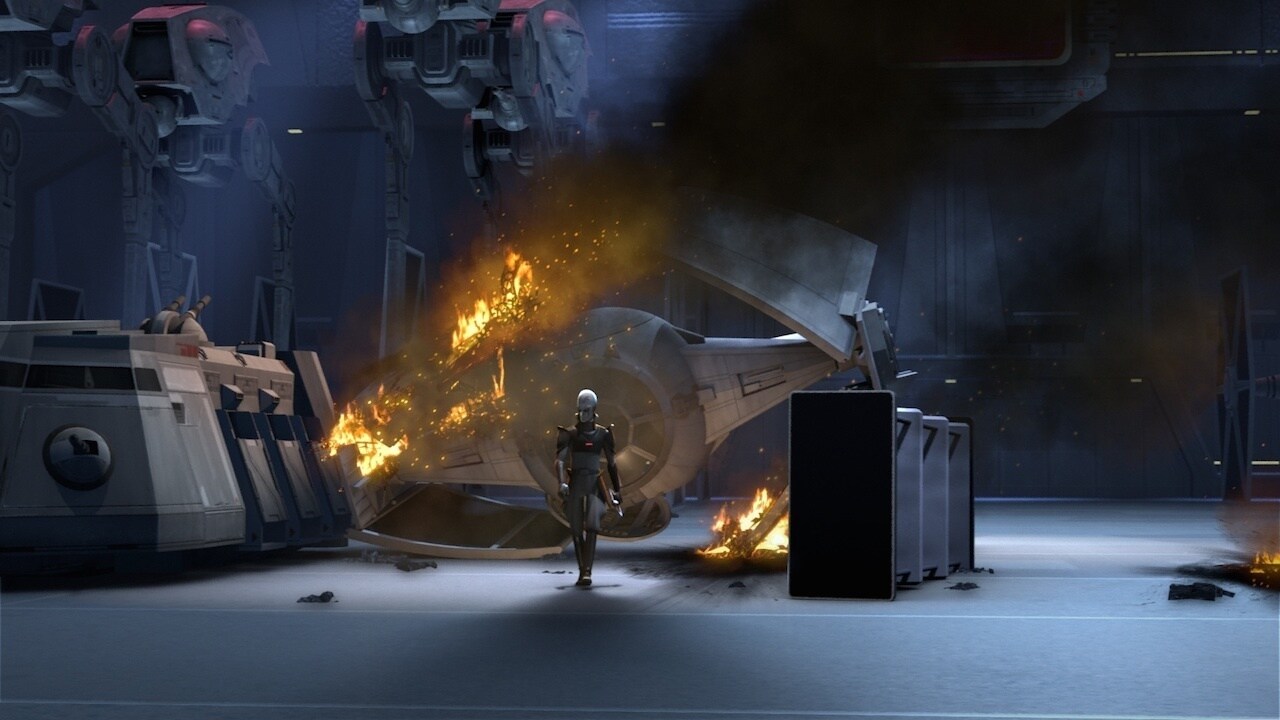
Hera’s crew seriously embarrassed the Empire by disrupting the Empire Day festivities on Lothal, destroying a prototype TIE Advanced before a shocked crowd of Imperial officials and citizens. The dark-side agent known as the Inquisitor then pursued them in another TIE Advanced craft.
-
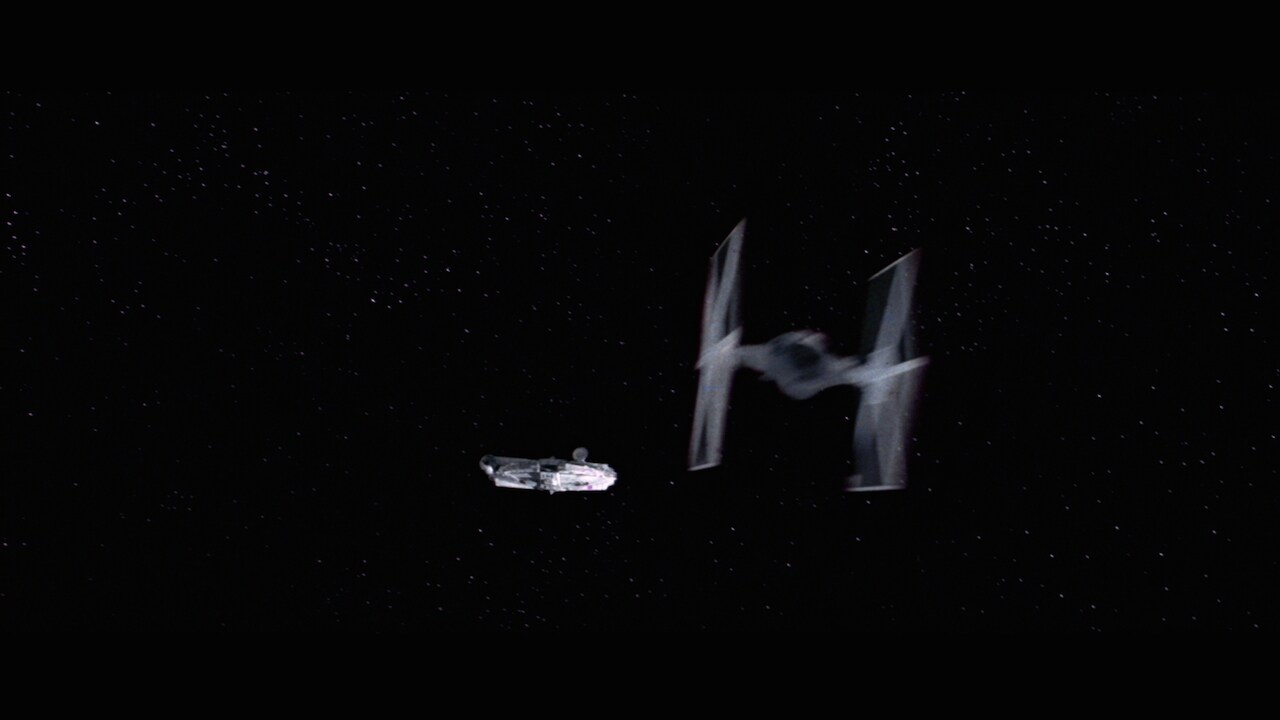
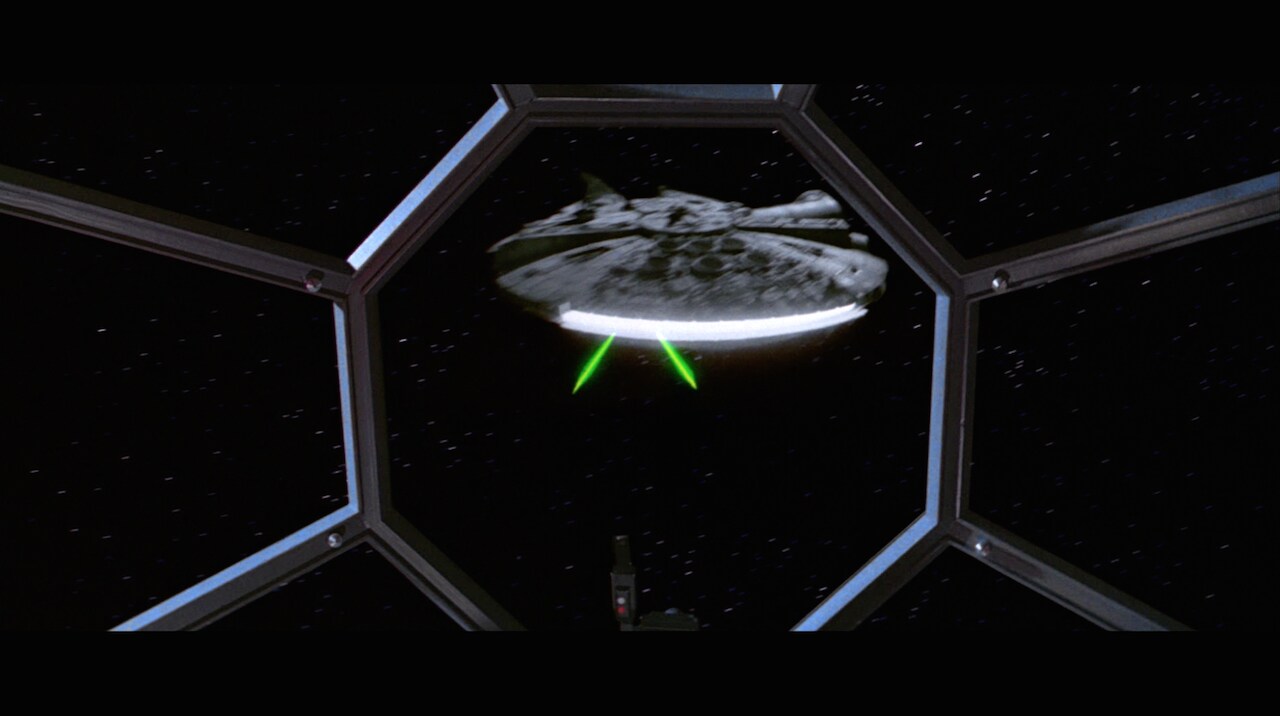
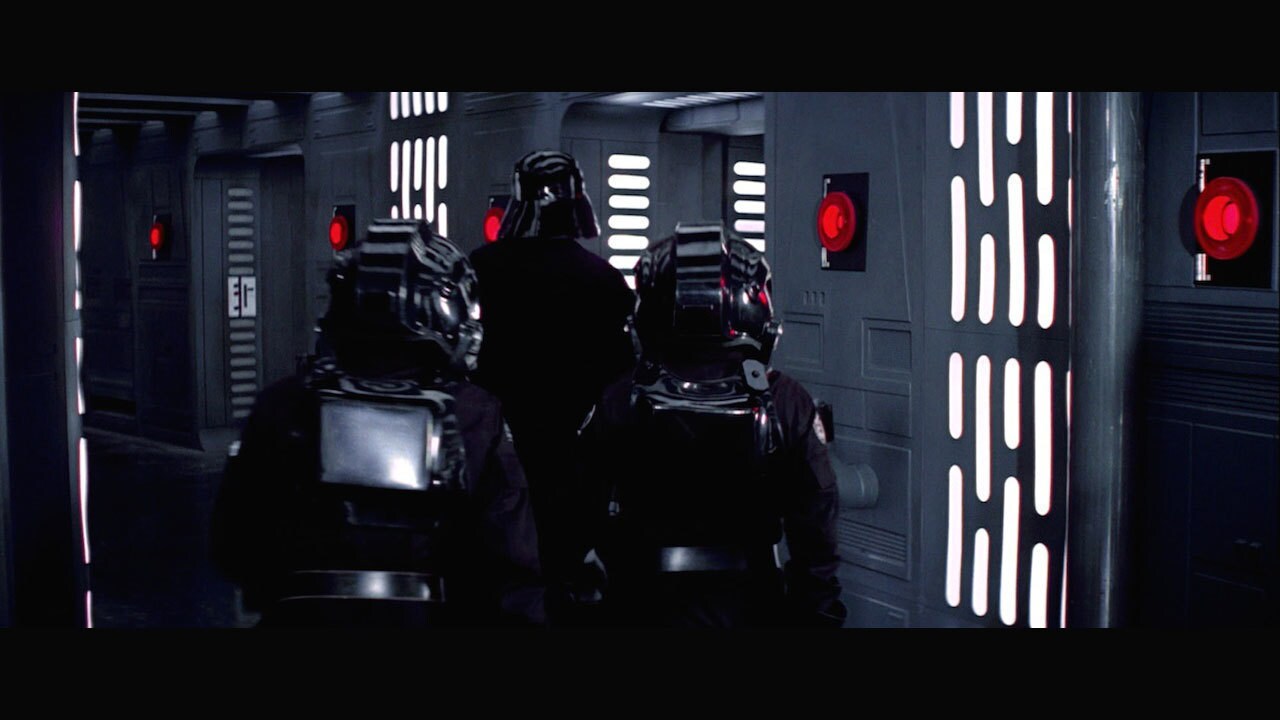
When the Millennium Falcon emerged from hyperspace at the site of Alderaan, a lone TIE fighter attacked the freighter. Han Solo pursued the fighter, which sought safety aboard the Death Star.
-
After the Falcon escaped from its confinement in a Death Star docking bay, TIE fighters serving as the battle station’s sentry ships sought to cut off her escape. Han and Luke Skywalker manned the Falcon’s guns, destroying the fighters so the freighter could complete her getaway.
-
At the Battle of Yavin, the Death Star’s powerful turbolasers proved unable to target the rebels’ nimble X-wings and Y-wings. Darth Vader ordered the Death Star’s TIE squadrons to join the fight, personally leading the effort in his prototype TIE. Many rebel pilots died at the hands of Vader and his wingmen.
-
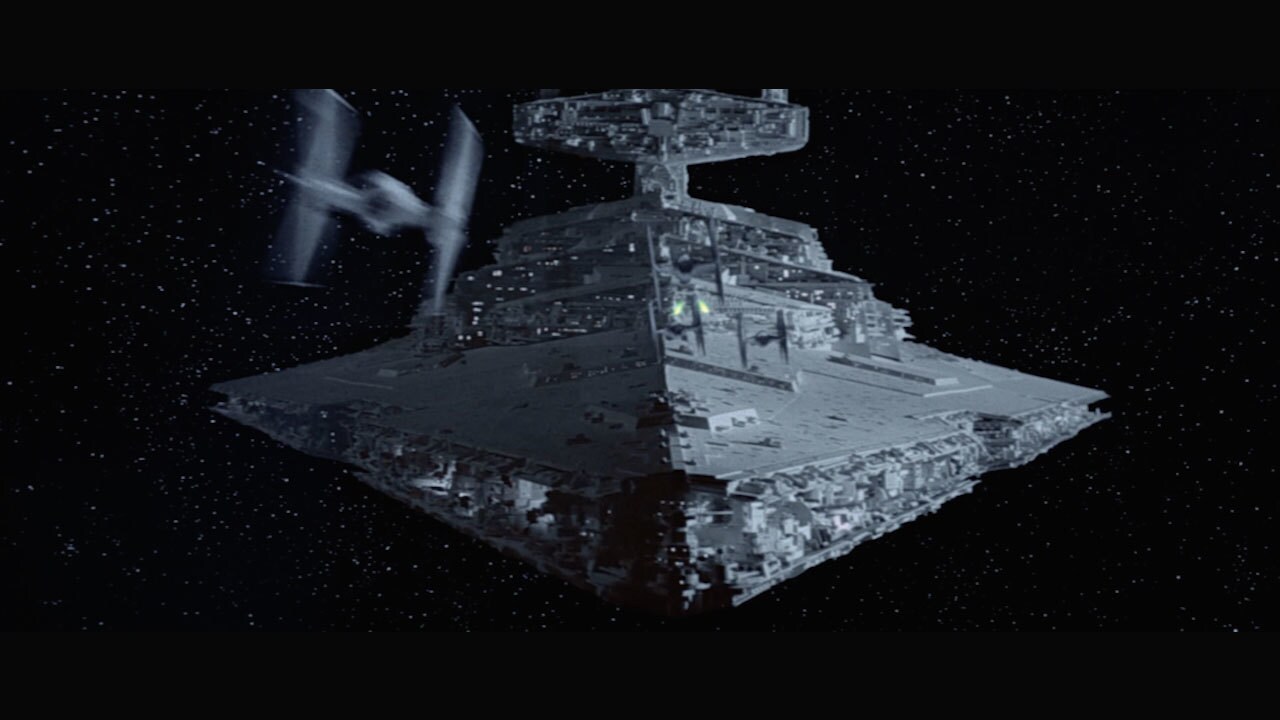
TIEs and Star Destroyers pursued the Millennium Falcon after Han escaped the war-torn planet Hoth, continuing the chase even after the freighter sought refuse in a perilous asteroid field.
-
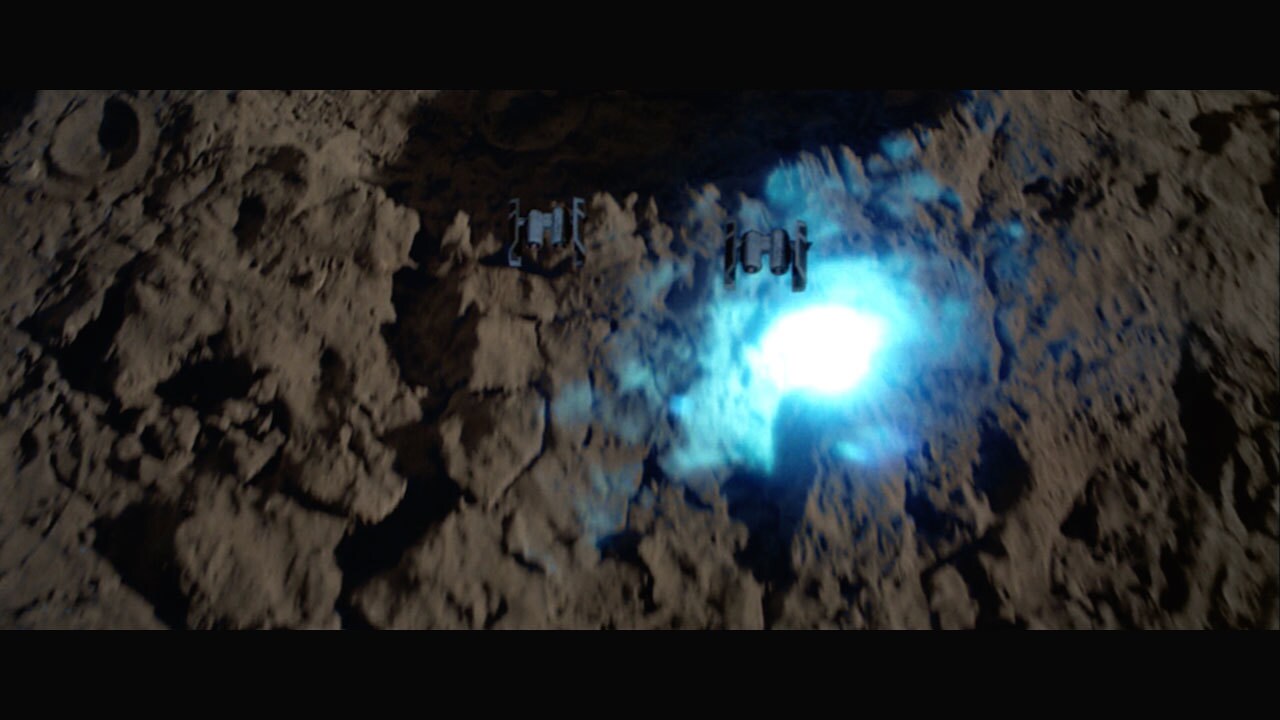
The Falcon evaded the first wave of fighters pursuing her and landed in an apparent cavern deep within the asteroid field. In a bid to force the Falcon out of concealment, TIE bombers dropped explosives on the asteroids.
-
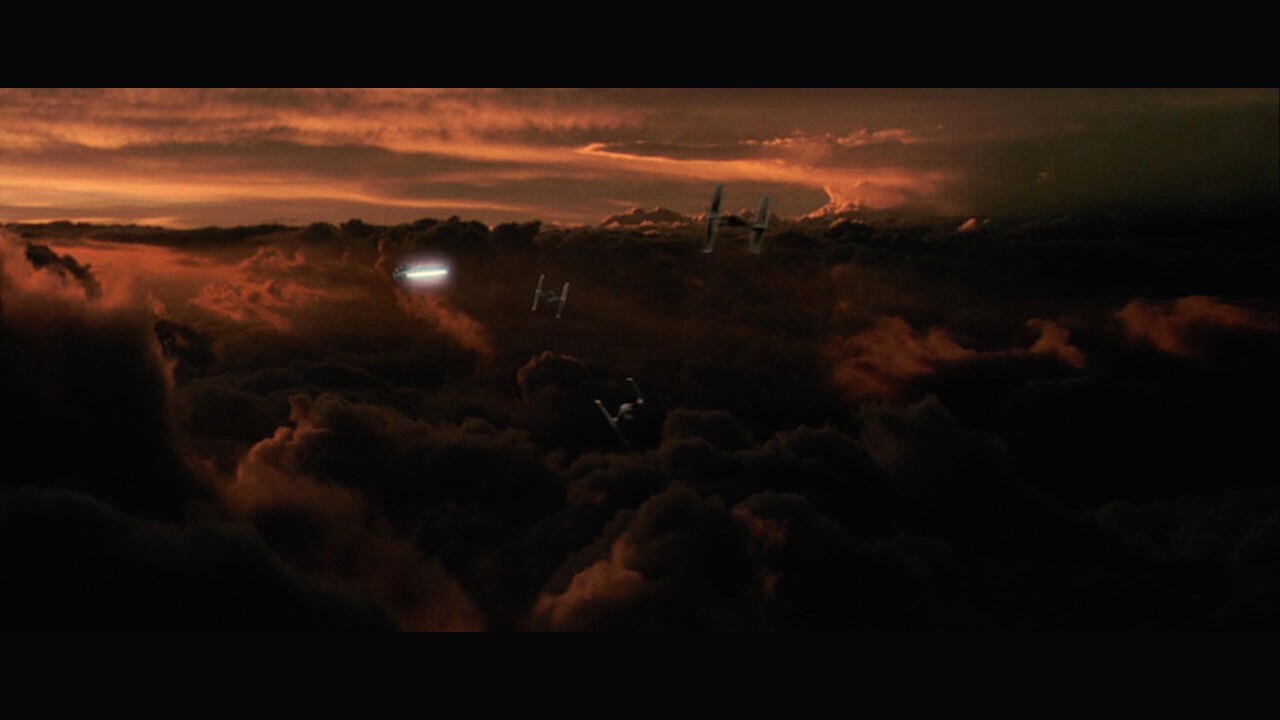
After Lando Calrissian helped Princess Leia and Chewbacca escape captivity on Cloud City, TIE fighters pursued the Falcon through the skies of the gas giant Bespin.
-
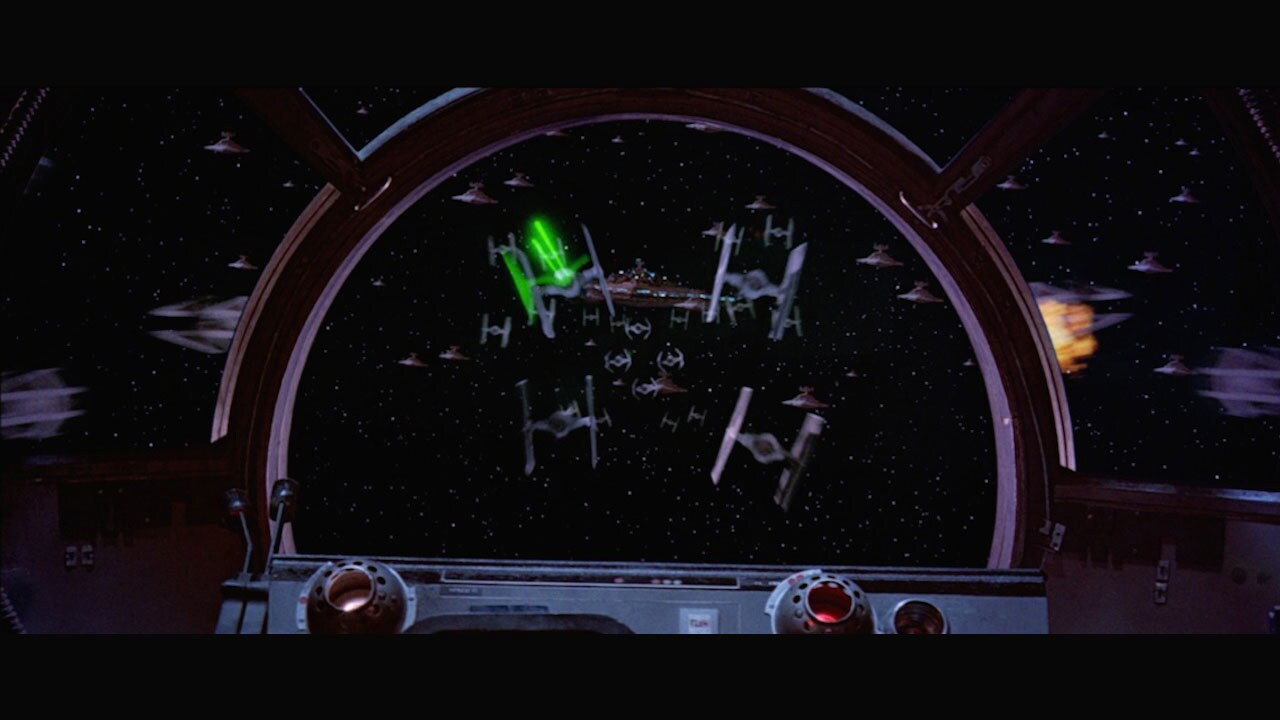
At the Battle of Endor, TIE interceptors defended the Empire’s Star Destroyers and the second Death Star, pounding the Alliance’s fighters and cruisers.
-
After Han Solo’s commandos brought down the Death Star’s protective shield, TIE pilots pursued the Falcon and her rebel fighter escorts into the battle station’s superstructure, maneuvering as best they could in the terrifyingly tight confines.
TIE Fighter History Gallery
TM & © Lucasfilm Ltd. All Rights Reserved


