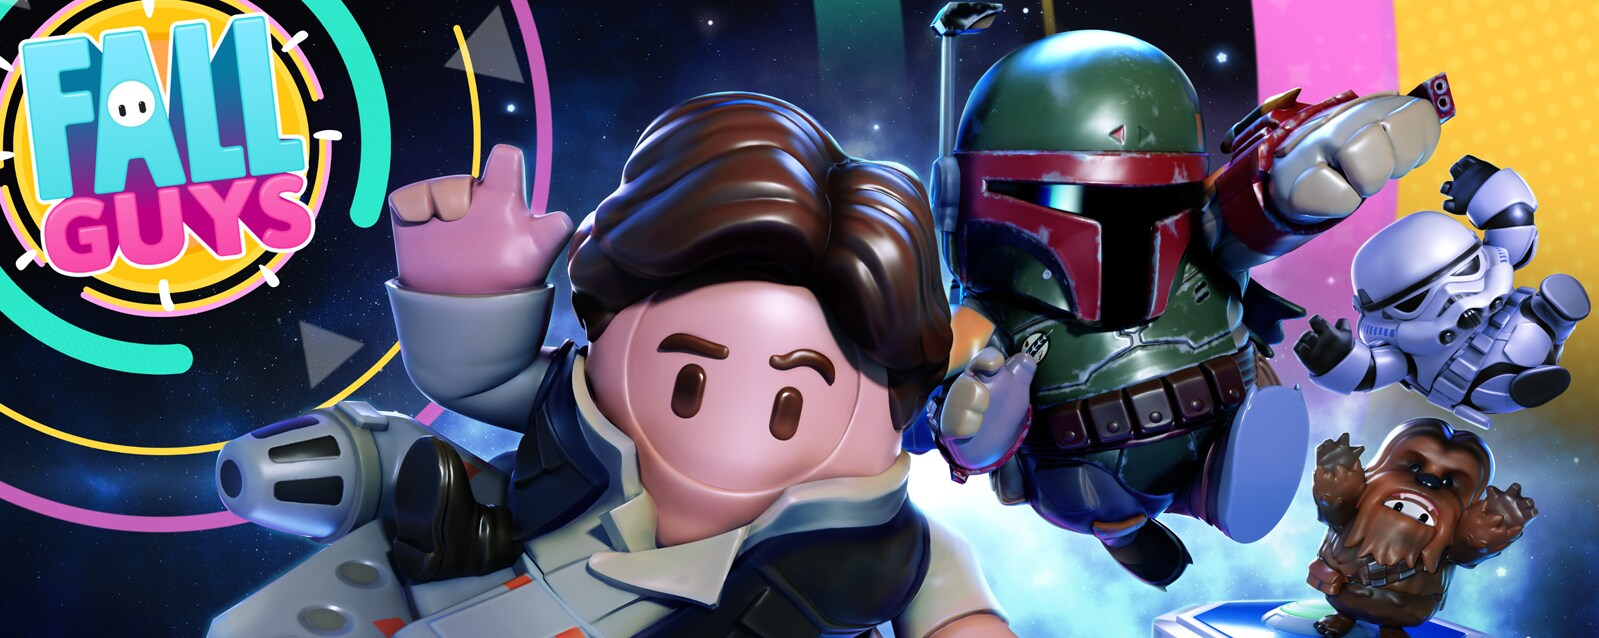
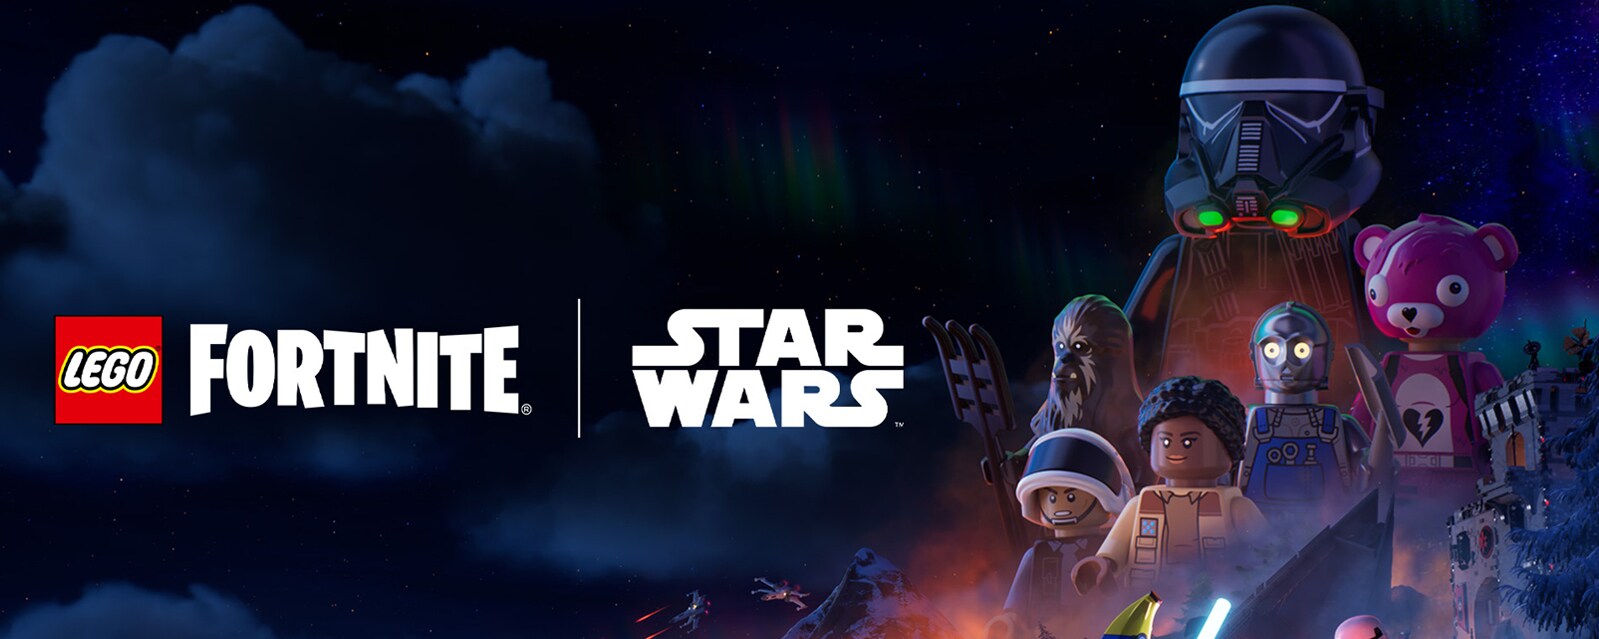
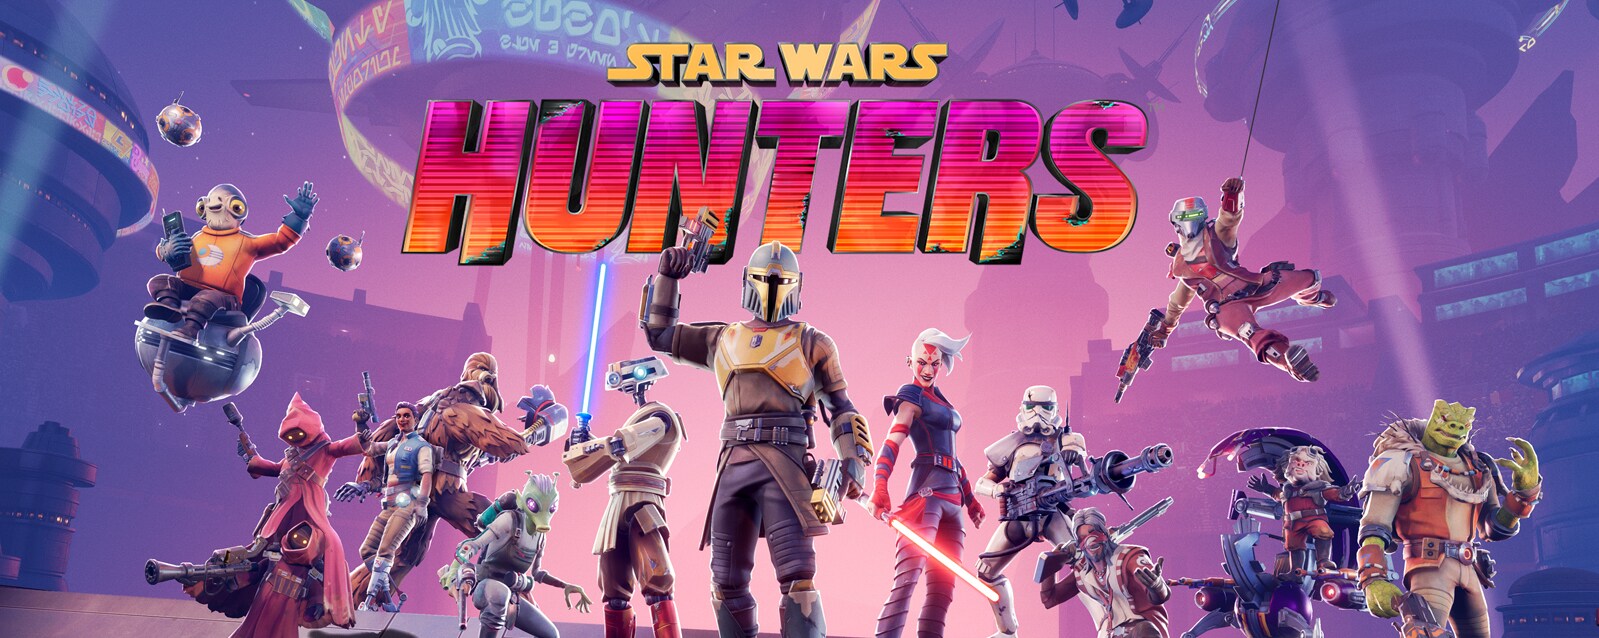
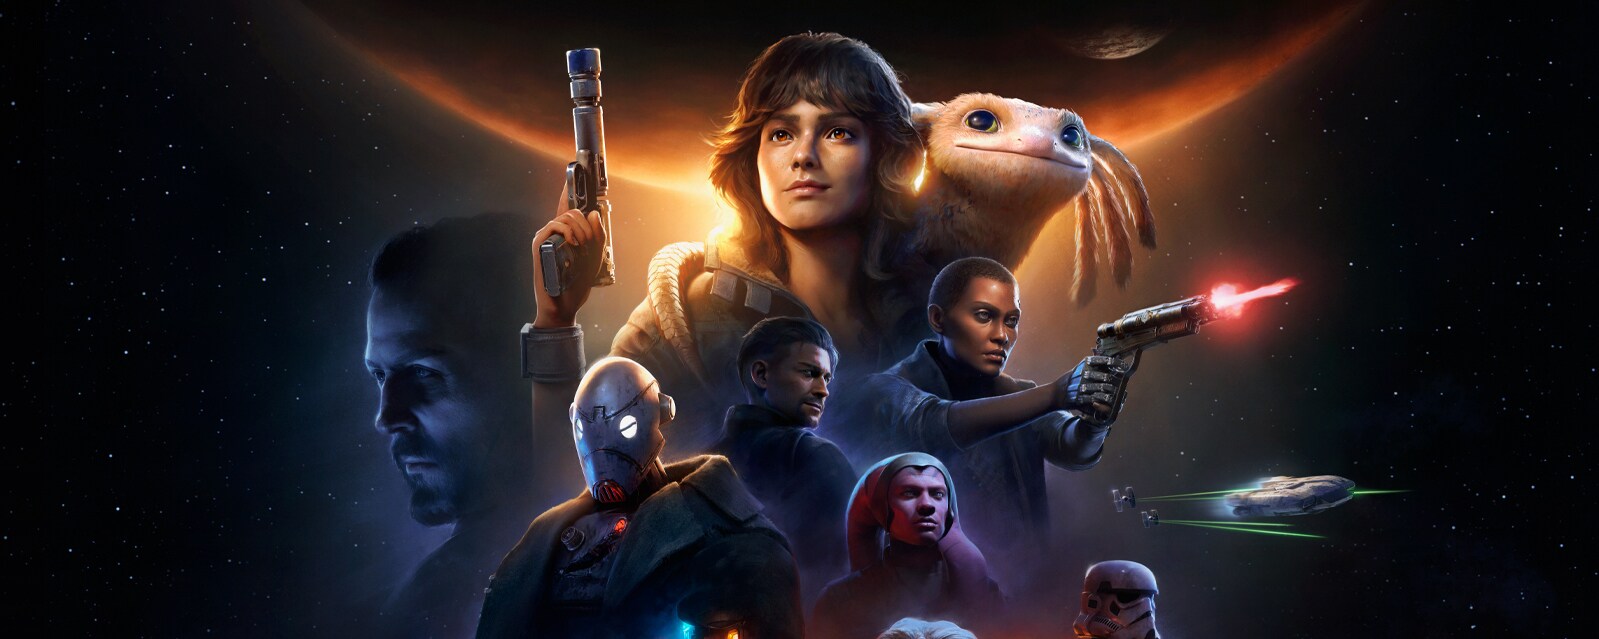
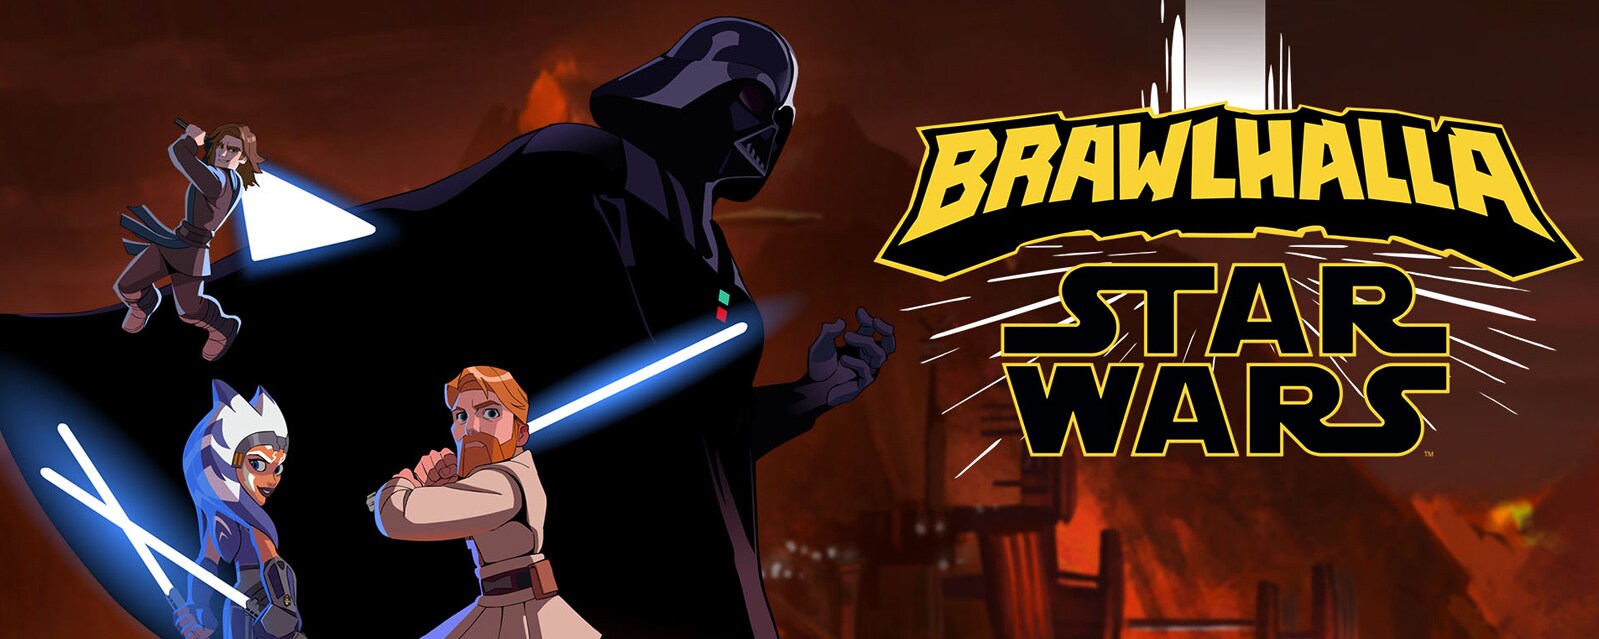
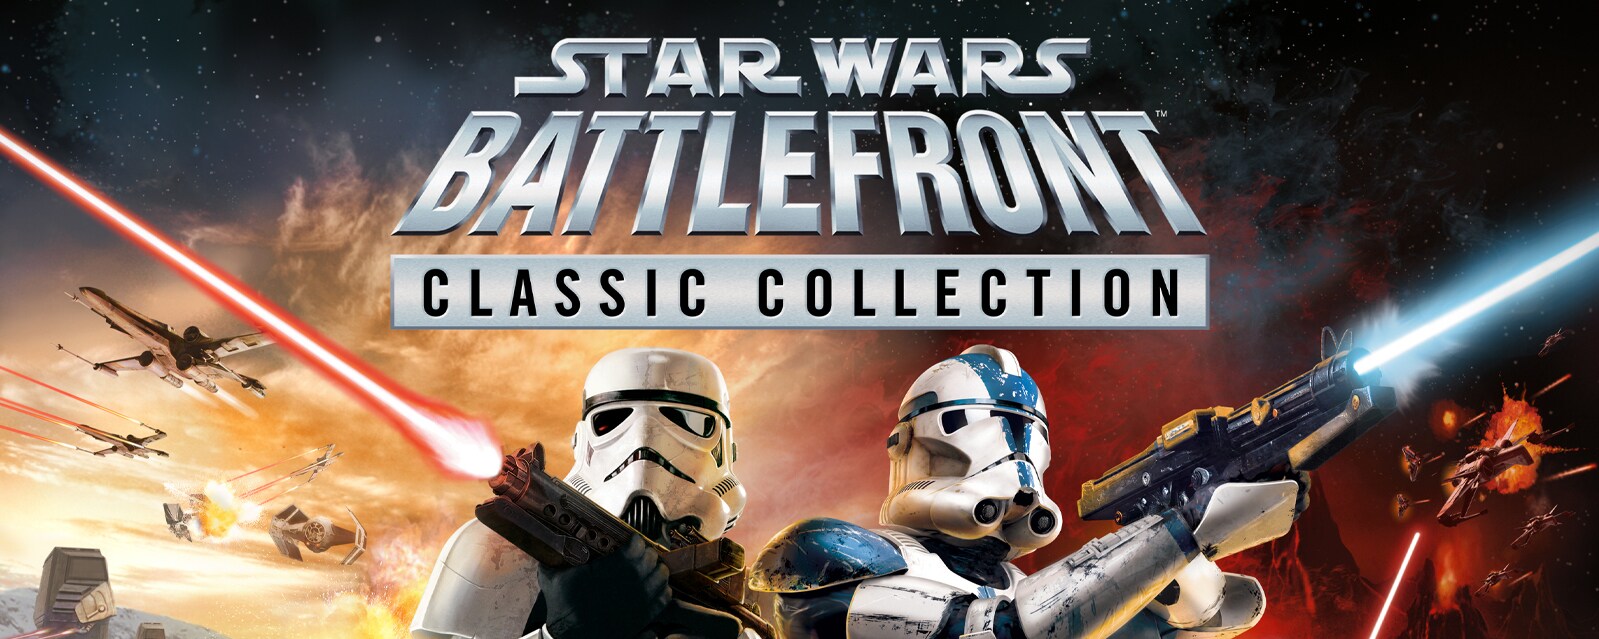
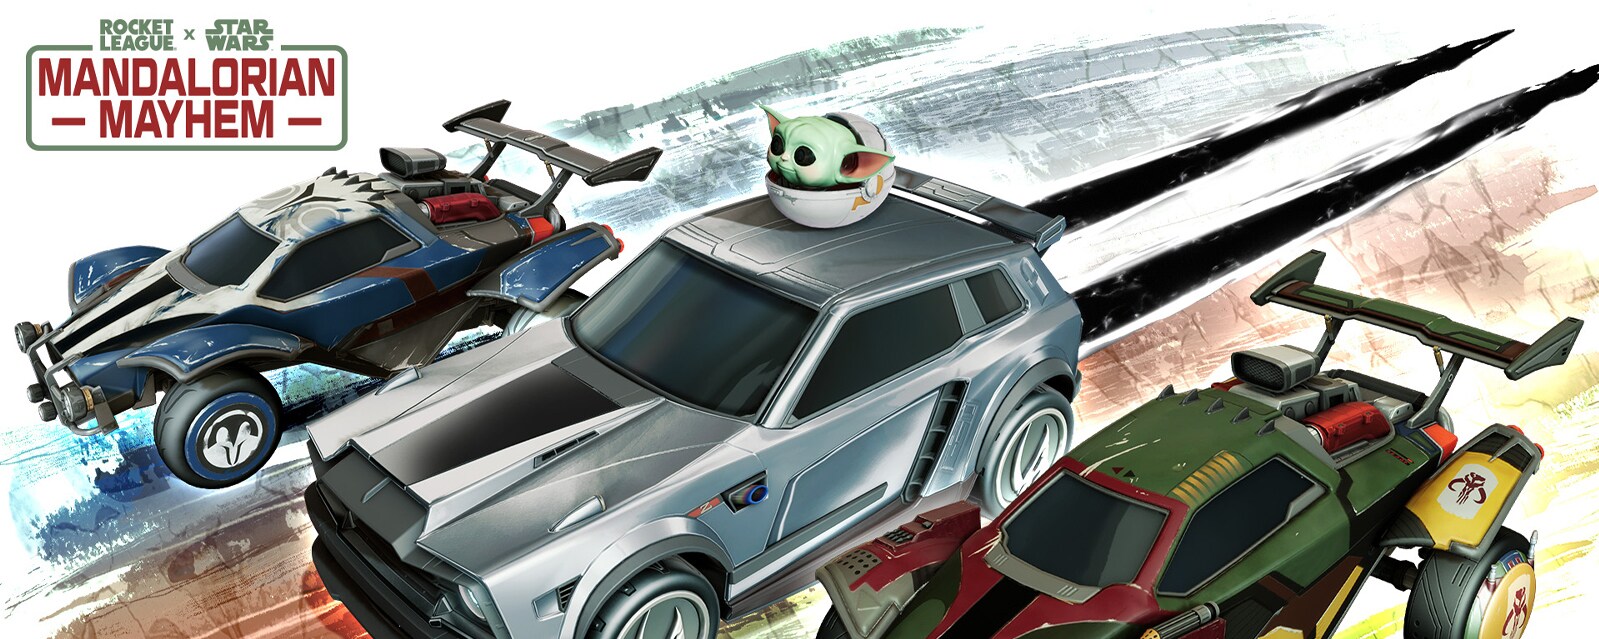
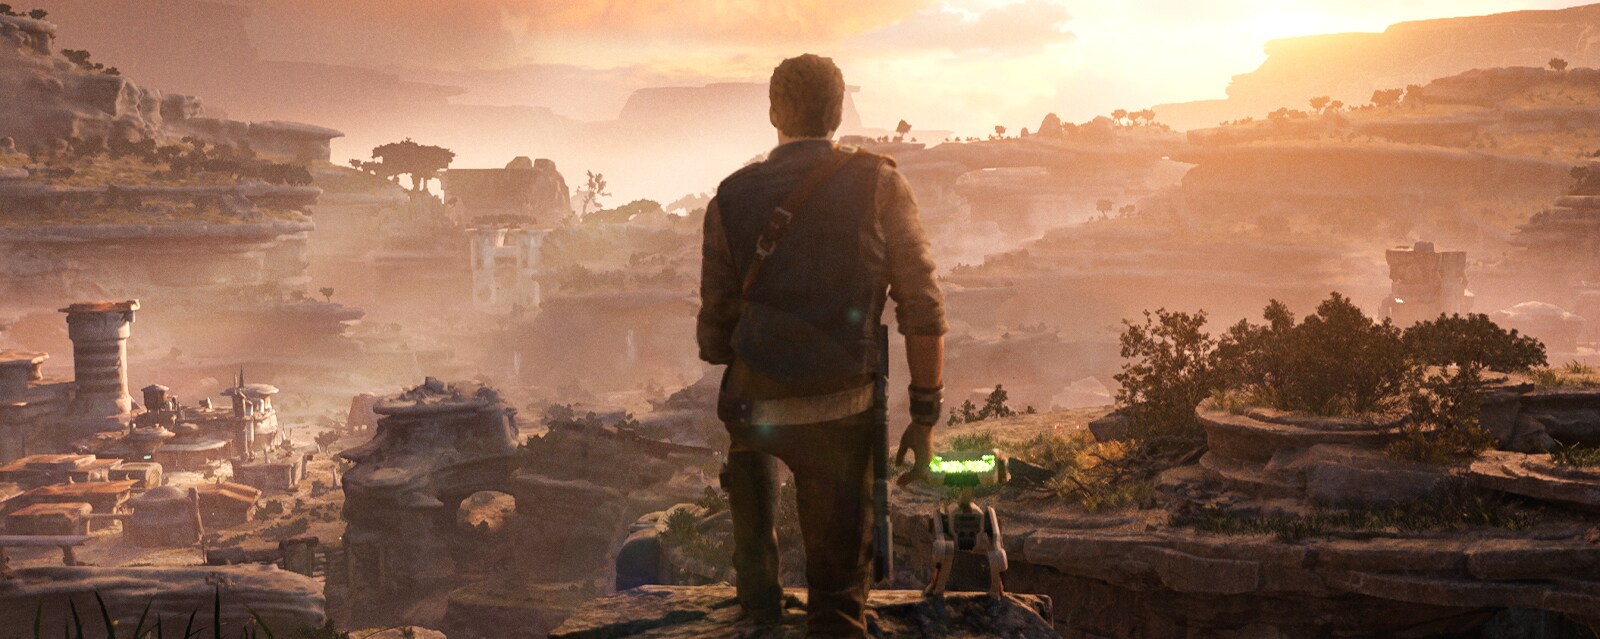
Skip Navigation More More Search Cancel My Account Logout other instagram twitter facebook youtube other Skip Navigation NEWS + FEATURES THE LATEST THE MANDALORIAN AND GROGU MAUL - SHADOW LORD QUIZZES + POLLS BOOKS + COMICS VIDEO FILMS All FILMS THE MANDALORIAN AND GROGU SERIES All Series MAUL - SHADOW LORD Andor Ahsoka The Mandalorian GAMES + INTERACTIVE View All Games + Apps VR + Interactive DATABANK ALL DATABANK GALAXY MAP ERAS DISNEY+ STREAM NOW EXPLORE DISNEY+ THE DISNEY BUNDLE More More Cancel My Account Logout other instagram twitter facebook youtube other STAR WARS ON DISNEY+ Latest News + Features See All Catch Star Wars Zero Company in Action in New Gameplay Trailer Rivalries Heat Up in the New Trailer for Star Wars: Galactic Racer Step Inside the Star Wars Galaxy in Fortnite This May Star Wars: Galactic Racer Releases October 6, Plus Gaming News and Deals for Star Wars Day 2026 We’re Going Back to Jakku this October in Star Wars: Galactic Racer - Exclusive Interview Welcome to the Galactic League with the Latest Trailer for Star Wars: Galactic Racer Star Wars Year in Review 2025 Star Wars: Fate of the Old Republic Revealed with First Trailer - Exclusive Interview All Hands on Deck for a New Star Wars Collectible Card Game Embrace Your Inner Podracer with the Launch of Star Wars: Beyond Victory - A Mixed Reality Playset In Star Wars Video Games There’s a Galaxy of Connection Which Star Wars Video Game Should You Play Right Now? - Updated Watch the New Trailer for Star Wars: Beyond Victory - A Mixed Reality Playset Out this Fall This Will Be a Day Long Remembered: Speak with Darth Vader in Fortnite Fortnite & Star Wars Collide Like Never Before in the new Galactic Battle Season Join the Ranks of Star Wars Zero Company - Update Star Wars: Beyond Victory - A Mixed Reality Playset from ILM Zooms into Star Wars Celebration - Update Steal a Look at Star Wars Outlaws: A Pirate’s Fortune, Available May 15 Star Wars Goes to the Grammys Star Wars Episode I: Jedi Power Battles Returns — Reveal Star Wars Year in Review 2024 Game On: A Look at Sabacc and Dejarik Poll: Which Star Wars Outlaws Syndicate Has Your Allegiance? Quiz: Which Star Wars Outlaws World Should You Hide Out On? Star Wars Outlaws Is Here! Embrace Your Sneaky Side in Star Wars Outlaws New Star Wars Outlaws Trailer Takes Us Back to the Underworld Star Wars Outlaws’ Julian Gerighty Talks Kay Vess’ Journey: “This Is a Survival Story” Star Wars: Hunters Is Here! The Beans Strike Back as Star Wars Comes to Fall Guys Fortnite | Star Wars Now Available Watch the LEGO Fortnite | Star Wars Trailer Star Wars: Hunters Release Date, Cinematic Trailer Revealed Star Wars Outlaws: Creative Director Julian Gerighty Breaks Down the New Story Trailer Take the High Ground in the Brawlhalla Star Wars Event - Available Now Star Wars Battlefront Classic Collection Available Now - Updated Dark Forces Remaster Comes to Consoles and PC Punch It: Mandalorian Mayhem Coming to Rocket League Star Wars Jedi: Survivor, Dial of Destiny Win Grammy Awards The Star Wars Jedi: Survivor Team Drills Down Into Cal Kestis’ Story See All