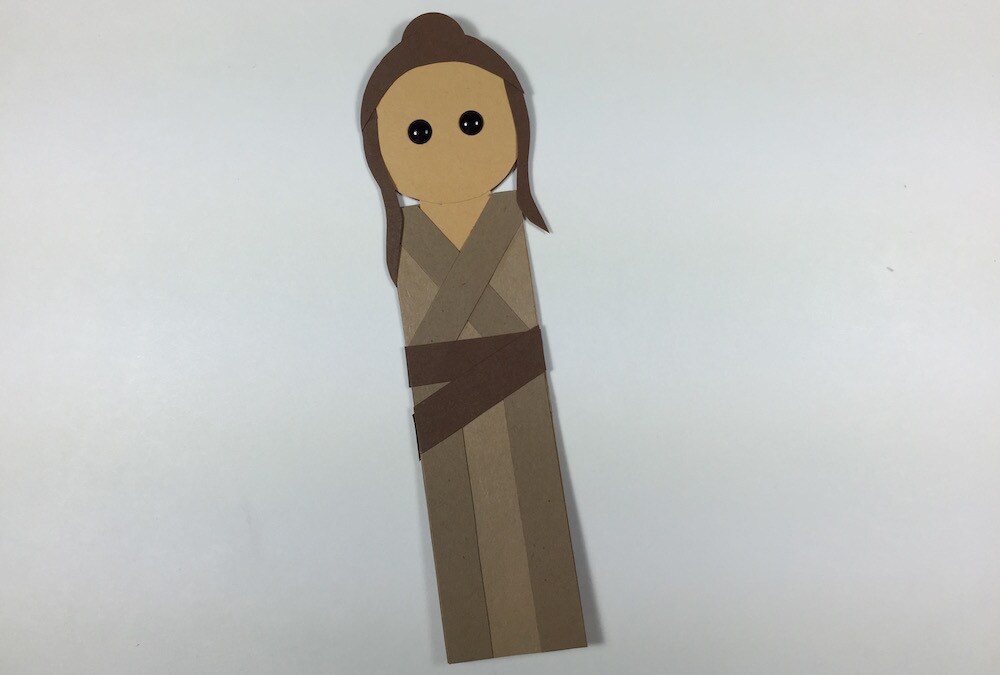
Mark your pages with a bookmark strong in the Force.
Rey is a master at piecing things together to make something incredible happen. Now you can do the same by putting together a crafty bookmark! As you and the kids head back to school, Rey will be there in the pages of a textbook or nestled in a favorite novel, all thanks to this simple paper craft.
What You Need*
• Dark, medium, and light brown cardstock paper
• Tan cardstock paper
• Black
• 5/8” hole punch
• Black enamel dot stickers (optional)
• Black marker
• Scissors
• Glue
• Ruler
*The activities in this article should only be done with adult supervision.
Get Started!
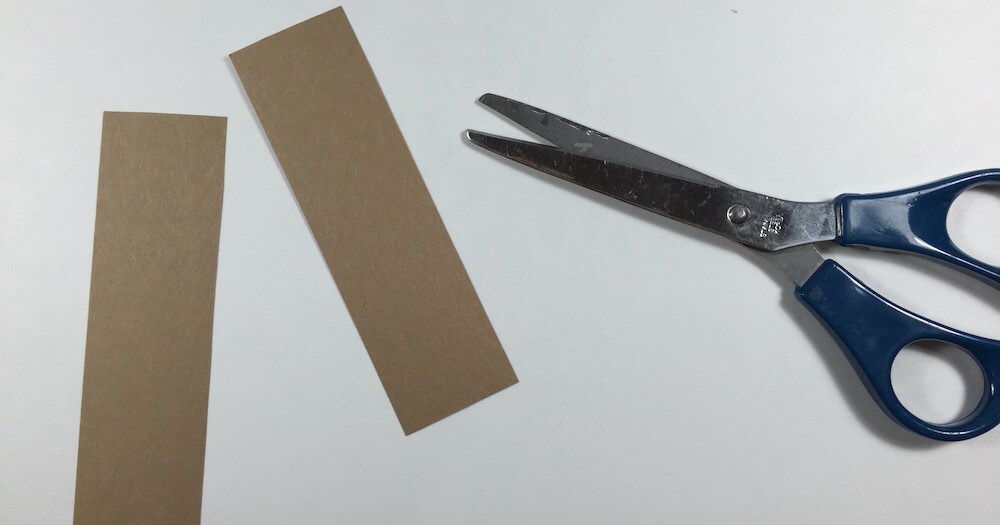
Begin by cutting two strips of the light brown construction paper for the body, 3 cm x 11 cm.
Cut one small strip of tan paper, 1.5 cm x 4 cm, for Rey’s neck.
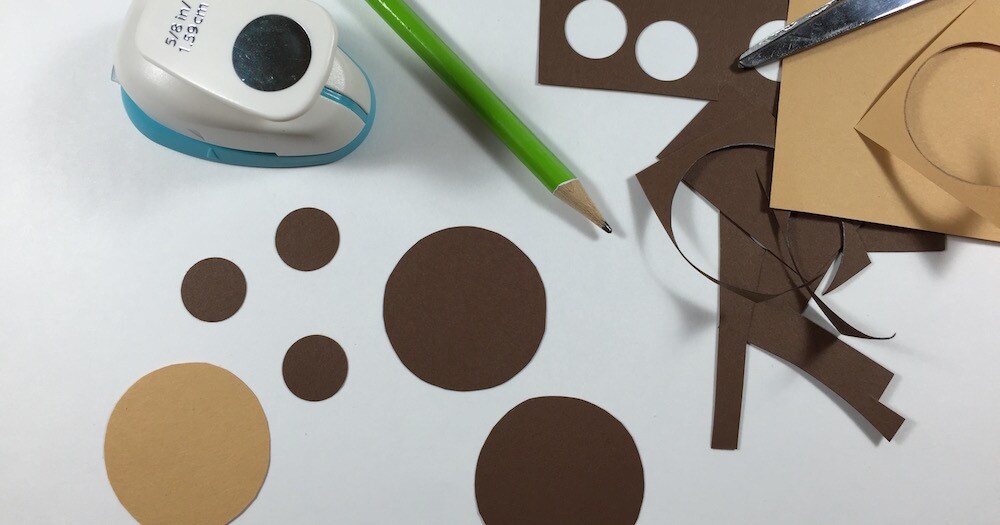
Next, cut one circle with a 4 cm diameter from the tan paper for Rey’s face. (You can trace a tea light candle as a template.) Cut two circles, the same size, from the dark brown paper for Rey’s hair.
Use the 5/8” hole punch to cut three small circles from the dark brown paper for Rey’s buns.
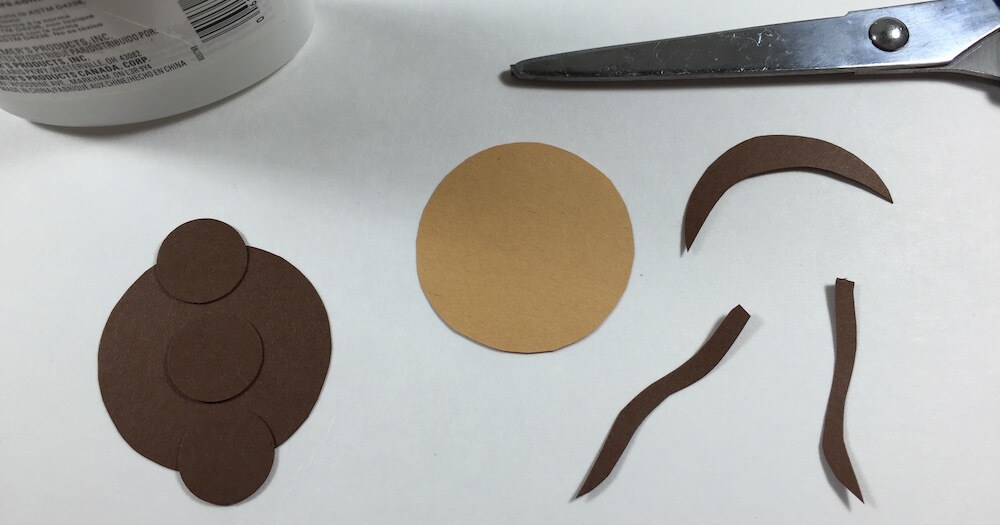
Glue the three buns on the dark brown circle to finish Rey’s hair in the back.
Cut a small crescent, about ¼ of the other dark brown circle, for the top of Rey’s hair in the front.
Cut two small squiggly brown pieces, no longer than 3 cm in length, for the two pieces of hair that frame Rey’s face.
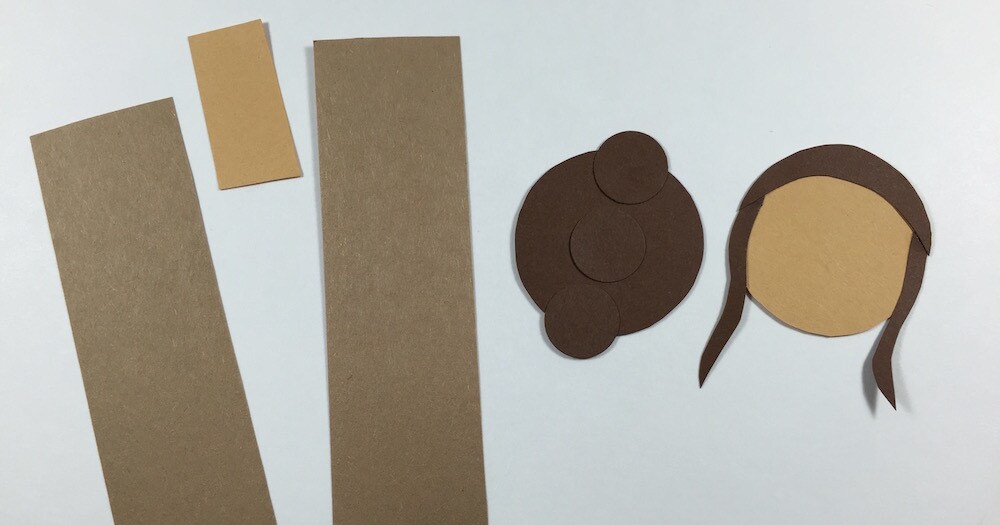
Glue to the two pieces to the side of Rey’s face, and the crescent to the top. Let all glue dry, and you’re ready to assemble the main pieces of the body and face.
Cut a small triangle at the top of one of the large light brown strips for Rey’s neckline.
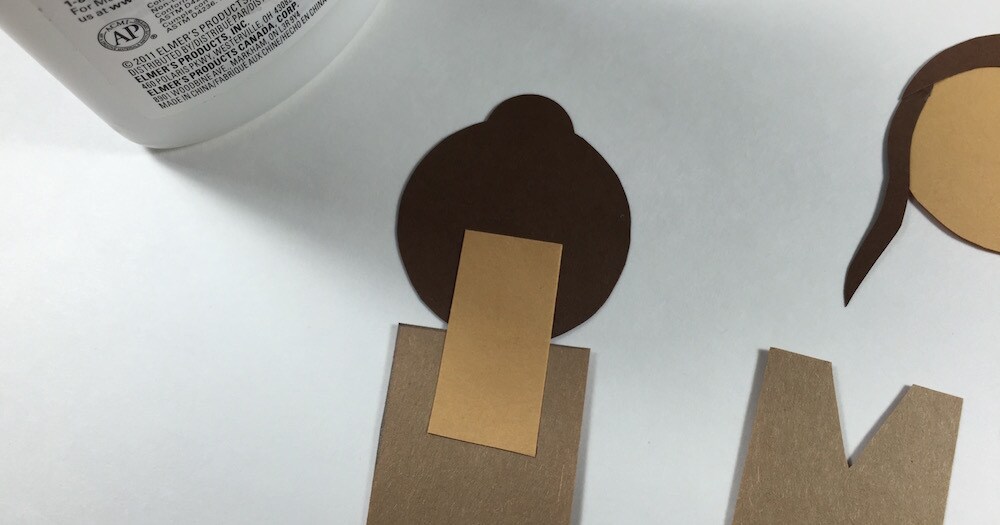
Glue the neck to the front of the other, solid brown strip.
Glue the dark brown circle, buns in the back, to the back of the neck paper piece.
Let the glue dry.
Glue Rey’s face to the front of the neck piece, making sure to line it up with the dark brown circle behind it.
Next, glue the light brown strip with the triangle to the front of the other brown strip, lining it up so that the neck shows without any edges of the tan strip peeking through.
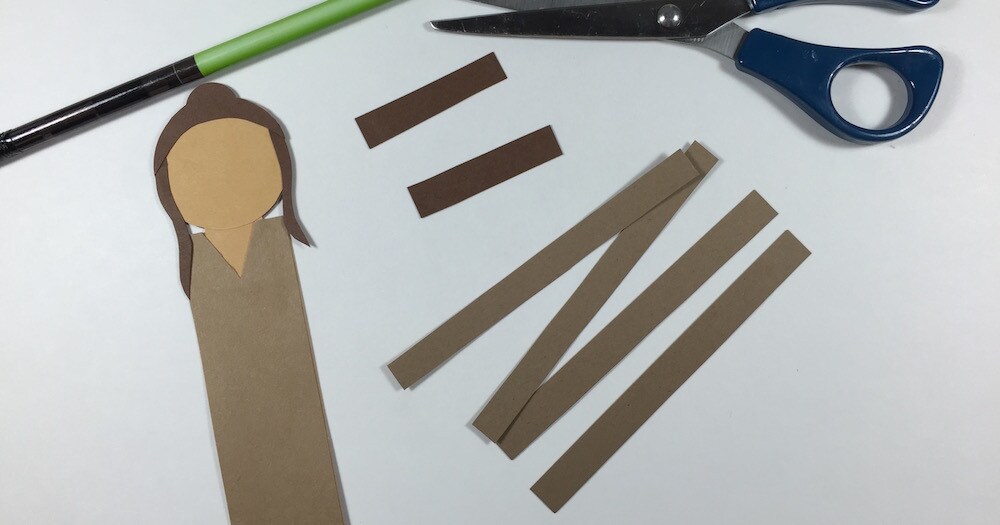
Cut 6 strips of the medium brown paper, 1 cm x 11 cm in size. These will be the strips of fabric on Rey’s clothes in the front and back.
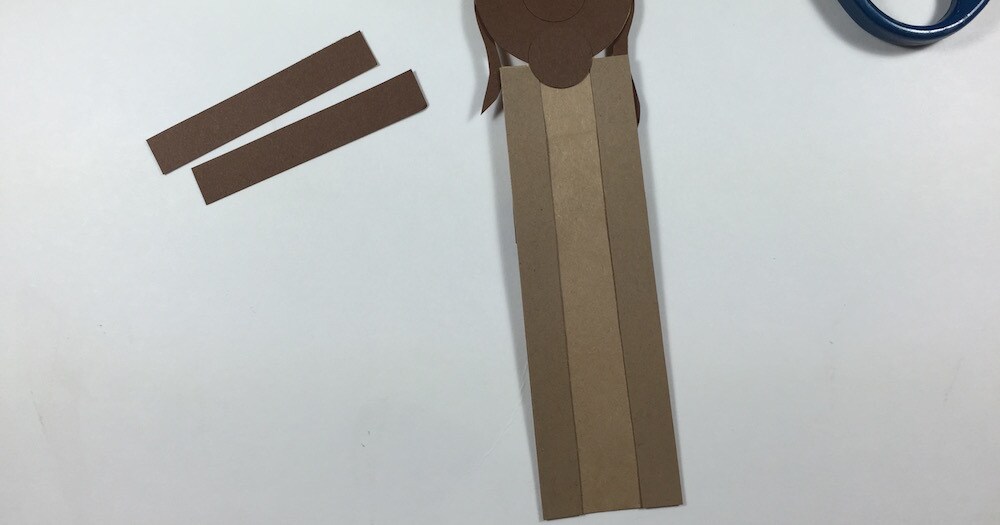
Cut 4 strips of the dark brown paper, 1 cm x 5 cm, for her belt in the back and front.
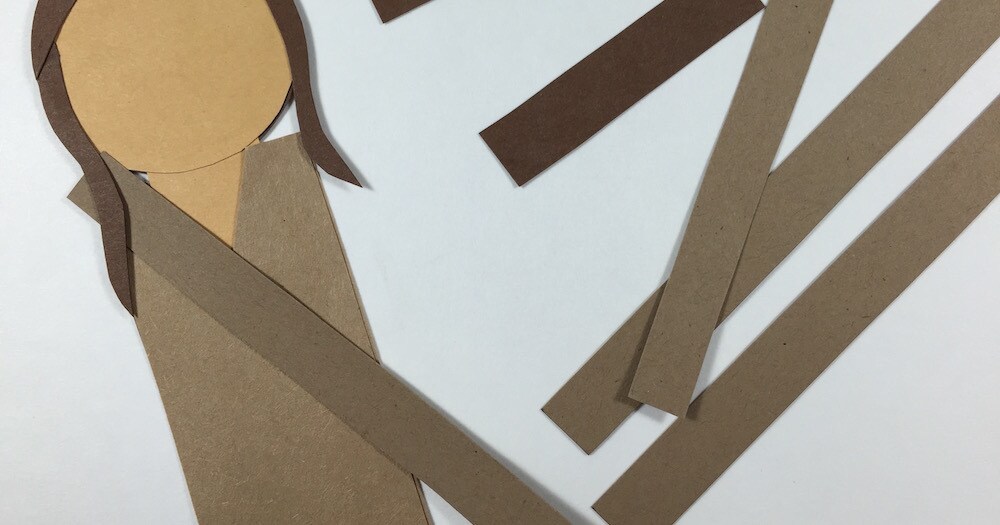
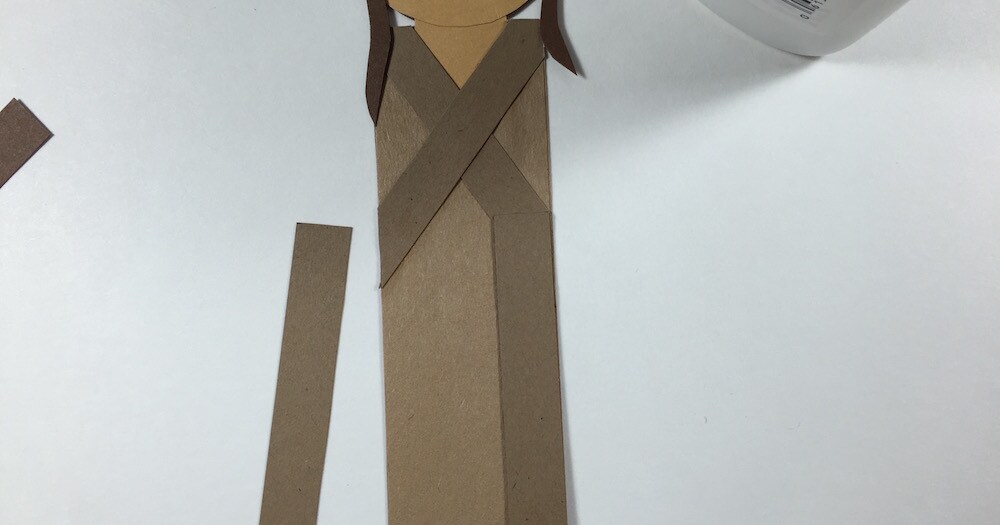
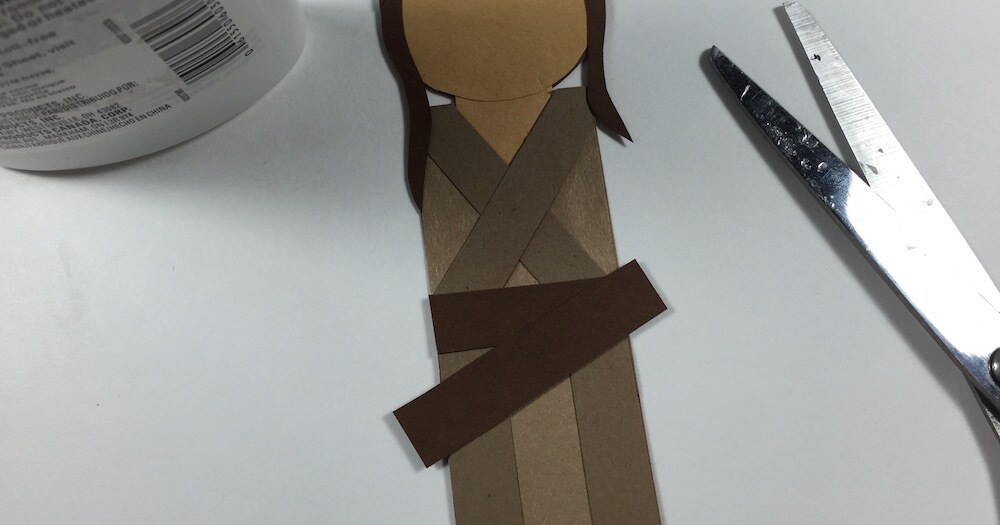
Glue one strip of the medium brown paper over Rey’s shoulder, crossing in front of the body and lining it up with her neckline. Trim the strip to fit.
Repeat over the right shoulder, gluing and trimming it to fit.
Next, glue a strip of medium brown paper along the right edge of her body, starting in the middle of the bookmark where her waist would be. Trim to fit.
Repeat on the left side of the bookmark.
Next, glue one small dark brown strip across the middle of the bookmark to make Rey’s belt. Trim to fit.
Glue the other strip on the right edge and angled down to the left. Trim to fit to finish Rey’s belt in the front.
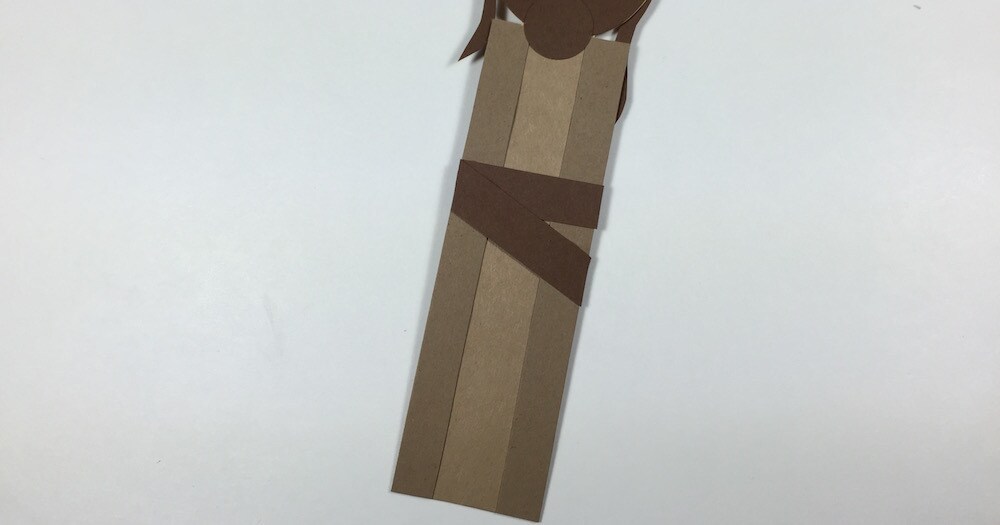
Flip the bookmark over.
Glue the 2 medium brown strips alongside the left and right sides of the bookmark. Trim to fit if needed.
Glue 1 dark brown strip across the body for Rey’s belt, lining it up with the placement of the belt on the front of the bookmark.
Glue the last dark brown strip angled down to the left, again lining it up with the belt in the front.
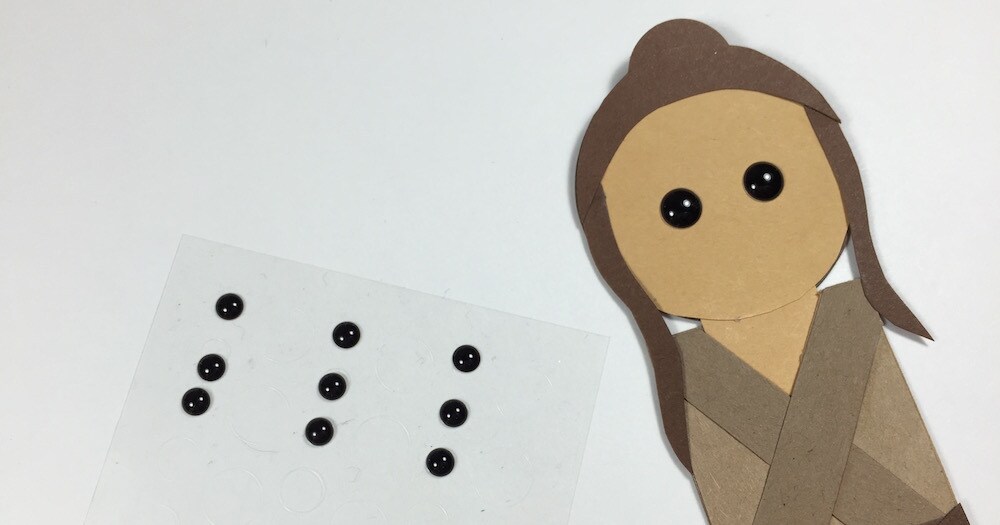
Use two black enamel dot stickers (found in the scrapbooking aisle at craft stores) for Rey’s eyes, or draw them with a black marker. You can also use a pencil for a smile, if desired.
Once all the glue is dry, your Rey bookmark is complete, ready to mark pages from Jakku to the classroom!
Kelly Knox is a freelance writer who loves creating crafts with her daughter. Follow her on Twitter at @kelly_knox, and take a look at her blog the st{art} button for more Star Wars art projects and craft ideas.


