
-
![Motion Hero | Star Wars Day (2025 With CTA desktop)]()
![May the 4th Be With You]()
Celebrate Star Wars Day with StarWars.com! Explore new Disney+ premieres, games + merch deals and roundups, and much more. May the 4th be with you, always.
-
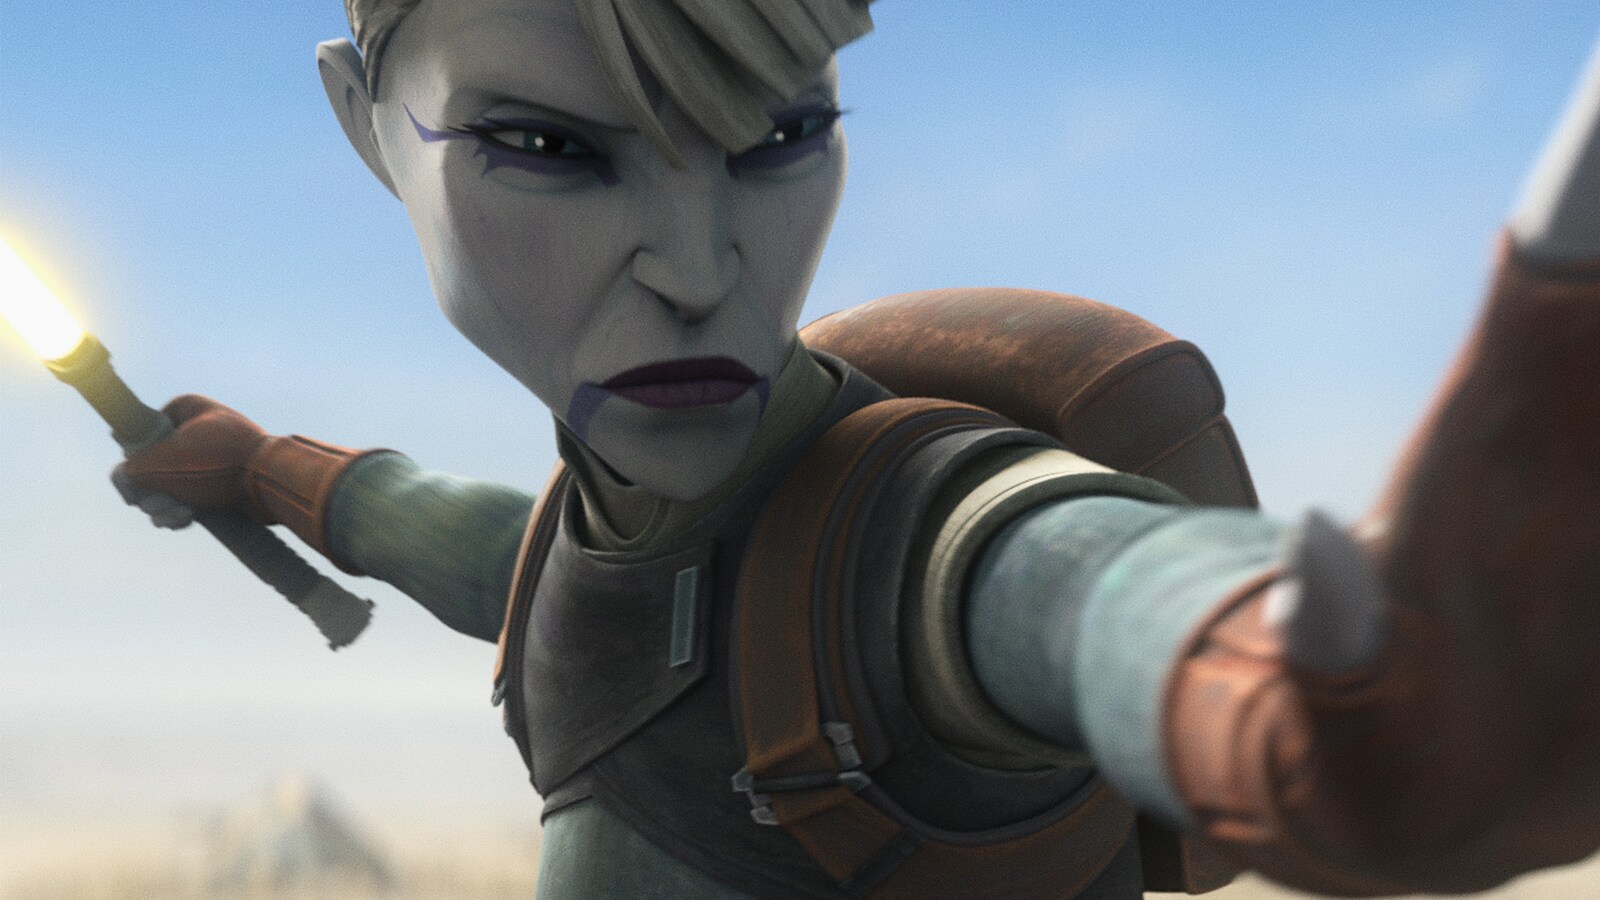
![Star Wars: Tales of the Underworld key art poster]()
![Tales of the Underworld logo]()
Asajj Ventress and Cad Bane are back for Tales of the Underworld. Now streaming, only on Disney+.
-
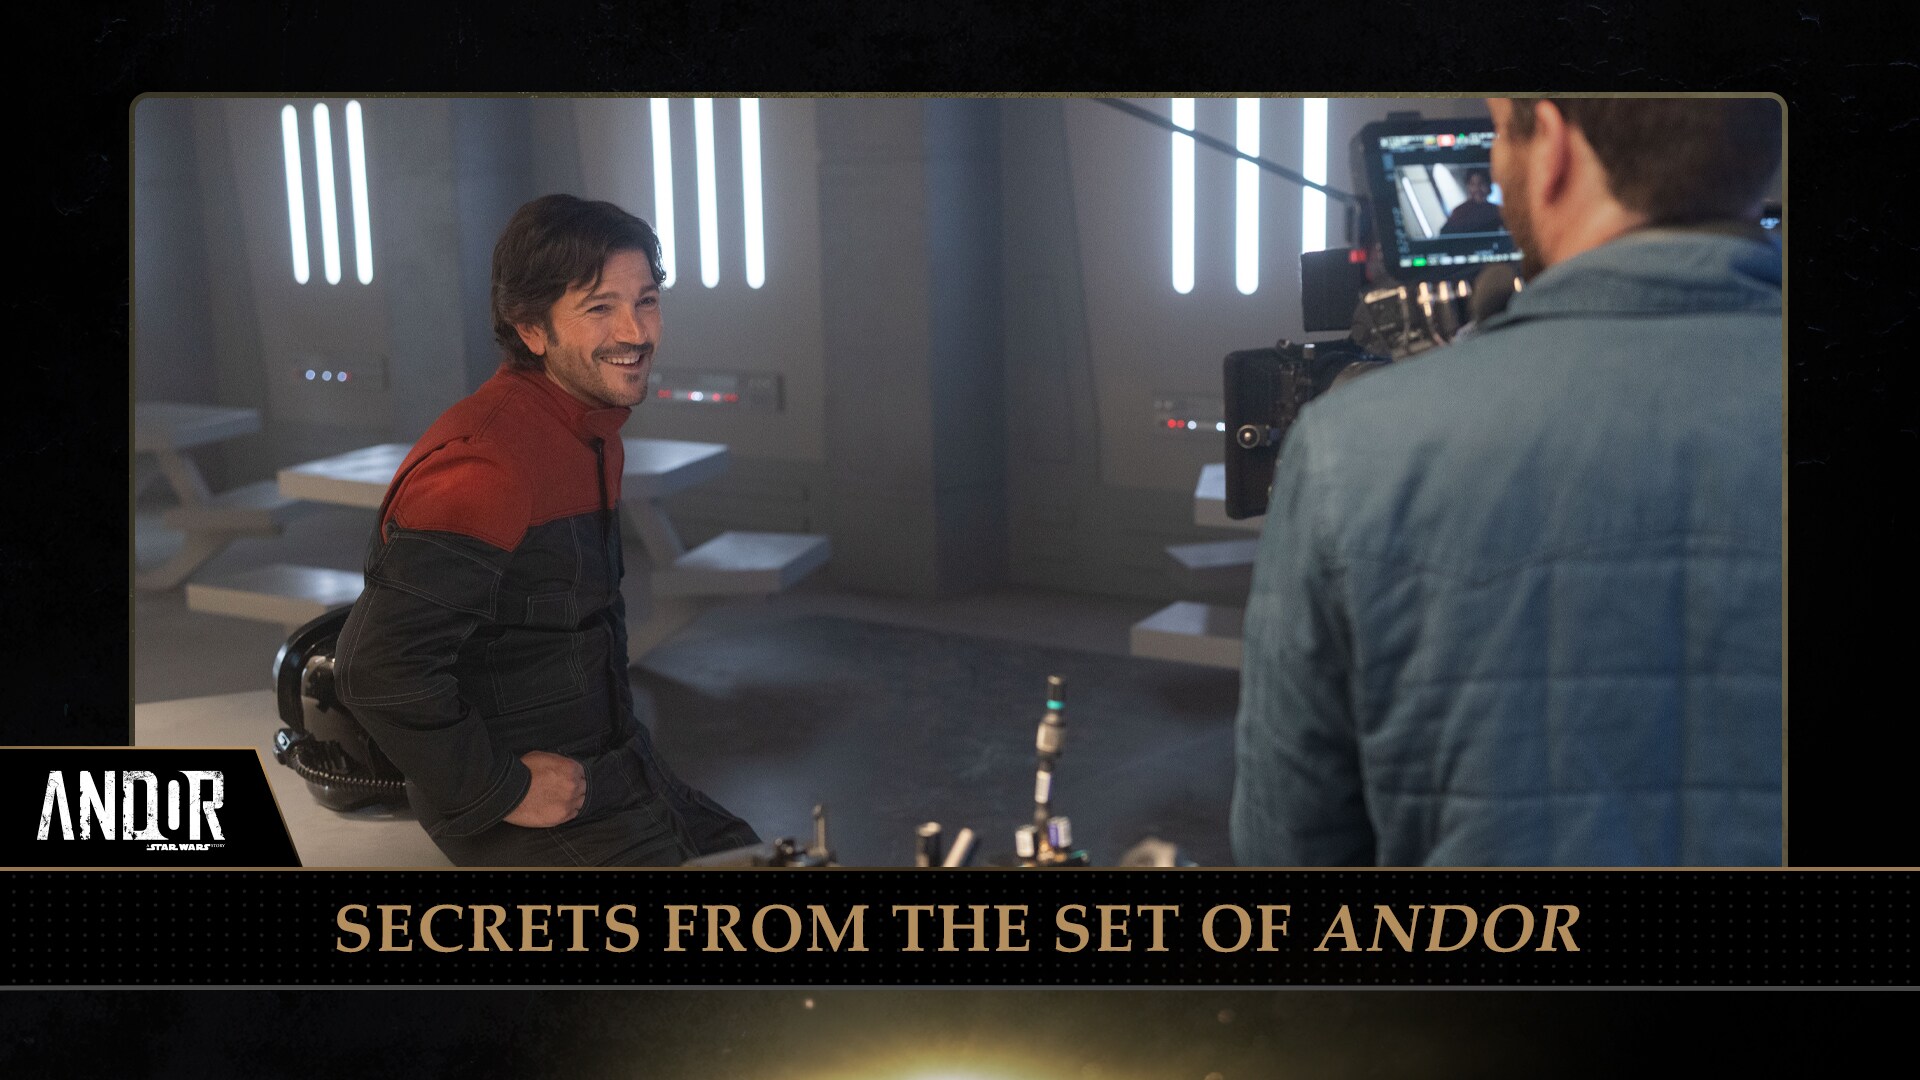
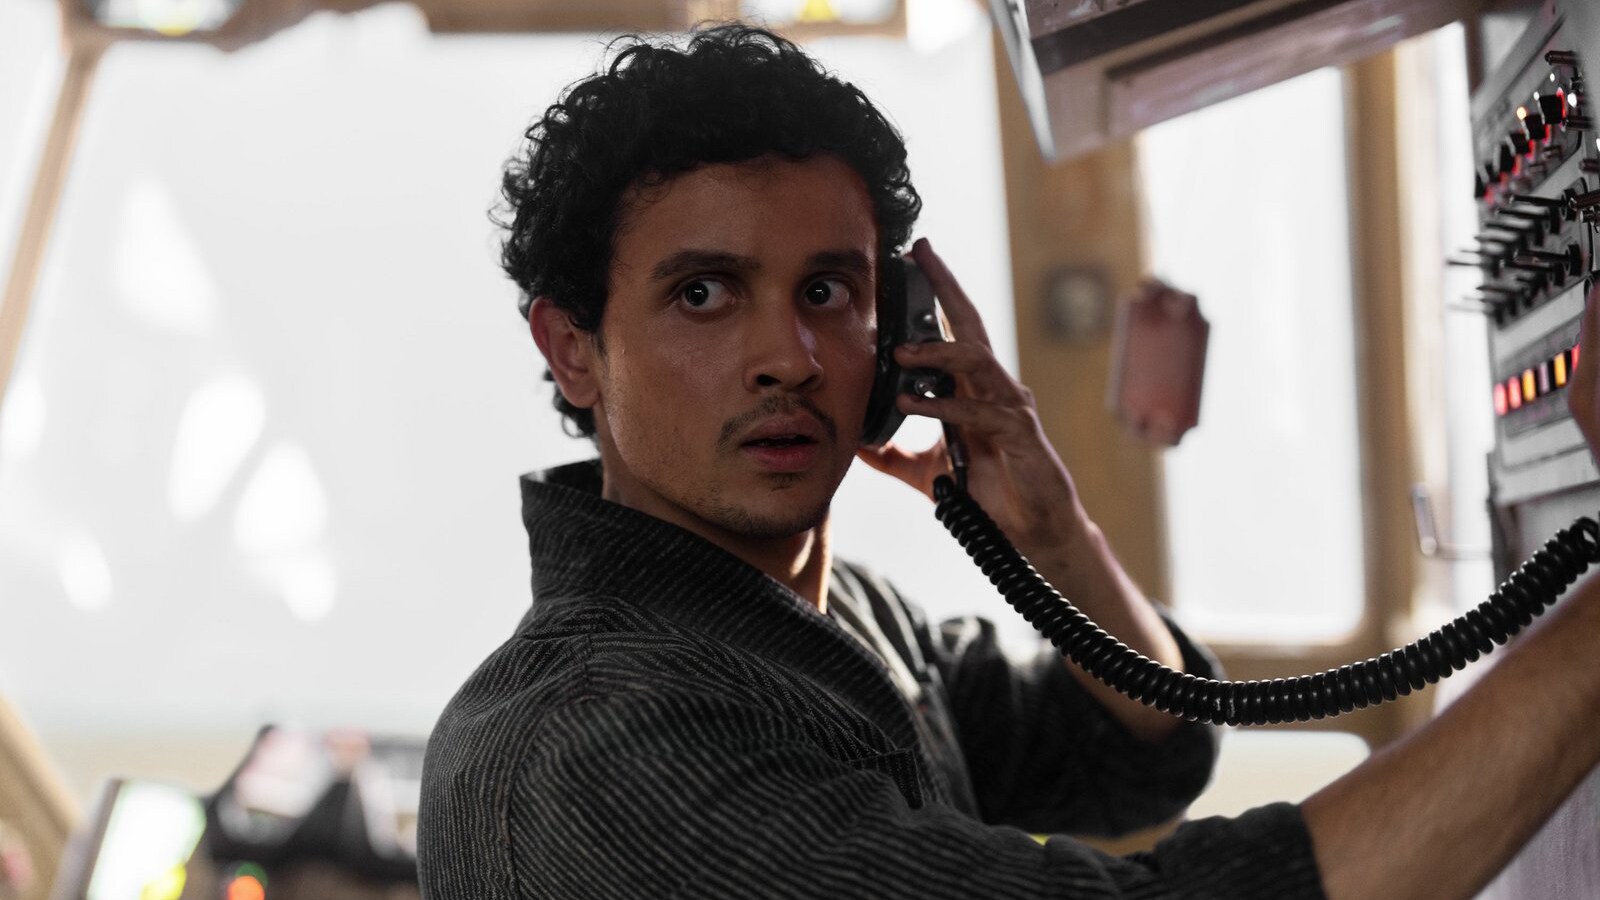
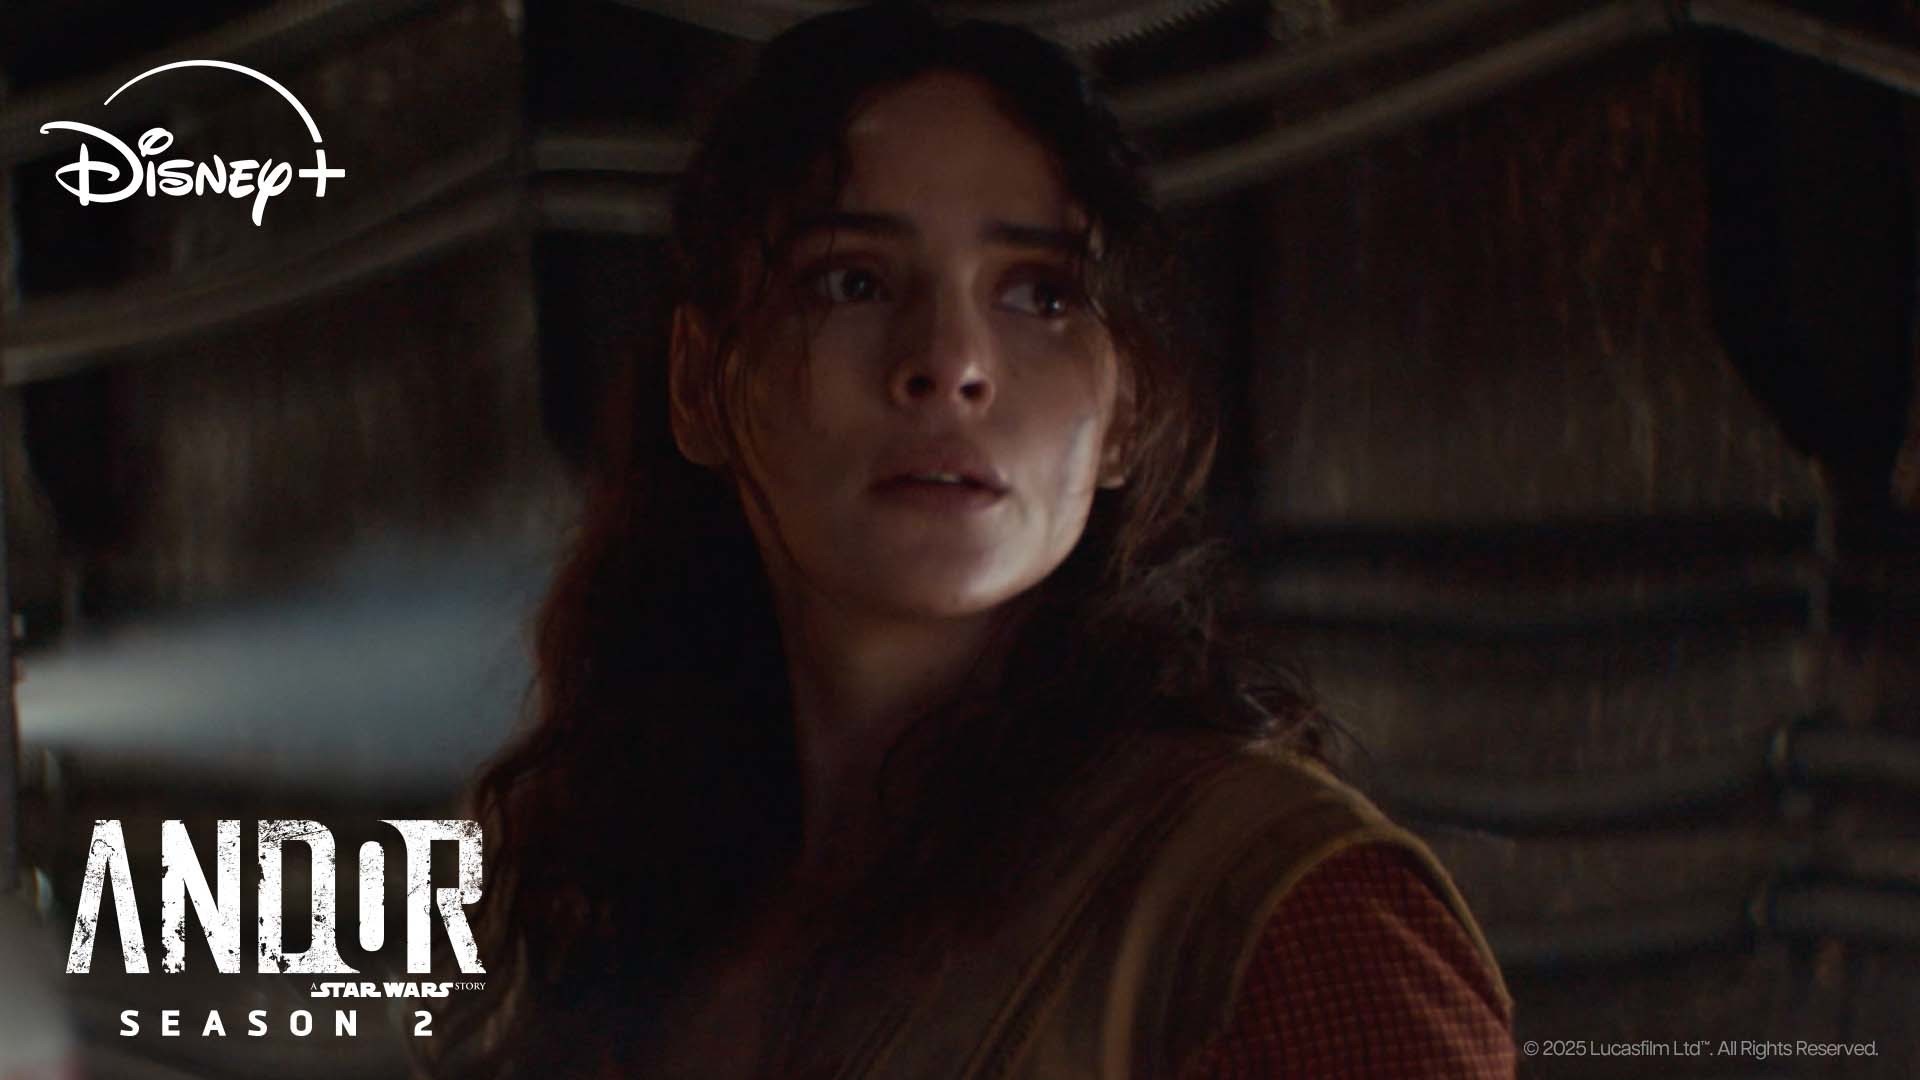
![Andor "What a Festive Evening" thumbnail]()
![Andor logo]()
Episodes 4-6: A Coruscant safehouse. All eyes on Ghorman. Cassian the spy. Luthen sweats. Sculdun has a party.
-
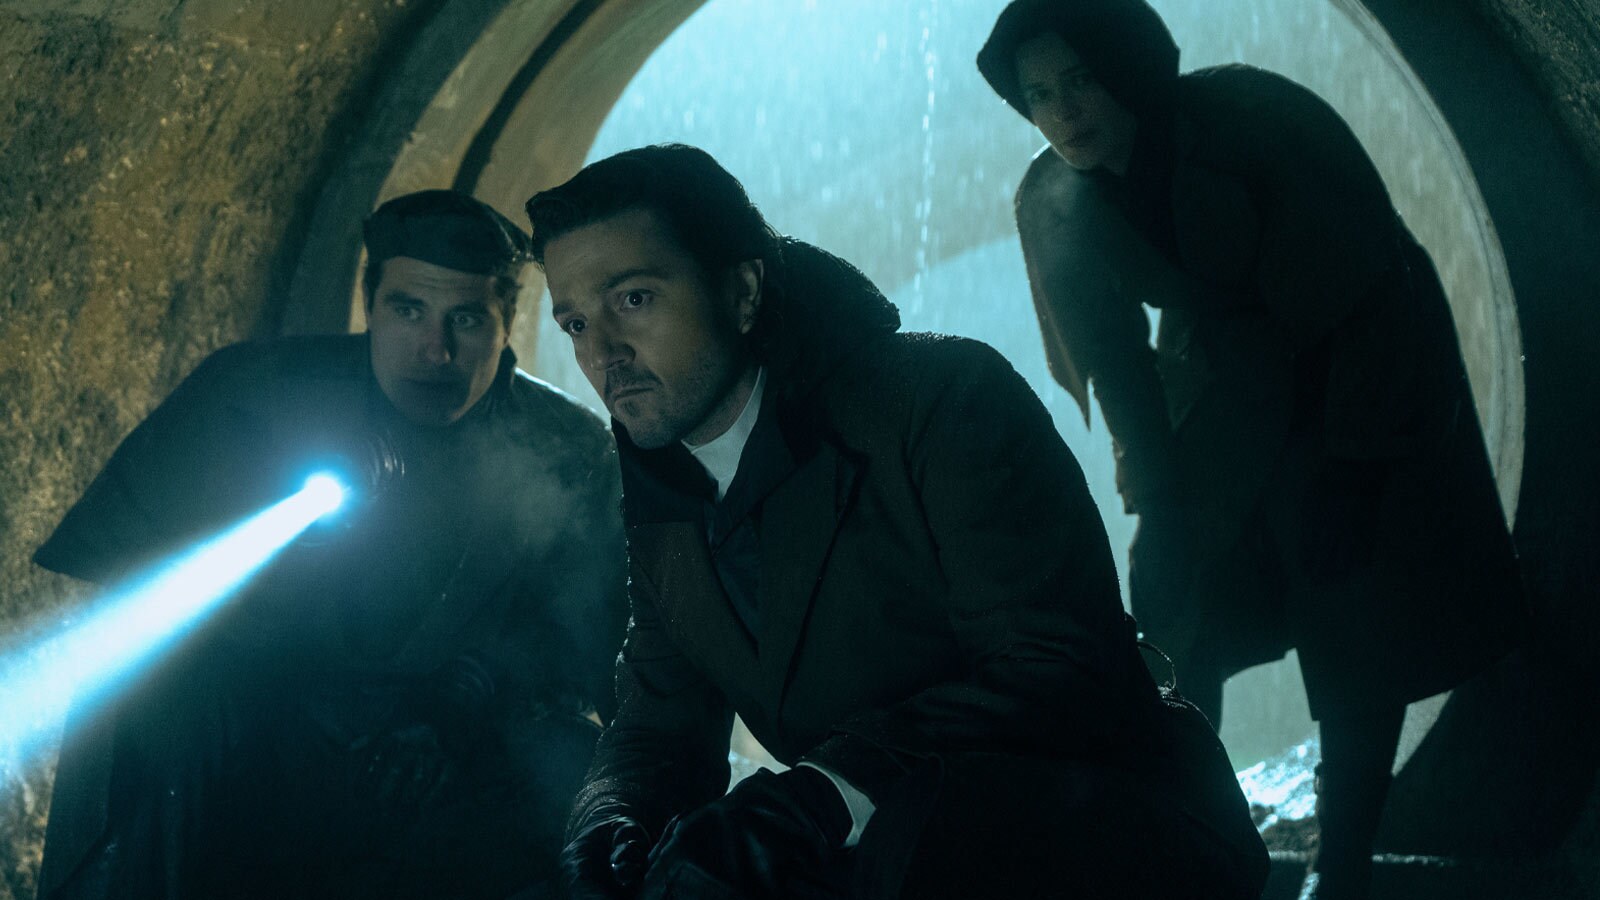
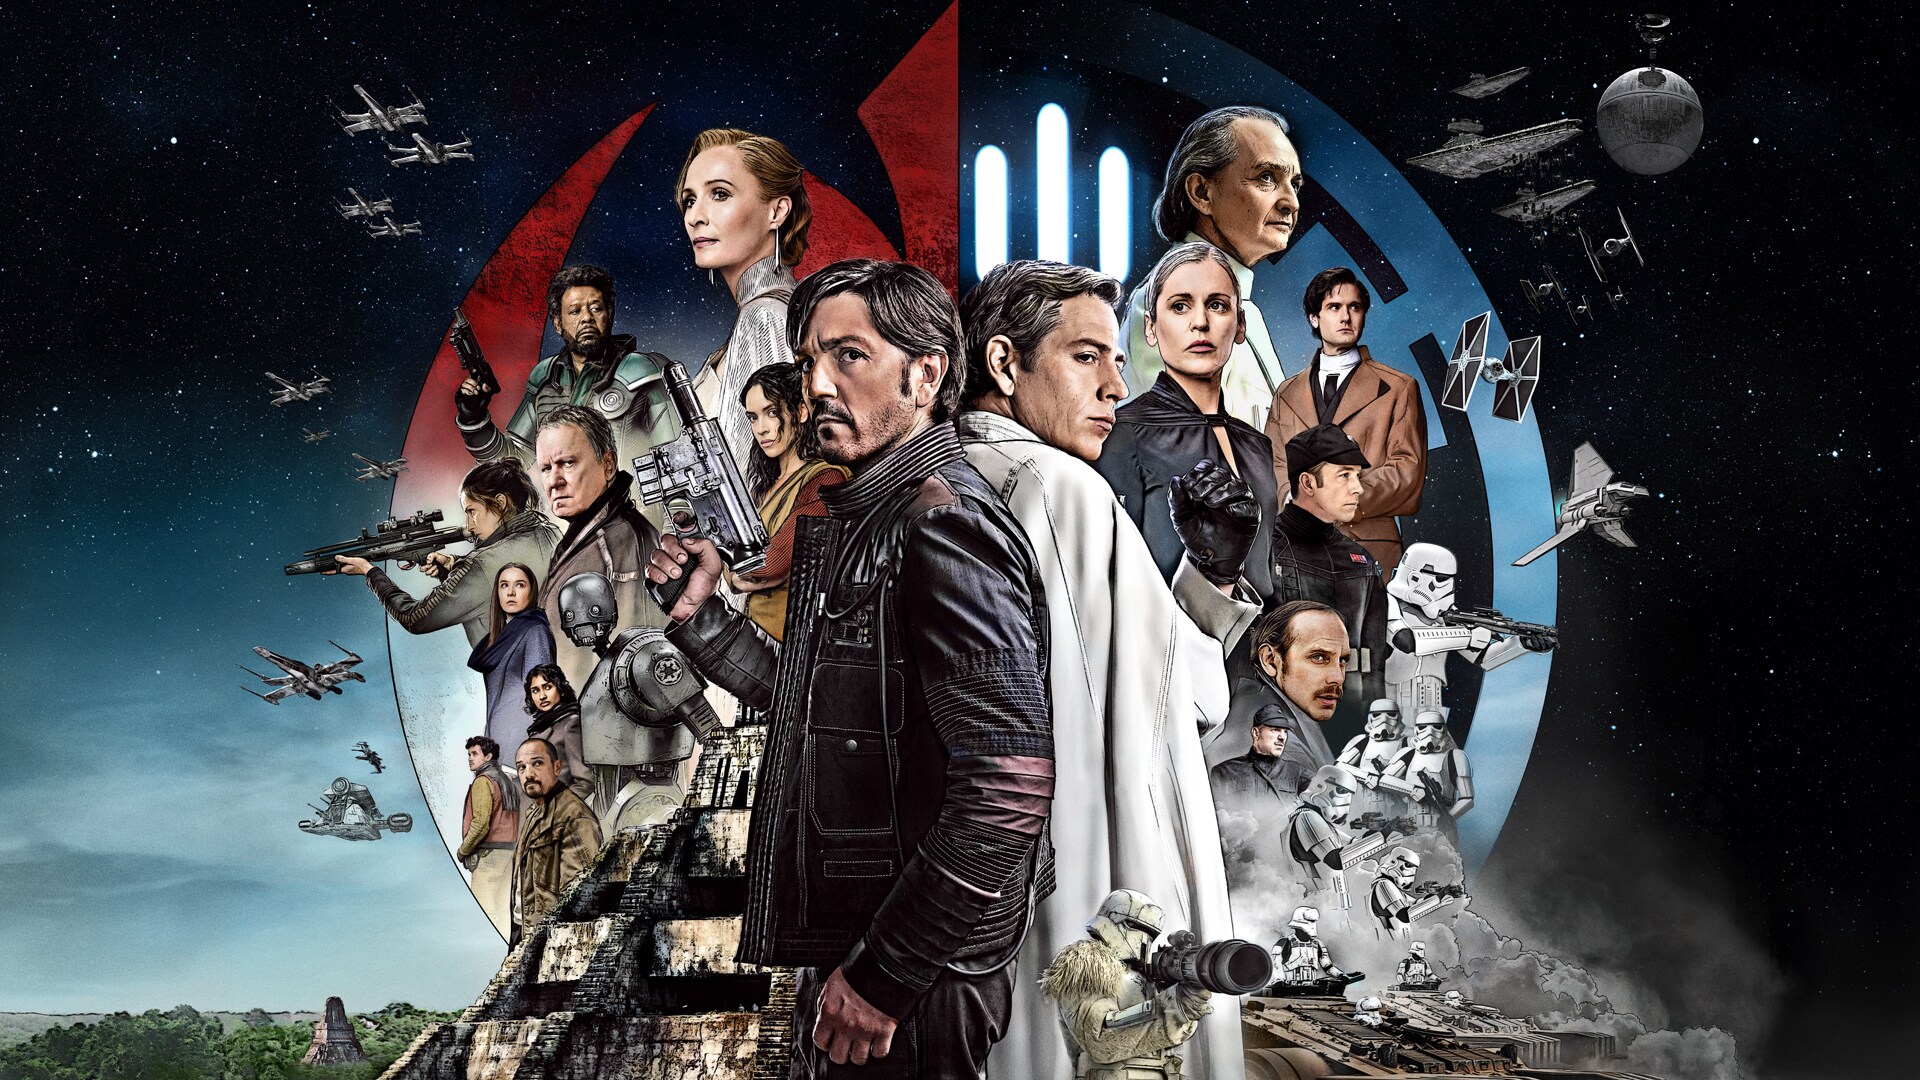
![Cassian Andor, Luthen Rael, and Bix Caleen]()
The Costumes of Andor Season 2
Costume designer Michael Wilkinson returns to the Star Wars galaxy with insights on dressing Cassian Andor, Mon Mothma, and more.
-
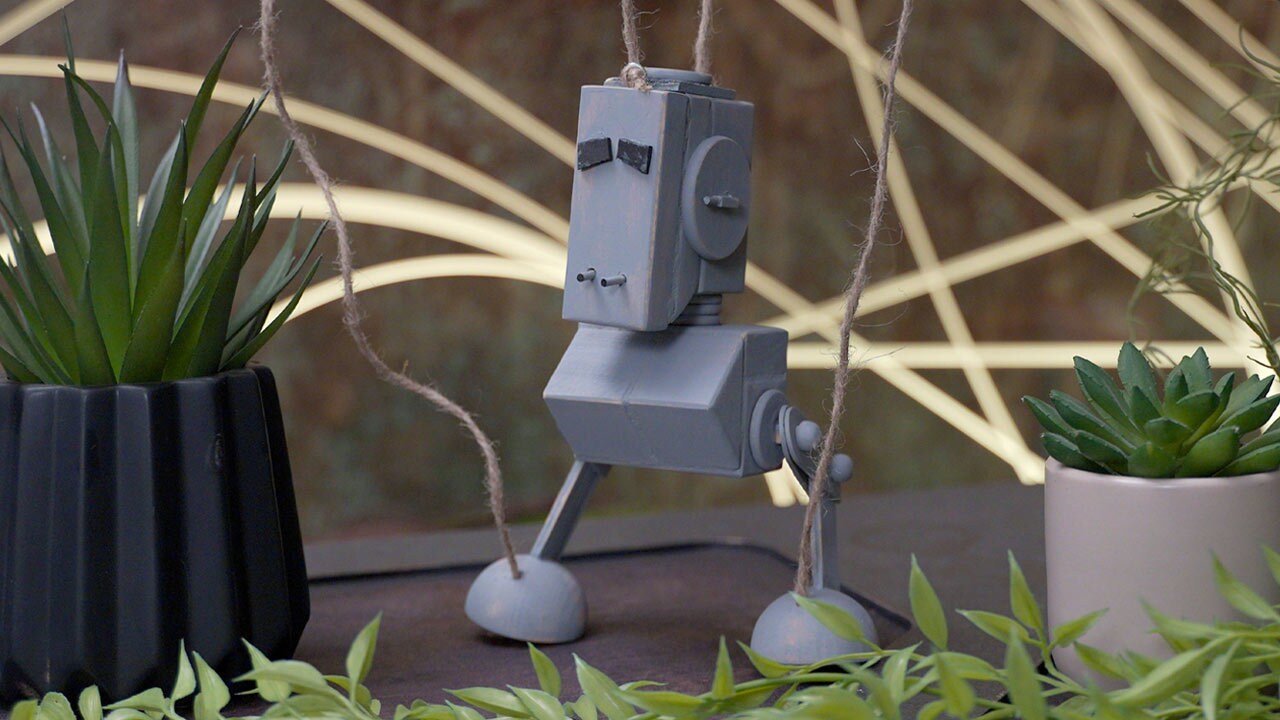
![Two Tubes stands guard at a lush secret base]()
Creating the Worlds of Andor Season 2
Take a deep dive into the secrets of Ghorman, Mina-Rau, Chandrila, and more.
-
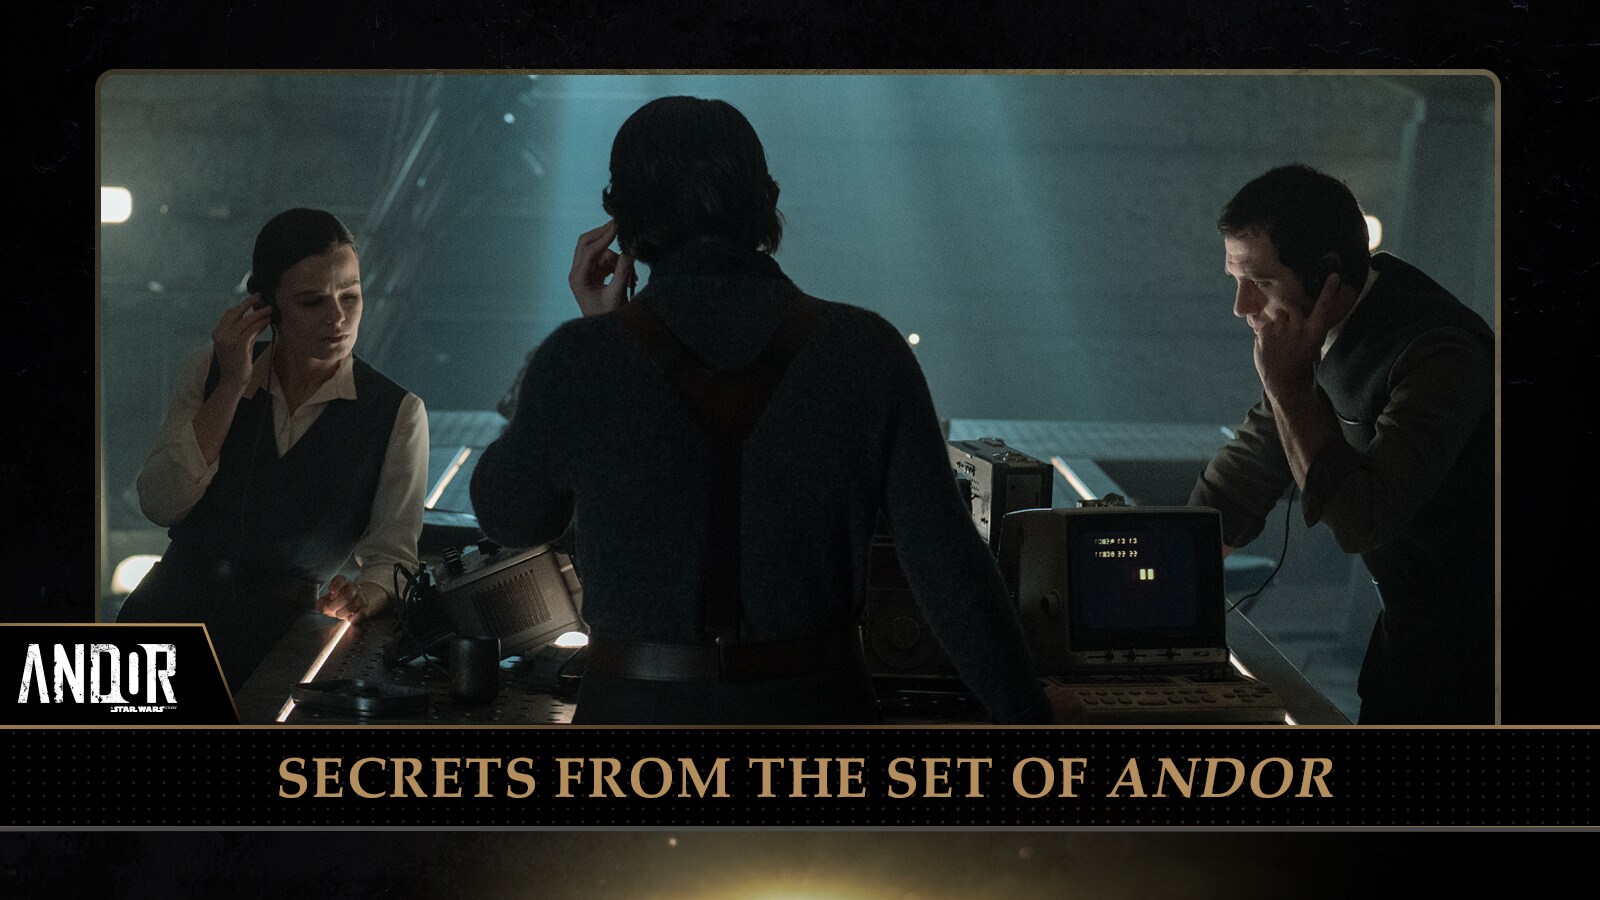
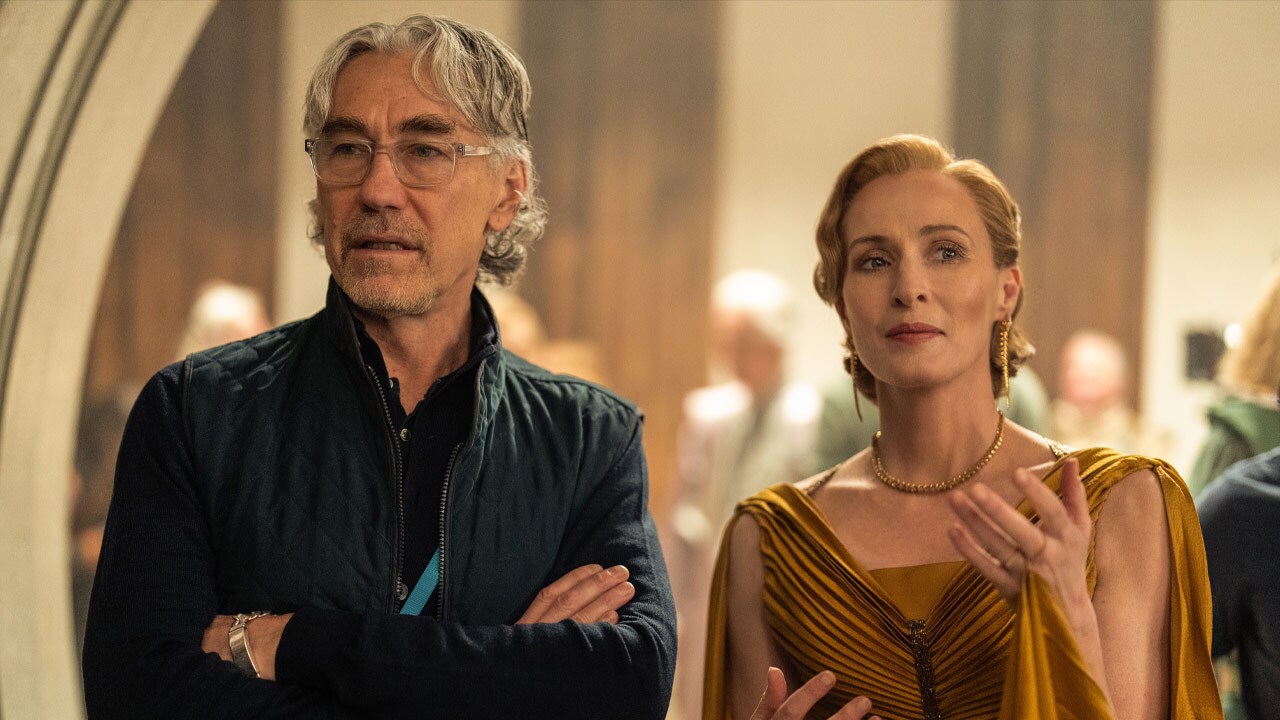
![Cassian Andor]()
![Andor Declassified logo]()
The cast and crew of Andor Season 2 break down episodes 4-6 as the action jumps forward one year.
Content contains spoilers. -
![Star Wars Celebration LIVE! graphic]()
Experience Star Wars Celebration Japan
Thank you, Star Wars fans, for the best Star Wars party yet! Relive the fun with recaps, announcements, video, galleries, and more!


Latest Video
View All


TM & © Lucasfilm Ltd. All Rights Reserved