
© 2015 Disney

Hondo Ohnaka Biography Gallery
- 14 Images


-
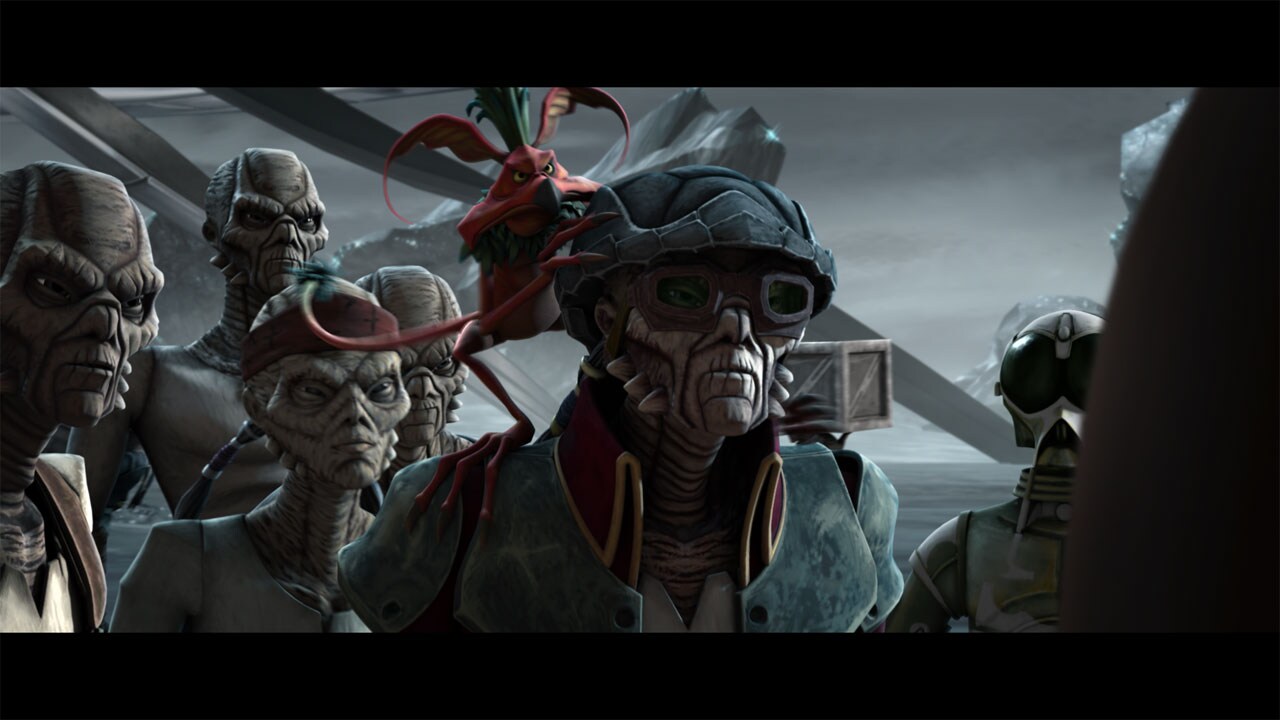
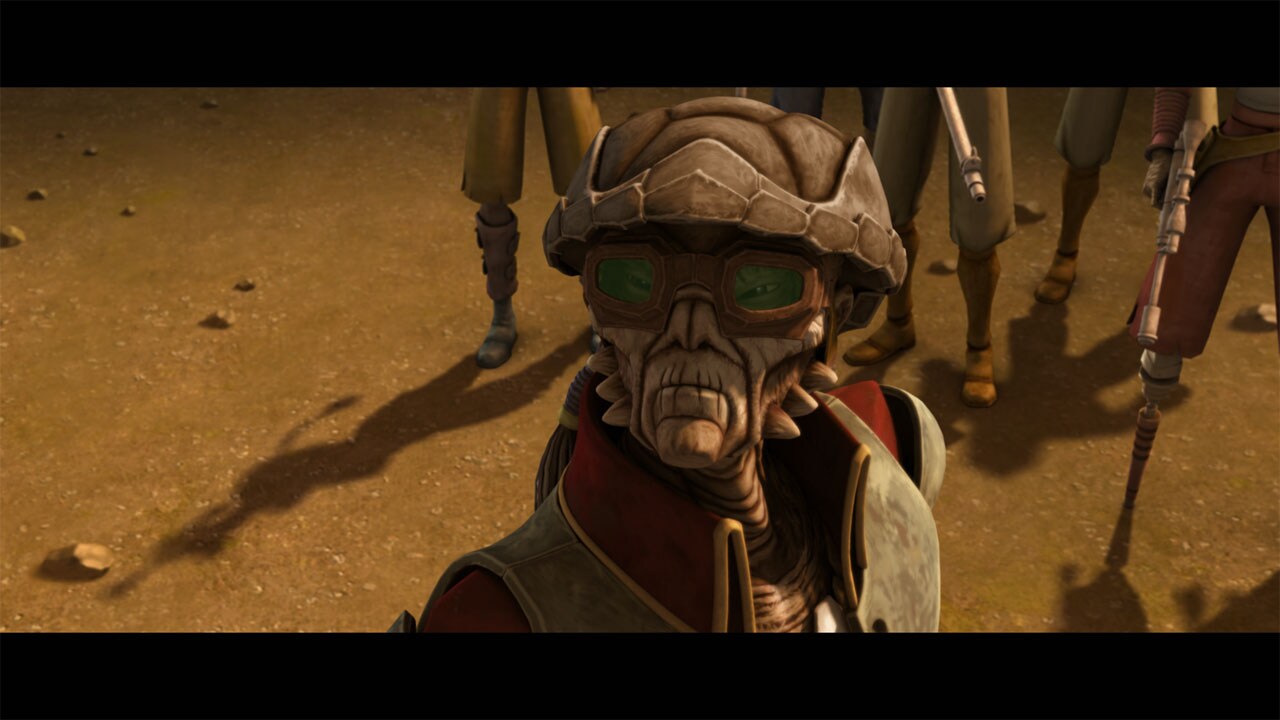
After Count Dooku crashed his ship -- a Geonosian solar sailer -- on Vanqor after escaping a Jedi ambush, he was met by a party of over a dozen Weequay pirates. The pirate leader, Hondo Ohnaka, did not seem intimidated by Dooku's stately manner. He instead covetously focused on the sailer. Ohnaka, playing the helpful type, offered Dooku transport to the nearest planet, Florrum, six parsecs away. Dooku accepted, concealing his lightsabers from the pirates.
-
The Weequay ships arrived at their headquarters on the sulfurous world of Florrum. Dooku realized his lightsabers had been snatched by the pickpocketing talons of Pilf Mukmuk, a green-furred Kowakian monkey-lizard loyal to Ohnaka. Unarmed, Dooku surrendered to the pirates. The pirate chieftain, Ohnaka, relished in his prize: the leader of the clanker army, in his possession! He hoped to ransom Dooku to the Republic.
-
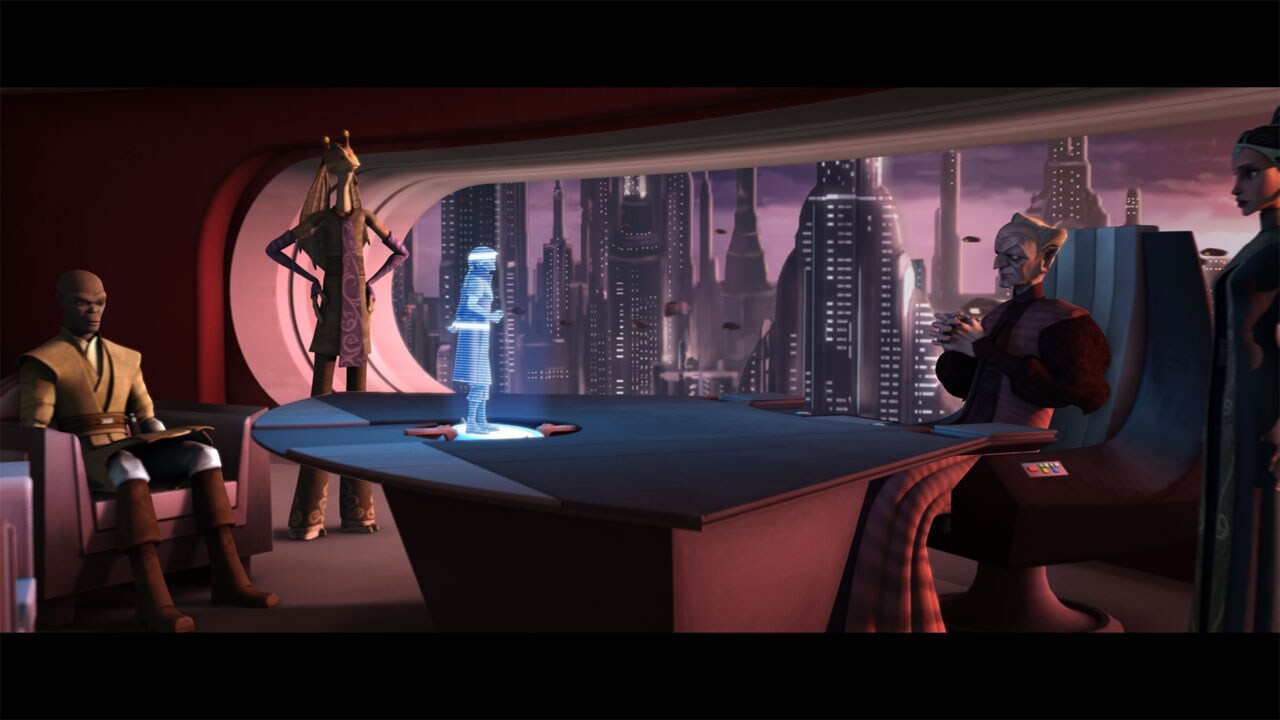
On Coruscant, Chancellor Palpatine received a holographic message from Ohnaka. The pirate chief made his demands: a million credits worth of spice delivered by an unarmed diplomatic ship. Yoda sensed the truth behind Ohnaka's unbelievable claims. Palpatine was still skeptical, but Ohnaka suggested that the Separatist Council would likely be willing to meet his price.
-
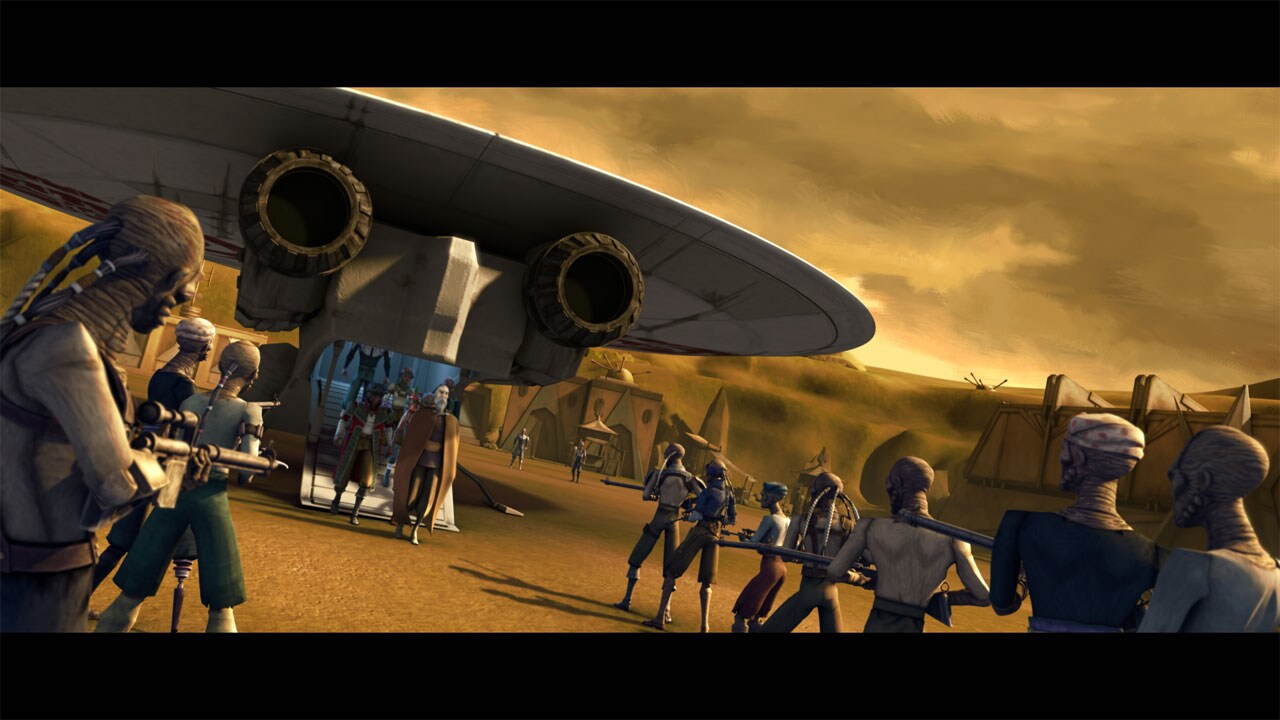
Anakin Skywalker and Obi-Wan Kenobi were the envoys sent to verify the capture of Dooku. Ohnaka arranged a meeting between the Jedi and Dooku, so the Republic could confirm the count's capture. At a Weequay party afterwards, revelry abounded, with drunkenness, food, dancing and merriment. Kenobi and Skywalker remained on their guard, but Hondo insisted they have a drink. Hondo then drugged their beverages, knocking the Jedi unconscious. Hondo intended to ransom the Jedi as well.
-
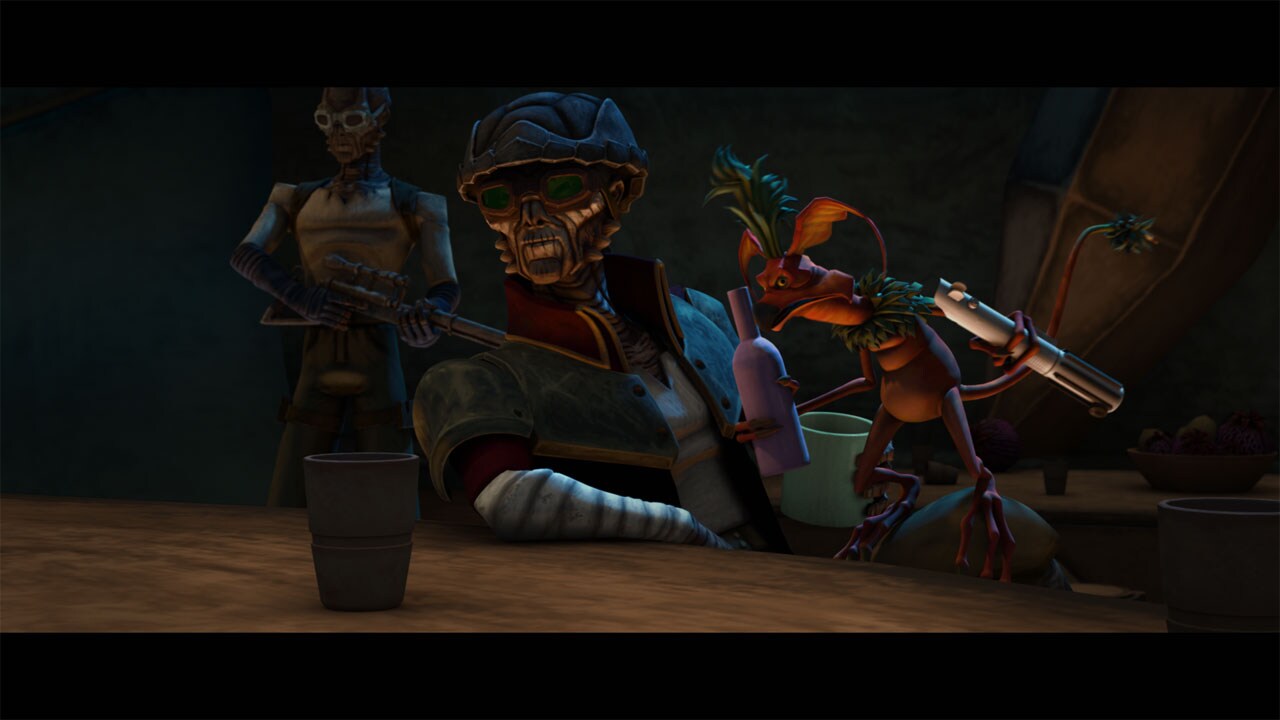
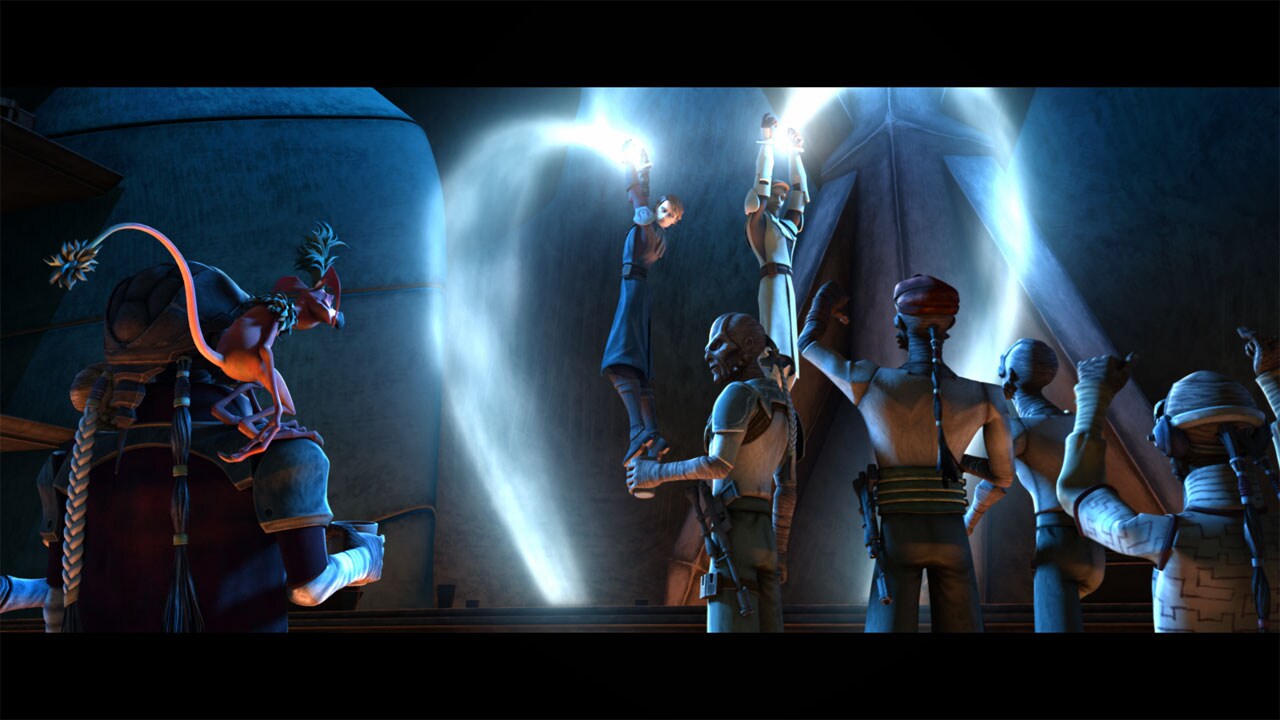
After repeated disorder caused by his Jedi prisoners, Ohnaka had no choice but to mete out punishment. Weequay guards marched the shackled Obi-Wan and Anakin out of their cell and into the main hall. Hondo sent jolts of painful current through the energy shackles, zapping Obi-Wan and Anakin, much to the amusement of the assembled pirates.
-
Separate from Anakin and Obi-Wan, Count Dooku also escaped the pirate compound. To Anakin and Ohnaka's surprise, Obi-Wan released the pirate leader. Ohnaka had nothing the Republic wanted, and the Jedi were no longer prisoners. Kenobi wanted to end this and leave on even terms. Ohnaka was impressed by the sense of honor exhibited by the Republic and the Jedi.
-
Hondo again crossed paths with Kenobi and Skywalker when the Jedi came to the defense of a Felucian village that the pirates would routinely raid for their nysillin spice. Hondo acted all chummy with the Jedi, but made clear his demands: deliver the crop or suffer the consequences.
-
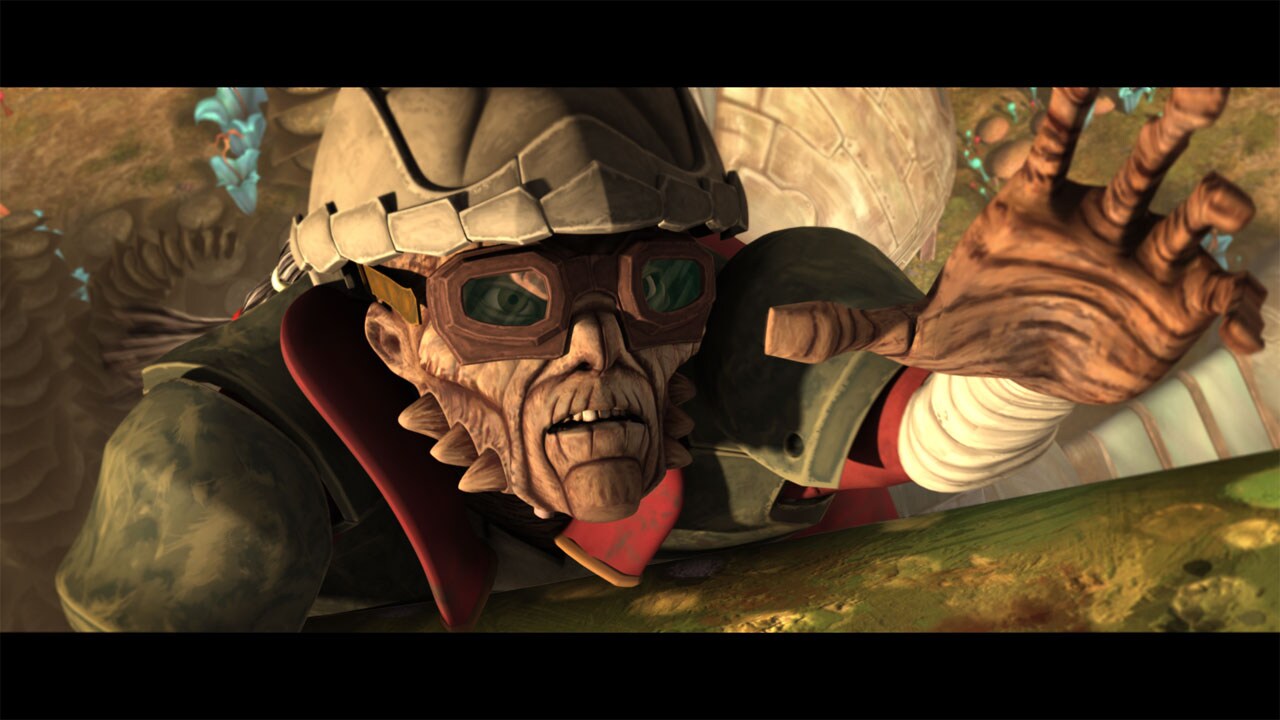
The next day, a battle erupted as the Jedi, a team of bounty hunters, and the farmers themselves defended the village from the pirates. Hondo held off Anakin Skywalker with an electro-staff, while the pirate chief's monkey-lizard distracted the Jedi. Skywalker kicked Hondo off the cliff, but the tenacious Weequay clung to the ledge. The other pirates retreated upon seeing their leader in trouble.
-
Hondo pleaded for help. Anakin pulled Hondo up, but the treacherous Weequay shoved the Jedi into the path of a heavy tank's turret cannon. Hondo's loyal monkey-lizard opened fire, forcing Anakin to leap to safety. This gave Hondo the time he needed to escape.
-
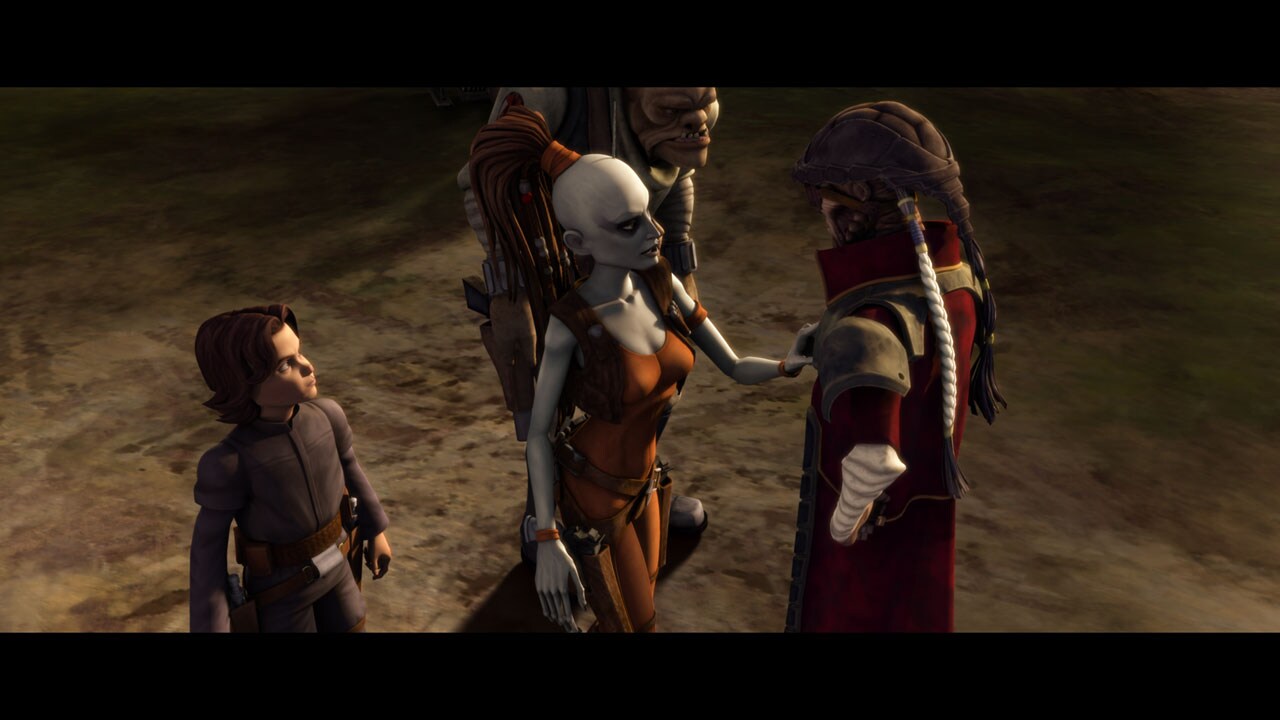
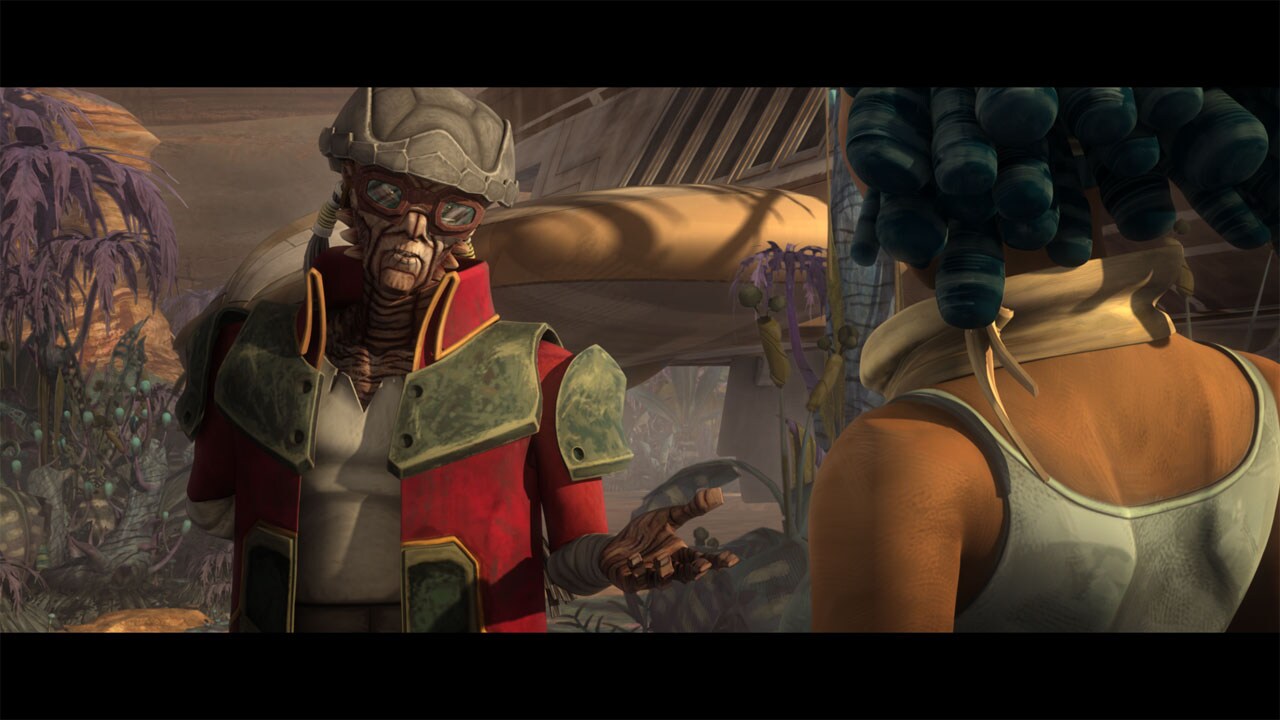
After threatening the Jedi, bounty hunters Aurra Sing and young Boba Fett sought refuge with Hondo's pirates on Florrum. Hondo didn't recognize Boba at first, and jokingly wondered if the boy was his child with Aurra. When Aurra explained the situation, Hondo offered no help, but also no hindrance.
-
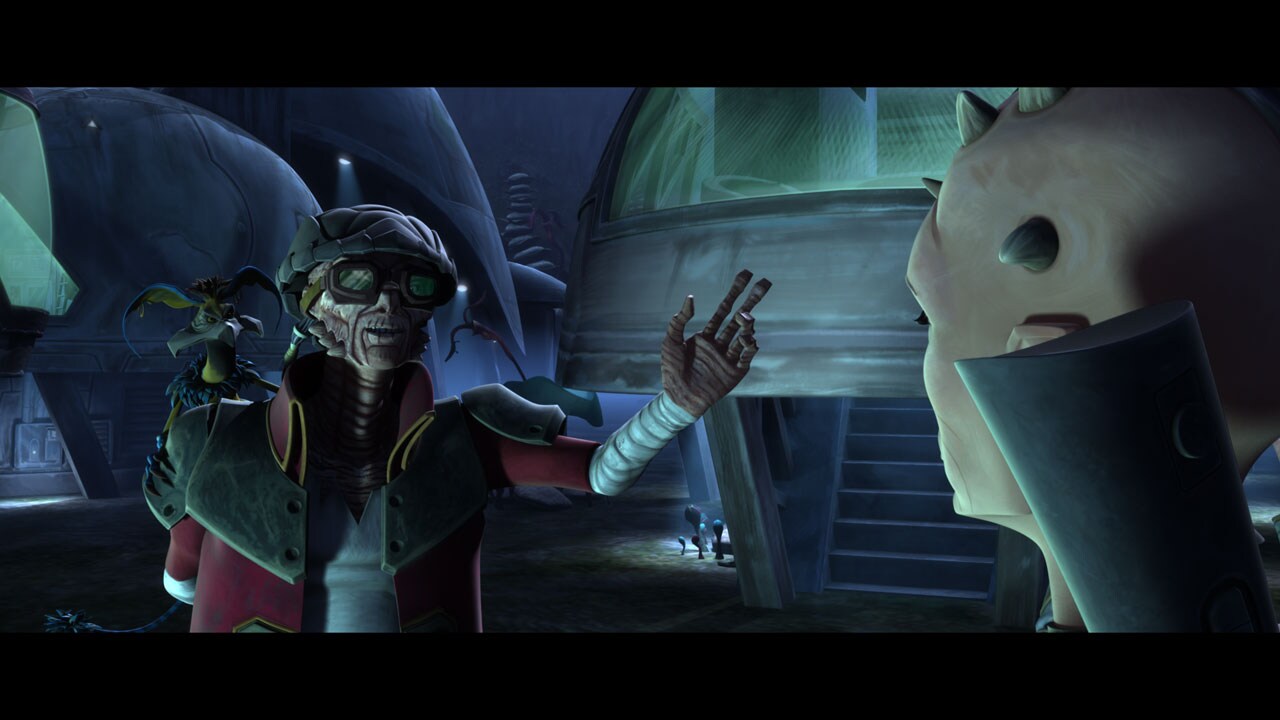
When Jedi Master Plo Koon and Padawan Ahsoka Tano came looking for Boba and Aurra, Hondo pointed them in the right direction while making it clear he was not in on the deal. The Jedi captured Boba, but Aurra escaped. With the lives of hostages in the balance, Plo tried to get Boba Fett to reveal their location. Hondo advised Fett to do so, as it is what Jango would have wanted.
-
To covertly support an insurgency on Separatist-controlled Onderon, Anakin Skywalker turned to Hondo Ohnaka, paying the pirate handsomely to arm the rebels with Sienar rocket launchers. Hondo personally delivered the ordnance aboard his luxury yacht, Fortune and Glory, but left before the fighting became too intense.
-
Later in the Clone Wars, Hondo's compound on Florrum was ransacked by General Grievous, leaving the pirates to pick up the pieces. Next, it was attacked by the resurrected Darth Maul, who led a treacherous splinter group of pirates in a very hostile takeover of leadership.
-
Hondo, however, counted on the greed of his underlings to sway their loyalty back to the pirate chief. When it became evident that Maul could not keep control of the pirates, Hondo rallied his forces, telling them to attack Maul's ship, which was laden with riches. In this manner, the pirates were able to chase off the Sith Lord.
Hondo Ohnaka Biography Gallery
TM & © Lucasfilm Ltd. All Rights Reserved